How do you draw a realistic wolf?
Short answer
Drawing a realistic wolf requires mastering skeletal proportions, fur texture, and anatomical structure. Begin by sketching simple geometric shapes to establish the frame, then refine the musculature and facial features. Focus on the wolf’s distinct muzzle shape and dense coat patterns to achieve a lifelike appearance that captures its predatory essence.

On this page
How to structure a wolf drawing
The foundation of a realistic wolf drawing lies in understanding its skeletal frame. Wolves possess a deep, narrow chest and a long, powerful spine that dictates their movement. Begin your sketch by using circles and ovals to represent the rib cage, pelvis, and skull. Connect these shapes with light lines to establish the spine's curvature, which should be slightly arched when the animal is alert.
Proportions are critical for accuracy. A wolf’s legs are longer than those of a domestic dog, and the elbows should align roughly with the bottom of the rib cage. When mapping out the limbs, use straight lines to define the joints, then add volume to represent the muscle mass. Avoid drawing the legs as simple cylinders; instead, taper them toward the paws to reflect the animal's agility and lean build.
How to draw a wolf face
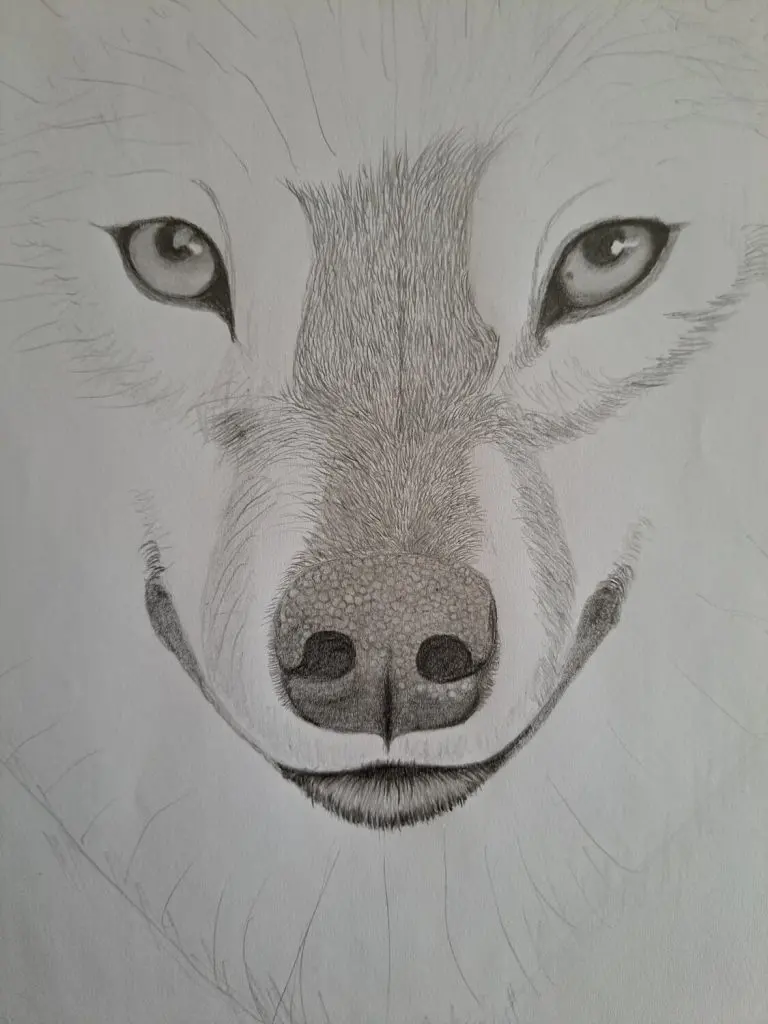
The wolf’s head is characterized by a long, tapering muzzle and forward-facing, intense eyes. Start by drawing a horizontal line across a circle to place the eyes, which should be almond-shaped and positioned slightly higher than the center of the head. The ears are triangular and sit high on the skull, angled slightly forward to suggest a keen sense of hearing.
- Draw the muzzle as a rectangular box that narrows toward the nose.
- Place the nose as a downward-pointing triangle with wide nostrils.
- Add the mouth line, extending it slightly past the eye line for a natural look.
- Sketch the fur around the cheeks to create a wide, rugged frame for the face.
Pay close attention to the stop, the dip between the forehead and the nose, which is less pronounced in wolves than in many dog breeds.
Best shading techniques for fur
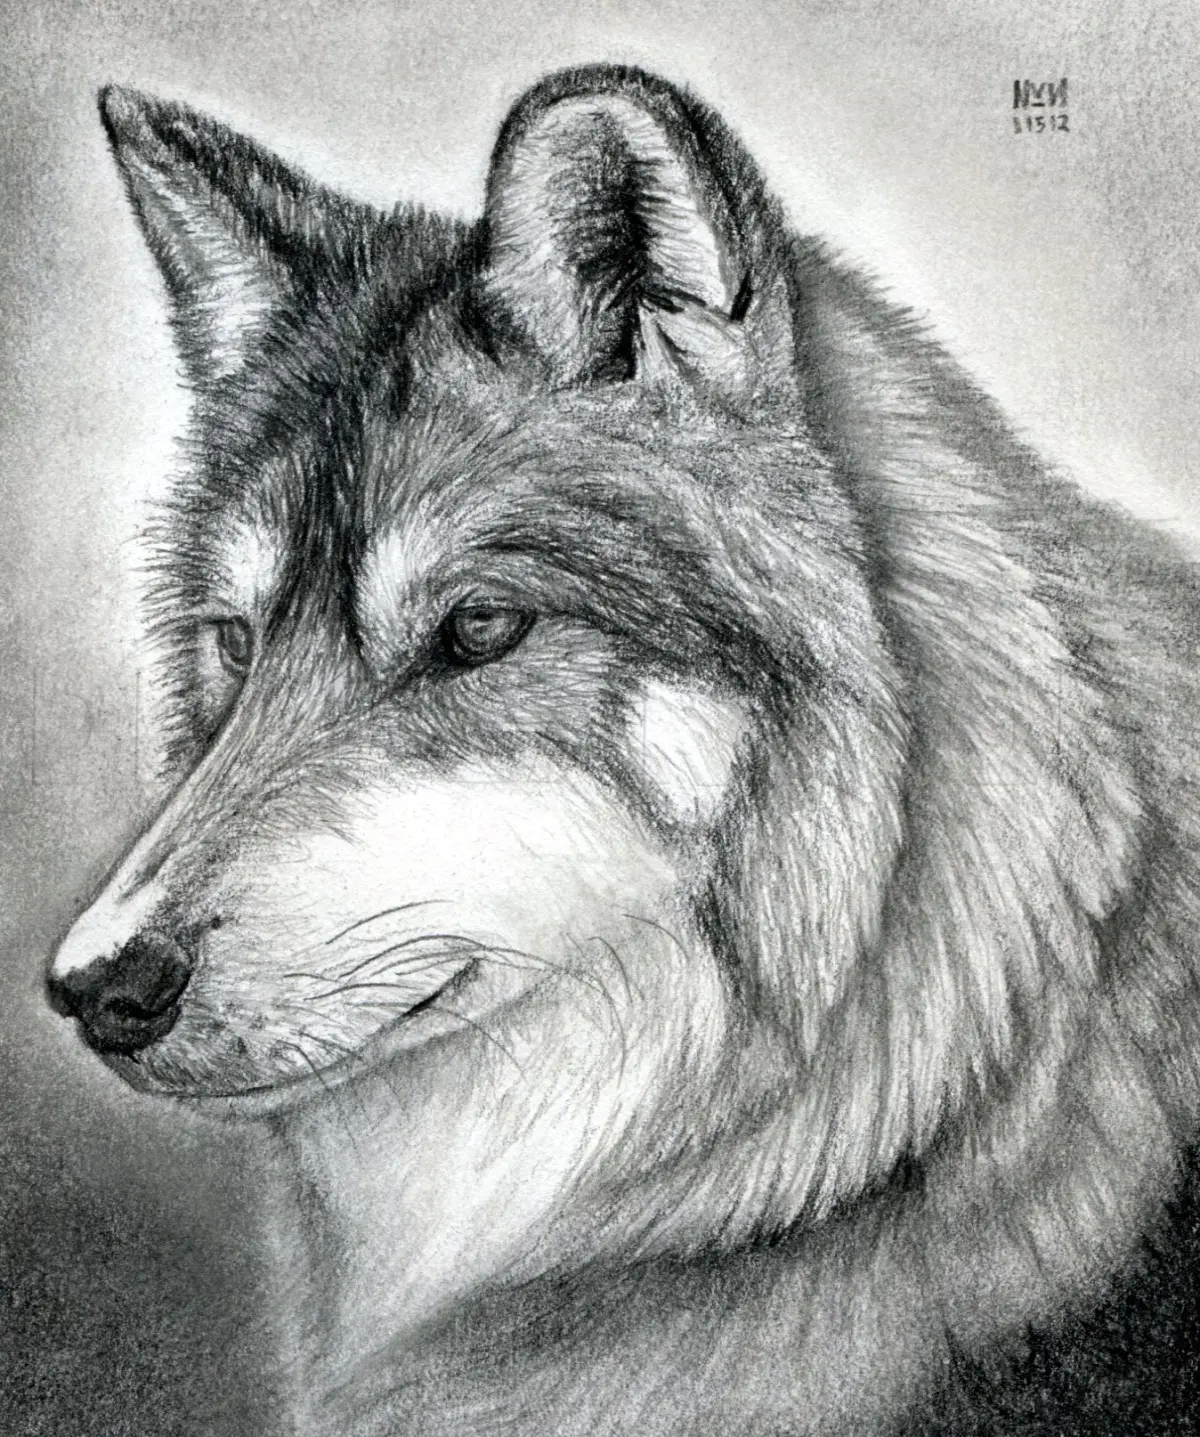
Fur is not a solid mass but a collection of overlapping textures. To render a realistic coat, avoid drawing individual hairs everywhere. Instead, shade the wolf in large patches, focusing on the direction of growth. Use long, sweeping strokes to follow the contours of the body, starting from the neck and moving toward the tail. The fur is thickest around the neck, creating a ruff that gives the wolf its iconic silhouette.
Use a graphite pencil to build up layers of tone, starting with light, soft strokes for the undercoat. Gradually add darker, sharper lines to define the guard hairs on the surface. Leave small, unshaded gaps to represent highlights where light hits the fur. This layering approach creates depth and prevents the drawing from looking flat or matted, providing the necessary volume to make the animal appear three-dimensional.
Common mistakes when drawing wolves
Many beginners struggle by giving the wolf features that are too similar to a domestic dog. A common error is making the muzzle too short or the ears too rounded, which strips the wolf of its wild, predatory character. Another frequent mistake is ignoring the neck's thickness; a wolf’s neck is incredibly muscular and should appear robust, seamlessly connecting the head to the chest rather than looking like a thin stalk.
- Avoid drawing the eyes too large, as this gives the wolf a cartoonish, human-like appearance.
- Do not use perfectly straight lines for the body, as this ignores the natural curves of muscle and fur.
- Refrain from outlining the entire body in a single dark stroke, which creates a "sticker" effect.
- Ensure the paws are large and sturdy, reflecting the wolf's need to travel across varied, rough terrain.
How to add realistic details
The final stage of the drawing involves adding the fine details that bring the wolf to life. Focus on the eyes by adding a small, bright white highlight to indicate light reflection, which gives the gaze a piercing, intelligent quality. Use a kneaded eraser to lift small amounts of graphite, creating subtle texture in the fur around the ears and the bridge of the nose.
Add shadows beneath the body and near the feet to ground the wolf in its environment. If the wolf is standing on snow or grass, use light, irregular marks to suggest the texture of the ground. By refining these final touches—the glint in the eye, the stray hairs at the edges of the ears, and the cast shadows—you transform a basic anatomical sketch into a convincing, realistic portrait of a wolf.
Key facts
- Wolves have a distinct skeletal structure characterized by a deep, narrow chest and long, powerful limbs.
- The eyes of a wolf are positioned forward on the skull, typically displaying a sharp, almond-shaped appearance.
- A wolf’s snout is elongated and tapers to a dark, leathery nose pad, which is a focal point for facial proportions.
- Fur texture varies significantly; use directional sketching to mimic the layering of the undercoat and longer guard hairs.
- The tail of a wolf is usually bushy and hangs straight down or slightly curved when the animal is at rest.
- Focus on the "muzzle-to-skull" ratio, which is generally one-third the total length of the head.
The bottom line
Drawing a realistic wolf requires a disciplined focus on skeletal structure and directional fur growth. By mapping out the proportions of the muzzle and cranium first, you ensure the animal’s anatomy remains accurate. Avoid the common pitfall of over-detailing individual hairs; instead, prioritize shading and massing to convey depth. With consistent practice and careful observation of muscle anatomy, you can capture the wolf’s powerful, wild essence effectively.
People also ask
How do I capture the correct proportions of a wolf's head?
Start by drawing a circle for the cranium and a smaller square or rectangle for the muzzle. Ensure the ears are placed high on the head, angled slightly outward, to maintain the correct predatory silhouette.
What is the best way to draw realistic fur texture?
Avoid drawing individual hairs; instead, group them into clumps or "tufts" that follow the direction of muscle growth. Use varying line weights to show depth, keeping the fur denser around the neck and thinner near the face.
How should I approach the wolf's eyes?
Draw the pupils as vertical or circular shapes depending on the expression, but keep the iris color muted, such as yellow, amber, or light brown. Add a small white highlight to the edge of the pupil to create a lifelike, reflective quality.
What are common mistakes when drawing wolf legs?
Beginners often draw legs that are too short or lack the distinct "elbow" joint. Remember that a wolf’s front legs are relatively straight, while the hind legs have a pronounced hock joint that gives them their characteristic spring.
How do I make the wolf look aggressive versus calm?
For an aggressive look, draw the ears pinned back, the lips curled to expose teeth, and the brow furrowed. A calm wolf should have relaxed ears, a closed mouth, and a neutral, alert gaze.
Should I use a grid system for drawing wolves?
A grid is highly effective for beginners to maintain symmetry and scale when working from a reference photo. It helps map out the complex landmarks of the face, such as the distance between the eyes and the snout length.
This answer was created with the help of AI research tools and reference sources. Spotted an error? Let us know — we correct mistakes quickly. See our editorial policy.


