How do you make line art in Procreate?
Short answer
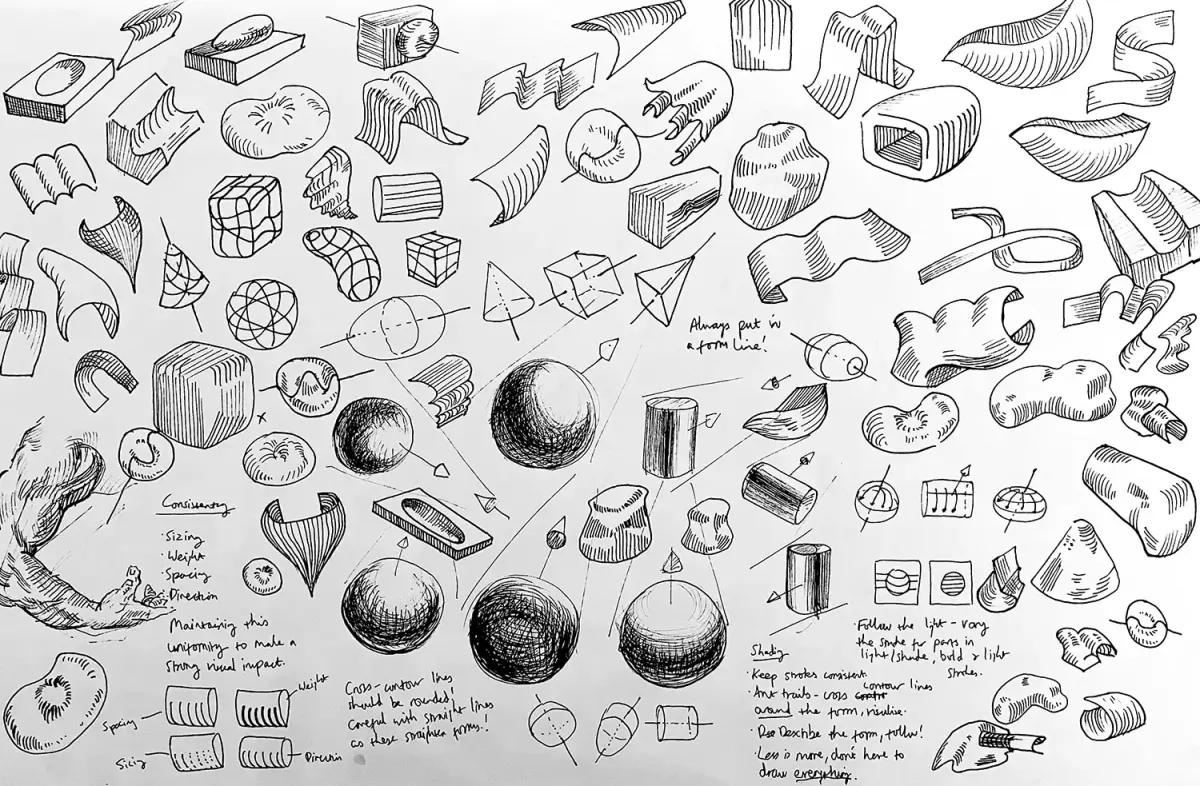
Creating line art in Procreate involves using high-precision brushes, such as the Technical Pen or Monoline, on a dedicated layer. You can achieve smooth, professional results by utilizing the Streamline setting, adjusting stabilization, and employing the QuickShape tool for perfect geometric lines. Consistent pressure and layer management are essential for clean results.
On this page
How to set up brushes for line art
The foundation of clean line art lies in selecting a brush that offers minimal texture and consistent opacity. Procreate’s "Inking" category is the best starting point for beginners. The "Technical Pen" or "Monoline" brushes are industry standards because they do not change thickness based on tilt, providing a uniform look that mimics traditional vector work. If you prefer a more organic feel, the "Studio Pen" offers slight pressure sensitivity, which adds character to your strokes.
To customize your brush for better control, tap the brush icon to open the Brush Studio. Navigate to the "Stabilization" tab. Increasing the "Streamline" amount is the most effective way to eliminate shaky lines, as it creates a mathematical buffer that smooths out your hand movements. For most users, a setting between 40% and 60% provides a perfect balance between responsiveness and precision.
- Open the Brush Library and select the "Inking" folder.
- Tap on the "Technical Pen" to select it.
- Open the Brush Studio by tapping the brush again.
- Adjust the "Streamline" slider under the Stabilization menu.
- Test your stroke on the drawing pad to ensure it feels stable.
How to use layers for clean line art
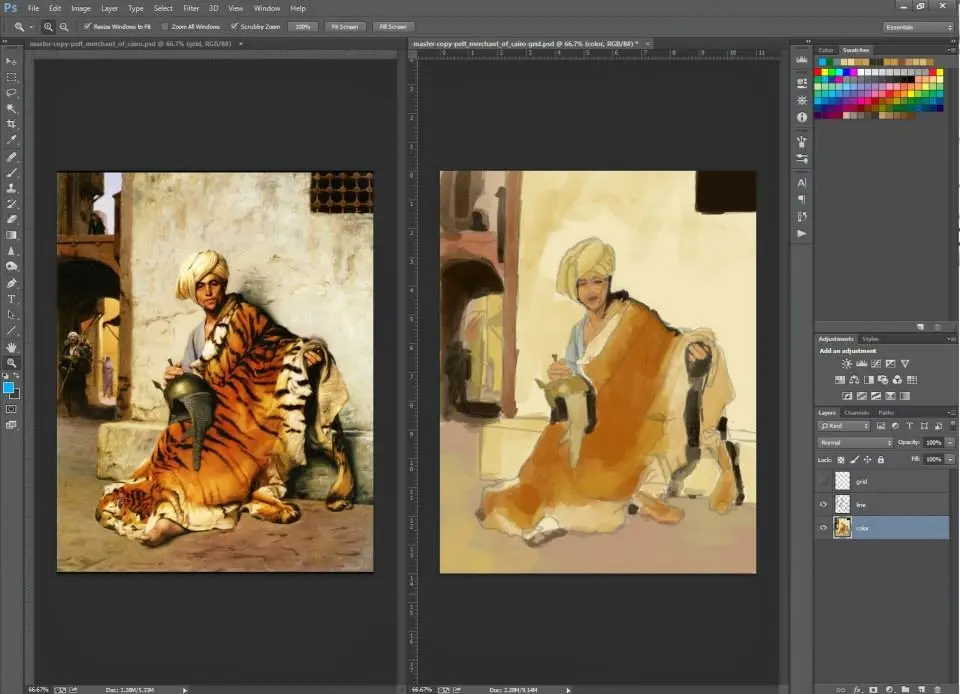
Working on separate layers is the most critical habit for digital illustrators. You should always keep your sketch on a bottom layer with reduced opacity and create a new layer above it for your final lines. This separation allows you to erase mistakes without damaging your underlying sketch or color work. If you are working on a complex piece, divide your line art into multiple layers, such as "Foreground," "Character," and "Background."
When you are ready to ink, set your sketch layer’s opacity to approximately 20% to 30%. This makes your final lines stand out clearly against the faint guide. If you find your lines are not connecting perfectly, you can use the "Reference" feature. By tapping your sketch layer and selecting "Reference," you can use the ColorDrop tool on a separate layer to fill areas without needing to close every single line manually.
- Keep your sketch layer at low opacity.
- Always create a new layer for the final ink.
- Use the "Reference" feature to manage colors efficiently.
- Name your layers to maintain an organized workspace.
How to draw perfect shapes and lines
Procreate includes a powerful feature called QuickShape that automatically corrects hand-drawn lines into perfect geometric forms. To use this, draw a line, circle, or square and hold your stylus on the screen for a second without lifting it. The software will snap your stroke into a clean, geometric shape. You can then tap "Edit Shape" at the top of the screen to further refine the points and dimensions.
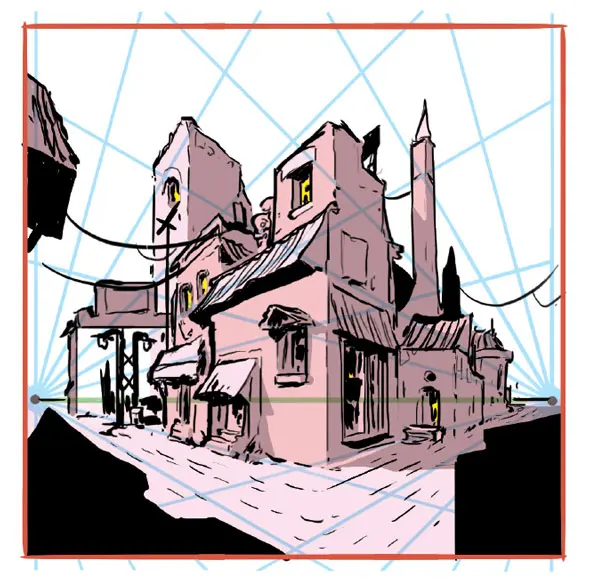
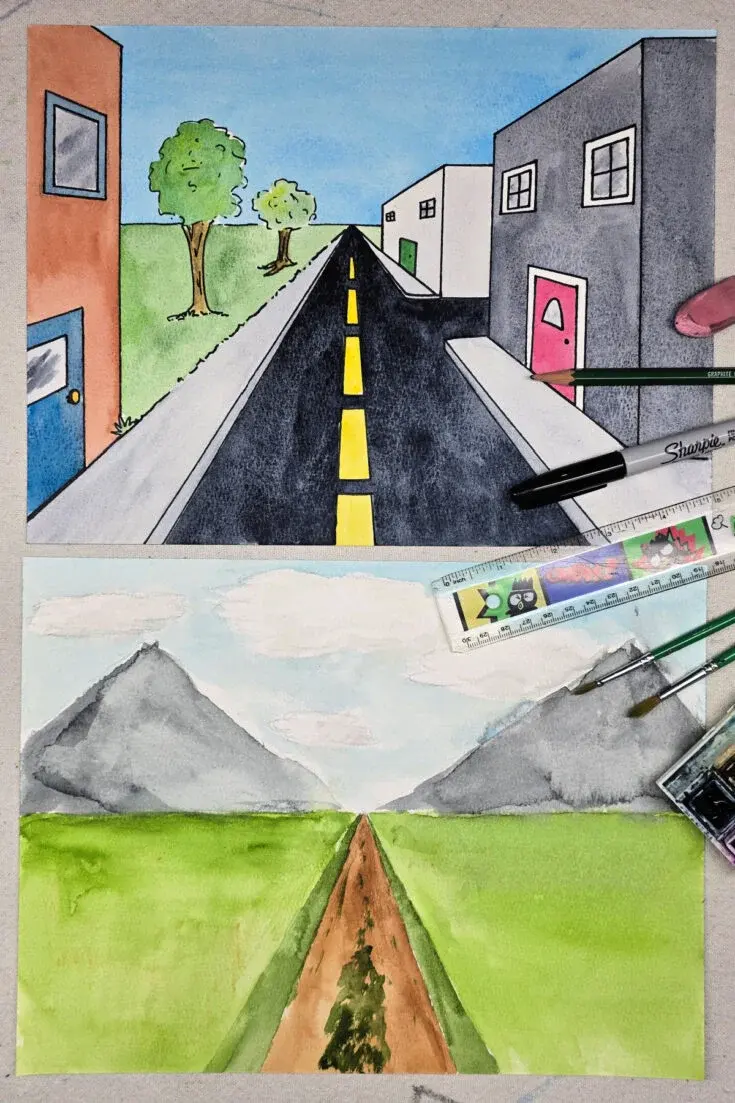
This tool is invaluable for creating consistent borders or architectural elements. If you are drawing a straight line, hold your stylus down until the line snaps to a perfectly horizontal, vertical, or diagonal axis. You can also use the "Drawing Guide" under the Actions menu to overlay a grid or perspective guide. These guides act as a visual map, helping you maintain accurate proportions and clean angles throughout your entire composition.
How to fix common mistakes when inking
One of the most frequent mistakes beginners make is using a brush that is too large or too small for the canvas size. If your canvas resolution is low, lines may appear pixelated or jagged when you zoom in. Always ensure your canvas is at least 300 DPI. If you notice your lines look "fuzzy," check your brush opacity settings; they should be set to 100% to ensure a solid, crisp edge.
Another common error is failing to use the "Undo" gesture frequently. In Procreate, you can tap the canvas with two fingers to undo your last stroke instantly. Do not be afraid to draw the same line ten times until it feels right. Additionally, avoid "chicken scratching"—the habit of drawing many short, overlapping strokes to create one line. Instead, practice long, confident, singular strokes, even if they take several attempts to get right.
- Use the two-finger tap gesture to undo mistakes.
- Avoid short, choppy strokes in favor of long, fluid motions.
- Check that your canvas DPI is set to 300 for high-quality printing.
- Ensure brush opacity is set to 100% for solid lines.
How to refine and finalize your line art
Once your lines are complete, you may want to adjust their weight to create visual hierarchy. Thicker lines can be used for the outer silhouette of an object, while thinner lines should be reserved for internal details. You can achieve this by manually adjusting the brush size or using the "Liquify" tool to subtly push and pull lines into better positions. This tool is excellent for fixing minor anatomical errors or alignment issues.
Finally, consider using a Clipping Mask if you want to add color to your lines without affecting the transparent background. Create a new layer above your line art, tap it, and select "Clipping Mask." Any color you add on this new layer will only appear within the boundaries of the lines you have drawn. This technique allows you to add highlights or gradients to your line art, giving it a professional, polished finish that enhances the overall depth of your artwork.
Key facts
- Use the "Technical Pen" or "Studio Pen" under the Inking brush library for consistent, clean lines.
- Enable "Streamline" in the brush settings to automatically smooth out shaky hand movements.
- Create a new layer for every major element to make erasing and color filling easier.
- Utilize the "Drawing Guide" tool to set up grids or perspective lines for architectural precision.
- Hold your stylus at the end of a stroke to trigger "QuickShape," which snaps messy lines into perfect circles or straight paths.
- Adjust the "Stabilization" setting in the brush menu to increase resistance, which helps maintain steady, fluid curves.
The bottom line
Creating clean line art in Procreate centers on mastering brush stabilization and organized layer management. By utilizing the Streamline feature and QuickShape tools, artists can produce professional-grade illustrations with ease. Always work on a high-resolution canvas to prevent pixelation, and keep your line work on separate layers to simplify the coloring process. Consistent practice with these digital tools will significantly improve the fluidity and precision of your drawings.
People also ask
How do I make my lines look perfectly smooth?
Increase the Streamline percentage in the brush settings to dampen hand tremors. Higher values make the brush stroke follow your movement with a slight delay, resulting in professional, fluid curves.
Should I use a vector or raster brush for line art?
Procreate is a raster-based program, meaning it uses pixels rather than mathematical vectors. You should use high-resolution canvases to ensure your lines remain sharp when you zoom in or resize your work.
What is the best way to color inside my line art?
Use the ColorDrop feature by dragging a color swatch from the top right corner into a closed shape. Ensure your line art layer is set as a "Reference" layer so the paint fills correctly regardless of which layer you are currently working on.
How do I fix lines that do not connect properly?
Use the Eraser tool with the same brush settings as your pen to trim overlapping edges. Alternatively, zoom in and manually draw small extensions to close gaps before using the fill tool.
Why do my lines look pixelated?
Pixelation usually occurs because your canvas resolution is too low or your DPI is set below 300. Always start a new project with a canvas size of at least 3000 by 4000 pixels to maintain crisp detail.
Can I change the line weight after I have finished drawing?
Since Procreate is raster-based, you cannot easily change the weight of a finished line without redrawing it. Use the Selection tool to transform or scale specific parts, but be aware that resizing can degrade the image quality.
This answer was created with the help of AI research tools and reference sources. Spotted an error? Let us know — we correct mistakes quickly. See our editorial policy.