How do you draw on an iPad with Procreate?
Short answer
Drawing on an iPad with Procreate requires an Apple Pencil and the Procreate app installed from the App Store. You create a new canvas, select a brush from the library, and use touch gestures or the stylus to apply strokes. Layers, blending modes, and color palettes allow for professional-grade digital illustration.
On this page
How to get started with Procreate
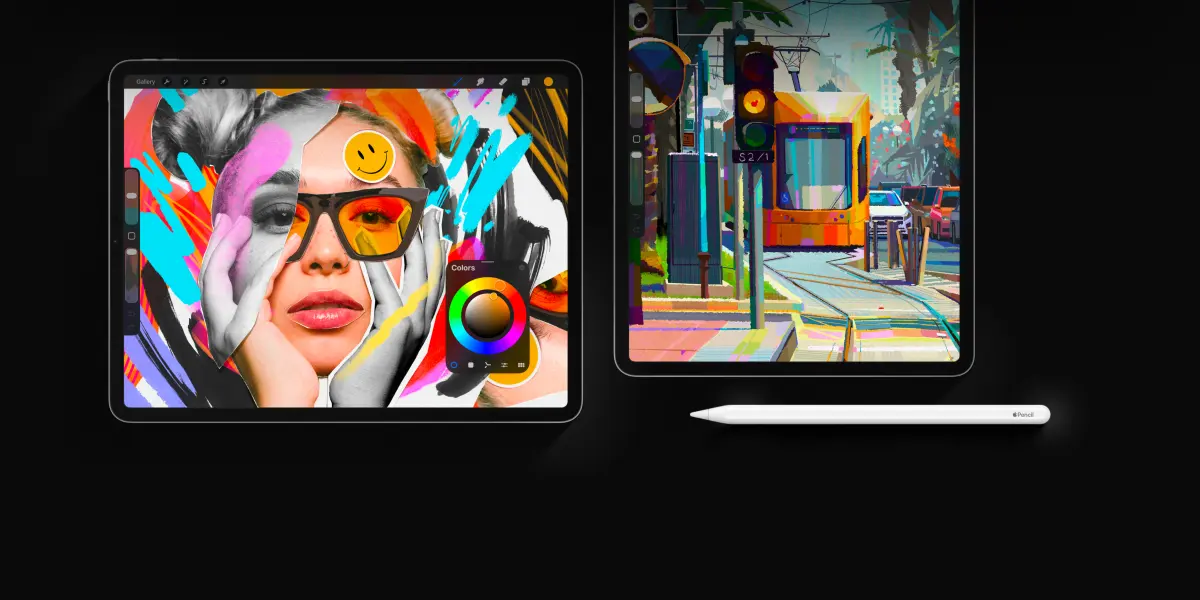
To begin drawing, open Procreate and tap the plus (+) icon in the top right corner of the Gallery screen. Select a canvas size from the presets or create a custom size based on your intended output, such as print or digital display. Once the canvas opens, you will see a toolbar at the top and a brush library icon on the right.
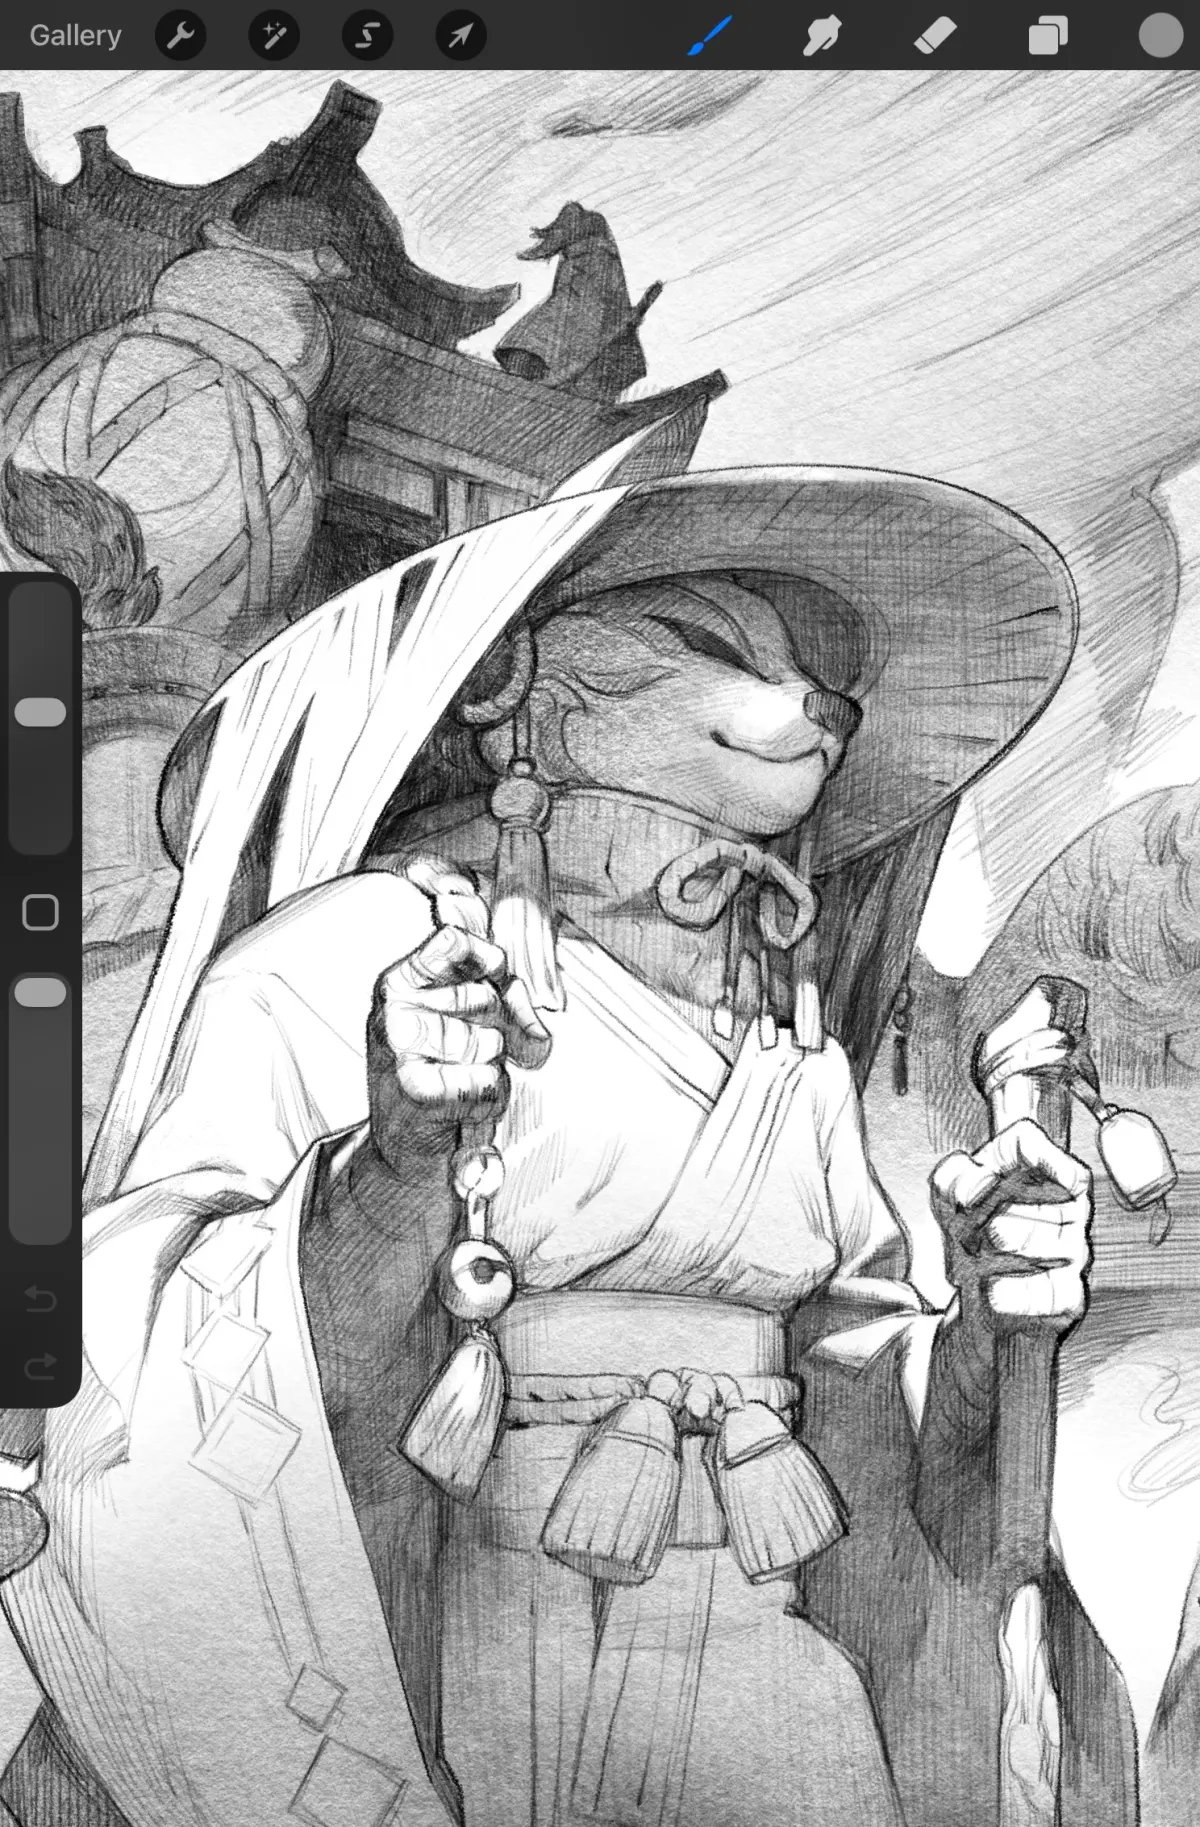
Familiarize yourself with the interface by exploring the top menu. The brush icon opens the library, the smudge tool blends colors, and the eraser removes strokes. The layers icon, represented by two overlapping squares, is essential for managing your artwork. Using layers allows you to draw elements independently, making it easier to edit specific parts of your composition without affecting the entire piece.
- Open the app and tap the plus icon to create a new canvas.
- Select a brush from the library menu in the top right.
- Choose a color from the color circle in the top right corner.
- Use your Apple Pencil to draw directly on the screen.
- Tap the layers icon to add or manage your drawing surfaces.
How to use layers and blending modes
Layers are the foundation of digital painting in Procreate. By separating your sketch, line art, and colors onto different layers, you maintain total control over your workflow. To add a new layer, tap the plus icon in the layers panel. You can adjust the opacity of any layer by tapping the letter next to the checkbox, which helps when tracing or blending colors.
Blending modes change how a layer interacts with the layers beneath it. For example, the "Multiply" mode is excellent for adding shadows, while "Screen" or "Add" works well for highlights and lighting effects. Experimenting with these modes can drastically improve the depth of your illustrations. Always remember to name your layers if you are working on complex projects to avoid confusion during the editing process.
- Multiply: Darkens the image, perfect for shadows.
- Screen: Lightens the image, ideal for glow effects.
- Overlay: Increases contrast by combining Multiply and Screen.
- Normal: The default setting with no special blending interaction.
Best brushes for beginners
The Procreate brush library contains hundreds of options categorized by style, such as Sketching, Inking, and Painting. Beginners should start with the "6B Pencil" or "Technical Pen" to practice line control. These brushes respond to the pressure and tilt of your Apple Pencil, mimicking traditional media. Testing different brushes helps you discover which texture suits your personal artistic style.
If you find the default brushes insufficient, you can adjust their settings by tapping on a brush name. Within the brush studio, you can modify the grain, shape, and jitter to create custom tools. Many artists also download third-party brush sets to expand their capabilities. However, avoid cluttering your library with too many options early on, as mastering the basic brushes provides a stronger foundation for advanced techniques.
How to use gestures for faster workflow
Procreate relies heavily on intuitive touch gestures to speed up your drawing process. A two-finger tap on the canvas acts as an "Undo" command, while a three-finger tap performs a "Redo." These shortcuts are vital for correcting mistakes quickly without navigating through menus. You can also pinch to zoom in or out and rotate the canvas with two fingers to find the most comfortable drawing angle.
Another useful gesture is the three-finger swipe, which clears a layer or cuts, copies, and pastes selections. You can customize these gestures in the "Gesture Controls" menu found within the Actions panel. Spending time to memorize these shortcuts will make your workflow significantly more efficient. By minimizing menu navigation, you keep your focus on the canvas, allowing for a more natural and uninterrupted creative experience.
Common mistakes when using Procreate
One frequent error beginners make is drawing everything on a single layer. This makes it impossible to edit specific elements, such as changing a background color without affecting the foreground characters. Always create a new layer for each major component of your illustration. Additionally, many users forget to regularly back up their work. Export your files as Procreate files (.procreate) to maintain all layer data, or as JPEGs for sharing.
Another mistake is ignoring the canvas resolution. If you intend to print your work, ensure your canvas is set to at least 300 DPI (dots per inch) to avoid pixelation. Working on a canvas that is too small limits your ability to add fine detail. Finally, avoid overusing complex blending modes or heavy textures early on, as these can make an image look muddy. Focus on mastering solid line work and color theory before experimenting with advanced digital effects.
Key facts
- Procreate was released by Savage Interactive in 2011 and is optimized exclusively for iPadOS.
- The app utilizes a layer-based system, allowing users to edit individual elements without affecting the entire canvas.
- Pressure sensitivity is calibrated specifically for the Apple Pencil, enabling variable line weight based on physical force.
- Gestures like a two-finger tap undo an action, while a three-finger tap performs a redo.
- You can export your artwork in multiple formats, including PSD, PDF, JPEG, PNG, and TIFF.
- Procreate supports high-resolution canvases, with the maximum size determined by the specific iPad model's RAM capacity.
The bottom line
Procreate offers a powerful, intuitive environment for digital artists by combining professional-grade tools with the portability of the iPad. By mastering essential gestures, layer management, and brush settings, you can streamline your creative process significantly. Whether you are a beginner or an experienced illustrator, focusing on consistent practice and exploring the app’s advanced features will help you translate your artistic vision into high-quality digital work efficiently.
People also ask
Can I use a third-party stylus with Procreate?
While Procreate supports some third-party styluses, the Apple Pencil is the only tool that provides full pressure sensitivity and tilt support. Other styluses may lack the precision required for professional-grade digital illustration.
How do I change the brush size and opacity?
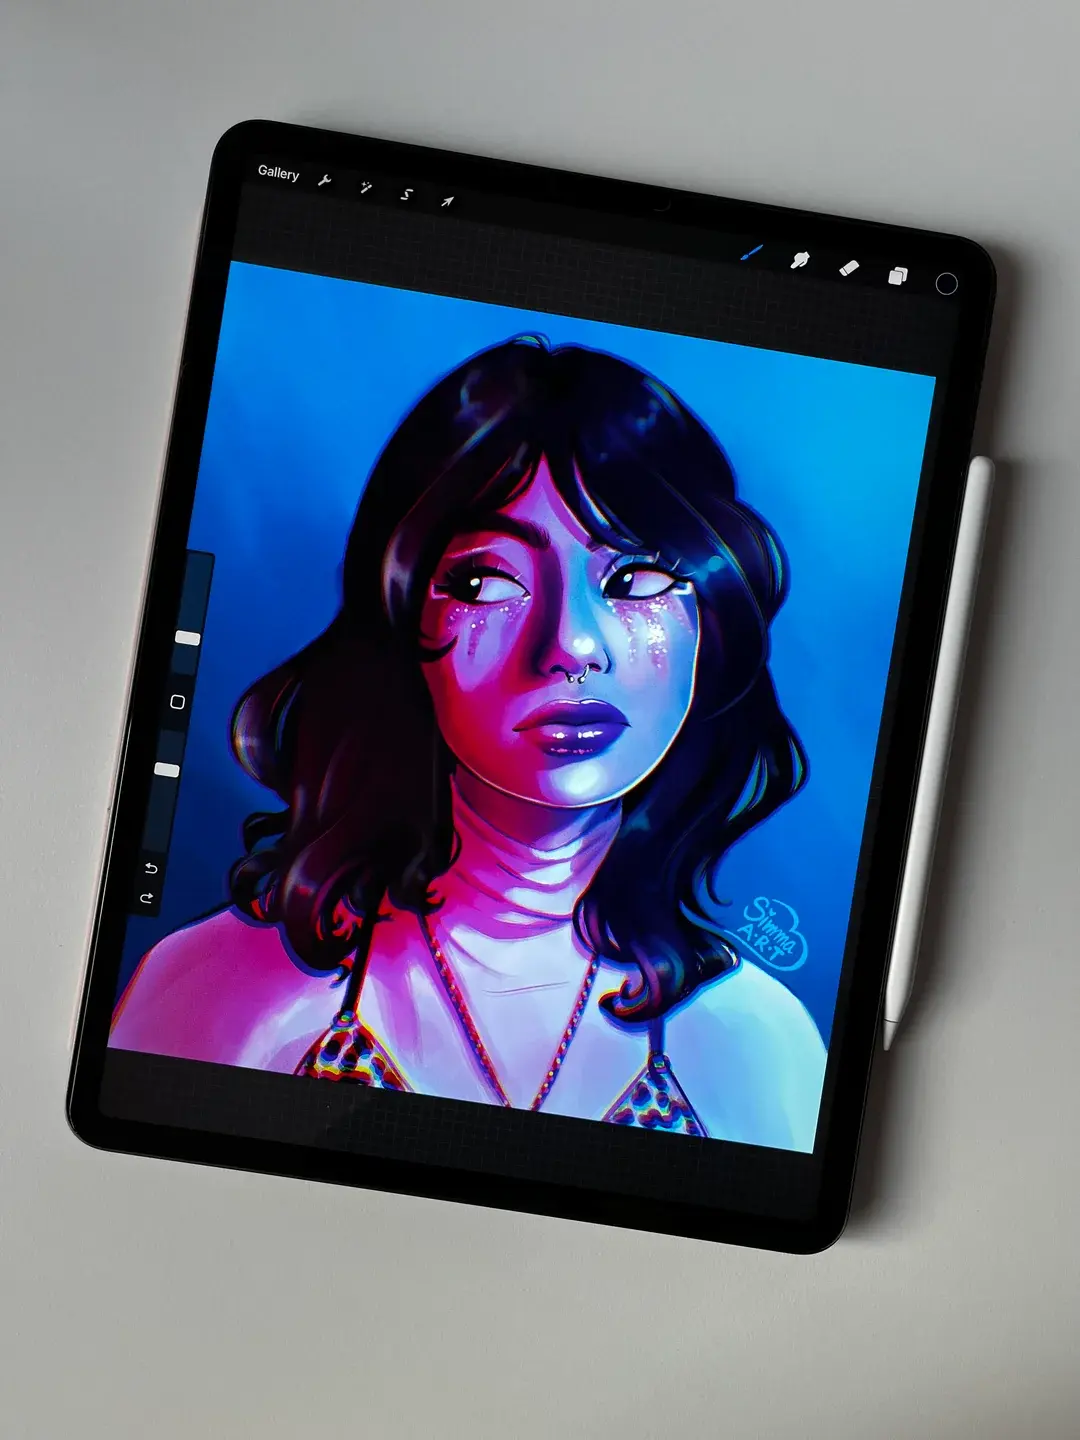
Use the two sliders located on the left side of the interface to adjust size and opacity. You can also tap these sliders to save specific settings as presets for quick access during your workflow.
Does Procreate support Photoshop files?
Yes, Procreate can import and export .PSD files, which preserves your layer structure. This feature makes it easy to transition between your iPad and desktop software like Adobe Photoshop.
How do I create a new canvas?
Tap the plus icon in the top-right corner of the Gallery screen to open the New Canvas menu. You can select from preset sizes or input custom dimensions, DPI, and color profiles to suit your project.
Can I record my drawing process?
Procreate features a built-in Time-lapse Recording tool that captures every stroke you make. You can enable this in the Canvas settings and export the finished video to share on social media.
How do I use clipping masks?
Create a new layer above your base layer, tap the layer thumbnail, and select Clipping Mask from the menu. This ensures that any marks made on the top layer are only visible within the boundaries of the layer below.
This answer was created with the help of AI research tools and reference sources. Spotted an error? Let us know — we correct mistakes quickly. See our editorial policy.