How do you blend colored pencils?
Short answer
Blending colored pencils involves layering pigments to create smooth transitions, gradients, or new colors. You can achieve this using pressure control, solvent-based blenders, or colorless wax pencils. By applying light layers and gradually increasing pressure, you fill the paper’s tooth, resulting in a cohesive, professional appearance that eliminates visible stroke marks.
On this page
How to blend colored pencils with pressure
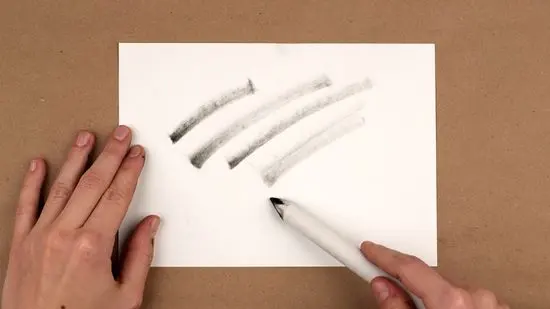
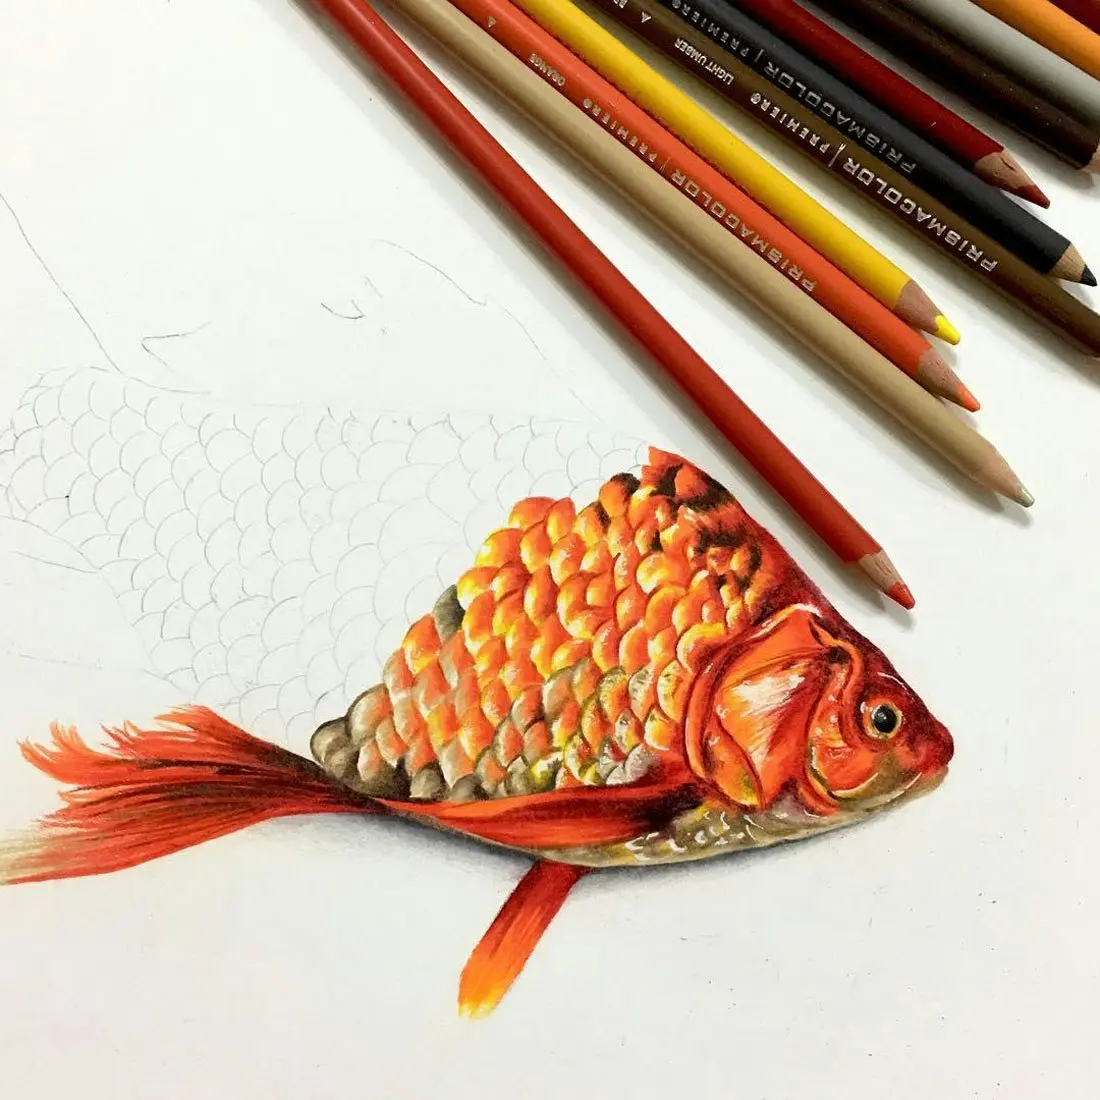
Pressure control is the foundational technique for blending colored pencils. By varying how hard you press, you dictate how much pigment adheres to the paper’s texture, known as the "tooth." Start with a light touch to establish your base color, then gradually increase pressure as you add subsequent layers. This process fills the gaps in the paper, creating a solid, uniform appearance.
To master this technique, follow these steps:
- Apply a light, even layer of your first color across the desired area.
- Introduce a second color, overlapping the first, using slightly more pressure.
- Return to the first color or use a lighter shade to buff the transition zone.
- Continue layering until the paper grain is no longer visible and the colors appear unified.
Avoid pressing too hard during the initial stages, as this "burnishes" the paper prematurely. Once the paper’s tooth is completely filled with wax or oil, it can no longer accept additional pigment, making further blending impossible.
What are the best blending tools for beginners
For those seeking a smoother finish without relying solely on pressure, specialized blending tools are highly effective. A colorless blender pencil, typically made of wax or oil binder without pigment, acts as a lubricant that moves existing color around the page. Alternatively, blending stumps—tightly rolled paper sticks—can soften edges and pull pigment into smaller, tighter areas where a pencil tip might be too imprecise.
Consider these common blending tools:
- Colorless blender pencils: Best for softening transitions and burnishing.
- Paper blending stumps (tortillons): Ideal for small details and subtle gradients.
- Soft white colored pencils: Useful for lightening colors and creating a creamy, blended look.
- Kneaded erasers: Excellent for lifting excess pigment to create highlights or correct mistakes.
Using these tools allows you to achieve professional results without needing to master complex pressure techniques immediately. Experiment with each to see which provides the texture and finish you prefer for your specific artistic style.
How to use solvents for smooth blending
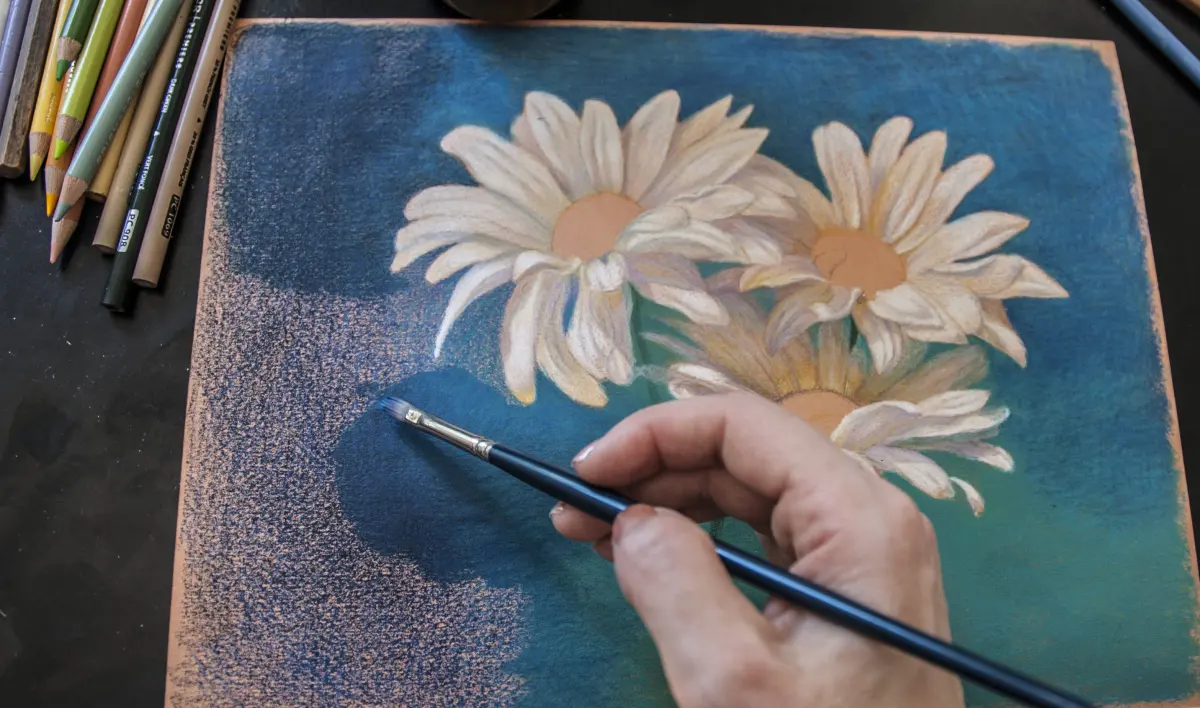
Solvent-based blending is the preferred method for artists who want a painterly, watercolor-like effect. By applying a small amount of odorless mineral spirits or a dedicated pencil blender solution, you dissolve the wax or oil binder in the pencil lead. This turns the pigment into a liquid state, allowing it to spread evenly across the paper surface.
When using solvents, follow this careful procedure:
- Apply your colored pencil layers as usual, keeping the application relatively heavy.
- Dip a small, soft-bristled paintbrush into a tiny amount of solvent.
- Gently brush over the pencil marks, working from the lightest color to the darkest to prevent muddying.
- Allow the solvent to dry completely before adding more pencil layers on top.
Always work in a well-ventilated area when using solvents. Because they can damage thin paper, use heavy-duty, acid-free drawing paper or Bristol board that can withstand moisture without buckling or tearing.
Why streaks appear in colored pencil drawings
Streaks often occur when the pencil application is inconsistent or when the paper’s tooth is not sufficiently filled. If you use a heavy hand too early, you create uneven ridges of pigment that are difficult to smooth out later. Another common cause is using a pencil that is too sharp for the area you are covering, which prevents the pigment from spreading into the paper’s crevices.
To minimize streaking, try these adjustments:
- Use a circular motion rather than straight back-and-forth strokes to distribute pigment more evenly.
- Keep your pencils sharpened to a medium point to maintain control while covering surface area.
- Rotate your pencil frequently to ensure the pigment is applied from all sides of the tip.
- Work in small, controlled sections rather than trying to blend a large area all at once.
If streaks persist, check the quality of your paper. Surfaces that are too smooth or too slick may not hold enough pigment to allow for effective blending, resulting in a patchy appearance.
Common mistakes when blending colored pencils
The most frequent mistake artists make is skipping the layering process. Many beginners attempt to blend two colors by pressing hard immediately, which creates a harsh, muddy line rather than a smooth transition. Another error is neglecting the order of colors; always move from light to dark to ensure the lighter pigment remains vibrant and the darker color does not overwhelm the composition.
Avoid these pitfalls to improve your technique:
- Using low-quality pencils that have a hard, scratchy binder that resists blending.
- Over-blending, which results in a dull, muted, or "muddy" appearance on the page.
- Forgetting to clean your blending tools, which can transfer unwanted pigment to your current work.
- Ignoring the direction of your strokes, which can create visible patterns that detract from the final image.
By taking your time and building colors slowly, you maintain control over the final outcome. Patience is the most important tool in your kit, ensuring your transitions remain crisp and your colors stay bright and intentional.
Key facts
- Wax-based pencils are generally softer and easier to blend than oil-based or hard-lead pencils.
- A colorless blender pencil acts as a wax-based tool that pushes pigments together without adding new color.
- Using a light touch and layering multiple thin coats creates a smoother transition than pressing hard once.
- Solvent-based blending using odorless mineral spirits can dissolve wax binders to create a painterly, watercolor-like finish.
- Burnishing involves applying heavy pressure with a light-colored pencil to fill the "tooth" of the paper completely.
- Using high-quality, heavy-weight paper with a slight texture helps hold multiple layers of pigment for better blending.
The bottom line
Mastering colored pencil blending requires patience and the right tools. Start with light pressure to build layers, then use a colorless blender or mineral spirits to fuse pigments together seamlessly. Avoid the common mistake of pressing too hard early on, as this fills the paper's tooth and prevents further layering. By controlling your pressure and choosing compatible materials, you can achieve professional-looking gradients and rich, vibrant color transitions.
People also ask
Can I use baby oil to blend colored pencils?
Yes, baby oil is a common household alternative to professional blending solvents. Apply a tiny amount to a cotton swab or brush and gently rub it over your colored areas to liquefy the wax.
Why are my colors looking muddy when I blend?
Muddy colors usually occur when you mix too many complementary colors, such as red and green, or press too hard. Stick to blending harmonious colors and keep your layers light to maintain vibrancy.
Does the type of paper matter for blending?
Paper texture, or "tooth," is critical because it grips the pigment particles. Smooth paper is better for fine detail, while textured paper holds more layers for deep, saturated blending effects.
Should I blend before or after adding details?
You should blend your base layers first to establish smooth transitions. Save your sharpest details and darkest highlights for the final layer so they remain crisp and do not get smeared.
How do I fix a mistake if I blended too much?
If you have over-blended, you can often lift excess pigment using a kneaded eraser. Gently dab the area to pick up loose wax without damaging the surface of the paper.
Is there a difference between wax and oil-based pencils?
Wax-based pencils are softer and blend more easily but are prone to "wax bloom," a cloudy residue. Oil-based pencils are harder, hold a sharper point, and are less likely to bloom.
This answer was created with the help of AI research tools and reference sources. Spotted an error? Let us know — we correct mistakes quickly. See our editorial policy.