How do you use a blending stump?
Short answer
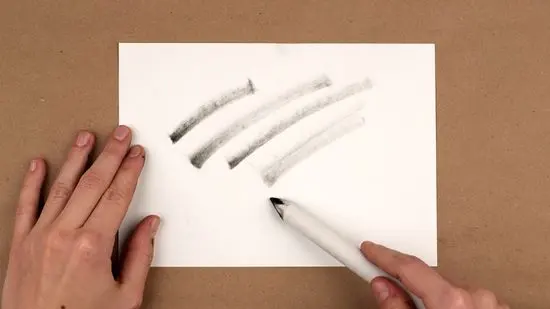
A blending stump is a tightly rolled paper tool used to smudge and soften graphite, charcoal, or pastel marks on paper. To use one, gently rub the tip over your drawing to move pigment, creating smooth gradients or shadows. Keep the tip clean to maintain precision and prevent muddying your work.
On this page
What is a blending stump used for?
A blending stump, also known as a tortillon, is an essential tool for artists working in dry media like graphite, charcoal, or colored pencils. Its primary function is to manipulate pigment on the surface of the paper, allowing you to transition from hard lines to soft, atmospheric gradients. Unlike using your finger, which can transfer natural oils from your skin and create uneven patches, the stump provides a controlled, consistent application of pressure.
The tool is constructed from tightly wound paper, resulting in a firm, pointed tip that can be sharpened with sandpaper. This density allows it to pick up loose particles of graphite or charcoal and push them into the "tooth" of the paper. By using a blending stump, you can achieve a professional finish in portraiture, still life, or landscape drawings where seamless shading is required. It effectively bridges the gap between distinct pencil strokes and solid, uniform tones.
How to use a blending stump effectively
Mastering the blending stump requires a light touch and an understanding of how much pigment is currently on the tip. You should approach the process by gradually building up your values rather than trying to achieve a dark tone in a single pass.
- Apply your graphite or charcoal to the paper using your pencil or stick.
- Hold the blending stump like a pencil, using a light, circular, or back-and-forth motion to drag the pigment across the area.
- If you need more pigment, rub the tip of the stump against a scrap piece of paper that has been heavily shaded with your medium.
- Work from the darkest areas toward the lighter areas to maintain control over the gradient.
- Use the side of the stump for broad, soft shading and the pointed tip for tight, detailed corners or edges.
How to clean a blending stump
Over time, a blending stump becomes saturated with pigment, which can lead to unwanted streaking or muddy colors. Cleaning the tool is a straightforward process that restores its utility and prevents the transfer of dark graphite into areas where you intended to keep a lighter value. You do not need to discard the tool once it becomes dirty; instead, you can resurface it to expose fresh, clean paper.
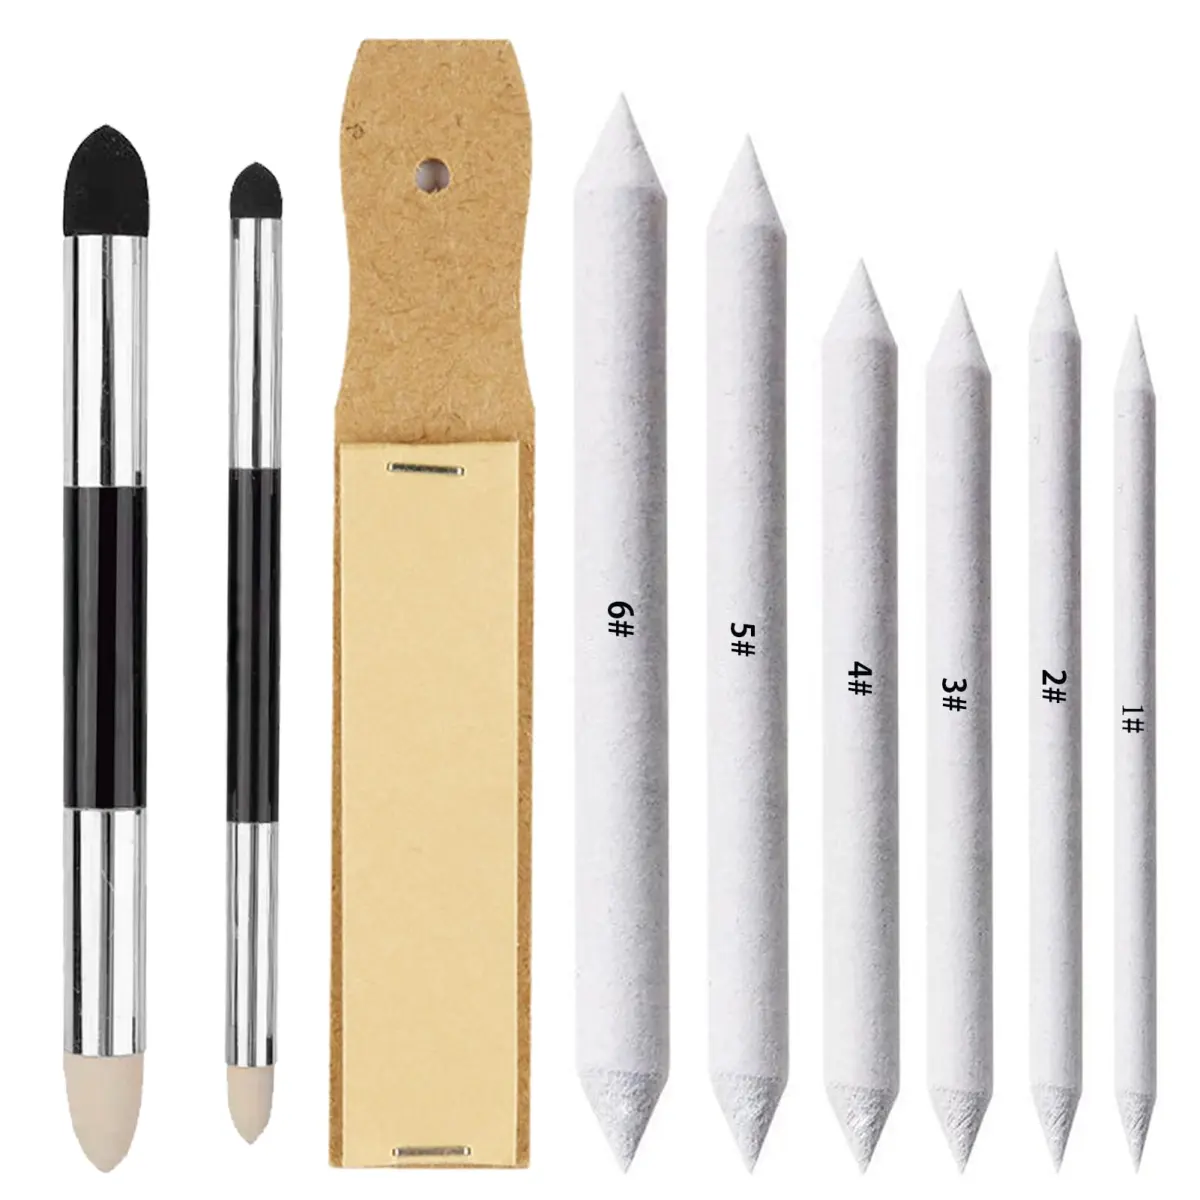
- Use a medium-grit sandpaper block or a piece of sandpaper taped to a flat surface.
- Gently rub the tip of the stump against the sandpaper in a circular motion while rotating the tool.
- Continue until the outer layer of dirty paper is removed and the tip is sharp again.
- If the stump becomes too soft or frayed, you can peel away the outer layer of paper to reveal a new, tighter section underneath.
- Some artists prefer to keep multiple stumps: one for dark tones, one for mid-tones, and one kept relatively clean for highlights.
Best blending stumps for beginners
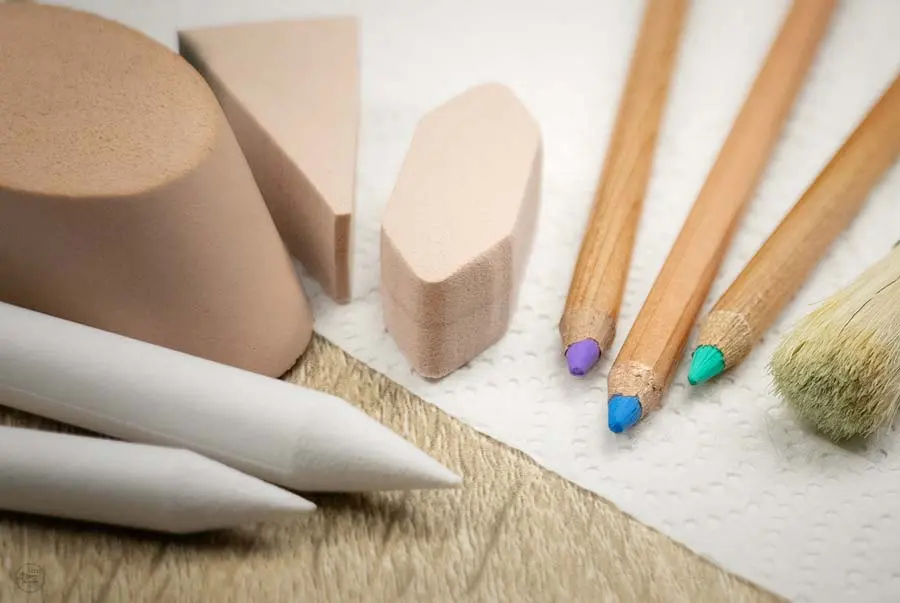
For those just starting, a set containing various sizes is the most practical investment. Blending stumps typically range from thin (around 3mm) to thick (over 10mm). Thin stumps are ideal for small details like the iris of an eye or the folds in fabric, while larger stumps are necessary for covering expansive backgrounds or soft shadows on skin. Look for sets that include a sandpaper sharpener, as this is the most common accessory needed to maintain the tool's effectiveness.
Materials vary slightly, but most high-quality stumps are made from acid-free, soft paper that will not damage the surface of your drawing paper. Beginners should avoid using stumps on very smooth, hot-pressed paper, as the tool can sometimes leave visible streaks if there is not enough tooth to hold the pigment. Instead, practice on medium-tooth drawing paper to see how the stump interacts with the texture. As you gain experience, you will learn which sizes best suit your specific drawing style and pressure preferences.
Common mistakes when using a blending stump
One of the most frequent errors is applying too much pressure, which can compress the paper fibers and create a shiny, burnished surface that refuses to accept more graphite. This makes it impossible to layer further detail or darken the area later. Always remember that the stump is meant to move existing pigment rather than force it into the paper. Another common mistake is neglecting to clean the stump, which inevitably leads to "dirty" drawings where light areas become unintentionally greyed by residual charcoal or graphite trapped in the paper fibers.
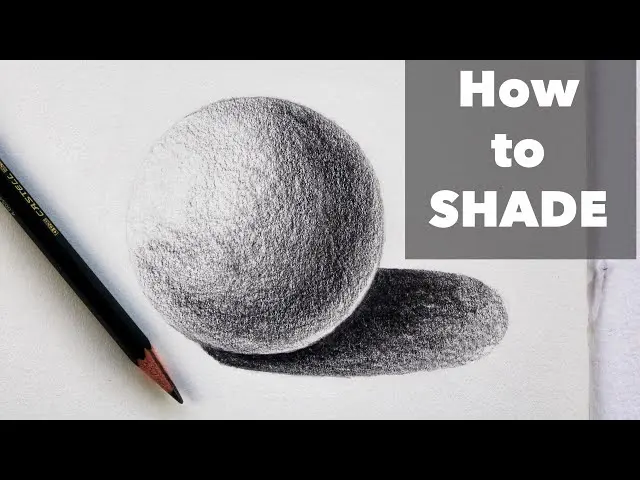
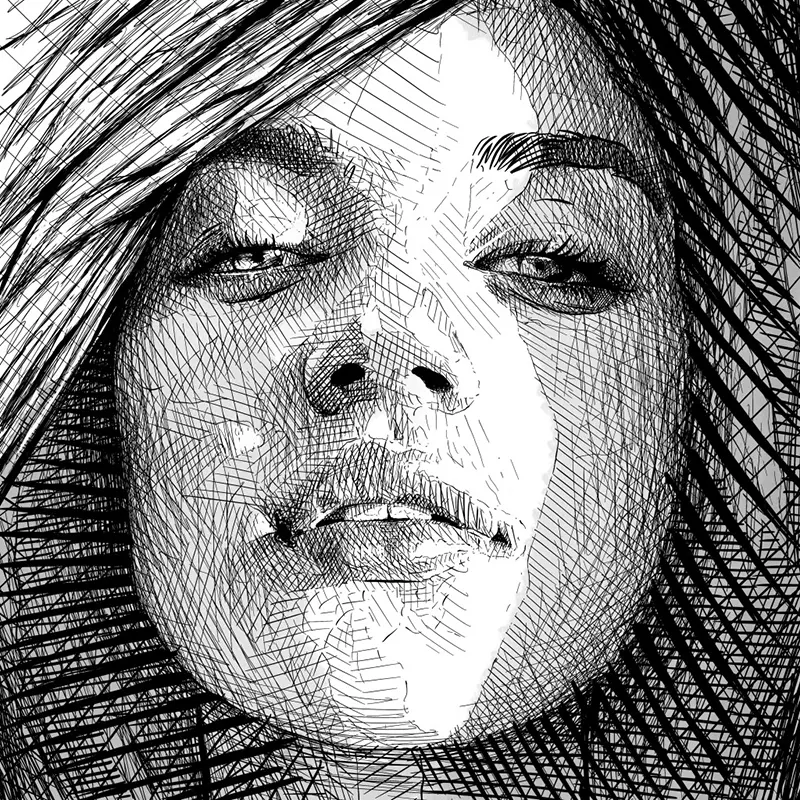
Furthermore, beginners often rely too heavily on the stump, using it as a substitute for proper shading technique. It is best to use the stump to refine and smooth your work after you have already established your values through cross-hatching or circular pencil strokes. If you find that your drawings look flat or lifeless, try to leave some of your original pencil marks visible rather than blending every single inch of the paper. Balancing the soft, blended areas with crisp, sharp lines will add depth and visual interest to your final composition.
Key facts
- A blending stump is a tightly rolled stick of paper used to smudge, soften, and transition graphite or charcoal marks on paper.
- Unlike a finger, which deposits natural skin oils that can create permanent, greasy smudges, a stump keeps your artwork clean.
- Hold the stump like a pencil, using the pointed tip for precise, small-scale blending and the side for larger, broader areas.
- To clean a dirty stump, rub the tip against a piece of fine-grit sandpaper or a sanding block to remove accumulated pigment.
- Use a light, circular motion to blend; applying too much pressure can tear the paper or create unintended dark streaks.
- You can use different stumps for different values, keeping one dedicated to light tones and another for dark, heavy shading.
The bottom line
The blending stump is an essential tool for any artist working in charcoal or graphite. By mastering the light, circular pressure required to move pigment, you can achieve smooth gradients and professional-looking transitions that fingers simply cannot replicate. Remember to keep your stumps clean with sandpaper and dedicate specific tools to different tonal values to maintain the clarity and brilliance of your finished drawings.
People also ask
Can I wash my blending stumps with water?
No, you should not use water to clean them because moisture will cause the compressed paper to soften, expand, and lose its structural integrity. Always rely on sandpaper or an abrasive block to remove excess graphite.
What is the difference between a blending stump and a tortillon?
A blending stump is solid and pointed at both ends, while a tortillon is hollow, lighter, and typically features a steeper, more fragile point. Stumps are generally more durable and better suited for heavy-duty blending.
How do I know when a blending stump is completely worn out?
A stump is worn out when it becomes too soft, frayed, or the tip no longer holds a precise shape despite sanding. Once the paper layers begin to unravel or the core becomes mushy, it is time to replace it.
Should I use a blending stump for colored pencils?
You can use one for colored pencils, but be aware that wax-based pigments can clog the paper fibers of the stump quickly. It is best to use a separate stump for each color to avoid muddying your drawings.
Can I make my own blending stumps at home?
Yes, you can create a makeshift stump by tightly rolling a piece of smooth paper into a cone shape and securing the end with tape. While they may not be as dense as professional versions, they function similarly for basic smudging.
Does the texture of the drawing paper affect how the stump works?
Yes, rough or "toothier" paper will grab more pigment from the stump, making blending more intense. Smoother paper allows for subtle, delicate transitions but may require a lighter touch to avoid over-blending.
This answer was created with the help of AI research tools and reference sources. Spotted an error? Let us know — we correct mistakes quickly. See our editorial policy.