What is cross hatching in drawing?
Short answer
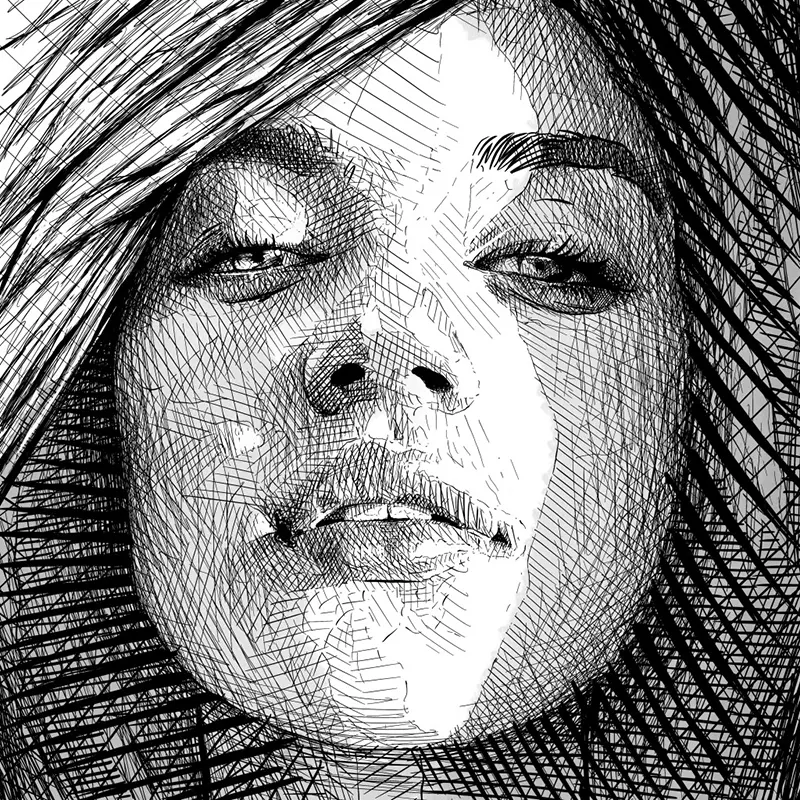
Cross-hatching is a drawing technique used to create shading, texture, and depth by layering sets of parallel lines that intersect. By varying the density, spacing, and angle of these overlapping strokes, artists can manipulate the perceived value of a surface, transitioning from light highlights to deep, rich shadows without blending.
On this page
What is cross-hatching used for?
Cross-hatching serves as a fundamental method for rendering three-dimensional volume on a two-dimensional surface. Unlike smudging or blending with charcoal, which relies on soft transitions, cross-hatching uses distinct, deliberate marks to build tone. This technique allows artists to define the contours of an object by following its form with the direction of the lines. It is particularly effective for creating high-contrast images where clear, crisp edges are desired.
Beyond basic shading, the technique is essential for establishing texture and surface quality. By adjusting the weight of the lines, an artist can suggest the roughness of stone, the softness of fabric, or the sheen of metal. It is a staple in pen-and-ink illustration, printmaking, and etching, where traditional gray-scale washes are difficult to achieve. The visual vibration created by intersecting lines adds a dynamic energy to a drawing that smooth shading often lacks.
How to cross-hatch for beginners
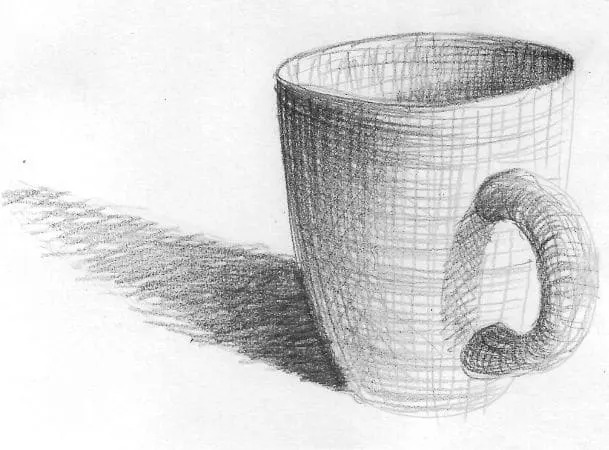
To begin cross-hatching, you must first master the basic hatch. A single set of parallel lines creates a light gray tone; the closer the lines are placed, the darker the area appears. Once you have a base layer, you rotate your paper or your hand to draw a second set of lines across the first at an angle. This intersection creates a darker value, effectively trapping white space between the strokes to simulate shadow.
- Start by drawing a light set of parallel lines across a small square.
- Rotate your drawing surface or your hand to create a second layer of lines at a 45-degree angle.
- Observe how the overlapping areas appear darker than the single-layered sections.
- Add a third or fourth layer of lines at different angles to achieve the deepest, darkest shadows.
- Practice varying the pressure of your pen to change the thickness of the lines, which adds further depth.
Best tools for cross-hatching
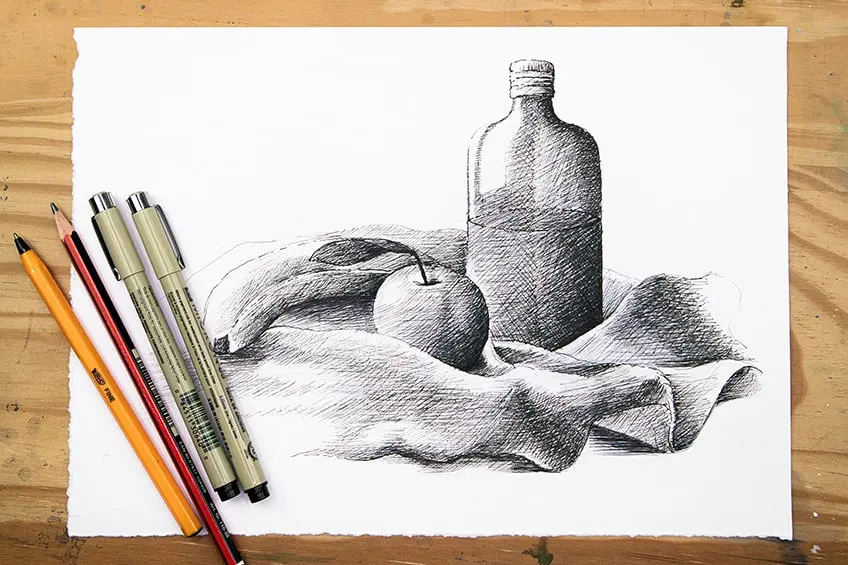
The choice of tool significantly impacts the success of your cross-hatching. Fine-liner pens, such as technical pens with fixed-width nibs, are the industry standard because they provide consistent line weight. These allow for precise control, which is necessary when building up dense mesh patterns in small areas. Dip pens with flexible nibs are also popular, as they allow the artist to vary line thickness through pressure, adding a more organic, calligraphic feel to the work.
When selecting paper, look for a smooth, high-quality surface. Textured or "toothy" paper can cause your pen to skip or bleed, which ruins the clean, crisp look required for effective cross-hatching. Bristol board or hot-pressed watercolor paper are excellent choices because they withstand repeated layering without tearing or fraying. Avoid standard printer paper, as the fibers will often catch the pen tip, leading to jagged, inconsistent lines that detract from the precision of the cross-hatching technique.
Common mistakes when cross-hatching
One of the most frequent errors is spacing lines too far apart, which creates a messy, disjointed look rather than a solid tone. Beginners often rush the process, resulting in erratic line angles that do not follow the form of the subject. If the lines are not deliberate, the drawing loses its structural integrity. It is better to take time to ensure each stroke is intentional, even if the process takes longer than expected.
- Crossing lines at right angles (90 degrees) can sometimes create a distracting "grid" pattern that looks artificial.
- Applying too much pressure on the pen creates thick, blotchy lines that make it difficult to achieve subtle gradients.
- Forgetting to leave white space for highlights results in a flat, muddy drawing that lacks a clear light source.
- Using a dull or frayed pen tip causes inconsistent line widths, which disrupts the visual rhythm of the shading.
Why cross-hatching creates depth
The human eye perceives the density of intersecting lines as a value scale. When lines are sparse, the white of the paper dominates, signaling a highlight. As the density of the cross-hatching increases, the eye blends these marks into a darker gray or black. This optical mixing is the core principle behind the technique, allowing for a full range of tones without ever using a traditional blending stump or graphite smudge.
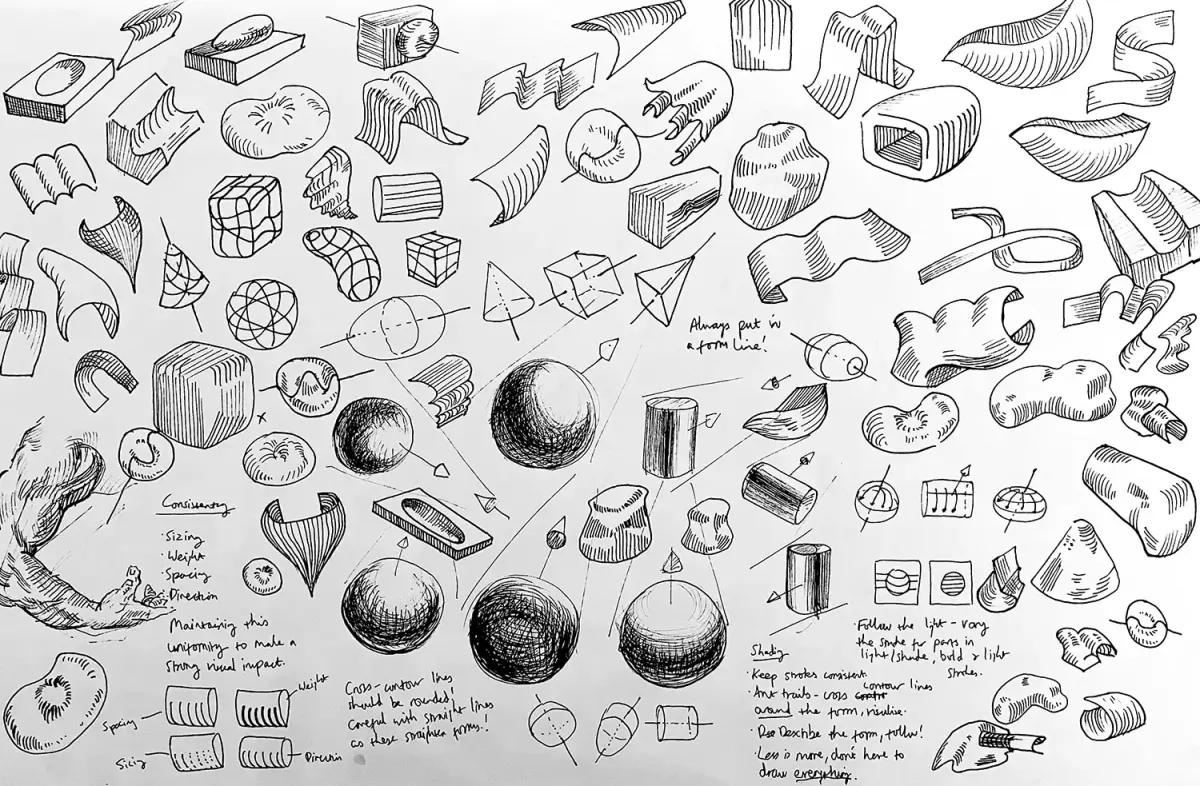
Furthermore, cross-hatching allows for "contour hatching," where lines follow the physical curvature of the object being drawn. By wrapping lines around a sphere or along the length of a limb, the artist reinforces the three-dimensional nature of the subject. This technique is far more effective at describing form than simple flat shading, as it provides the viewer with visual cues about the object's orientation and depth in space. Mastering this requires patience, but it ultimately provides the artist with total control over the light and shadow in their work.
Key facts
- Cross-hatching involves drawing sets of parallel lines that intersect to create shading and texture.
- The closer the lines are placed together, the darker the resulting value becomes on the paper.
- Artists typically use a 45-degree angle for the second layer of lines to maximize visual density.
- Varying the pressure of the pen or pencil allows for subtle gradients within the cross-hatched area.
- This technique was popularized by Renaissance masters like Leonardo da Vinci to define three-dimensional form.
- Avoid "scratching" the paper by keeping your wrist loose and lifting the pen at the end of each stroke.
The bottom line
Cross-hatching is a foundational drawing technique that uses intersecting sets of parallel lines to build depth, shadow, and texture. By adjusting the density and angle of these lines, artists can effectively manipulate light and form on a two-dimensional surface. Mastering this method requires patience and steady hand control, but it remains one of the most versatile tools for adding professional-grade dimension to any sketch or illustration.
People also ask
What is the difference between hatching and cross-hatching?
Hatching uses a single set of parallel lines to create tone, while cross-hatching adds a second or third layer of intersecting lines. Cross-hatching is generally used to achieve deeper shadows and more complex textures than simple hatching.
Can cross-hatching be used with colored pencils?
Yes, cross-hatching is an effective way to blend colors optically without physically mixing the pigments. By layering different colored lines, you can create the illusion of a third color when viewed from a distance.
What pens are best for cross-hatching?
Technical pens or fine-liners with consistent ink flow are ideal for precise, clean lines. Ballpoint pens are also popular because they allow for varying line thickness based on the amount of pressure applied.
How do I avoid making my drawing look messy?
Keep your lines uniform in length and direction to maintain a clean appearance. Practicing consistent spacing between lines will prevent the drawing from looking patchy or uneven.
Does cross-hatching work on curved surfaces?
To shade a curved surface, you should contour your lines to follow the shape of the object. This technique, known as contour cross-hatching, helps emphasize the volume and roundness of the subject.
Is cross-hatching only for realistic drawing?
While it is a staple of realistic shading, it is also widely used in comic book art and illustration. Artists use it to create high-contrast, dramatic effects that define shapes in a stylized or graphic manner.
This answer was created with the help of AI research tools and reference sources. Spotted an error? Let us know — we correct mistakes quickly. See our editorial policy.