How do you draw candlelight?
Short answer
Drawing candlelight requires capturing the interplay between a bright, warm light source and the surrounding darkness. You must focus on high-contrast values, using a light touch for the glow and deep blacks for the shadows. By layering colors or graphite, you can effectively simulate the radiant, flickering energy of a flame.
On this page
How to capture the light of a candle
The secret to drawing a convincing candle flame lies in understanding that light is not a solid object, but a gradient of intensity. The center of the flame is often the brightest, appearing nearly white or pale yellow, while the outer edges transition into warmer oranges and deep reds. To achieve this, start by leaving the center of your light source as the white of the paper or your lightest pigment. Gradually build up the surrounding colors, ensuring that the transition from light to dark is smooth and seamless.
When working with graphite or charcoal, use a kneaded eraser to lift pigment away from the paper to create the "glow" effect. This technique allows you to suggest the diffusion of light into the immediate environment. Remember that the flame itself is the primary light source, meaning it should be the brightest part of your composition. Any object near the flame must have its highlights oriented toward that central point, creating a consistent logic of illumination throughout the entire drawing.
Best tools for drawing candlelight
For beginners, a combination of high-quality colored pencils and a white gel pen is often the most effective approach. Colored pencils allow for the delicate layering required to blend the yellow, orange, and blue zones of a flame. A white gel pen or opaque gouache is essential for adding the final, sharp highlights that make the flame look truly luminous. If you prefer working in black and white, charcoal sticks provide the deep, velvety blacks necessary to make the light pop.
- Select a high-quality, heavy-weight drawing paper that can handle multiple layers of pigment.
- Use a range of pencils from 2H for initial light outlines to 6B for deep, dark shadows.
- Keep a kneaded eraser on hand to soften hard edges and create subtle light bleeds.
- Utilize a white charcoal pencil or gel pen for the final, intense highlights on the wick and flame.
Why candlelight creates dramatic shadows
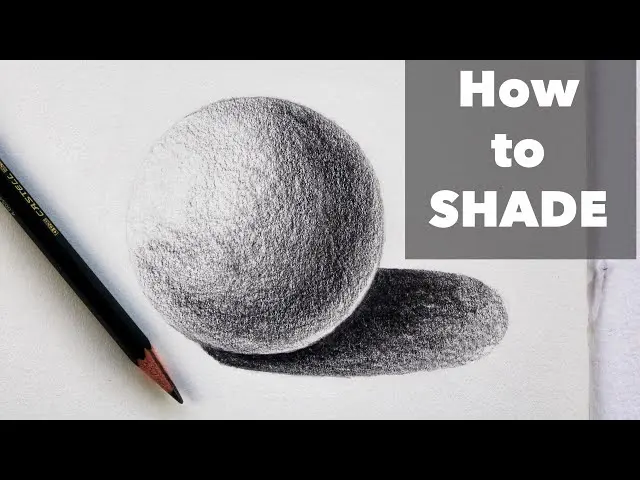
Candlelight is a point source of light, which creates distinct, sharp-edged shadows compared to the soft, diffused light of a window. Because the flame is small and localized, the shadows it casts grow longer and more distorted as objects move further away from the light. This phenomenon creates a high-contrast environment that is visually compelling but technically challenging to render. To master this, you must observe how the light wraps around objects, creating a "terminator line" where the light meets the shadow.
When drawing these shadows, avoid using a uniform black tone. Instead, observe the reflected light within the shadows, which is often influenced by the colors of the surrounding environment. Even in a dark room, surfaces will pick up faint hues from the flame. By incorporating these subtle reflected colors into your shadows, you add depth and realism to your work. Always maintain a clear distinction between the light side and the dark side of your subjects to ensure the scene remains readable.
Common mistakes when drawing flames
A frequent error is drawing the flame as a static, solid shape with a hard outline. In reality, a flame is constantly moving and has a soft, gaseous edge that blends into the air. If you draw a thick, dark outline around the flame, you effectively kill the illusion of light. Instead, use soft, feathered edges to define the shape of the flame, allowing the color to dissipate gradually into the background. This technique mimics the way light scatters in the atmosphere.
Another common mistake involves ignoring the wick, which is the anchor of the flame. The wick should be dark, often charred black, and positioned slightly off-center within the brightest part of the flame. Neglecting the wick makes the flame appear as if it is floating in space rather than burning from a physical source. Ensure the wick is rendered with high contrast, as its dark, crisp form provides the necessary visual tension to emphasize the brilliance of the surrounding light.
How to add atmosphere to your drawing
To elevate your drawing from a simple study to a complete scene, consider the environment surrounding the candle. The light from a candle rarely illuminates an entire room; it creates a pool of light that fades into deep obscurity. Use this to your advantage by keeping the background dark and focusing your detail work only on the area immediately surrounding the candle. This technique, known as chiaroscuro, directs the viewer's eye exactly where you want it to go.
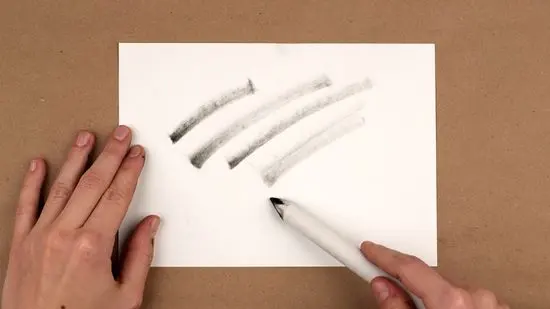
- Use a soft blending stump to blur the edges of the light pool, creating a natural fall-off.
- Add "flicker" by slightly varying the width and intensity of the flame's edges.
- Incorporate subtle smoke trails rising from the wick to imply movement and heat.
- Consider the texture of the surface the candle sits on, as it will reflect the light differently depending on whether it is wood, metal, or glass.
- Use a light touch when shading the air around the flame to suggest the warmth of the heat radiating outward.
By focusing on these atmospheric details, you transform a simple drawing into a narrative piece that captures the quiet, flickering essence of a candle in the dark.
Key facts
- Light radiates outward, meaning the brightest point is the flame's base, while the surrounding area transitions from white to yellow to orange.
- The wick is the darkest part of the flame, appearing as a thin, charred vertical line near the center.
- A glowing halo, or "glow," should be drawn around the flame using soft, blurred edges to represent light diffusion.
- Shadows cast by a candle are always positioned directly opposite the light source, becoming longer as the distance from the candle increases.
- Use high-contrast values, placing the brightest white of the flame against the darkest surrounding background to create a realistic effect.
- The wax pool at the top of the candle often reflects the flame, creating a secondary, distorted light source on the surface of the candle.
The bottom line
Drawing candlelight requires a disciplined focus on high-contrast values and the physics of light diffusion. By establishing a bright, white core for the flame and surrounding it with deep, rich shadows, you create an illusion of luminosity. Remember that light behaves predictably; it reflects off nearby surfaces and casts clear, directional shadows. Mastering these transitions will transform a simple sketch into a compelling, atmospheric piece of art.
People also ask
How do I make a flame look like it is flickering?
To suggest movement, draw the edges of the flame with irregular, wavy lines rather than a perfect teardrop shape. You can also add subtle, faint wisps of smoke rising from the wick to imply instability.
What pencils should I use for a candlelight drawing?
Use a range of graphite pencils, specifically a 2B for mid-tones and a 6B or 8B for the deep, surrounding shadows. A white charcoal pencil or a kneaded eraser is essential for lifting highlights within the flame.
Should I draw the candle flame in color or black and white?
Both methods are effective, but black and white is better for mastering value contrast. If using color, focus on the transition from white at the core to yellow, then orange, and finally a hint of blue at the very base.
How do I draw the light reflecting on nearby objects?
Observe the angle of the light and apply lighter values to the surfaces facing the flame. Keep the edges of these reflections soft to mimic the way candlelight spills across a surface.
Why does my candle drawing look flat?
Flatness usually occurs when the contrast between the flame and the background is too low. Ensure the darkest darks are placed immediately around the flame to make the light appear to "pop" forward.
How do I draw a candle that has already melted down?
Draw irregular, drooping wax drips down the side of the candle body. These drips should have their own small highlights on the rounded edges to show their three-dimensional volume.
This answer was created with the help of AI research tools and reference sources. Spotted an error? Let us know — we correct mistakes quickly. See our editorial policy.