What is a kneaded eraser used for?
Short answer
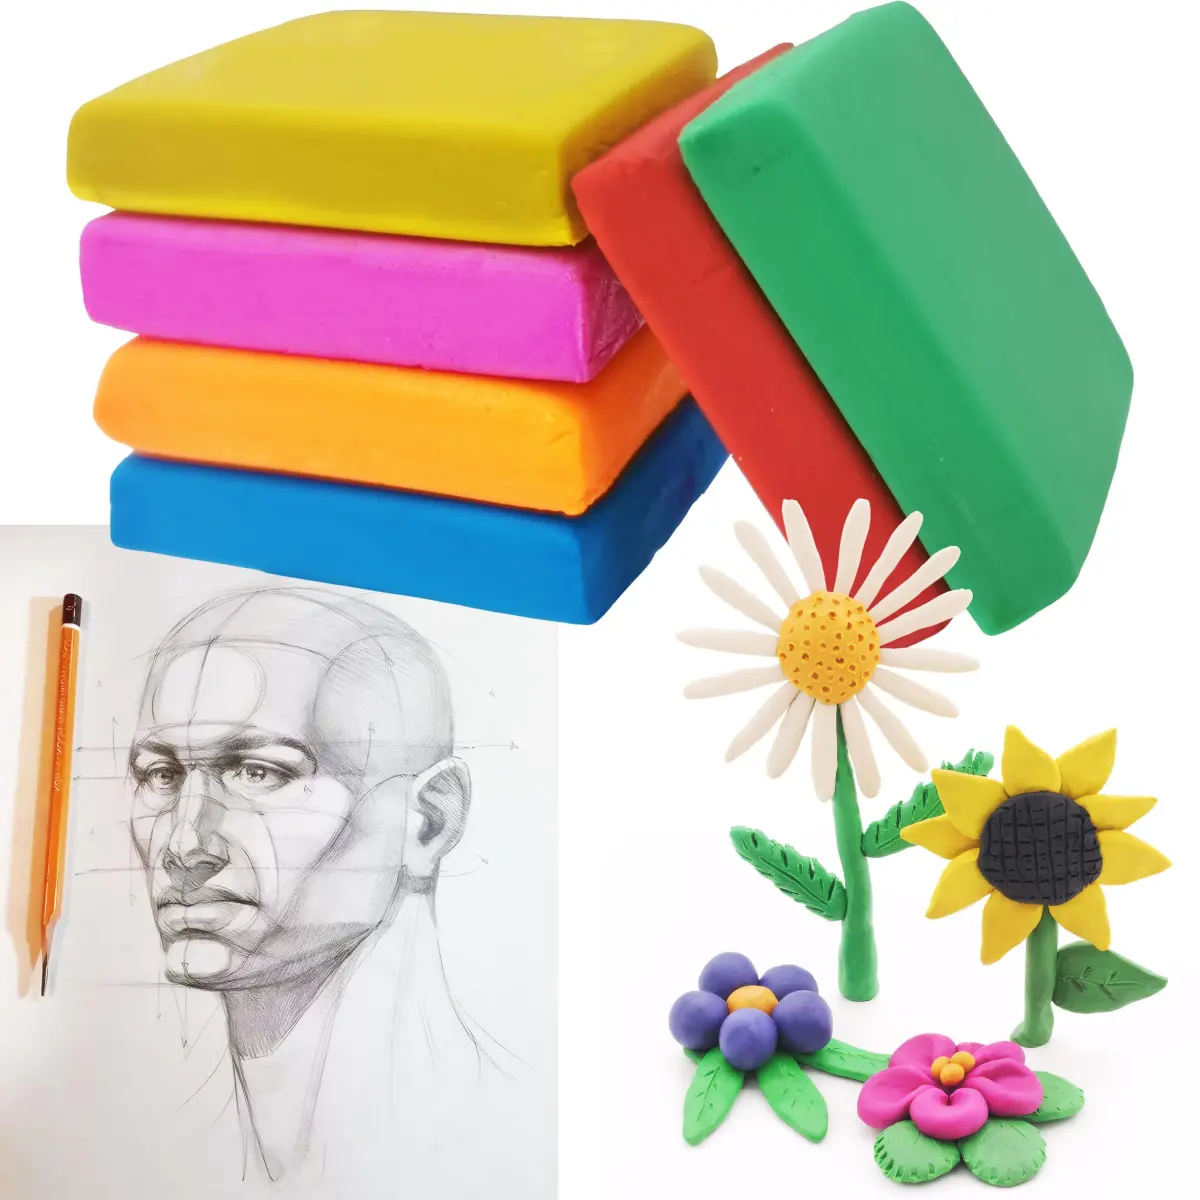
A kneaded eraser is a pliable, putty-like tool used primarily by artists to lift graphite, charcoal, and pastel from paper. Unlike standard rubber erasers, it does not leave behind abrasive crumbs. By molding it into specific shapes, artists can precisely lighten tones, create highlights, or clean up smudges without damaging the surface.
On this page
What is a kneaded eraser made of?
A kneaded eraser, often called a putty rubber, is composed of a soft, vulcanized rubber compound. Unlike traditional erasers that rely on friction to abrade the paper surface, this material is designed to be tacky and absorbent. When you press it against a drawing, the graphite or charcoal particles adhere to the surface of the putty rather than being ground into the paper fibers. This unique chemical composition allows the tool to remain permanently soft and malleable, provided it is stored correctly away from extreme heat.
The manufacturing process involves mixing raw rubber with oils and fillers to achieve its signature consistency. Because it lacks the abrasive grit found in pink pencil erasers, it is considered a non-abrasive tool. This makes it an essential instrument for professional illustrators and fine artists who work with delicate paper stocks. Its ability to be reshaped repeatedly ensures that the user always has a clean surface available for lifting pigment, which prevents the accidental smearing of graphite back onto the work.
How to use a kneaded eraser effectively
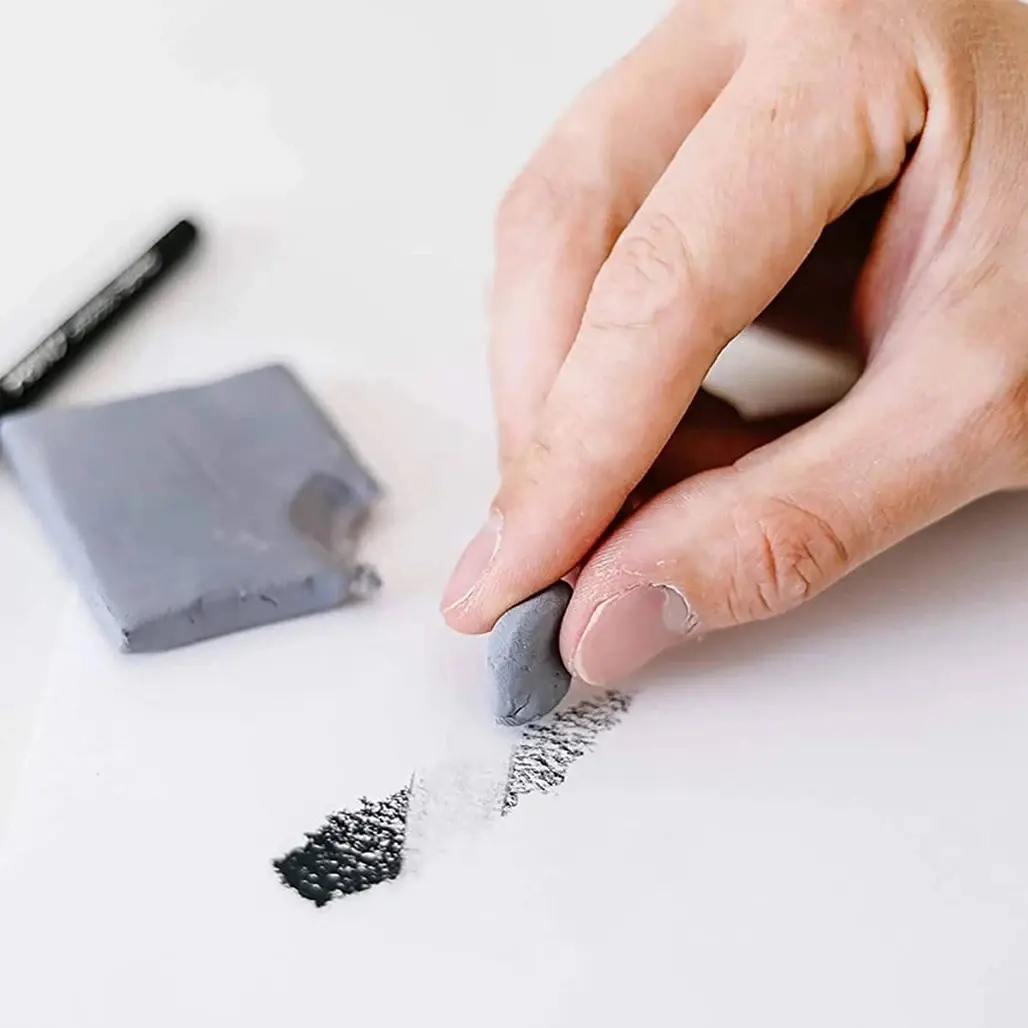
Using a kneaded eraser requires a different technique than using a standard block eraser. Instead of rubbing back and forth, which can damage the paper texture, you should press the eraser firmly onto the area you wish to lighten and then lift it straight up. This "dabbing" or "blotting" motion transfers the drawing medium onto the eraser. If you need to remove a larger area of shading, you can roll the eraser across the paper to pick up loose particles of charcoal or graphite.
To maintain the tool's effectiveness, you must keep the surface clean. Follow these steps to ensure optimal performance:
- Stretch and fold the eraser repeatedly until the dark, saturated sections are hidden inside the mass.
- Form the remaining clean material into a shape that suits your needs, such as a sharp point for fine highlights or a flat pad for broad areas.
- Press the shaped eraser onto the paper and lift it away to remove the pigment.
- Repeat the folding process whenever the eraser becomes too saturated with graphite to lift any more material.
Why use a kneaded eraser for drawing
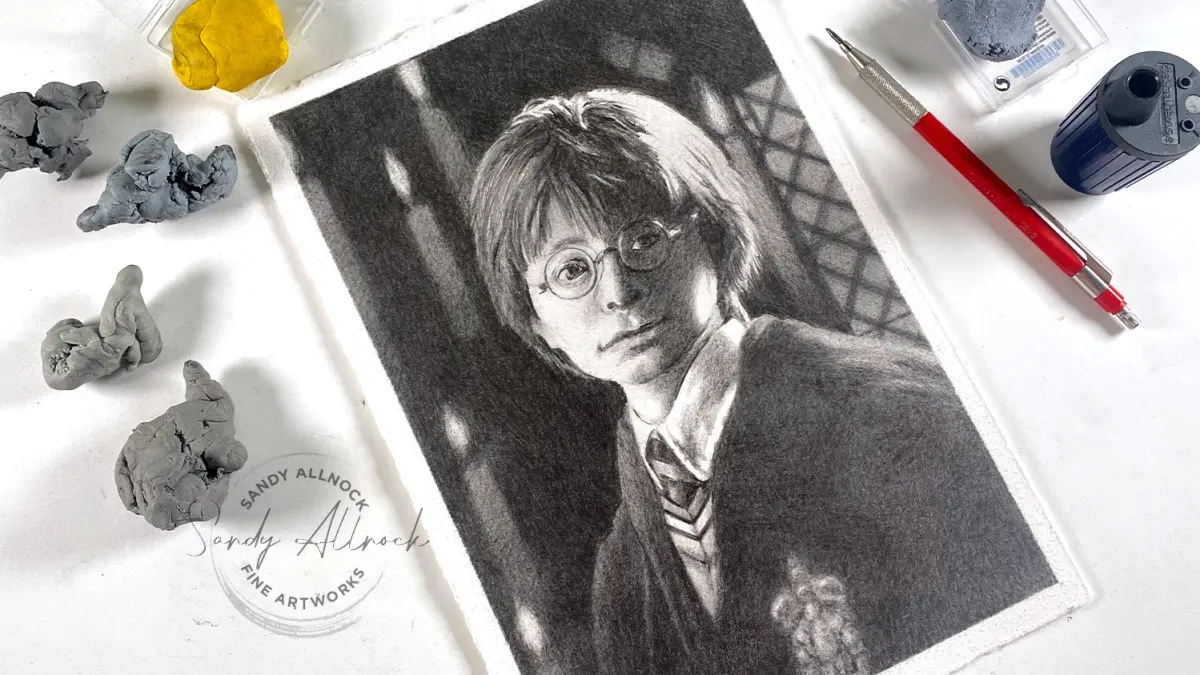
Artists prefer kneaded erasers because they offer unparalleled control over light and shadow. In charcoal or graphite drawing, the eraser is not just a tool for correcting mistakes; it is a drawing instrument in its own right. By sculpting the eraser into a fine point, you can draw white lines into a dark field, creating delicate highlights such as the glint in an eye or the texture of hair. This subtractive drawing method allows for a level of detail that is difficult to achieve with pencils alone.
Furthermore, these erasers are exceptionally gentle on paper. Because they do not rely on abrasion, they do not wear down the tooth of the paper, which is the texture that holds the drawing medium. This is critical for artists who use multiple layers of charcoal or soft pastel, as it allows them to rework areas without destroying the underlying paper structure. It is a versatile, long-lasting tool that serves as both a corrective device and a creative implement for refining complex compositions.
Common mistakes when using a kneaded eraser
One of the most frequent errors is rubbing the eraser aggressively against the paper. This friction generates heat and can cause the rubber to smear the graphite rather than lifting it. Additionally, rubbing can cause the eraser to lose its shape or leave oily residue on the paper if the material is old or of low quality. Always remember that the tool is designed to lift, not to scrub, so gentle pressure is almost always superior to heavy-handed movement.
Another common mistake is failing to "refresh" the eraser frequently enough. If you continue to use a dark, saturated eraser, you are essentially transferring graphite from the tool back onto your drawing. This leads to muddy, grey-looking highlights rather than crisp, clean removals. To avoid this, consider these tips:
- Keep a small container to store your eraser, preventing it from picking up dust and lint from your desk.
- If the eraser becomes too hard due to cold temperatures, warm it by rolling it between your palms for a few minutes.
- Never use a kneaded eraser on wet ink or paint, as it will become permanently stained and may lose its tacky properties.
How to clean and maintain a kneaded eraser
Maintaining a kneaded eraser is simple, but it requires consistency. As you work, the eraser will inevitably become filled with graphite and charcoal dust. The only way to clean it is by stretching, pulling, and folding it over on itself. This process redistributes the particles deep into the center of the putty, exposing a fresh, clean surface on the outside. If the eraser becomes completely black and no longer lifts pigment, it has reached the end of its functional life and should be replaced.
You should also be mindful of the environment in which you store your tools. Kneaded erasers can attract dust, hair, and debris if left out in the open. Storing them in a small plastic bag or a dedicated case will keep them clean and prevent them from drying out. If you notice the eraser becoming brittle or losing its tackiness, it may be a sign that it has been exposed to extreme heat or has simply aged past its prime. With proper care, a single eraser can last for many months of regular studio use.
Key facts
- A kneaded eraser is made of a pliable, putty-like material that can be molded into any shape to reach small areas.
- It works by absorbing graphite or charcoal particles into its soft surface rather than rubbing them away through friction.
- You should pull and fold the eraser material regularly to expose a clean, unused surface for lifting pigment.
- Unlike traditional rubber erasers, it does not produce messy "crumbs" or shavings that can damage delicate paper fibers.
- It is ideal for "subtractive drawing," where an artist covers a page in charcoal and lifts light out of the dark areas.
- Never use a kneaded eraser on wet ink or paint, as the moisture will ruin the material's consistency and effectiveness.
The bottom line
The kneaded eraser is an essential tool for artists, offering a versatile way to lift graphite and charcoal without damaging paper. By molding it into precise shapes, you can achieve delicate highlights or clean up edges with ease. Its ability to absorb pigment rather than abrade the surface makes it a superior choice for professional shading, provided you keep it clean and stored away from dust.
People also ask
Can a kneaded eraser be cleaned?
You clean it by continuously stretching and kneading the material until the trapped graphite is folded into the center. Once the eraser becomes completely saturated with dark pigment and loses its stickiness, it is time to replace it.
Is it safe to use on all types of paper?
Yes, it is generally safer than standard erasers because it is non-abrasive and leaves no debris behind. However, avoid using it on extremely thin or fragile paper, as the tackiness of the material could potentially cause tearing if pressed too firmly.
Why does my eraser get hard over time?
Kneaded erasers can harden if left exposed to air for long periods or if they are stored in very cold environments. To restore softness, try warming the material in your hands for a few minutes or placing it in a sealed bag.
Can I use it to erase ink?
No, kneaded erasers are specifically designed for dry media like graphite, charcoal, and pastel. They lack the abrasive quality required to remove ink from paper and will likely smudge the ink instead of lifting it.
How do I store a kneaded eraser properly?
Keep it in its original plastic container or a small, airtight bag to prevent it from drying out or collecting dust. Avoid placing it directly on wooden or plastic surfaces for long periods, as the oils in the material can sometimes leave a residue.
Is there a specific technique for highlighting with it?
To create fine highlights, roll the eraser into a sharp point or a thin wedge. Gently press the tip onto the drawing and lift it straight up to pull away graphite without smearing the surrounding lines.
This answer was created with the help of AI research tools and reference sources. Spotted an error? Let us know — we correct mistakes quickly. See our editorial policy.