How do you get better at drawing hands?
Short answer
Improving your hand drawing skills requires breaking complex anatomy into simple geometric shapes like boxes and cylinders. By mastering the proportions of the palm and fingers, practicing daily from life references, and understanding how joints articulate, you can overcome the common intimidation associated with drawing one of the human body's most expressive features.
On this page
How to break down hand anatomy
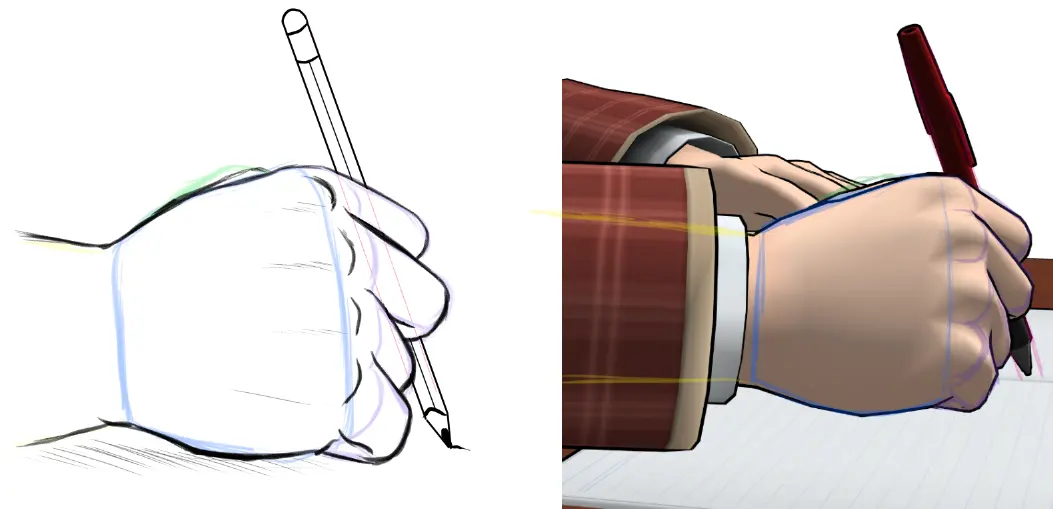
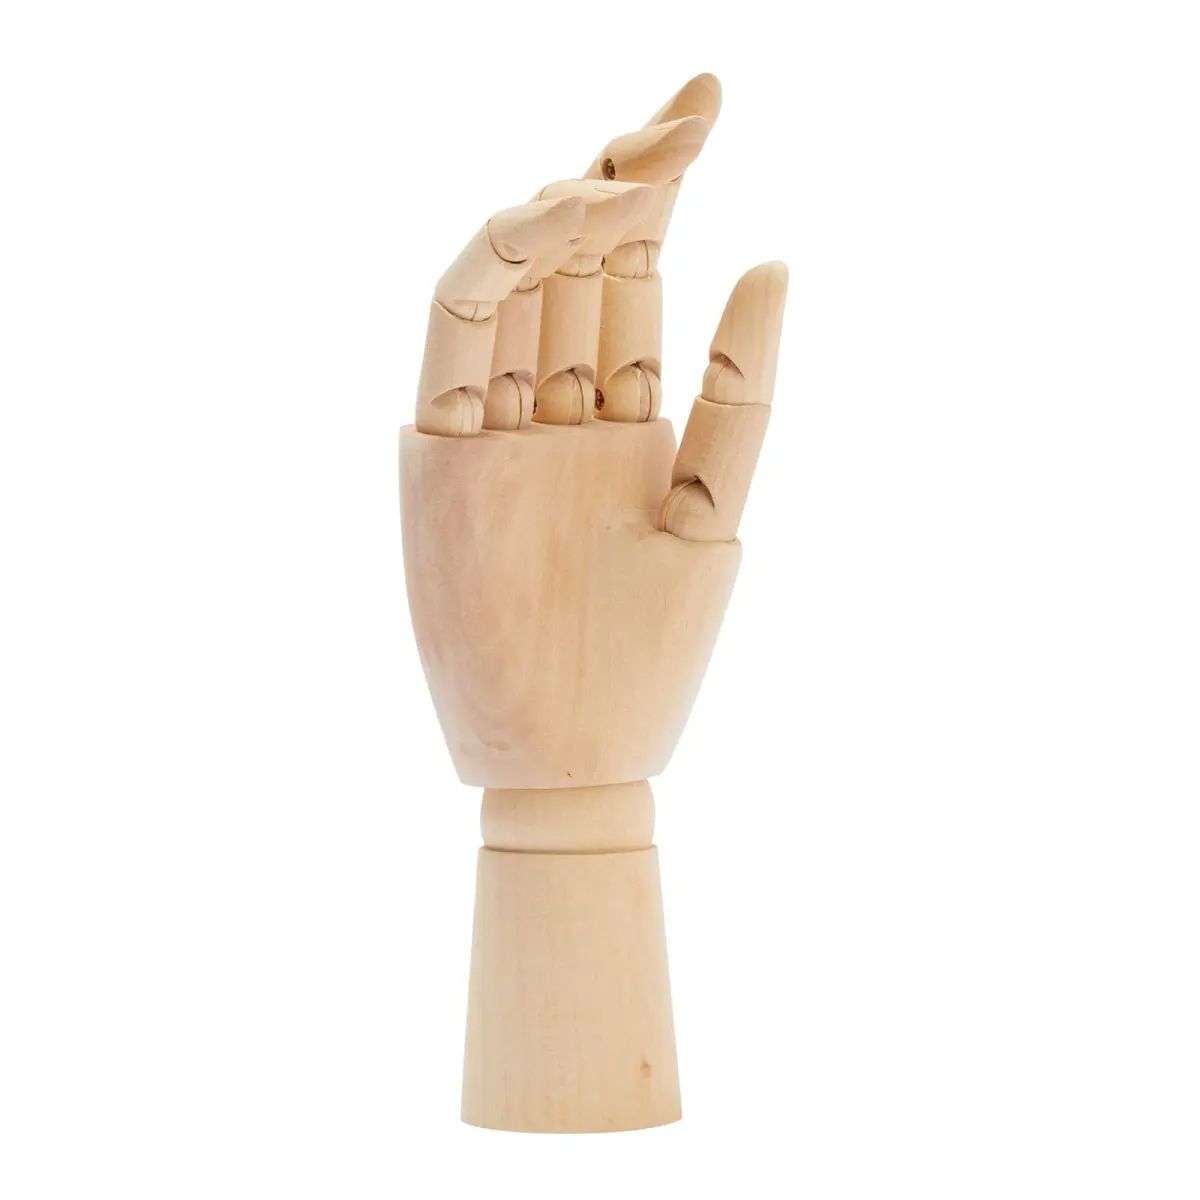
The human hand is a complex structure consisting of 27 bones, but you can simplify it by viewing it as a collection of basic geometric volumes. Start by visualizing the palm as a flat, slightly trapezoidal block. The fingers are essentially three-part cylinders that attach to the knuckles, which form an arc rather than a straight line. By focusing on these underlying shapes, you bypass the overwhelming detail of skin and veins, allowing you to establish correct perspective and volume before adding refinement.
To build a hand from scratch, follow these foundational steps:
- Draw a pentagon or trapezoid to represent the palm.
- Mark the knuckle line in a gentle curve, as the middle finger is typically the longest.
- Attach cylinders for each finger segment, noting that the thumb originates from a different plane than the fingers.
- Use spheres to represent the joints, which act as pivot points for the fingers.
Best exercises for drawing hands
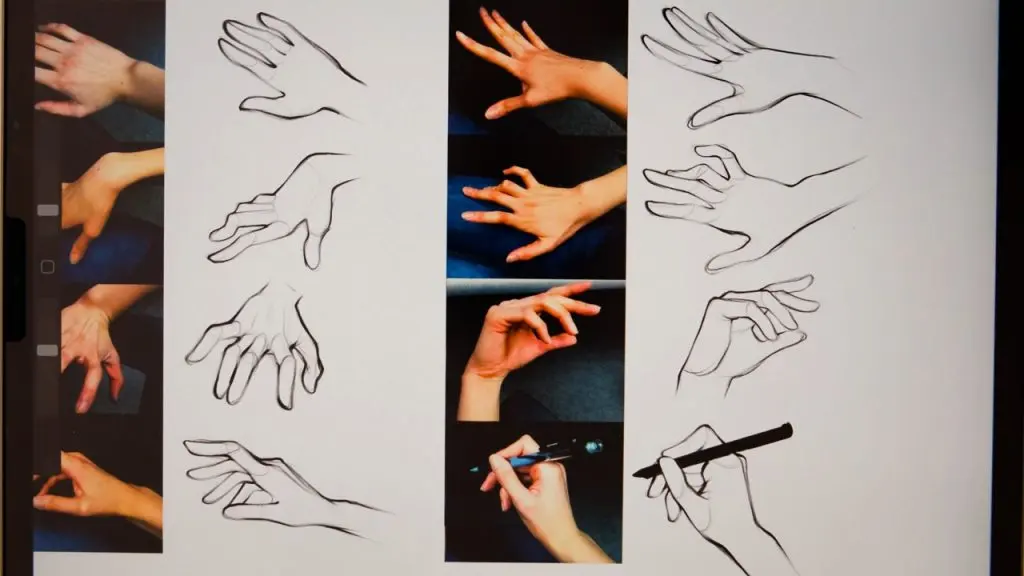
Consistency is the most effective tool for improvement, and drawing from life is superior to copying photographs. Spend fifteen minutes each day sketching your own hand in various positions, focusing on how the skin bunches or stretches during movement. Since your own hand is always available, it serves as the perfect model for studying foreshortening and complex angles. If you find the hand too difficult to hold still, use a mirror to observe your hand from different perspectives while you work.
Incorporate these specific drills into your practice routine to build muscle memory:
- Gesture sketching: Spend 30 seconds per pose to capture the overall flow and energy of the hand.
- Negative space studies: Draw the empty shapes between fingers rather than the fingers themselves to improve accuracy.
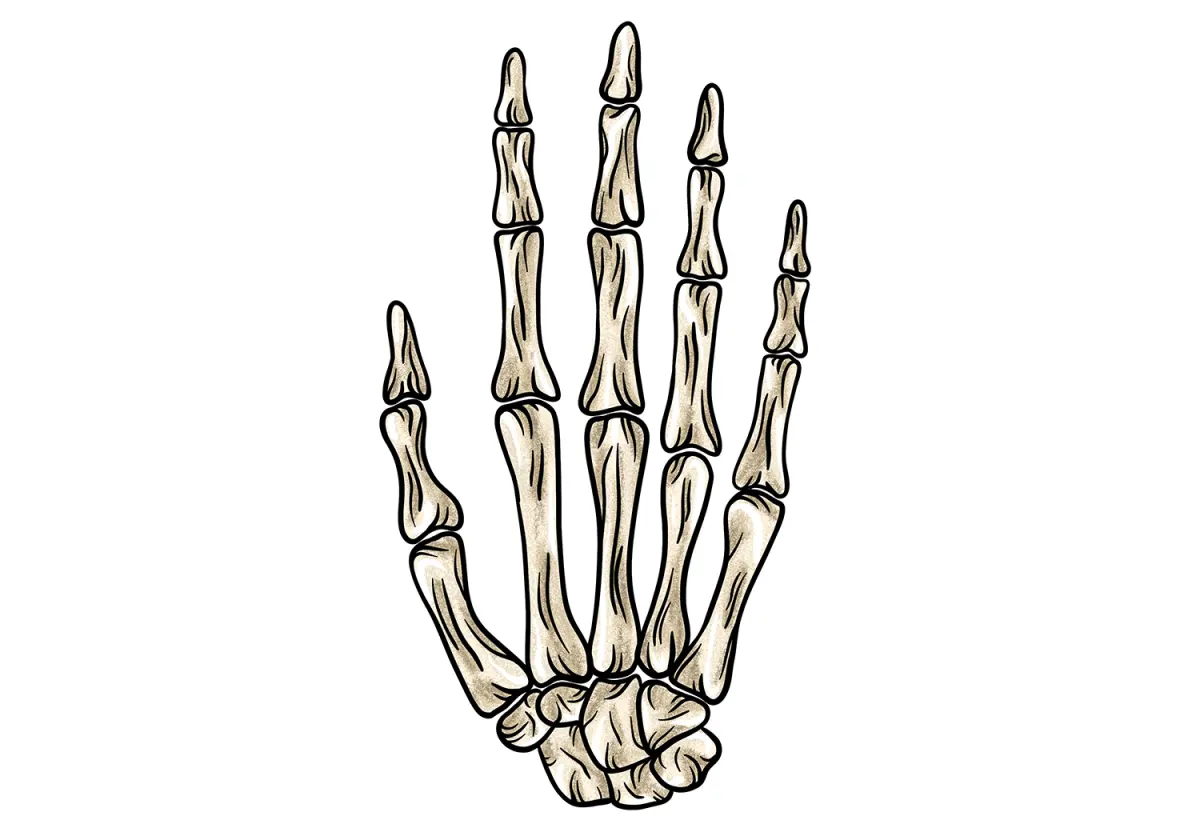
- Anatomy tracing: Overlay anatomical diagrams on your sketches to ensure bone placement is correct.
- Thumb rotation: Practice drawing the thumb from the side and front to understand its unique range of motion.
Why hands look distorted
The most common reason hands look "off" is a failure to account for perspective and the way fingers taper. Beginners often draw fingers as uniform sausages, ignoring that each segment gets progressively thinner toward the fingertip. Furthermore, failing to recognize that the hand is a three-dimensional object leads to flat, cardboard-like drawings. If you do not account for how the fingers overlap when the hand is curled, the drawing will lack depth and appear unnatural to the viewer.
Another frequent issue is the incorrect length of the fingers relative to the palm. A standard rule of thumb is that the middle finger is roughly the same length as the palm itself. If you draw the fingers too short or too long, the entire hand loses its realistic proportions. Always check your work by comparing the height of the palm to the length of the fingers, ensuring that the proportions align with the specific pose you are attempting to capture.
Common mistakes when drawing hands
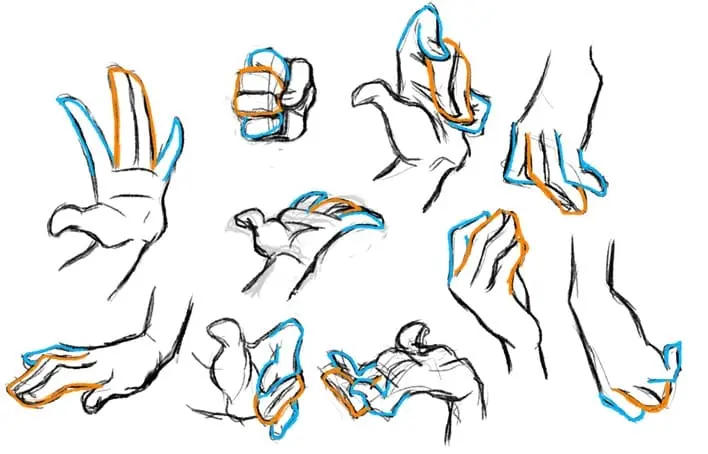
One major error is drawing the fingers as if they are all parallel to one another. In reality, fingers naturally fan out from the knuckles, creating a gentle splay. When the hand is relaxed, the fingers curve inward toward the palm, following a subtle arc. Ignoring this natural curvature results in stiff, robotic-looking hands. Additionally, avoid drawing the thumb as if it is on the same plane as the index finger; the thumb is set at an angle, which is essential for the hand's grasping function.
Avoid these specific pitfalls to improve your realism:
- Drawing knuckles as straight lines instead of a curve.
- Forgetting that the skin on the palm side is different from the back of the hand.
- Neglecting the webbing between the fingers, which adds realism.
- Making the wrist too thin or failing to connect the forearm muscles to the hand.
- Ignoring the slight bulge of the palm's muscle groups near the thumb.
How long does it take to get better
Mastering hand drawing is a gradual process that depends on the quality of your practice rather than the number of hours spent. Most artists notice significant improvement within three to six months of dedicated daily study. Because hands are highly expressive, they require an understanding of both structure and gesture. As you become more comfortable with the basic shapes, you will find that you spend less time measuring and more time focusing on the character and emotion of the pose.
Patience is vital, as even professional illustrators often use references for complex hand positions. Do not be discouraged if your early attempts feel awkward or disproportionate; this is a standard part of the learning curve. By focusing on the underlying structure and consistently observing how hands move in the real world, you will eventually develop an intuitive grasp of their anatomy. Keep your lines loose, embrace the process of making mistakes, and continue to refine your observational skills until drawing hands feels like a natural extension of your creative process.
Key facts
- The human hand contains 27 individual bones, including 8 carpals in the wrist, 5 metacarpals in the palm, and 14 phalanges in the fingers.
- Simplify the palm into a basic square or trapezoid shape to establish the foundation before adding fingers.
- The middle finger is typically the longest digit and serves as the primary anchor for measuring the proportions of the rest of the hand.
- When drawing fingers, treat them as cylinders or boxes rather than flat shapes to create a sense of three-dimensional volume.
- A common mistake is making fingers too short; in most adults, the middle finger is nearly the same length as the palm itself.
- Practice by sketching your own non-dominant hand from various angles, as it is the most accessible reference model available.
The bottom line
Mastering hand drawing requires moving beyond simple shapes to understand the underlying skeletal structure and three-dimensional volume. By practicing consistent observation of your own hands and breaking complex forms into manageable geometric components, you will gradually improve your accuracy. Remember that hands are expressive tools; focusing on gesture and proportion will ultimately yield more convincing results than obsessing over minor details like individual skin textures.
People also ask
Should I use photos or live models for practice?
Using live models or your own hand is superior because it allows you to observe how light and shadow interact with complex joints. Photos are helpful for studying anatomy, but they lack the depth perception required to understand spatial relationships.
Why do my hands always look flat?
Hands look flat when you ignore the curvature of the knuckles and the thickness of the fingers. Try drawing "contour lines" across the surface of the hand to help your brain visualize the rounded forms.
How do I draw hands in motion?
Focus on the gesture of the hand rather than the individual details like fingernails or skin folds. Capture the flow of the wrist into the palm to create a sense of natural movement.
Are there specific exercises for hand anatomy?
Yes, try drawing the skeleton of the hand first to understand where the joints pivot. Once you master the bone structure, adding muscles and skin becomes significantly easier.
How do I handle fingers overlapping each other?
Use overlapping lines to indicate which finger is in the foreground and which is behind. Darkening the edges where fingers touch helps create the illusion of depth and separation.
What is the most common mistake beginners make?
Beginners often draw fingers as simple sausages of equal length and width. Varying the thickness of each finger and acknowledging the different lengths is essential for a realistic result.
This answer was created with the help of AI research tools and reference sources. Spotted an error? Let us know — we correct mistakes quickly. See our editorial policy.