How do you draw a couple holding hands?
Short answer
Drawing a couple holding hands requires focusing on the points of contact and the natural tension between the fingers. By simplifying the hands into geometric shapes, such as overlapping cylinders or boxes, you can establish the correct proportions before refining the anatomy and adding the realistic curves of skin and knuckles.
On this page
How to structure the hands for beginners
The most effective way to draw hands is to avoid focusing on fingers immediately. Instead, treat each hand as a simplified wedge or a rectangular block. By sketching these basic shapes first, you establish the orientation of the palms and the distance between the two figures. This structural approach ensures that the hands do not look detached or floating in space.
Once the blocks are positioned, identify the "anchor point" where the hands meet. This is usually the area where the palms or the webbing between the thumb and index finger touch. Use light, construction lines to map out where the fingers will wrap around the partner's hand. Keeping these lines faint allows you to adjust the grip without smudging your final drawing.
- Sketch two overlapping rectangles to represent the palms.
- Mark the wrist joints to establish the angle of the arms.
- Draw light circles for the knuckles to guide finger placement.
- Connect the shapes with fluid lines to define the outer contour.
How to capture the grip and tension
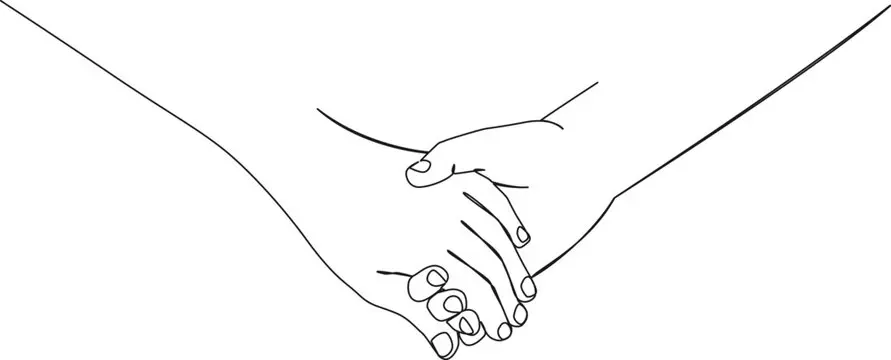
A realistic grip relies on the way skin compresses and fingers interlock. When one person holds another’s hand, the fingers do not simply lay flat; they curve around the palm or the fingers of the other person. Pay attention to the "C" shape formed by the thumb and index finger, as this is the primary mechanism for a secure hold.
To depict tension, draw the skin slightly bunched where the fingers press against the partner's hand. If the grip is firm, the knuckles should appear slightly prominent and the skin stretched tight. If the hold is loose, the fingers might be slightly separated, creating small gaps of negative space between the hands. These subtle details suggest the emotional connection between the figures.
- Use curved lines to show the wrapping motion of fingers.
- Add small folds of skin where the palm meets the thumb.
- Ensure the fingers of one hand disappear behind the other hand to create depth.
- Vary the pressure of your pencil to emphasize the points of contact.
Best techniques for realistic proportions
Proportions are often the most difficult aspect of drawing hands. A common rule of thumb is that the length of the middle finger is roughly equal to the length of the palm. When drawing two hands together, remember that they should be roughly the same size unless you are intentionally using perspective to make one hand appear closer to the viewer.
Perspective can be a powerful tool to add dynamism to your drawing. If one person is pulling the other, the hand in the foreground should be slightly larger and more detailed than the one in the background. Use foreshortening—the technique of compressing the length of an object—to make fingers look like they are reaching toward the viewer. This adds a sense of three-dimensional space to an otherwise flat image.
- Measure the hand length against the head size of your characters.
- Use foreshortening for fingers that are pointing toward the camera.
- Keep the wrist width consistent with the base of the palm.
- Compare the size of the two hands to ensure they look like a matching pair.
Common mistakes when drawing hands
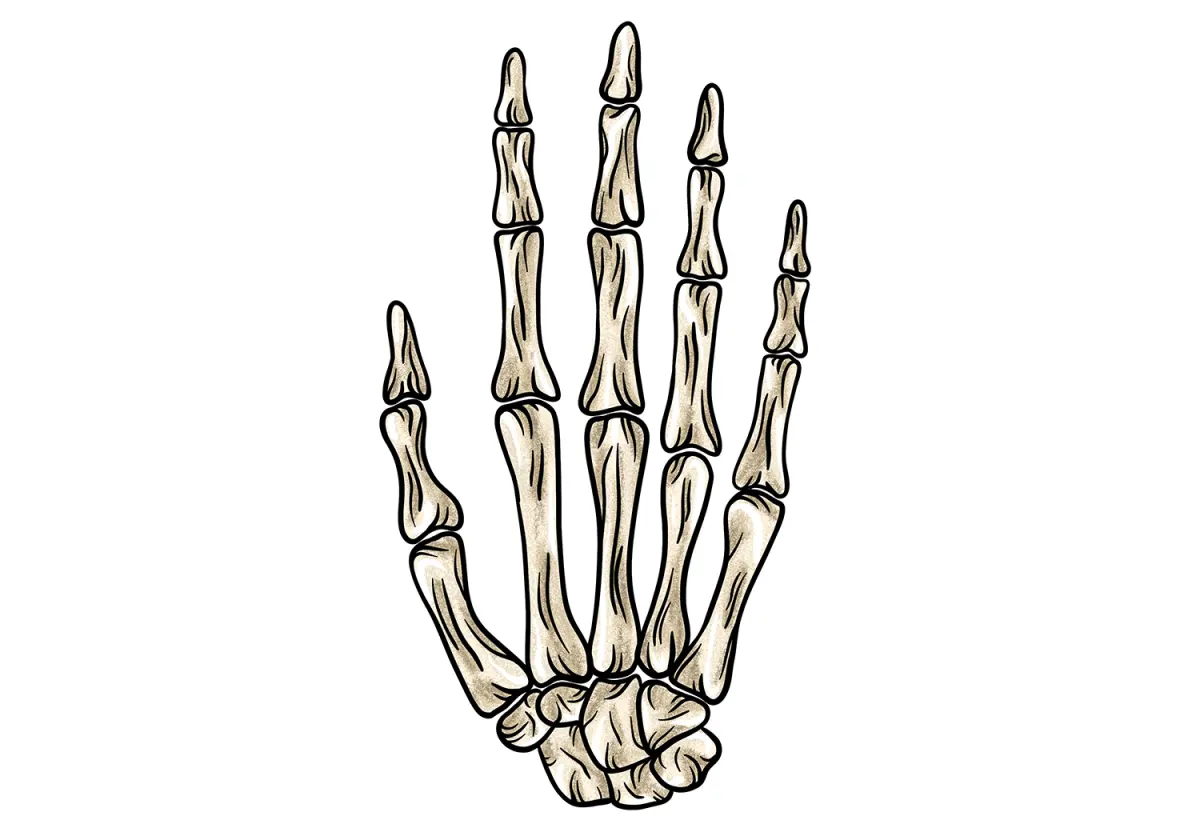
One of the most frequent errors is drawing "sausage fingers," where digits look uniform in thickness and lack joints. Fingers are not perfectly straight cylinders; they have three distinct segments separated by knuckles. Always include a slight bend at the joints to make the hand look organic rather than robotic. Another mistake is forgetting the thumb, which sits at a different angle than the rest of the fingers.
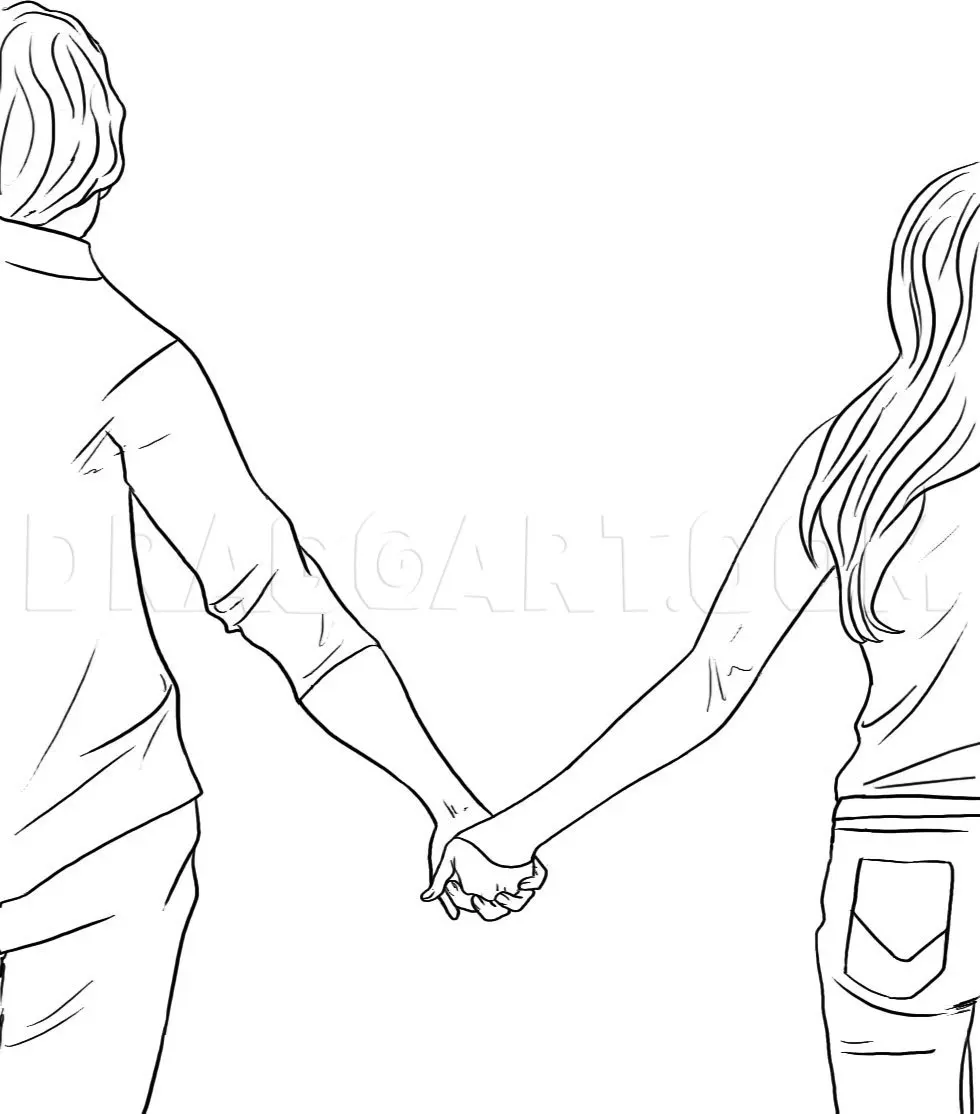
Avoid making the hands look like they are merely hovering near each other. If there is no overlap, the drawing will lack a sense of connection. Ensure that the skin of one hand is physically pressing into the skin of the other. Even a small amount of overlap or shadow at the point of contact will immediately make the drawing look more grounded and believable.
- Avoid drawing fingers that are all the same length.
- Do not forget the slight curve of the wrist.
- Ensure the thumb is drawn with a distinct, thicker base.
- Watch for "floating" hands that do not appear to be touching.
How to refine the final details
Once the structure and grip are correct, focus on the details that bring the drawing to life. Add subtle shadows beneath the fingers and along the sides of the palms where the light is blocked. These shadows provide the necessary contrast to make the hands pop off the page. Use a soft eraser to lift highlights on the knuckles, which helps define the bone structure.
Finally, consider the texture of the skin. You can add faint lines to represent knuckles or the natural creases of the palm, but do not overdo it. Too many lines can make the hands look aged or cluttered. Focus on the silhouette and the primary lines of action, as these are what the viewer’s eye will notice first. A clean, confident line is always better than a messy, over-detailed sketch.
Key facts
- Focus on the point of contact where the palms meet to establish the weight and tension of the grip.
- Use simple geometric shapes like cylinders for fingers to maintain correct proportions before adding detail.
- Ensure the knuckles of the hand on top slightly overlap the knuckles of the hand beneath it.
- Keep the wrists relaxed, as a stiff wrist can make the connection look artificial or forced.
- Draw the thumb of the gripping hand wrapping firmly around the other person's hand to show a secure hold.
- Observe how skin bunches or folds slightly at the joints when fingers curl around an object or another hand.
The bottom line
Drawing a couple holding hands requires careful attention to the intersection of shapes and the physical tension of the grip. By focusing on how skin folds and how fingers wrap around one another, you can create a realistic connection. Practice using basic cylinders to map out the anatomy first, then refine the contours. Consistency in proportion and overlapping lines will ensure your final drawing looks natural and emotive.
People also ask
How do I make the hands look like they are actually touching?
You must ensure the outlines of the two hands overlap at the point of contact. If there is a gap between the lines, the hands will appear to be hovering near each other rather than holding.
What is the biggest mistake beginners make when drawing hands?
The most common error is drawing fingers that are all the same length and thickness. Fingers vary in length, and the middle finger is typically the longest, while the pinky is significantly shorter.
Should I draw the arms before the hands?
Yes, establishing the angle of the arms helps determine the natural position of the hands. If the arms are pulling away, the hands should show tension; if they are resting, the grip should be loose.
How do I draw hands of different sizes, like an adult and a child?
Focus on the scale of the palm and the thickness of the fingers. An adult's hand will naturally wrap around a child's hand, meaning the child's hand will be largely obscured by the adult's grip.
Do I need to draw every individual fingernail?
No, over-detailing can make hands look cluttered or aged. Suggesting the presence of fingernails with a single curved line or subtle shading is usually more effective than drawing them in full detail.
How can I convey emotion through a hand-holding pose?
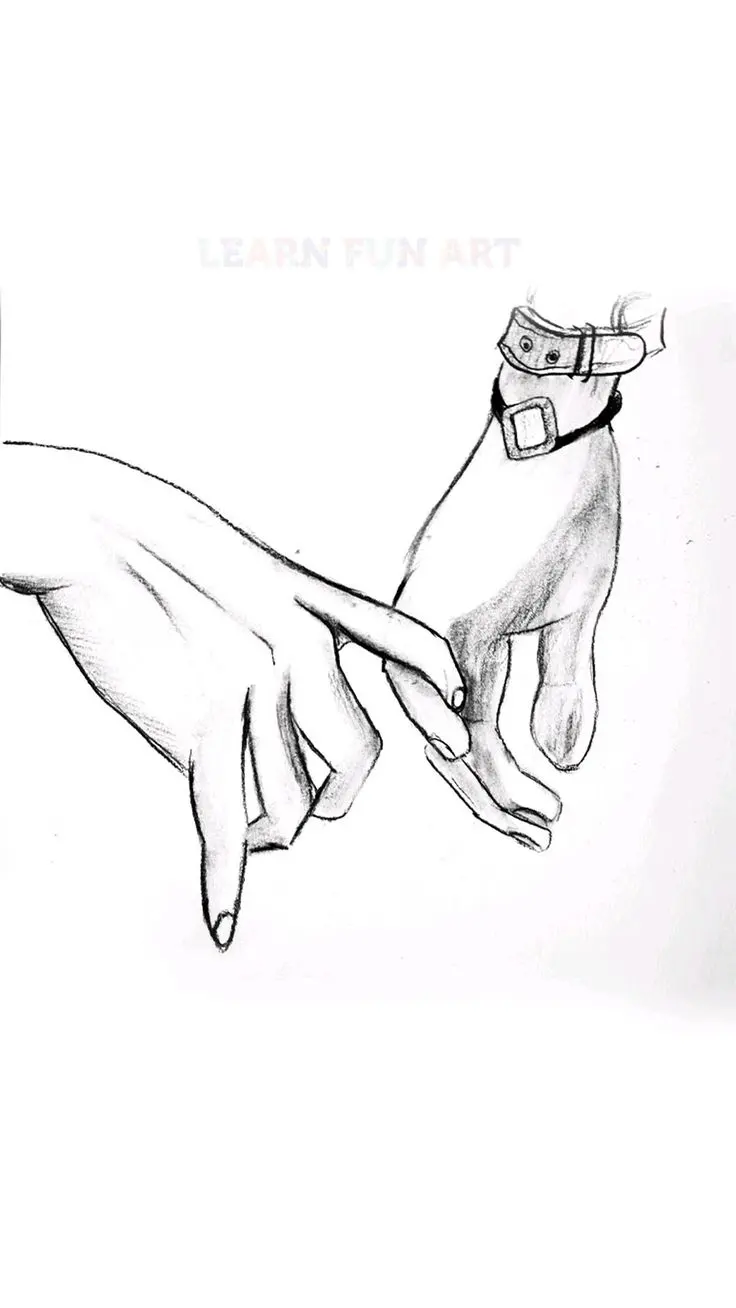
Use the tightness of the grip and the proximity of the bodies to tell a story. A loose, fingertip-to-fingertip hold suggests gentle affection, while an interlocking, palm-to-palm grip conveys deep intimacy or urgency.
This answer was created with the help of AI research tools and reference sources. Spotted an error? Let us know — we correct mistakes quickly. See our editorial policy.