How do you draw an apple step by step?
Short answer
Drawing an apple requires observing its organic, asymmetrical shape rather than a perfect circle. By sketching a rough foundation, defining the stem indentation, and layering shadows, you create a realistic three-dimensional form. Focus on light sources and subtle curves to transition from a flat outline to a convincing, textured fruit illustration.
On this page
How to draw an apple step by step
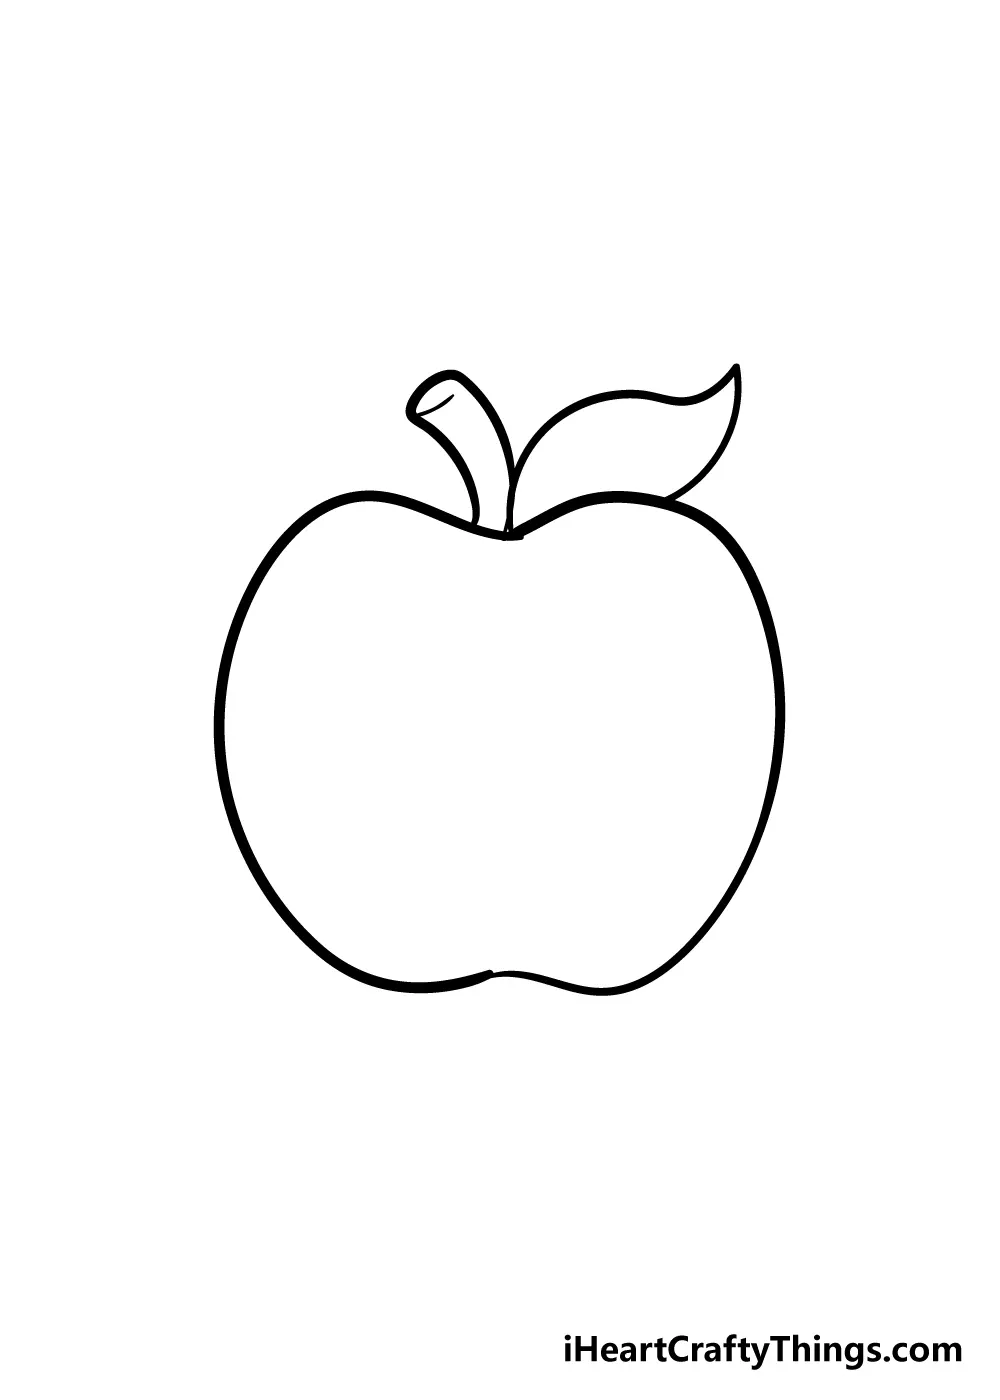
To begin your drawing, start by sketching a very light, loose circle or oval as your foundation. Do not aim for geometric perfection, as real apples are irregular and often lopsided. Add a small indentation at the top for the stem and a shallower one at the bottom for the base. Use a light graphite pencil, such as an HB, so you can easily erase or adjust the lines as you refine the shape.
Once the basic structure is established, observe the specific contours of your subject. Apples often have subtle bumps or flattened sides that make them look natural. Refine your outline by creating a continuous, flowing line that connects these points. Pay special attention to the "shoulder" of the apple, which is the area curving away from the stem. Avoid drawing a perfectly symmetrical shape, as this often makes the fruit appear artificial or cartoonish.
- Sketch a light, slightly lopsided circle.
- Mark the top indentation for the stem and the bottom for the base.
- Refine the outer edges to include natural irregularities.
- Draw a small, slightly curved stem emerging from the top center.
- Add a leaf if desired, keeping the veins simple and organic.
Best drawing tools for beginners
For those starting out, a standard set of graphite pencils ranging from 2H to 6B provides the necessary versatility for shading. A 2H pencil is excellent for initial light sketches, while a 4B or 6B pencil allows for deep, rich shadows. Using a high-quality kneaded eraser is essential because it can be molded into various shapes to lift graphite off the paper without damaging the surface. This is particularly useful for creating highlights on the skin of the apple.
Paper choice also plays a significant role in the quality of your drawing. A medium-weight drawing paper with a slight "tooth" or texture helps the graphite adhere better, allowing for smoother transitions between tones. Avoid using extremely smooth printer paper, as it can make blending difficult and result in streaky shadows. Keep a blending stump or a piece of soft tissue nearby to help transition dark values into lighter ones, creating a realistic, polished appearance.
- HB pencil for initial sketching.
- 2B and 4B pencils for shading.
- Kneaded eraser for highlights.
- Blending stump or soft tissue.
- Medium-tooth drawing paper.
How to shade an apple for realism
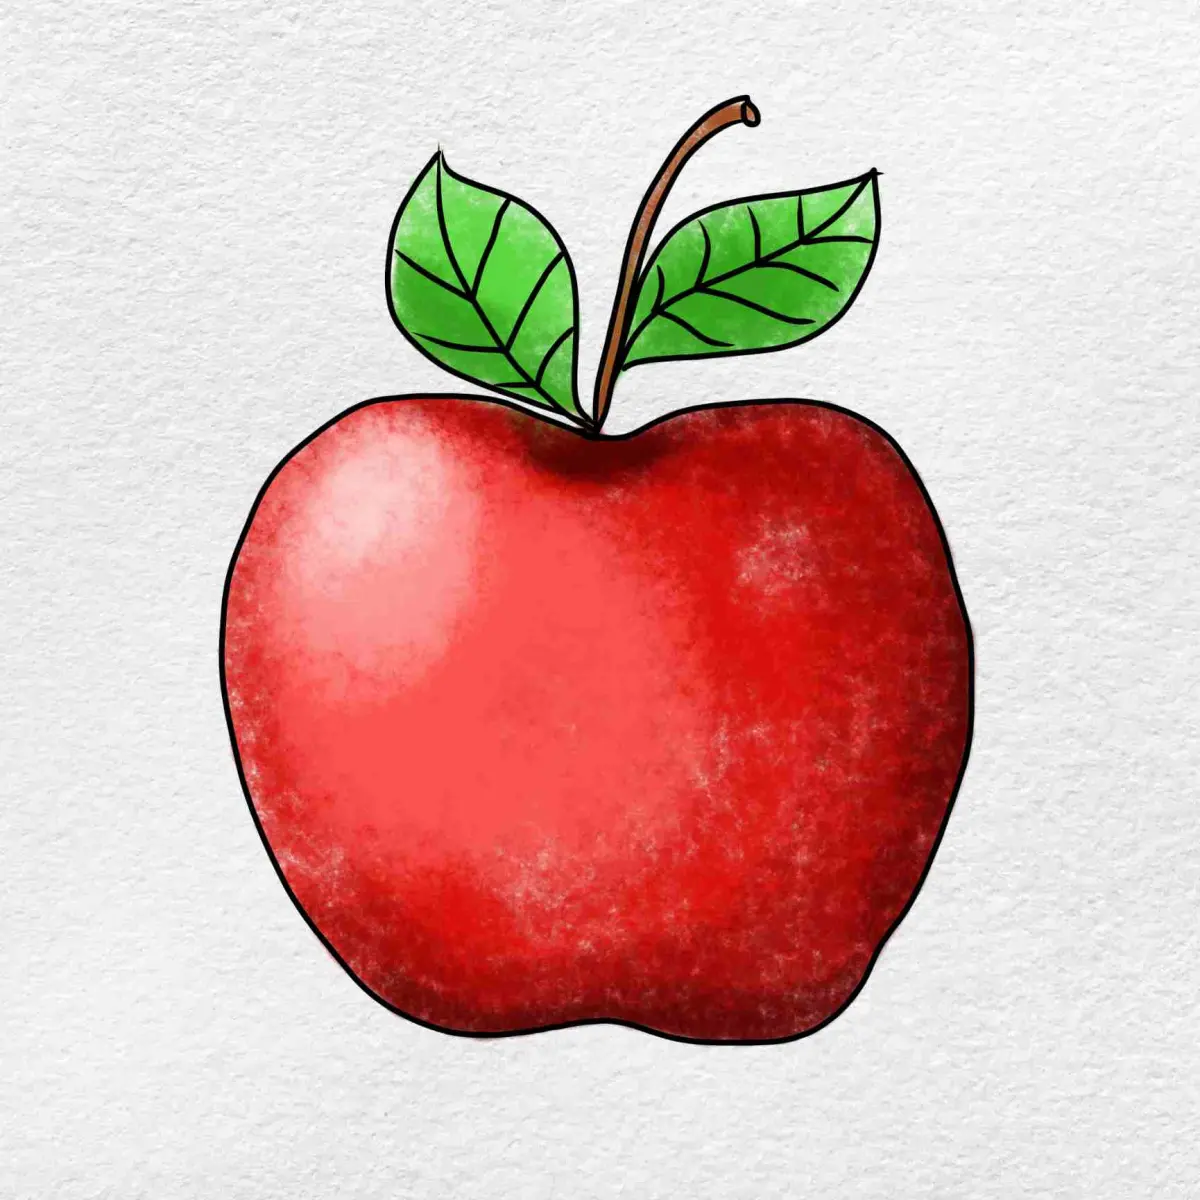
Shading is the most critical step in transforming a two-dimensional circle into a three-dimensional object. First, identify your light source so you know which side of the apple will be the brightest and which will be in shadow. The area directly opposite the light source will be the darkest, known as the core shadow. Use your softer pencils to build up these dark values gradually, rather than applying heavy pressure all at once.
After establishing the core shadow, work on the mid-tones to create a smooth transition across the surface of the fruit. Use circular strokes that follow the curvature of the apple to emphasize its roundness. Leave a small, unshaded area for the highlight, which is where the light hits the skin most directly. This white space is crucial for making the apple look shiny and firm. Finally, add a cast shadow on the surface beneath the apple to ground it in the scene.
Why apples look flat in drawings
A common reason drawings appear flat is the lack of contrast between light and shadow. Beginners often shade the entire apple with a uniform gray tone, which removes the sense of volume. To fix this, ensure your darkest shadows are truly dark and your highlights are bright enough to provide a sharp contrast. Without these extremes, the apple will lack the depth and weight necessary to look like a physical object.
Another factor is the failure to follow the apple's form with your pencil strokes. If you shade using straight, horizontal lines, you ignore the spherical nature of the fruit. Always curve your shading strokes to match the contour of the apple. This technique, often called "cross-contouring," helps the viewer's eye perceive the volume of the object. By aligning your marks with the shape of the fruit, you reinforce the three-dimensional illusion and create a more dynamic, professional-looking sketch.
Common mistakes when drawing fruit
One frequent error is drawing the stem as a straight line sticking out of the top. In reality, stems are organic, woody, and often grow at an angle or have a slight curve. Study the way the stem connects to the fruit, noting how the skin of the apple often dips inward at the point of attachment. Neglecting this detail makes the stem look like an afterthought rather than an integrated part of the fruit.
Another mistake is creating a perfectly sharp, dark outline around the entire apple. In nature, objects do not have black outlines; their edges are defined by the contrast between the object and the background. Instead of a heavy outline, use shading to define the edges, allowing the apple to blend into the surrounding space. If you must use an outline, keep it very light and break it up in areas where the light is hitting the edge. This subtle approach ensures your drawing looks realistic.
Key facts
- Start with a light circular outline to establish the apple's general size and proportion.
- Use a slightly uneven circle rather than a perfect one, as real apples have natural variations.
- Draw a small, curved indentation at the top for the stem cavity and a smaller one at the bottom.
- Add a stem by drawing two short, parallel lines that slightly curve outward at the top.
- Place a light source before shading to ensure highlights and shadows remain consistent across the form.
- Use cross-hatching or blending techniques to build up depth and create a three-dimensional appearance.
The bottom line
Drawing a convincing apple relies on observing natural imperfections rather than aiming for geometric perfection. By establishing a basic, slightly asymmetrical circular form, defining the stem cavity, and applying consistent shading based on a clear light source, you create a realistic three-dimensional object. Practice these fundamental steps to master volume and texture, which are essential skills for any artist looking to capture organic subjects accurately.
People also ask
What is the best pencil grade for sketching an apple?
Use an HB pencil for the initial light outline because it is easy to erase. For shading, switch to a 2B or 4B pencil to achieve darker, richer tones.
How do I make an apple look round instead of flat?
Focus on the transition between light and shadow, known as the terminator line. Keep the highlight bright and add a reflected light area near the bottom edge.
Should I draw the stem first or last?
It is generally better to draw the stem after establishing the main shape of the apple. This allows you to position the stem accurately within the top indentation.
How do I draw the shadow cast by the apple?
Observe the light source and draw an elongated, dark oval shape extending from the base. Keep the edges of the cast shadow softer as they move further away from the object.
Why does my apple look like a tomato?
This often happens if the shape is too perfectly round or the top indentation is too shallow. Ensure the top and bottom dips are distinct to define the apple's specific anatomy.
Can I use colored pencils for this drawing?
Yes, colored pencils work well by layering light yellows or greens before adding reds. Use a white pencil or leave the paper blank to represent the brightest highlights.
This answer was created with the help of AI research tools and reference sources. Spotted an error? Let us know — we correct mistakes quickly. See our editorial policy.

![How To Draw Eyes In 7 Easy Steps [Video + ]](/img/8e/how-do-you-draw-eyes-1.webp)