How do you draw a night sky?
Short answer
Drawing a night sky requires layering dark pigments to create depth and using high-contrast tools for stars. By blending deep blues, purples, and blacks, you establish a nocturnal atmosphere. Adding varied star sizes, a luminous moon, and soft nebulae creates a realistic, three-dimensional celestial scene that captures the vastness of space.
On this page
How to choose the best materials for night sky drawings
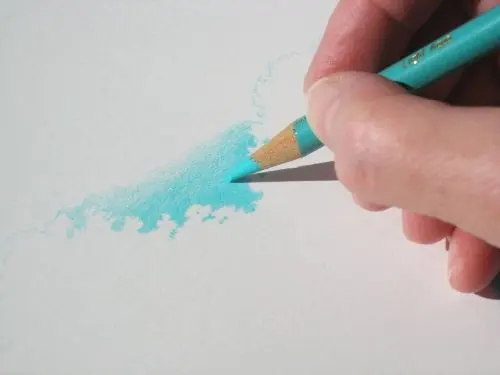
To capture the depth of the night sky, you need media that allows for smooth blending and high-opacity highlights. Soft pastels or charcoal are excellent for beginners because they blend easily with a finger or a blending stump. If you prefer precision, colored pencils on dark-toned paper provide excellent control for sketching fine constellations and distant galaxies. For a more dramatic, painterly effect, gouache or acrylic paints are ideal. These opaque mediums allow you to layer light stars over dark backgrounds without the colors muddying.
Regardless of your chosen medium, your surface choice is critical. Use heavy-weight paper or canvas that can withstand multiple layers of pigment. If you are using dry media, a textured "tooth" on the paper helps grab the pigment, allowing for richer, darker blacks. Always keep a high-quality white gel pen or a small, fine-tipped brush nearby for the final star details. These tools ensure your highlights remain crisp against the deep, dark backdrop of your composition.
How to layer colors for a realistic night sky
A common misconception is that the night sky is purely black. In reality, the sky contains subtle gradients of indigo, violet, deep teal, and even burnt umber near the horizon. Start by covering your paper with the darkest colors, working from the edges toward the center. Use circular motions to blend these hues, ensuring there are no harsh lines between the different shades of blue and purple. This creates a sense of atmospheric depth that makes the sky feel vast rather than flat.
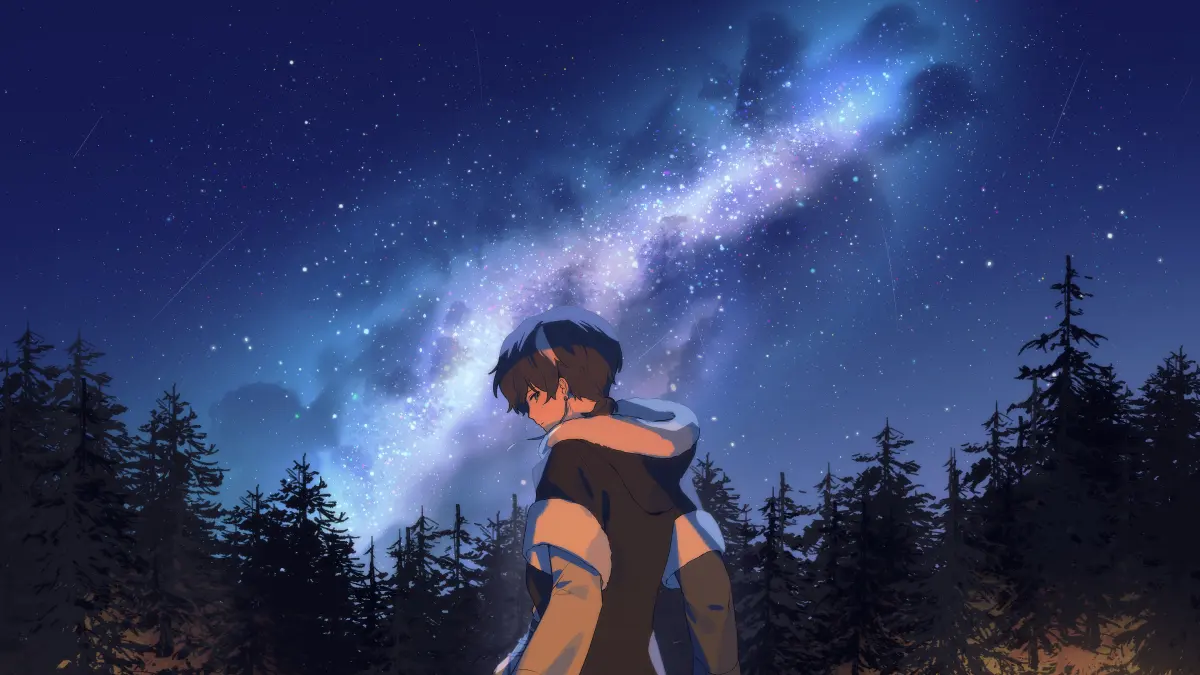
Once your base is established, you can begin to add texture. Use a lighter, muted tone to suggest the Milky Way or distant gas clouds. Keep these areas soft and diffused by using a light touch. Follow these steps to build your background effectively:
- Apply the darkest pigments at the corners of the page to create a natural vignette.
- Blend colors toward the center, gradually introducing lighter blues or violets.
- Use a clean cloth to buff the surface, which softens the transitions and removes excess dust or paint.
- Allow the base layer to dry completely before attempting to add stars or planets.
How to draw stars and constellations accurately
Stars are not uniform white dots; they vary in size, brightness, and color temperature. To make your sky look authentic, vary the size of your stars by using different pressures or brush sizes. Place a few large, bright stars as focal points, then surround them with a dense field of tiny, faint dots to simulate the distance of the galaxy. If you are drawing specific constellations, research their geometry online first to ensure the stars are connected in the correct patterns.
When adding these details, focus on the "twinkle" effect. You can achieve this by adding a tiny, faint glow around your brightest stars using a slightly lighter shade of blue or white. Avoid placing stars in a perfect grid or a uniform pattern, as this will look unnatural. Instead, cluster them in groups to mimic the organic distribution found in nature. Consider these tips for a professional finish:
- Use a splatter technique with a toothbrush to create a random, natural star field.
- Add a subtle cross-hatch or "starburst" effect to only the largest, most prominent stars.
- Leave some areas of the sky empty to create "voids," which provide visual relief.
How to incorporate the moon and clouds
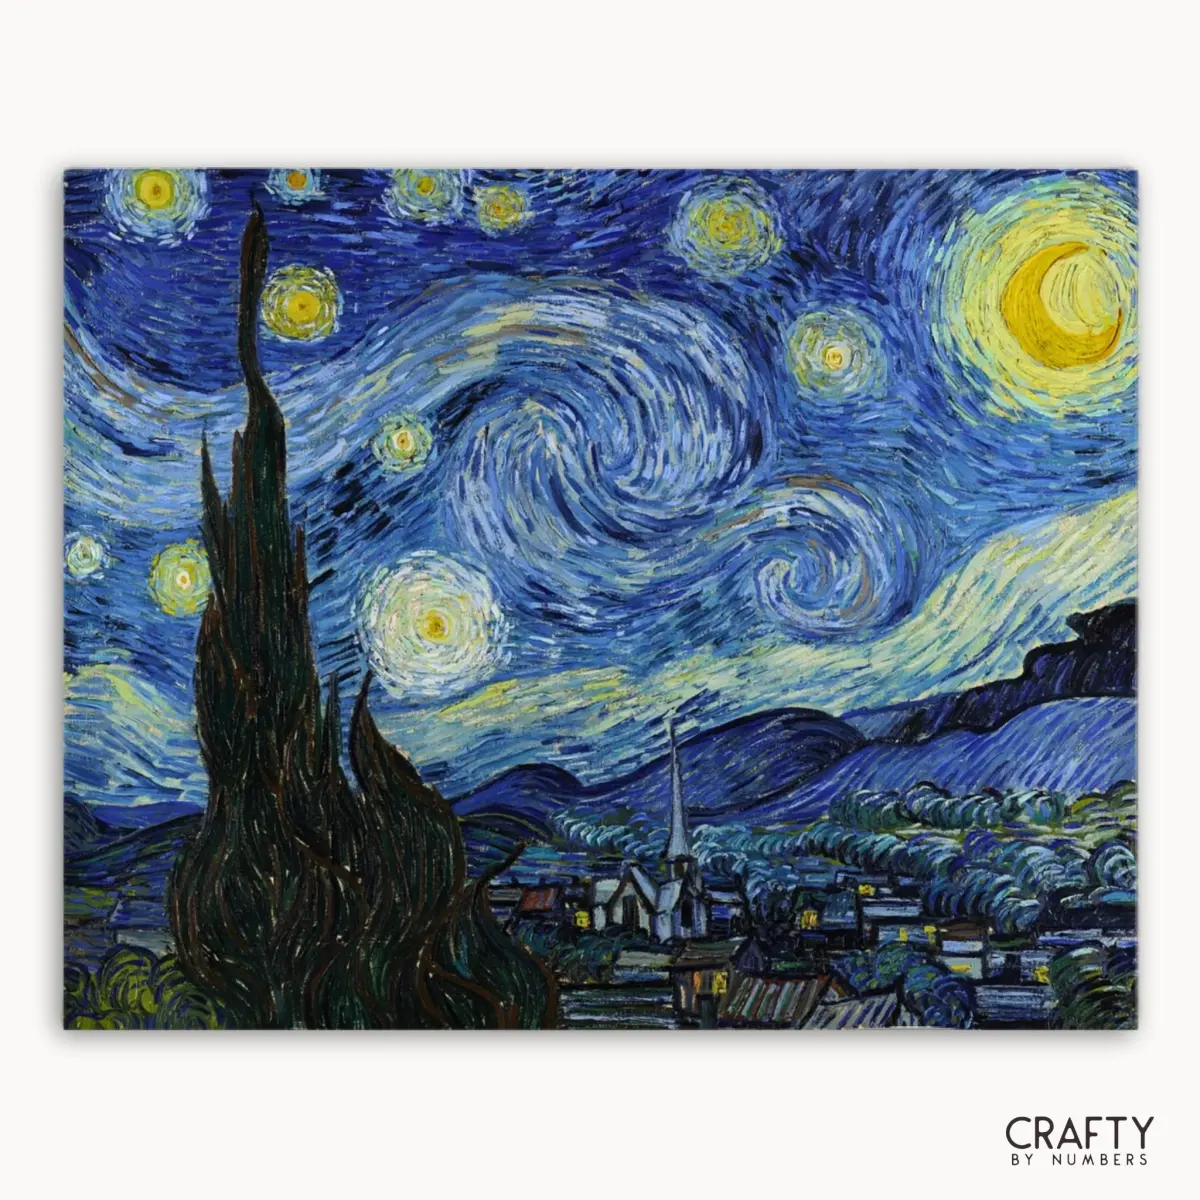
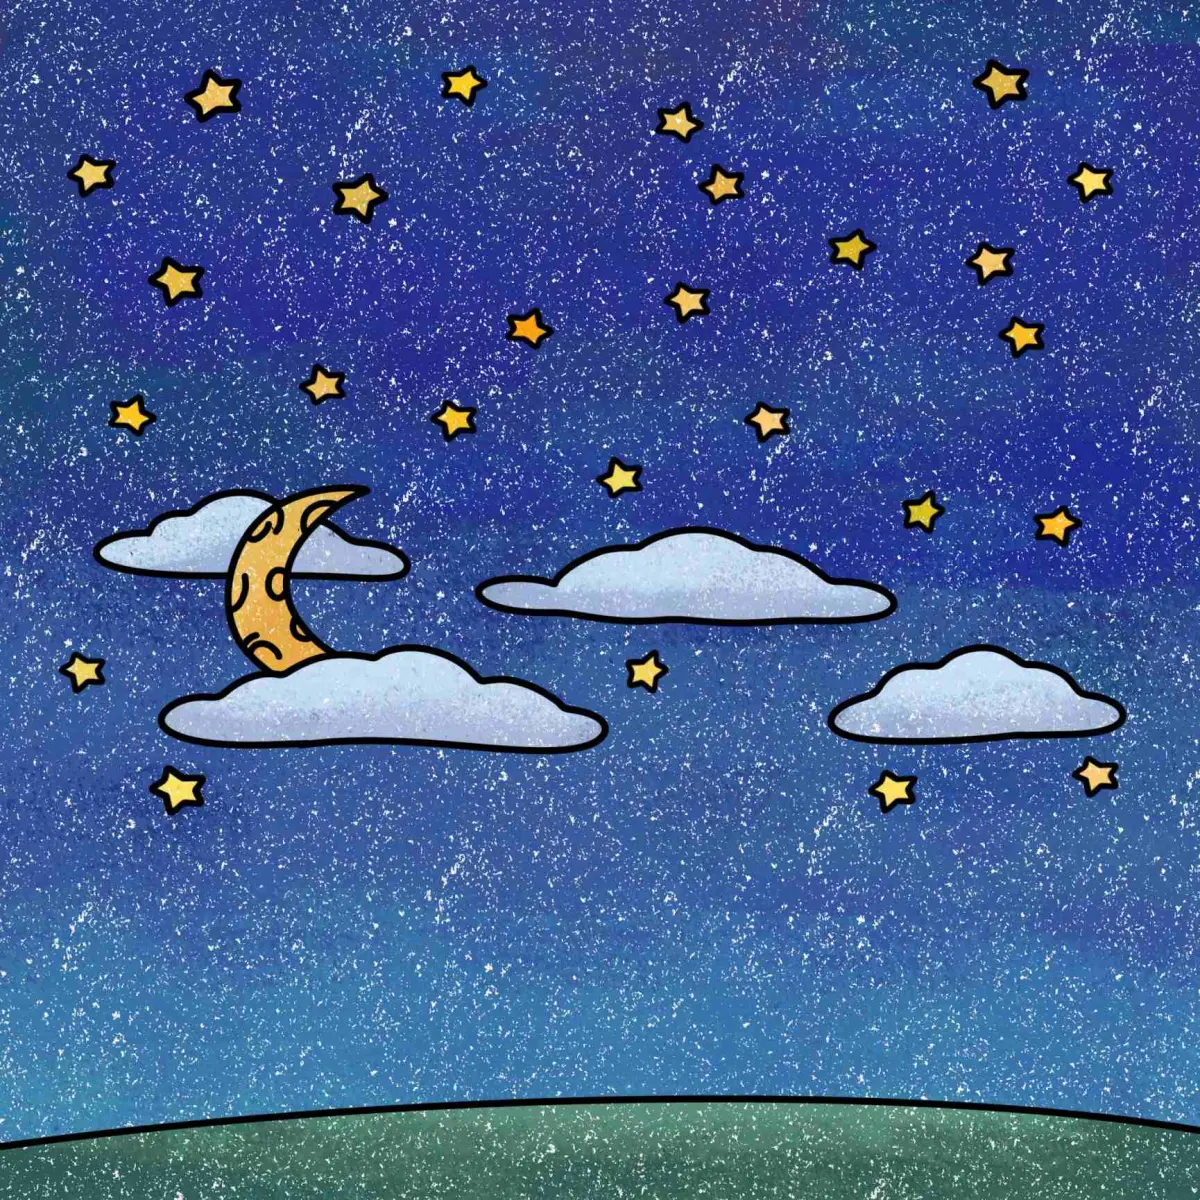
The moon is the most powerful light source in a night sky drawing and should be treated as a focal point. When drawing the moon, remember that it is a sphere, so use subtle shading to give it volume. A crescent moon requires a sharp, clean edge on the illuminated side and a soft, shadowed terminator line on the dark side. If you want to include clouds, draw them as translucent veils that partially obscure the stars behind them.
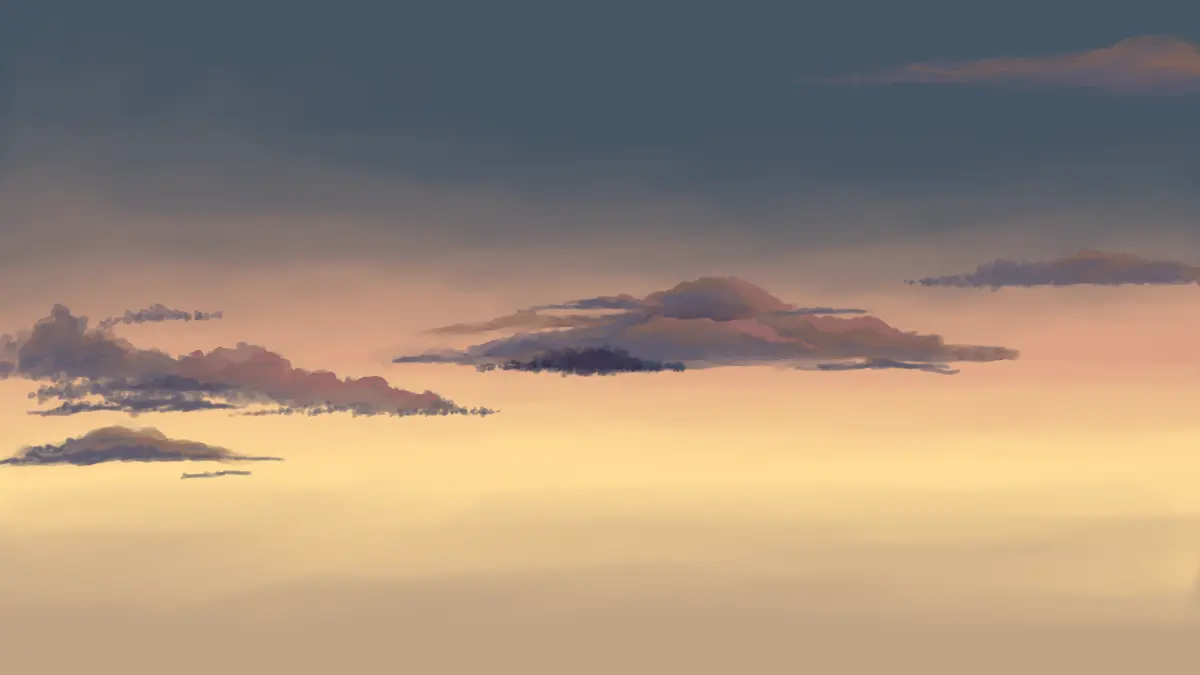
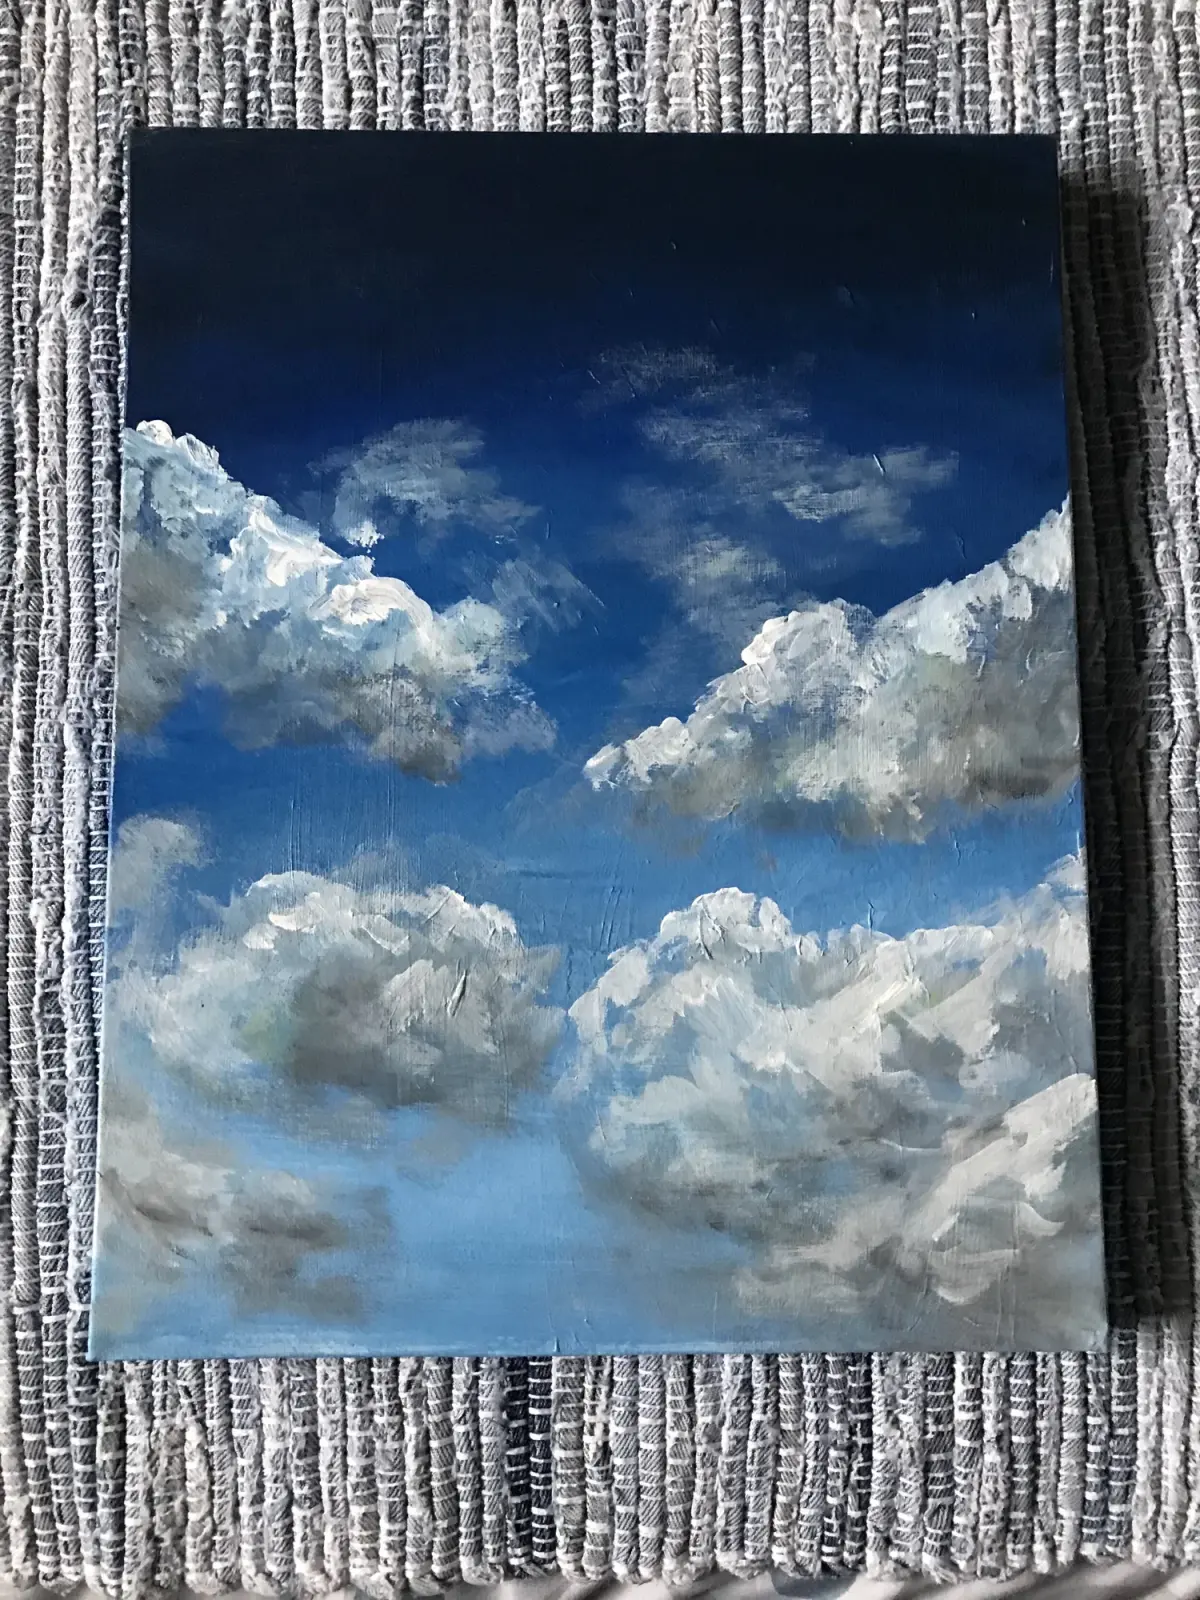
Clouds should be painted with soft, feathered edges to suggest their gaseous nature. Use a dark grey or deep blue that is slightly lighter than your background sky to make them stand out. By layering these shapes over your star field, you create an illusion of distance, where the stars appear to be far behind the clouds. This layering technique is essential for creating a sense of space and perspective in your celestial artwork.
Common mistakes when drawing the night sky
One of the most frequent errors is creating a sky that looks muddy or overworked. This usually happens when an artist tries to blend too many colors at once without letting the layers set. To avoid this, work in stages and allow each layer to become stable before adding more pigment. Another mistake is using pure white for every star; this can make the sky look like a flat piece of paper with holes poked in it. Use off-white, pale yellow, or light blue to add variety to your star colors.
Finally, avoid placing your horizon line perfectly in the center of the page, as this can make the composition feel static. Instead, place it lower to emphasize the vastness of the sky or higher to focus on the landscape below. Remember that the night sky is a dynamic, shifting environment. By observing actual photographs of the cosmos, you will learn to appreciate the subtle complexities of the atmosphere. With practice, you will develop the ability to turn a blank page into a window looking out into the infinite, sparkling universe.
Key facts
- Start with a dark base layer using charcoal or deep indigo ink to establish depth.
- Use a stiff-bristled brush or an old toothbrush to flick white acrylic paint for realistic star clusters.
- Vary the size of your stars by using different brush tips to create a sense of distance and perspective.
- Incorporate a gradient by blending lighter blues or purples near the horizon to mimic light pollution or atmospheric haze.
- Apply masking fluid to preserve white highlights before painting over large dark areas.
- Layer translucent glazes of color over dried stars to create the soft, glowing effect of distant nebulae.
The bottom line
Drawing a compelling night sky requires balancing deep, dark backgrounds with varied points of light. By layering colors from darkest to lightest and using specific tools like flicking brushes or gel pens, you can create the illusion of vast space. Remember to vary star sizes and colors to achieve a realistic effect. With patience and attention to contrast, you can transform a blank canvas into a celestial masterpiece.
People also ask
How do I make stars look like they are twinkling?
You can create a twinkling effect by painting a small, four-pointed star shape or adding a subtle cross-hatch flare around specific bright points. Keep these highlights very sharp and small to ensure they stand out against the background.
What is the best way to paint the Milky Way?
Use a sponge or a soft blending brush to apply mottled layers of white, violet, and deep blue in a curved, hazy band across the canvas. Focus on building density in the center and letting the edges fade into the surrounding darkness.
Should I use pure white for every star?
Avoid using pure white for every single dot, as stars in nature often have subtle tints of yellow, blue, or red. Adding tiny touches of these colors will make your night sky appear more vibrant and scientifically grounded.
How do I prevent my colors from becoming muddy?
Ensure each layer of paint is completely dry before adding new colors or stars on top. Working on a dry surface prevents the dark background from bleeding into your lighter star colors.
Can I use colored pencils for a night sky?
Colored pencils work well if you use a high-quality, heavy-weight paper and apply heavy pressure for the dark background. Use a white gel pen or an opaque white gouache for the stars, as standard pencils often struggle to layer over dark pigments.
How do I add depth to the sky?
Add depth by painting distant, faint stars first and layering brighter, larger stars on top of them. This technique mimics the way light travels through space and creates a convincing sense of three-dimensional volume.
This answer was created with the help of AI research tools and reference sources. Spotted an error? Let us know — we correct mistakes quickly. See our editorial policy.