How do you paint the moon in watercolor?
Short answer
Painting a realistic moon in watercolor requires a combination of masking fluid to preserve bright highlights and a "wet-on-wet" technique to create soft, cratered textures. By layering cool grays and blues while the paper is damp, you can achieve the luminous, cratered appearance characteristic of the lunar surface against a dark sky.
On this page
What materials are needed for painting the moon?
To achieve professional results, you should use high-quality, 100% cotton cold-press watercolor paper, which holds water well and allows for smooth blending. You will need a round brush in sizes 6 or 8 for the main body and a smaller size 2 brush for detailing the craters. Essential pigments include Payne’s Gray, Indigo, and a touch of Cerulean Blue to capture the cool, ethereal glow of the lunar surface.
Beyond the basics, masking fluid is a critical tool for beginners. It acts as a resist, allowing you to protect the brightest white spots of the moon while you paint the surrounding dark sky. You should also have a clean, damp sponge nearby to lift pigment if the color becomes too intense. Using a palette with deep wells helps in mixing the watery washes required for the moon’s subtle, shifting shadows.
How to create crater textures in watercolor?
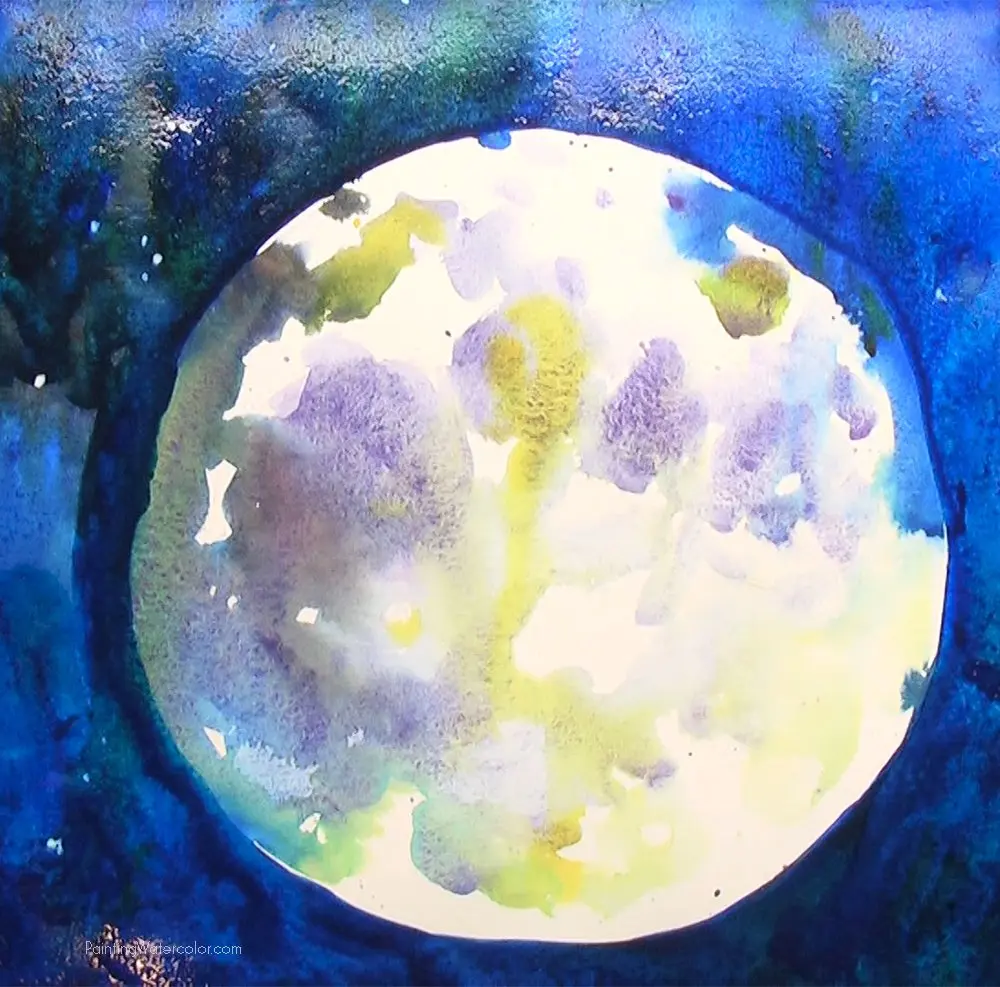
Creating the appearance of craters requires a delicate balance of moisture and pigment concentration. Start by applying a light wash of diluted Payne’s Gray over the moon’s circular area while the paper is slightly damp. While this layer is still wet, drop in more concentrated, darker pigment toward the edges of the circle to create the illusion of depth and curvature.
To refine the texture, follow these specific steps to simulate the lunar landscape:
- Use a small, damp brush to lift small circles of pigment from the base layer to create light-colored crater rims.
- Apply tiny, crescent-shaped shadows inside the lifted areas using a darker, thicker paint mixture to give the craters a three-dimensional look.
- Soften the edges of these shadows immediately with a clean, moist brush to ensure the transitions look natural rather than harsh or artificial.
How to paint the night sky around the moon?
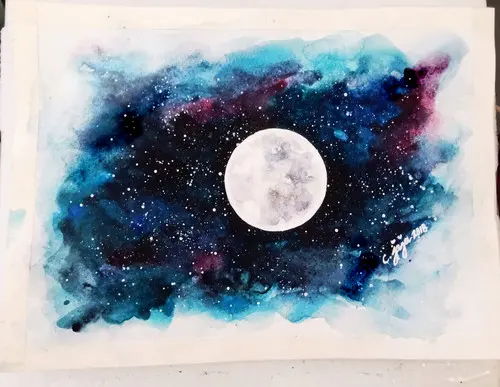
The contrast between the moon and the surrounding sky is what makes the painting pop. Use a "wet-on-dry" technique for the sky, carefully painting around the edge of the moon with a dark, saturated mixture of Indigo and Payne’s Gray. If you used masking fluid earlier, you can now remove it to reveal a crisp, white edge that separates the moon from the darkness.
When painting the sky, work quickly to ensure the wash remains even and streak-free. If you want a more atmospheric effect, you can lightly dampen the paper around the moon before applying the dark paint, which will cause the color to bloom slightly into the edges. This creates a soft, glowing halo effect known as a "lunar corona," which adds a sense of realism and depth to the celestial scene.
Common mistakes when painting the moon?
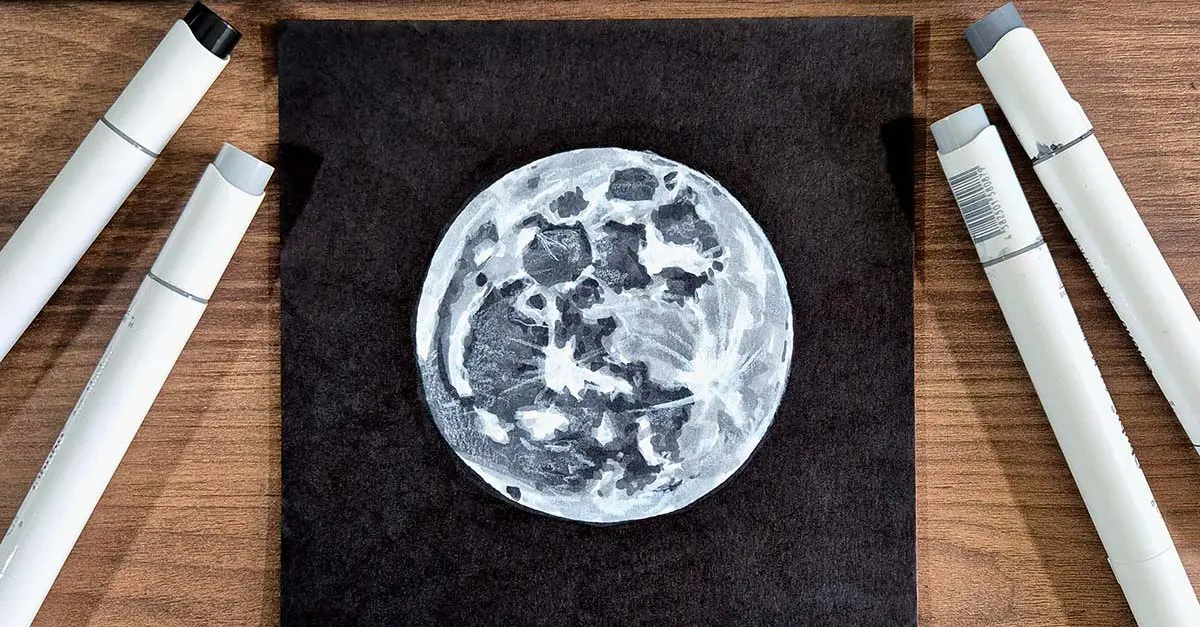
One of the most frequent errors is making the moon perfectly circular and flat. In reality, the moon has an irregular, textured surface, and painting it as a solid, uniform white or gray disc will make it look like a cartoon. Always vary the tones within the moon to suggest the presence of maria, the large, dark, basaltic plains that define its appearance to the naked eye.
Another common mistake involves using colors that are too warm. The moon reflects sunlight, but its surface is composed of gray rock and dust, which absorbs most of the color spectrum. Avoid using browns or yellows unless you are specifically painting a "harvest moon" or an eclipse. Stick to a monochromatic palette of grays and blues to maintain the cool, distant aesthetic of the night sky.
How to finish and highlight the painting?
The final stage of the process involves adding subtle highlights and cleaning up the edges. Once the painting is completely dry, you can use an opaque white gouache or a gel pen to add tiny, bright specks of light within the craters. This adds a final layer of brilliance that makes the moon appear as if it is catching direct light from the sun.
To ensure your work remains vibrant and professional, consider these finishing tips:
- Check for "hard edges" in the sky that might look distracting; use a damp brush to gently soften them if necessary.
- Ensure the transition between the moon and the sky is clean by using a small brush to correct any bleeding that occurred during the painting process.
- Avoid overworking the paper, as watercolor can become muddy if you apply too many layers of pigment, which will dull the luminosity of the moon.
Key facts
- Use masking fluid to preserve the stark white of the moon against a dark, wet-on-wet night sky.
- Apply a light wash of yellow ochre or Naples yellow to the moon before adding gray shadows to prevent a flat appearance.
- Utilize a "lifting" technique with a clean, damp brush to create soft, crater-like textures while the paint is still damp.
- Keep your paper tilted to allow pigments to flow naturally, mimicking the organic, uneven surface of lunar maria.
- Work from light to dark, building up the contrast of the surrounding space to make the moon appear luminous.
- Avoid pure black for the sky; mix ultramarine blue with burnt umber to create a more vibrant, deep atmospheric depth.
The bottom line
Painting the moon in watercolor requires a balance of light preservation and atmospheric layering. By using masking fluid to protect the moon’s brightness and employing wet-on-wet techniques for the surrounding sky, you can achieve a convincing celestial glow. Focus on building subtle, textured shadows within the lunar disc to provide depth, ensuring your final piece captures the ethereal, luminous quality of the moon in the night sky.
People also ask
How do I create a realistic glow around the moon?
Apply a thin, watery glaze of white or pale yellow around the edges of the moon while the surrounding sky paint is still damp. This technique, known as a halo effect, softens the boundary and simulates light diffusion.
What is the best paper texture for painting the moon?
Cold-press watercolor paper is ideal because its slight tooth helps capture the granulation of gray pigments used for craters. Rough paper can make fine detail work difficult, while hot-press paper may not hold enough water for smooth gradients.
Should I paint the moon before or after the sky?
It is standard practice to paint the moon first using masking fluid or careful perimeter work. Painting the sky around the moon allows you to control the contrast and ensure the lunar disc remains the brightest element.
Why does my moon look like a flat circle?
A flat appearance usually results from uniform color application without sufficient shadow depth. Incorporate subtle variations of Payne’s gray or indigo on one side of the moon to suggest curvature and three-dimensional volume.
Can I use salt to create crater textures?
Yes, sprinkling coarse sea salt onto a damp, pigmented area of the moon creates starburst-like patterns. Once the paint is completely dry, brush the salt away to reveal intricate, organic textures that mimic lunar geography.
What brushes are best for lunar details?
Use a small round brush, size 2 or 4, for precise crater work and edges. A larger mop brush is better for applying the initial sky wash to ensure an even, streak-free background.
This answer was created with the help of AI research tools and reference sources. Spotted an error? Let us know — we correct mistakes quickly. See our editorial policy.