How do you draw distance?
Short answer
Drawing distance is achieved through linear perspective, a technique that uses vanishing points and converging lines to create depth on a two-dimensional surface. By establishing a horizon line and placing objects along lines that recede toward a central point, artists replicate how the human eye perceives space, scale, and spatial relationships.

On this page
How to use linear perspective for beginners
Linear perspective relies on the geometric principle that parallel lines appear to converge as they move away from the viewer. To start, draw a horizontal line across your paper to represent the eye level, known as the horizon line. Place a single dot anywhere on this line; this is your vanishing point. Every object you intend to show as distant must have its edges aligned toward this specific point.
When drawing structures like buildings or roads, use a ruler to ensure your lines are perfectly straight. If you are sketching a road, draw two lines that start wide at the bottom of the page and meet exactly at the vanishing point. This simple geometric framework creates an immediate sense of depth. As you practice, you will notice that objects closer to the bottom of the page appear larger, while those near the vanishing point become smaller and more compressed.
How to create depth with atmospheric perspective
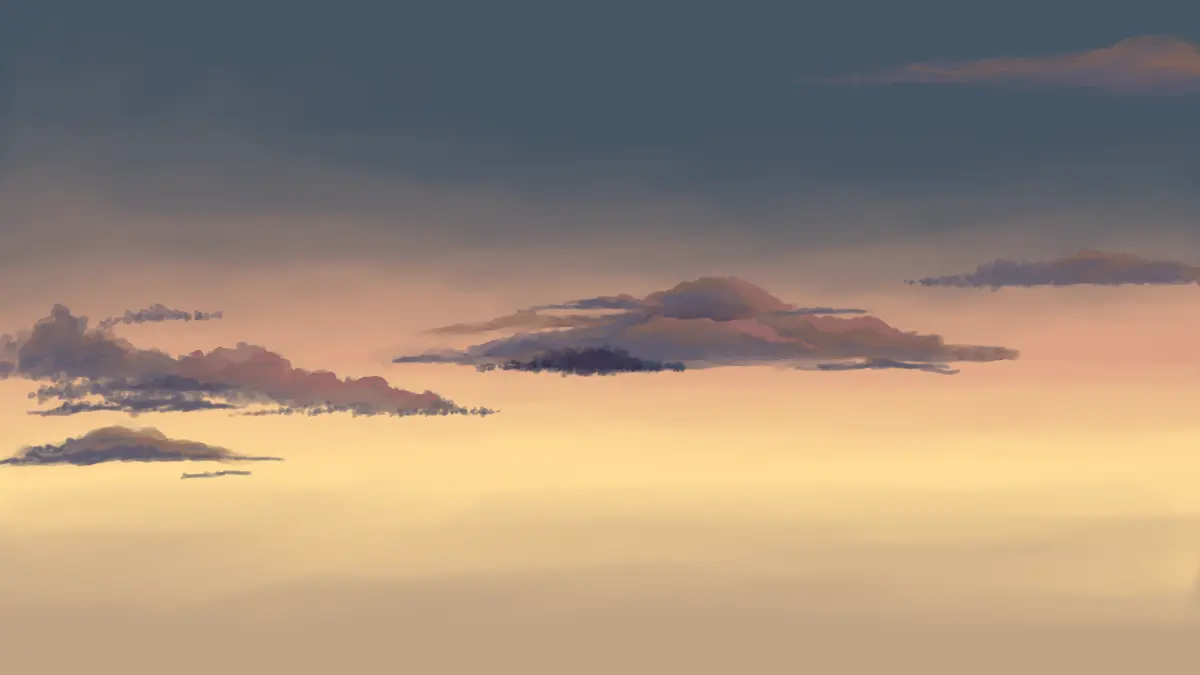
Atmospheric perspective, or aerial perspective, is the method of using changes in color, contrast, and detail to suggest vast distances. As objects move further away, the atmosphere scatters light, causing colors to appear cooler, lighter, and less saturated. Landscapes often look blue or gray in the far distance because of the density of air between the viewer and the horizon.
To master this technique, follow these three steps:
- Paint foreground elements with high contrast, dark shadows, and vibrant, warm colors.
- Use middle-ground objects to bridge the gap, slightly muting the colors and softening the edges.
- Render the background in pale, cool tones with very little detail or sharp contrast.
By reducing the level of detail on distant mountains or trees, you mimic the way the human eye loses focus on objects that are miles away.
Why size and overlapping create distance
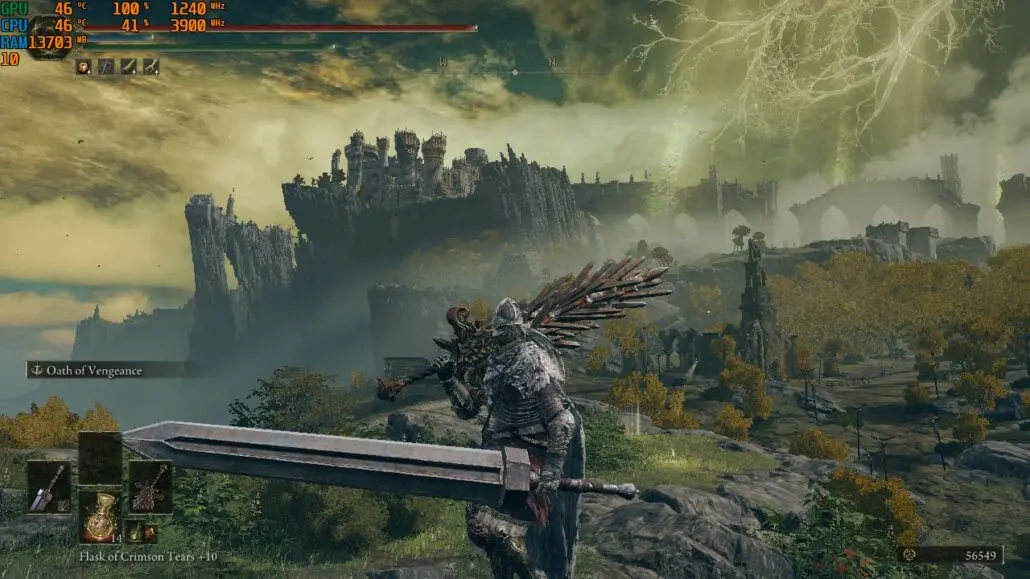
The human brain interprets distance by comparing the relative size of known objects. If you draw two identical trees, placing one lower on the page and making it larger than the other, the brain automatically perceives the smaller, higher tree as being further away. This is known as relative size, and it is the most intuitive way to establish spatial depth without complex geometric tools.
Overlapping is another essential tool for defining space. When one object partially covers another, the viewer instinctively understands that the covering object is closer. This technique is highly effective for creating a sense of volume in crowded scenes. By layering shapes, you create a clear hierarchy of foreground, middle ground, and background. This simple visual cue tells the viewer exactly how to navigate the space within your composition, making the image feel three-dimensional rather than flat.
Common mistakes when drawing distance
A frequent error is maintaining consistent detail across the entire drawing. Beginners often draw every leaf on a distant tree or every brick on a far-off wall, which flattens the image and destroys the illusion of space. In reality, the eye cannot resolve fine details at a distance, so your drawing should reflect this blurriness. If everything is in sharp focus, the viewer loses the sense of how far away the background truly is.
Another common mistake involves ignoring the horizon line or placing it incorrectly. If the horizon line is too high or too low without a clear purpose, the perspective of the entire scene can feel distorted or "tilted." Additionally, failing to maintain consistent vanishing points leads to objects that appear to exist in different spatial dimensions. Always verify that your receding lines originate from the same source. If you find your drawing looks "off," check your lines against the vanishing point to ensure they are mathematically sound.
Best tools for drawing distance accurately
Precision is vital when working with perspective, making a few basic drafting tools essential for success. A long, clear plastic ruler is the most important item, as it allows you to see your drawing underneath while creating perfectly straight lines toward the vanishing point. Mechanical pencils are also preferred over standard wooden ones because they maintain a consistent, sharp point, which is necessary for drawing thin, accurate lines that do not smudge or thicken over time.
For atmospheric effects, consider these artistic supplies:
- Kneaded erasers to soften lines and lift graphite for a faded, distant look.
- Blending stumps to smooth out textures in the background, minimizing detail.
- Watercolor or gouache paints to experiment with color temperature and light saturation.
- A sketchbook with a smooth surface to prevent unwanted texture from interfering with your perspective lines.
By combining these tools with a methodical approach to geometry and color, you can effectively translate the vastness of the real world onto your page with professional clarity.
Key facts
- Linear perspective relies on a horizon line, which represents the viewer's eye level.
- All parallel lines receding into the distance converge at a single point called the vanishing point.
- Objects appear smaller as they move closer to the vanishing point.
- Atmospheric perspective dictates that distant objects appear lighter, bluer, and less detailed.
- Overlapping shapes create a sense of depth by suggesting one object is in front of another.
- Vertical placement on a page suggests distance; items higher up appear further away.
The bottom line
Drawing distance is a fundamental skill that combines geometric precision with visual observation. By utilizing a horizon line and vanishing points, you establish a structural framework for depth. Complementing this with atmospheric techniques—such as reducing detail and contrast in background elements—creates a convincing three-dimensional space. Practice these principles consistently to transform flat surfaces into immersive environments that successfully guide the viewer’s eye toward the horizon.
People also ask
What is the difference between one-point and two-point perspective?
One-point perspective uses a single vanishing point, typically used for objects facing the viewer directly. Two-point perspective uses two vanishing points on the horizon, which is necessary for drawing objects at an angle, such as the corner of a building.
Read the full answer →How do I choose where to place the horizon line?
The horizon line should be placed at the height of your eye level. If you want a bird's-eye view, place the line high on the page; for a worm's-eye view, place it low.
Why do my drawings look flat despite using perspective lines?
Flatness often occurs when objects lack tonal contrast or atmospheric depth. Ensure that foreground objects have darker shadows and sharper edges, while background elements remain paler and softer.
Can I use more than two vanishing points?
Yes, three-point perspective is commonly used to depict extreme vertical angles, such as looking up at a skyscraper. The third point is placed either high above or low below the horizon line.
What is foreshortening?
Foreshortening is a technique used to create the illusion that an object is receding strongly into the distance. It involves compressing the proportions of an object, such as an arm reaching toward the viewer, to show depth.
How do I avoid common perspective mistakes?
A frequent error is drawing parallel lines that do not actually converge at the vanishing point. Always use a ruler to check that your receding lines align perfectly with your chosen points to maintain mathematical accuracy.
This answer was created with the help of AI research tools and reference sources. Spotted an error? Let us know — we correct mistakes quickly. See our editorial policy.