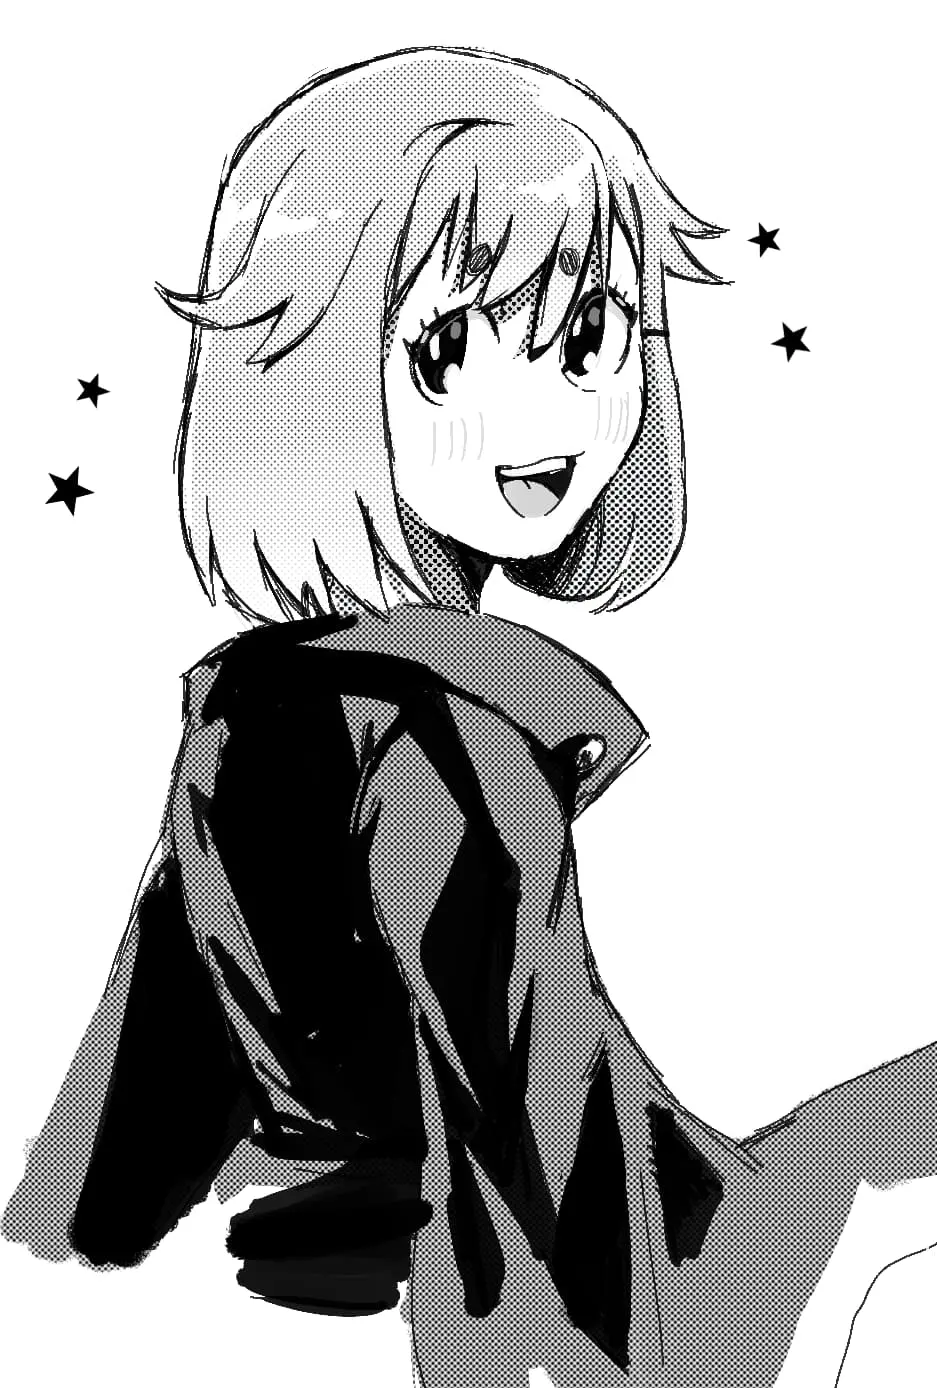
What is crosshatching used for?
Short answer
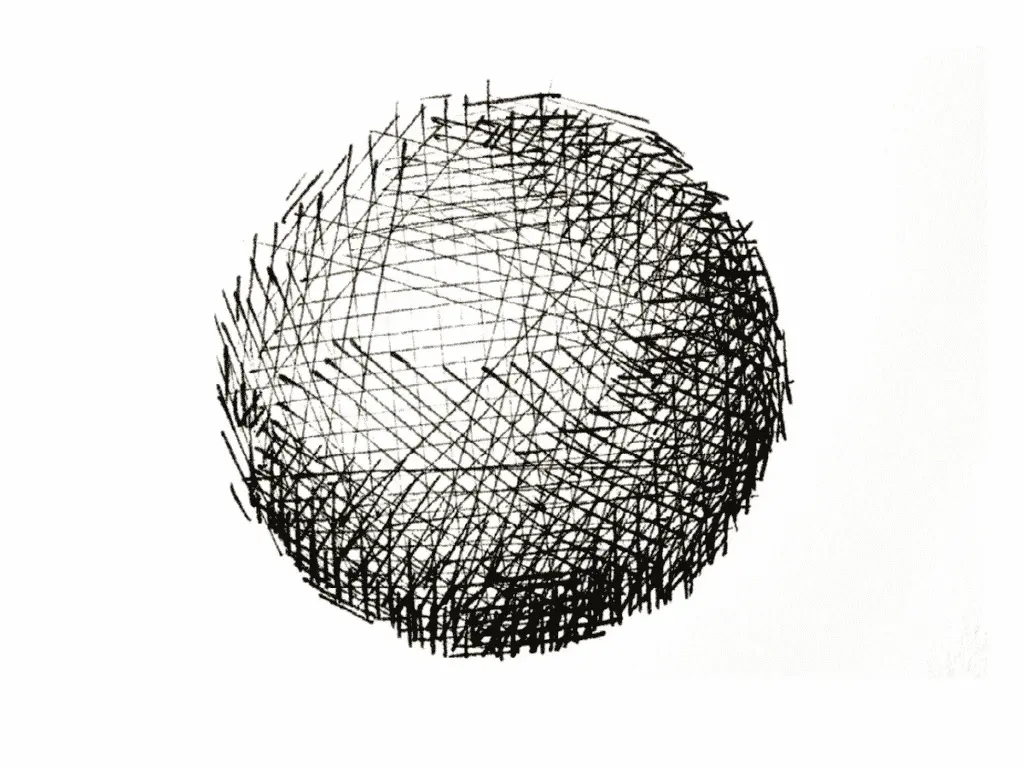
Crosshatching is a drawing technique used to create shading, texture, and depth by layering sets of parallel lines that intersect. By varying the density, thickness, and angle of these intersecting strokes, artists can simulate light, shadow, and three-dimensional form on a two-dimensional surface without relying on smudging or blending.
On this page
Why artists use crosshatching for shading
Crosshatching serves as a fundamental method for rendering value, which refers to the relative lightness or darkness of an area. Unlike blending, which uses smooth transitions to suggest form, crosshatching relies on the optical mixing of lines to define volume. When lines are placed close together, the human eye perceives a darker tone; when they are spaced further apart, the area appears lighter. This technique is essential for ink artists, printmakers, and pen-and-ink illustrators who cannot use traditional graphite smudging to achieve soft gradients.
Historically, this method gained prominence during the Renaissance, notably through the engravings of Albrecht Dürer. By controlling the direction of the lines, artists can also emphasize the contours of an object, making a flat drawing appear rounded or recessed. This technique provides a sense of structure and permanence that is difficult to replicate with softer media. It remains a preferred choice for technical illustration and comic book art because it maintains clarity even when reproduced in high-contrast black and white.
How to create crosshatching patterns
To begin crosshatching, you must first establish a base layer of parallel lines, known as hatching. Once the base layer is complete, you draw a second set of lines at an angle across the first set to create a grid-like pattern. The density of these intersections determines the darkness of the shadow. You can increase the complexity of the shading by adding a third or fourth layer of lines at different angles, which creates a deeper, more saturated black.
Follow these steps to build your shading:
- Determine the light source to identify where the deepest shadows will fall on your subject.
- Apply a light layer of parallel lines in the direction of the object's surface curve.
- Cross these lines with a second set at a 45-degree angle to darken the tone.
- Add additional layers at varying angles to deepen the shadows near the edges.
- Use a finer pen tip or lighter pressure for the transition areas to ensure a smooth gradient.
Best tools for crosshatching beginners
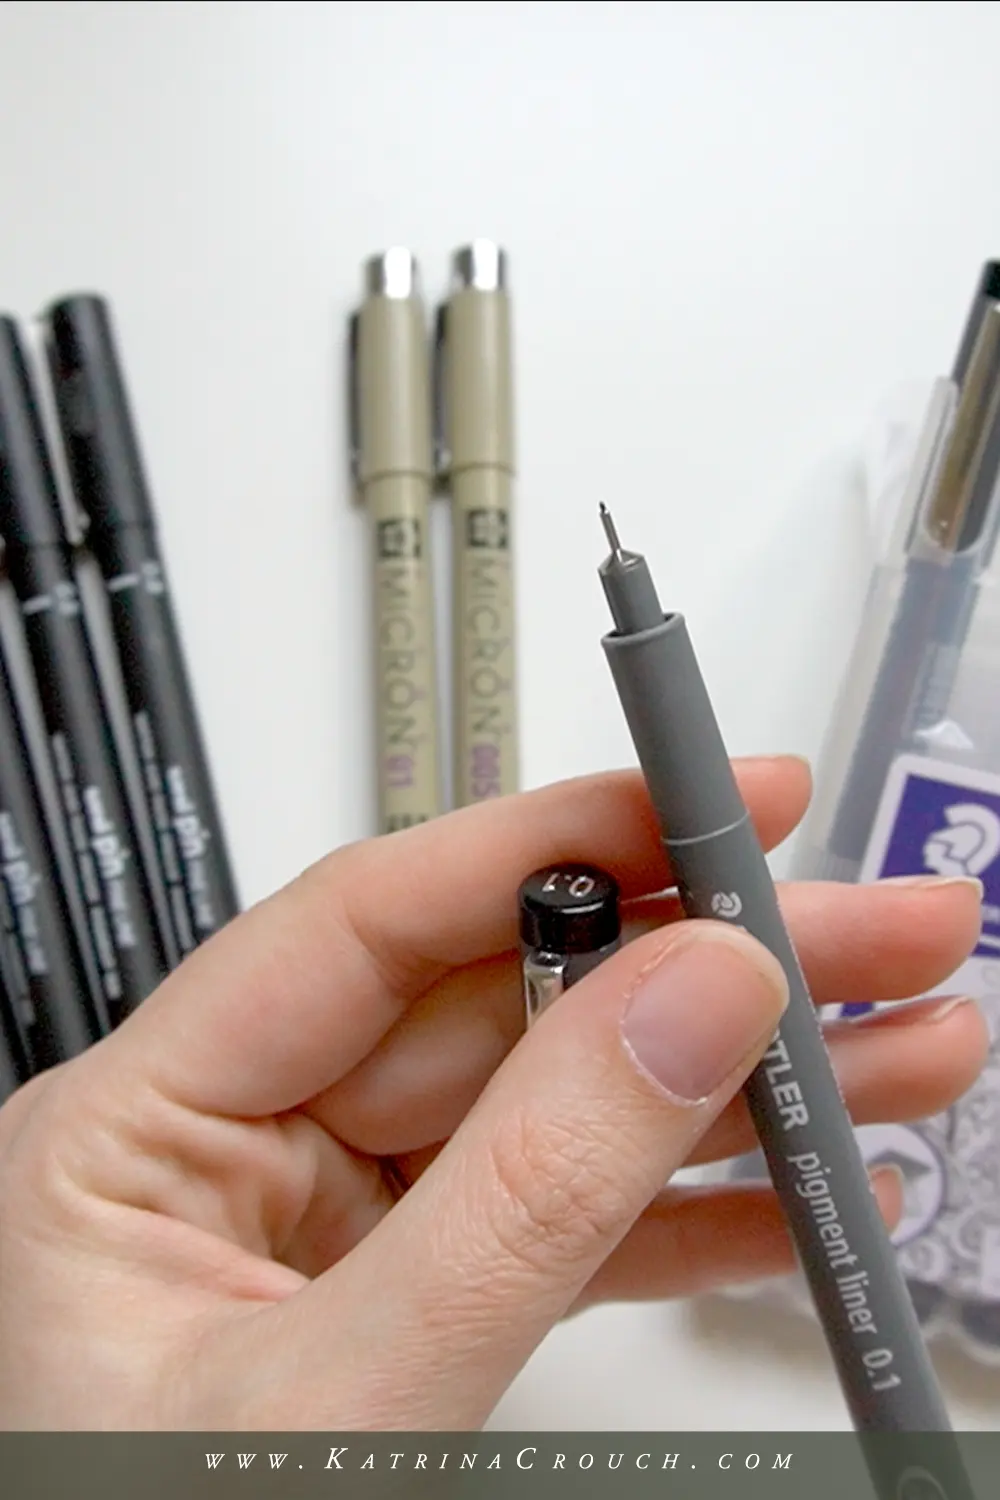
The most effective tools for crosshatching are those that provide consistent line weight, such as technical pens, fine-liners, or dip pens. Technical pens are ideal because they come in standardized sizes, allowing for precise control over the width of the lines. Beginners should start with a set that includes at least three sizes: a fine tip for detail, a medium tip for general shading, and a slightly broader tip for deep, dark areas. Smooth, high-quality paper is also necessary to prevent ink from bleeding or feathering.
When selecting your materials, consider the following factors:
- Nib consistency: Ensure the pen provides a steady flow of ink without skipping.
- Paper texture: Hot-press paper or smooth bristol board is best for crisp, clean lines.
- Ink permanence: Use waterproof ink if you plan to add watercolor or markers over your crosshatching later.
- Ergonomics: Choose a pen body that feels comfortable for long sessions, as crosshatching is a time-intensive process.
Common mistakes when crosshatching
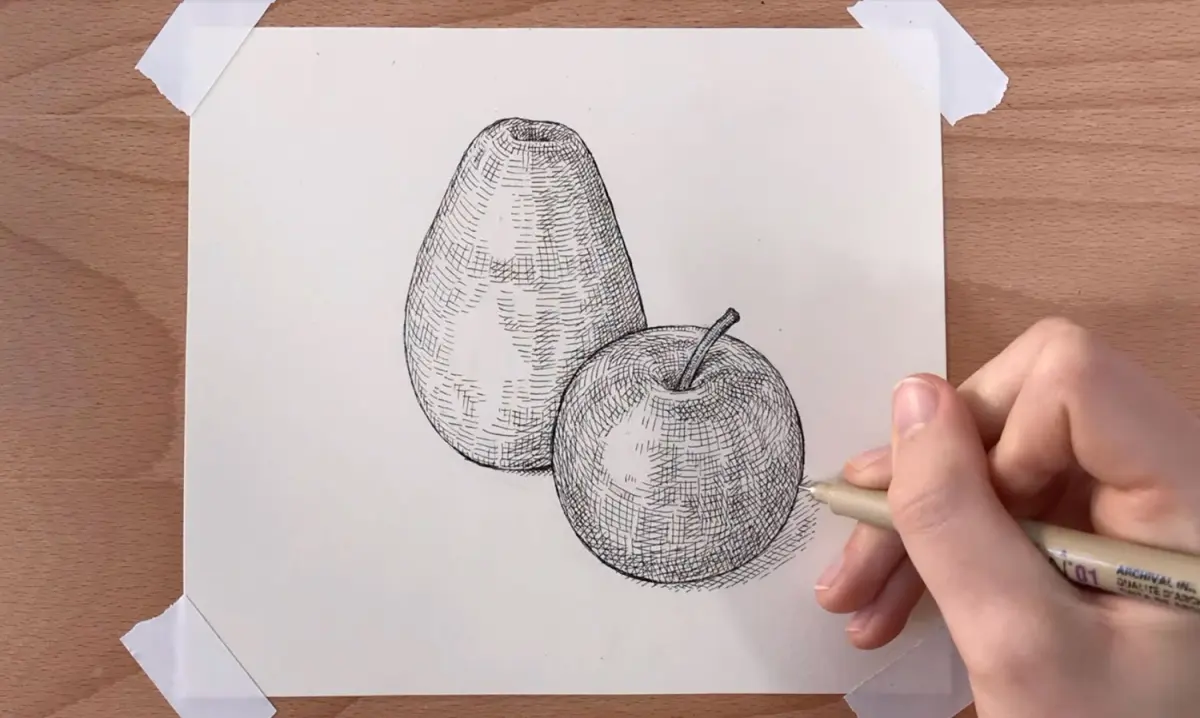
One of the most frequent errors is creating lines that are too uniform or rigid, which can make the drawing look stiff and mechanical. Beginners often forget to follow the contour of the object, resulting in shading that looks like a flat cage rather than a rounded form. Another common mistake is applying too much pressure, which can cause the ink to pool or tear the paper fibers. It is crucial to maintain a relaxed grip to keep the lines fluid and natural.
Avoid these pitfalls to improve your technique:
- Over-hatching: Adding too many layers can create a muddy, solid black mass that loses the texture of the lines.
- Ignoring the contour: Failing to curve your lines around the form of the subject will make the object appear flat.
- Inconsistent spacing: Erratic gaps between lines can create unintentional visual noise, distracting the viewer from the intended shape.
- Rushing the process: Crosshatching requires patience; moving too quickly often leads to messy, overlapping strokes that lack precision.
How long does it take to master crosshatching
Mastering crosshatching is a gradual process that depends on your ability to visualize light and form. While the basic concept can be learned in a few hours, achieving a professional look requires developing a steady hand and an intuitive sense of line weight. Many artists spend years refining their ability to suggest texture, such as the roughness of stone or the softness of fabric, using only simple intersecting lines. Regular practice, such as sketching daily objects with varying light conditions, is the most effective way to improve.
As you gain experience, you will learn how to use "contour hatching," where the lines themselves follow the topography of the subject. This advanced application allows for more expressive work and better representation of complex anatomy or landscapes. By studying the works of masters like Rembrandt or Gustave Doré, you can observe how different line densities are used to create atmosphere and mood. With consistent effort, your crosshatching will evolve from a simple shading exercise into a sophisticated tool for artistic expression and detailed visual storytelling.
Key facts
- Crosshatching involves drawing sets of parallel lines that intersect to create shading or texture.
- The density of the lines determines the darkness of the area; closer lines create deeper shadows.
- Artists use crosshatching to build volume and three-dimensional form on a two-dimensional surface.
- Varying the angle of the intersecting lines can suggest the direction of a light source.
- Ink pens, graphite pencils, and charcoal are the most common tools used for this technique.
- Avoid pressing too hard with your pen, as it can cause ink to bleed or paper fibers to tear.
The bottom line
Crosshatching is a fundamental artistic technique that transforms simple lines into complex, shaded imagery. By layering intersecting strokes, you can define light, shadow, and depth with precision. Whether you are sketching with a pencil or using ink, the key is to control line density and angle. With consistent practice, you will master the ability to bring flat subjects to life through this versatile and timeless method.
People also ask
How does crosshatching differ from stippling?
Crosshatching uses linear strokes to build tone, whereas stippling relies on thousands of tiny individual dots. Both methods are effective for shading, but crosshatching is generally faster to execute.
Can I use crosshatching for digital art?
Yes, many digital illustration programs offer brushes that mimic the look of ink pens for crosshatching. You can create layers to control the density of your lines without affecting the original sketch.
What is the difference between hatching and crosshatching?
Hatching uses a single set of parallel lines to create shade. Crosshatching adds a second or third layer of lines at different angles over the initial hatch marks to darken the tone.
Read the full answer →Should I use a ruler for crosshatching lines?
Generally, no, as freehand lines provide a more organic and expressive look. Using a ruler can make the drawing appear overly mechanical and stiff.
How do I prevent my lines from looking messy?
Start by practicing your line consistency on scrap paper to build muscle memory. Keep your strokes short and controlled rather than trying to draw long, sweeping lines across the entire page.
Does paper quality matter for crosshatching?
Yes, smooth, heavy-weight paper is ideal for ink work to prevent feathering. Textured paper can make it difficult to draw precise, clean lines, especially with fine-tipped pens.
This answer was created with the help of AI research tools and reference sources. Spotted an error? Let us know — we correct mistakes quickly. See our editorial policy.