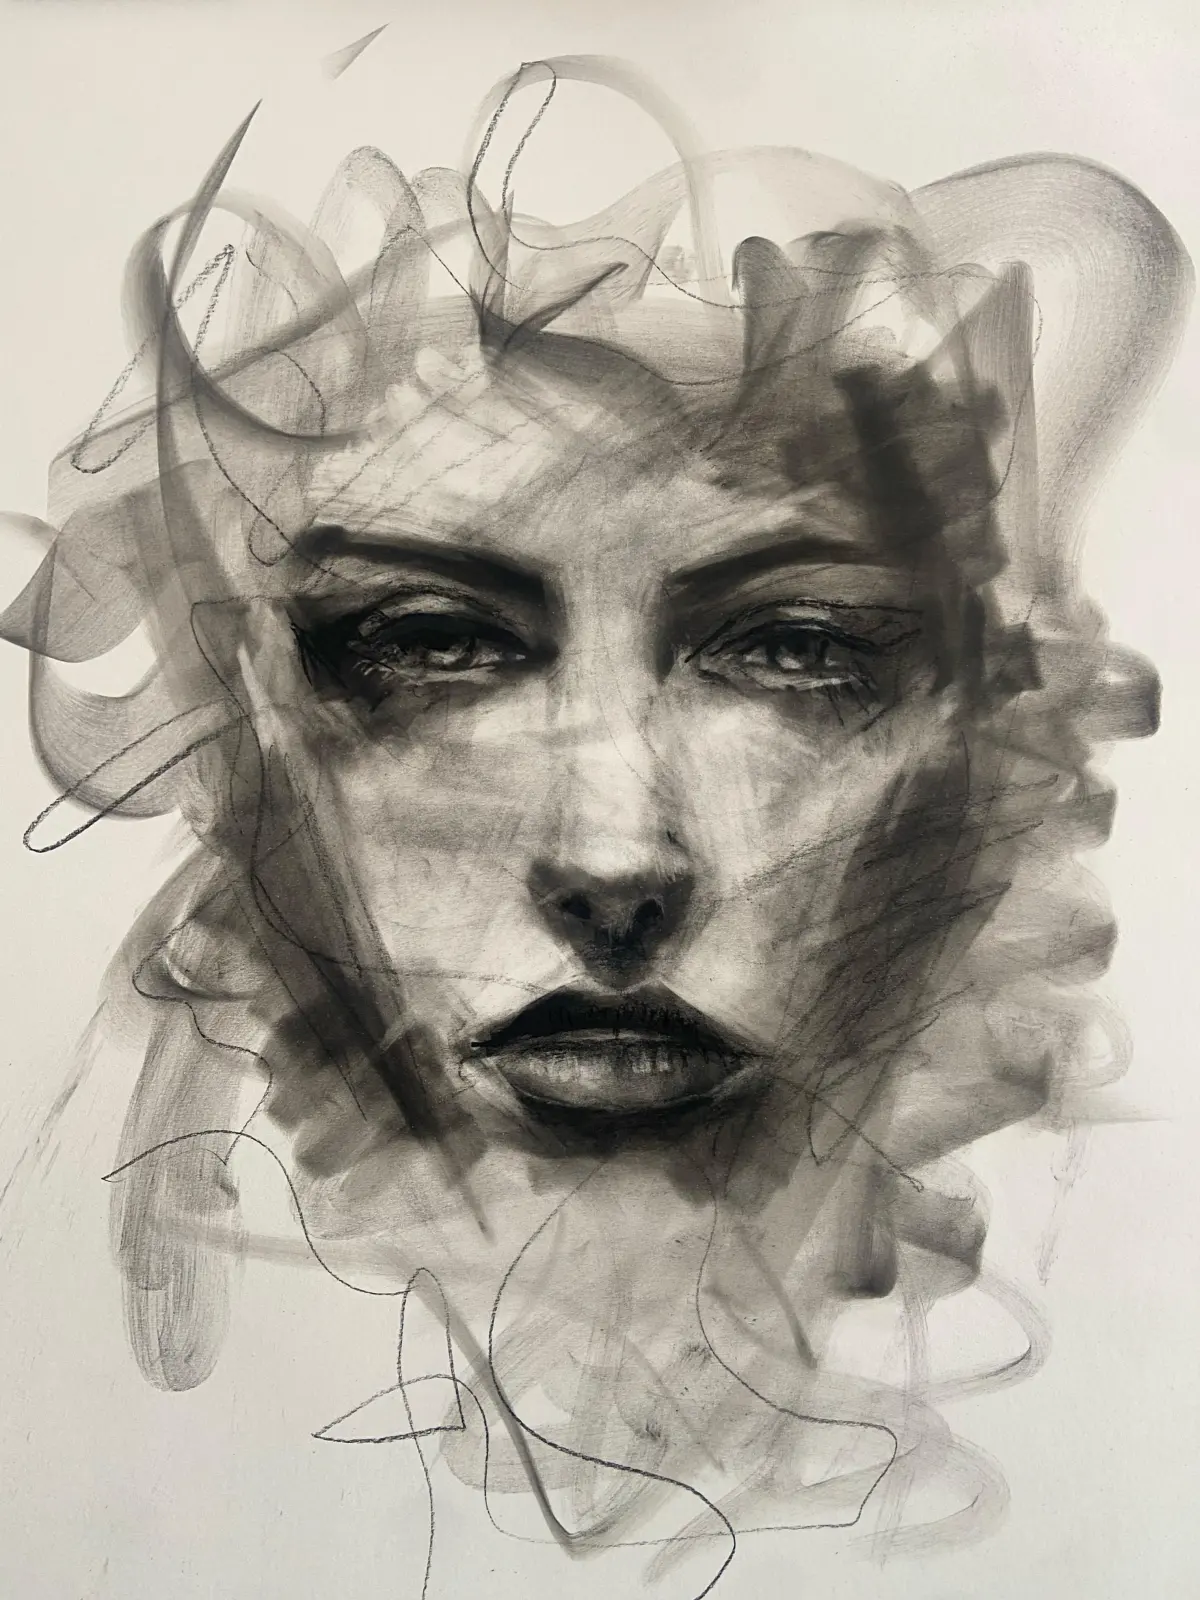
What is wood burning art?
Short answer
Wood burning art, also known as pyrography, is the decorative craft of burning intricate designs onto wood surfaces using a heated metal tool. By controlling the temperature and pressure of the nib, artists create varying shades and textures, transforming plain timber into detailed illustrations, portraits, or rustic patterns through controlled charring.
On this page
What is the history of wood burning art?
Pyrography is an ancient art form that dates back to prehistoric times when humans first discovered that fire could be used to mark wood. While early examples are difficult to trace due to the organic nature of the materials, archaeological evidence suggests that cultures in Egypt and China utilized heated metal rods to decorate wooden artifacts and leather. The term "pyrography" itself is derived from the Greek words "pur," meaning fire, and "graphos," meaning writing.
The craft gained significant popularity in the Victorian era, particularly during the late 19th century. During this period, it was often referred to as "poker work" because artists used simple, heated iron pokers to burn patterns into furniture and household items. The invention of the modern electric pyrography pen in the 20th century revolutionized the medium, allowing for precise temperature control and interchangeable tips. Today, the practice has evolved into a sophisticated fine art form, with practitioners using advanced machines to achieve photorealistic detail on various types of wood.
Best wood burning tools for beginners
For those just starting, investing in a reliable tool is essential for success. Beginners should look for a "solid-point" burner, which is a simple, plug-in tool that operates at a single, fixed temperature. These tools are affordable, durable, and perfect for learning basic stroke techniques and pressure control. As skills progress, many artists transition to "wire-nib" burners, which offer variable temperature control and allow for much finer, more intricate line work.
Beyond the burner itself, selecting the right wood is critical for achieving clean results. Soft, light-colored woods are the gold standard for beginners because they burn evenly and provide high contrast for the charred lines. Consider the following materials for your first projects:
- Basswood: Widely considered the best wood for beginners due to its soft, consistent grain and pale color.
- Birch: Excellent for detailed work because it is smooth and lacks deep, distracting grain patterns.
- Poplar: A cost-effective alternative that is readily available at most hardware stores.
- Pine: Generally avoided by beginners because its high resin content can cause uneven burning and flare-ups.
How to start a wood burning project
Creating a successful piece of pyrography requires preparation and patience. Before touching the hot tool to your project, ensure your wood surface is sanded to a smooth finish, typically starting with 120-grit sandpaper and moving up to 220-grit. A smooth surface prevents the nib from snagging on wood fibers, which can ruin the flow of your lines. Once sanded, wipe away all dust with a tack cloth to ensure a clean burning surface.
- Sketch your design lightly onto the wood using a graphite pencil to serve as a guide.
- Set your burner to a low or medium temperature to test how the wood reacts to the heat.
- Begin by outlining your design with a light touch, keeping the nib moving steadily to avoid dark, uneven spots.
- Gradually increase the pressure or temperature to add shading, depth, and darker tones to your artwork.
- Once the burning is complete, use a soft eraser to remove any remaining pencil marks before applying a finish.
Common mistakes when wood burning
Even experienced artists encounter challenges, but most common errors are easily preventable with a bit of mindfulness. One frequent mistake is pressing too hard with the pen, which can gouge the wood and create deep, unattractive grooves rather than smooth, burnt lines. Another issue involves burning in a poorly ventilated area. Because the process creates smoke and releases wood particles into the air, it is vital to work in a room with an open window or a small desk fan to ensure proper airflow.
Another common pitfall is neglecting to clean the nib regularly. As you burn, carbon and resin build up on the metal tip, which can interfere with heat transfer and cause the tool to drag. Keep a piece of scrap leather or a specialized cleaning stone nearby to wipe the nib frequently. Avoid the temptation to rush; wood burning is a slow, meditative process. If you find your lines becoming shaky or inconsistent, take a break and return to the project when your hand is steady and your focus is sharp.
How to finish and protect wood art
Finishing your work is the final step to ensure your art remains vibrant and protected from environmental damage over time. Because pyrography is essentially a permanent stain, it does not require heavy coverage, but a light sealant can prevent the wood from yellowing or warping. Water-based polyurethane is a popular choice because it dries clear and does not yellow over time, preserving the natural contrast between the burnt lines and the light wood grain.
When applying a finish, use a high-quality synthetic brush to apply thin, even coats. Allow the first layer to dry completely according to the manufacturer's instructions, then lightly sand the surface with 400-grit sandpaper before applying a second coat. This process ensures a professional, smooth-to-the-touch finish. If you prefer a more natural look, a simple wax or oil-based finish can be rubbed into the wood to enhance its texture while providing a subtle, matte sheen. Always test your chosen finish on a scrap piece of wood first to ensure it does not smear your delicate line work.
Key facts
- Wood burning, formally known as pyrography, is the art of decorating wood or other materials with burn marks resulting from the controlled application of a heated object.
- Modern pyrography tools range from simple, inexpensive solid-point pens to sophisticated wire-nib burners that allow for precise temperature control.
- Basswood, birch, and poplar are considered the best woods for beginners because they have light colors and consistent grain patterns that do not interfere with designs.
- Safety is paramount; always work in a well-ventilated area to avoid inhaling smoke and use pliers to change hot tips to prevent burns.
- You should always sand your wood surface to a smooth finish before starting, as rough textures can cause the pen to snag and ruin your lines.
- Practice on scrap pieces of wood first to learn how different heat settings and pressure levels affect the depth and darkness of the burn.
The bottom line
Pyrography is a versatile and accessible craft that transforms plain wood into intricate works of art through the precise application of heat. By selecting the right materials, prioritizing safety, and mastering consistent movement, beginners can produce professional-looking results. Whether you prefer simple line work or complex, realistic shading, this ancient technique offers endless creative possibilities for customizing home decor, gifts, and personalized wooden items.
People also ask
Can you perform pyrography on materials other than wood?
Yes, pyrography can be practiced on leather, paper, cork, and even certain types of gourds. Each material requires different heat settings and techniques to avoid scorching or burning through the surface.
How do I transfer a pattern onto my wood piece?
The most common methods include using graphite transfer paper to trace a design or using a laser printer to transfer an image with heat. You can also sketch directly onto the wood with a light pencil, which can be erased after burning.
Is it necessary to seal the wood after finishing the art?
Sealing is highly recommended to protect the wood from moisture, UV light, and dirt. Common finishes include polyurethane, wax, or oil, which can enhance the contrast of the burned marks.
How do I clean my pyrography tips?
Use a honing cloth or a fine-grit sandpaper while the tool is cool to remove carbon buildup. Never use water or harsh chemicals, as these can damage the metal tips and affect their heating performance.
What is the difference between a solid-point and a wire-nib burner?
Solid-point burners act like a soldering iron with fixed temperatures, while wire-nib burners use a power supply to heat thin wire loops. Wire-nib tools offer faster heating, better precision, and interchangeable tips for complex shading.
Why are my lines looking uneven or blotchy?
This is usually caused by moving the tool too slowly or pausing in one spot, which creates deep, dark pits. Maintain a steady, consistent speed across the surface to ensure smooth, uniform lines throughout your design.
This answer was created with the help of AI research tools and reference sources. Spotted an error? Let us know — we correct mistakes quickly. See our editorial policy.