How do you color wood with colored pencils?
Short answer
Coloring wood with colored pencils involves layering pigment onto a sanded, porous surface to achieve vibrant, artistic effects. Because wood grain absorbs color differently than paper, you must prepare the substrate, apply light layers, and seal the final design with a clear topcoat to protect the delicate wax or oil binders.
On this page
How to prepare wood for colored pencils
The most critical step in coloring wood is surface preparation. Raw wood must be sanded to remove splinters and create a uniform texture that accepts pigment. Start with a medium-grit sandpaper, such as 120-grit, and progress to a fine 220-grit for a smooth finish. If the wood is too rough, the pencil tip will snag and break; if it is too smooth or sealed with varnish, the wax will not adhere.
Once sanded, remove all dust particles with a tack cloth or a slightly damp rag. If you intend to use a light color palette, ensure the wood is a light-colored species like birch, basswood, or poplar. Darker woods like walnut or mahogany will naturally mute your colors, making it difficult to achieve bright, opaque results. Never apply pencils directly to wood treated with oils or stains unless those finishes have fully cured and are compatible with wax-based media.
Best colored pencils for wood surfaces
Not all colored pencils perform equally on wood. Professional-grade pencils with high wax or oil content are superior because they offer better opacity and blendability. Wax-based pencils, such as Prismacolor Premier, are excellent for filling the porous gaps in wood grain due to their soft, buttery consistency. Oil-based pencils, like Faber-Castell Polychromos, are harder and hold a sharper point, which is ideal for intricate detailing or fine line work on wood.
When selecting your materials, consider these factors:
- Pigment concentration: High-quality pigments ensure the color remains vibrant against the wood's natural tone.
- Binder type: Wax-based pencils blend easily but may require more frequent sharpening.
- Lightfastness: If the wood piece will be displayed in sunlight, choose pencils with high lightfast ratings to prevent fading over time.
- Hardness: Use harder leads for initial outlines and softer leads for filling in large areas of color.
How to apply color to wood
The application process requires a different technique than drawing on paper. You must work in light, circular motions to push the pigment into the wood fibers. Because wood is absorbent, you will likely need to apply multiple thin layers to build up the desired intensity. Do not press too hard initially, as this can crush the wood fibers and create uneven streaks that are difficult to correct later.
Follow these steps for a professional finish:
- Sketch your design lightly with a graphite pencil to ensure proper placement.
- Apply a base layer of color using a light touch, focusing on filling the grain.
- Gradually increase pressure as you add subsequent layers to saturate the surface.
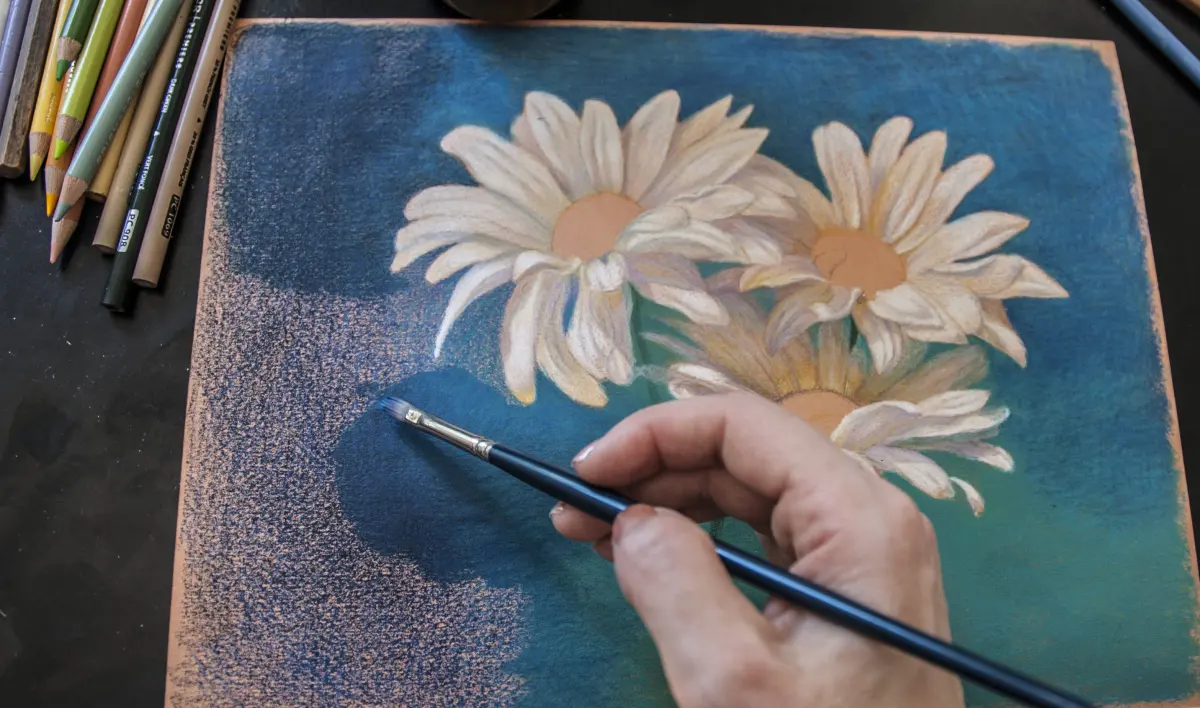
- Use a colorless blender pencil or a small amount of mineral spirits on a cotton swab to smooth out the pigment and create a painterly, uniform look.
- Allow the pigment to set for several minutes before adding final details or highlights.
Why colors look different on wood
The natural characteristics of wood significantly influence how pigments appear. Wood grain consists of dense and porous areas that absorb binder and pigment at different rates. This can lead to a "streaky" appearance, especially with lighter colors. Furthermore, the natural color of the wood acts as an undertone, meaning a blue pencil may look greenish if applied to a yellow-toned pine surface.
To mitigate these issues, many artists apply a thin coat of white gesso or a wood primer before coloring. This creates a neutral, non-porous barrier that makes the colors pop and prevents the wood from soaking up the wax unevenly. If you prefer the natural grain to show through, accept that the wood's inherent texture is part of the final aesthetic. Always test your pencils on a scrap piece of the same wood species to understand how the colors shift before committing to your final project.
Common mistakes when coloring wood
One of the most frequent errors is failing to protect the finished work. Colored pencil is essentially a layer of wax or oil sitting on top of the wood, making it susceptible to smudging, scratching, and dust accumulation. Without a protective topcoat, your hard work can be ruined within weeks. Use a spray-on fixative or a clear acrylic sealer specifically designed for mixed media to lock the pigment in place permanently.
Avoid these common pitfalls to ensure your project lasts:
- Over-blending: Using too much solvent can turn the pigment into a muddy mess that obscures the wood grain.
- Skipping the sealer: Always apply a UV-resistant clear coat to prevent the colors from oxidizing or fading.
- Using cheap pencils: Budget-grade pencils often contain fillers that do not adhere well to wood surfaces.
- Forgetting to test: Never skip a test swatch on a scrap piece, as different wood species react uniquely to various pencil brands.
- Heavy-handedness: Applying too much pressure early on can permanently damage the wood surface, making it impossible to achieve a smooth, professional gradient.
Key facts
- Use wax-based colored pencils for better adhesion to wood grain compared to oil-based varieties.
- Sand the wood surface to at least 220-grit smoothness to ensure the pigment settles evenly.
- Apply a thin layer of clear wood sealer or gesso first to prevent the wood from soaking up too much pigment.
- Build color in light, circular layers rather than pressing hard to avoid creating uneven, waxy streaks.
- Use a colorless blender pencil or a cotton swab dipped in mineral spirits to smooth out the pigment.
- Seal the finished artwork with a spray fixative or a light coat of polyurethane to protect the color from fading.
The bottom line
Coloring wood with pencils is an accessible technique that combines drawing with woodworking. By preparing the surface through sanding and sealing, you create a professional canvas for your pigments. Always work in thin, controlled layers to maintain texture and avoid wax buildup. With the right tools and a protective final sealant, you can achieve vibrant, durable results that showcase the natural beauty of the wood grain.
People also ask
Can I use watercolor pencils on wood?
Yes, watercolor pencils work well on wood because the water allows the pigment to soak into the fibers for a stained effect. However, you must seal the wood afterward, as moisture can cause the pigment to reactivate and smear if touched.
Do I need to prime the wood before drawing?
Priming is optional but highly recommended for detailed work. A coat of gesso or clear acrylic medium creates a smooth barrier that prevents the wood grain from grabbing the pencil lead too aggressively.
How do I prevent the pencil tip from breaking on rough wood?
Rough surfaces exert excessive friction on soft pencil leads, causing frequent breakage. Always sand the wood surface thoroughly and keep your pencils sharp to minimize the pressure needed to transfer color.
Is it possible to erase colored pencil on wood?
Erasing is difficult once the pigment is embedded in the wood fibers. It is better to start with very light strokes and build intensity gradually, as you cannot easily remove mistakes without sanding the area down.
What is the best way to blend colors on a wooden surface?
You can blend by layering colors or by using a solvent like odorless mineral spirits. Applying a small amount of solvent with a brush will liquefy the wax, allowing you to move the pigment around like paint.
Will the color fade over time?
Colored pencils are susceptible to UV light, which can cause colors to fade if left in direct sunlight. Using lightfast-rated pencils and applying a UV-protective sealant will significantly increase the longevity of your design.
This answer was created with the help of AI research tools and reference sources. Spotted an error? Let us know — we correct mistakes quickly. See our editorial policy.