How do you draw a skunk step by step?
Short answer
Drawing a skunk involves sketching a rounded body, a bushy tail, and the animal's signature white stripe pattern. By breaking the creature down into simple geometric shapes like ovals and triangles, you can construct an accurate silhouette. Focus on the contrast between the dark fur and the prominent white markings.
On this page
How to draw a skunk step by step
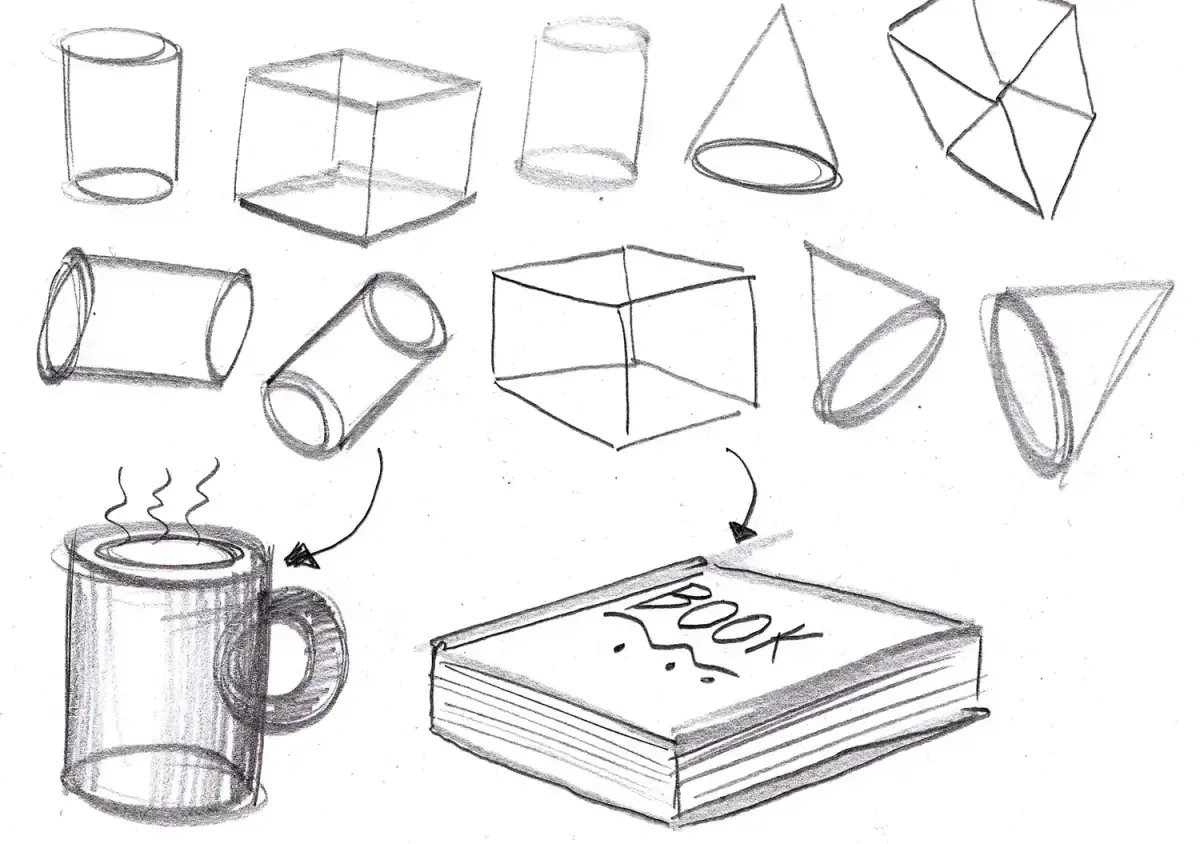
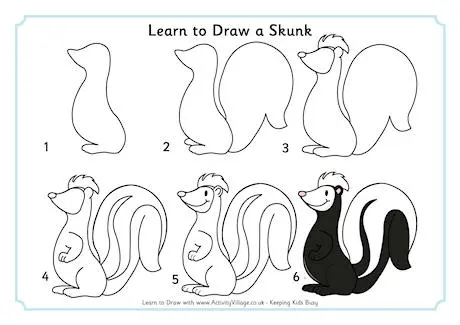
To begin your drawing, start with the basic framework of the skunk’s body. Sketch a large horizontal oval for the main torso and a smaller, slightly overlapping circle for the head. Position the head toward the front of the oval, ensuring it sits slightly higher than the center line. This initial structure provides the necessary proportions for the rest of the animal's features.
Next, add the limbs and the tail. Draw four short, stubby rectangles beneath the body to act as legs, placing them at the corners of your main oval. For the tail, draw a large, curved shape extending from the rear of the body, making it significantly bushy and voluminous. Follow these specific steps to refine your sketch:
- Connect the head and body with two smooth, flowing lines to form the neck.
- Outline the ears as small, rounded triangles on top of the head.
- Draw a pointed snout extending from the front of the head circle.
- Add small, rounded feet at the bottom of each leg rectangle.
Best drawing tools for beginners
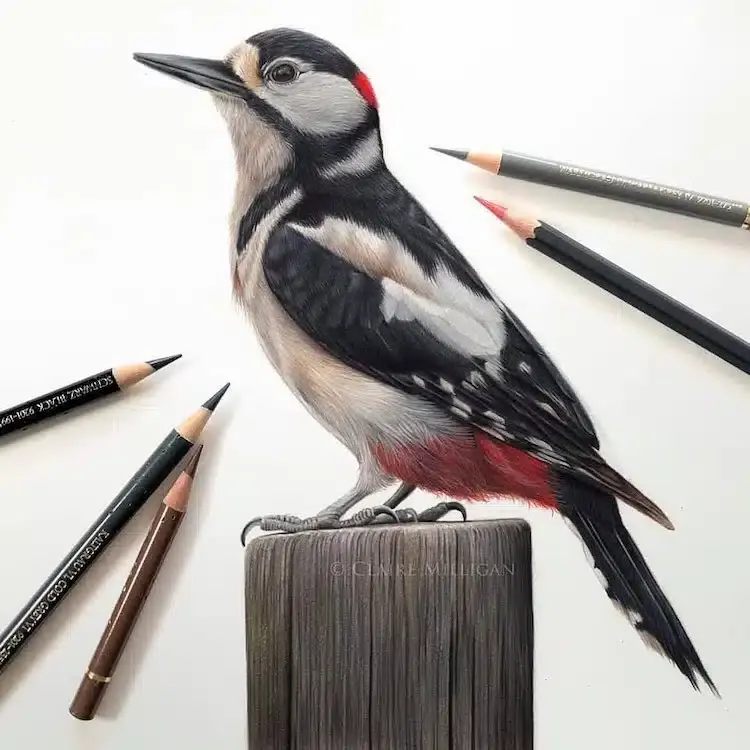
For those just starting, graphite pencils are the most effective medium because they allow for easy adjustments and shading. Use an HB pencil for the initial light sketching, as it leaves faint marks that are simple to erase. Once the outline is complete, you can transition to a 2B or 4B pencil to add depth and darkness to the fur.
Paper choice also plays a significant role in the quality of your drawing. A medium-weight sketchbook with a slight tooth, or texture, helps the graphite adhere better to the surface. Avoid overly glossy or thin printer paper, as these can make shading difficult to control. Consider keeping a kneaded eraser nearby, as it can be molded into precise shapes to lift graphite and create highlights within the skunk's white stripes.
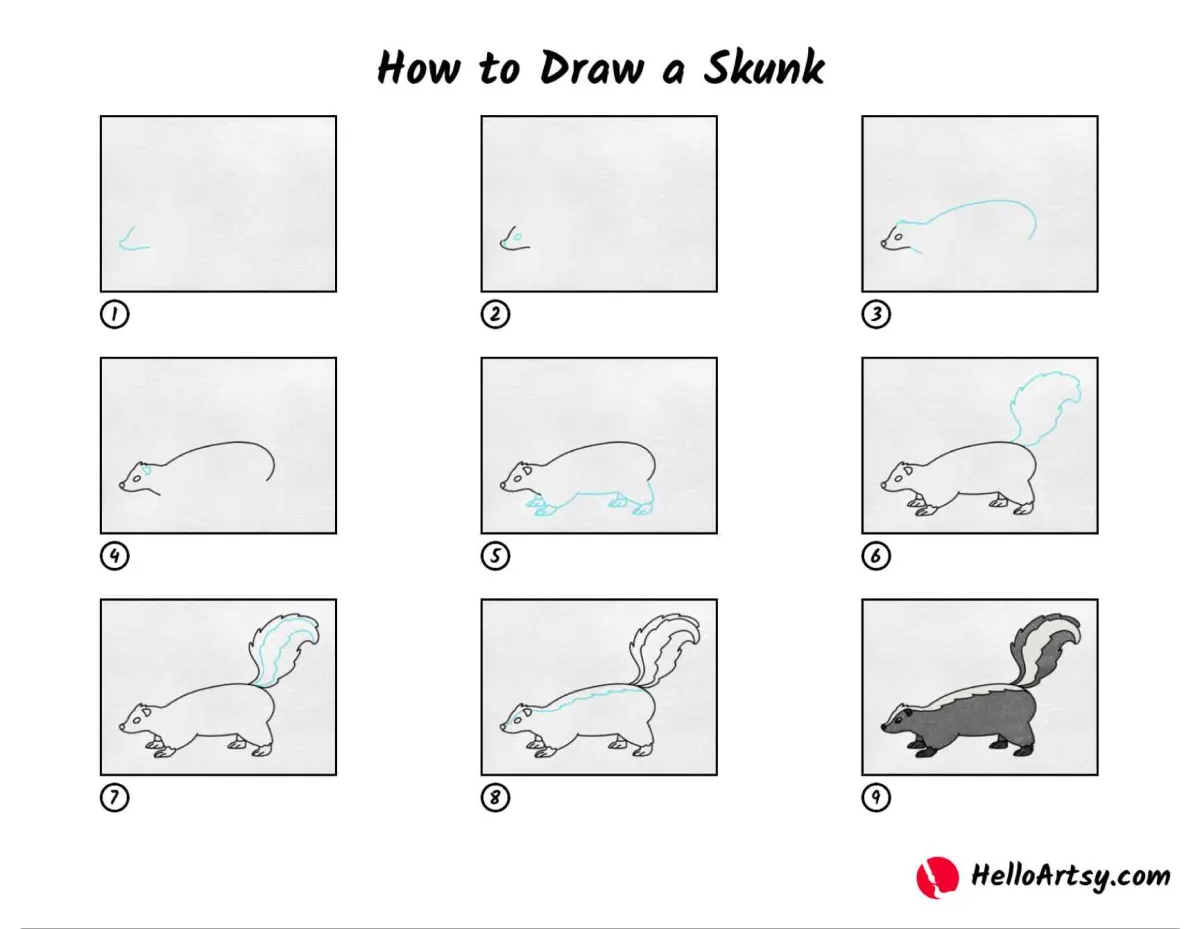
How to shade a skunk accurately
Shading is the most critical step for capturing a skunk's realistic appearance. Because skunks have high-contrast black and white fur, you must use a full range of tones. Start by filling in the dark areas of the body with firm, consistent pencil strokes, leaving the white areas completely blank. Focus on the direction of the fur, using short, flicking motions to mimic the texture of the animal's coat.
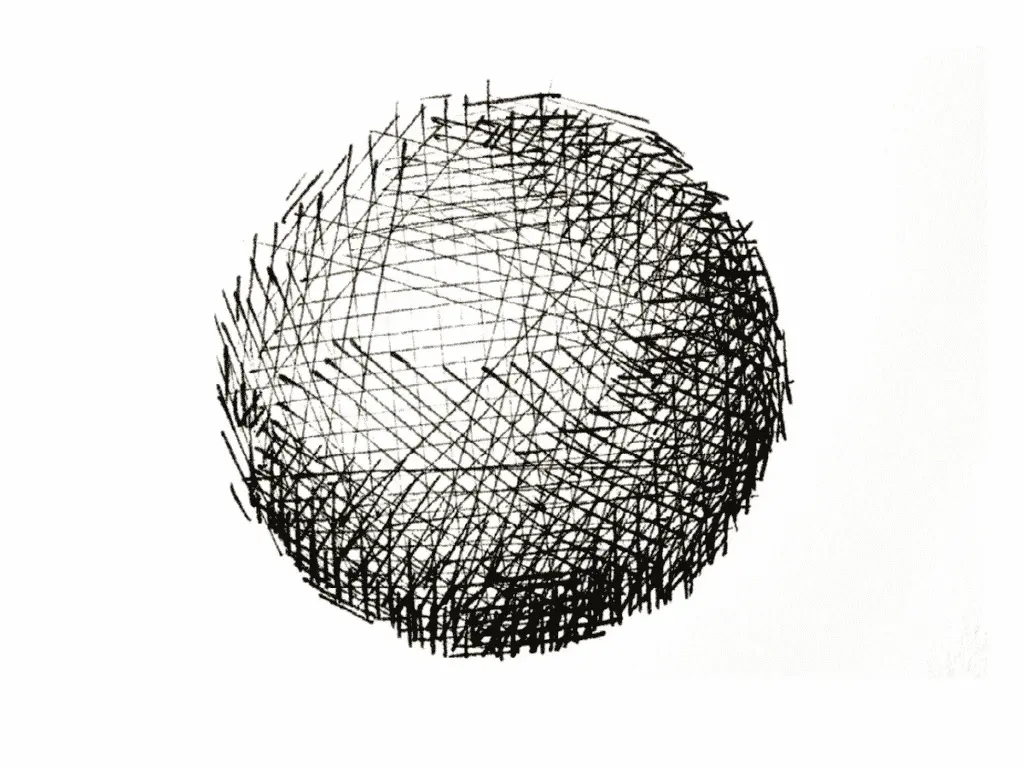
To create a three-dimensional effect, apply lighter pressure along the edges of the white stripes where they meet the black fur. This soft transition prevents the drawing from looking like a flat cartoon. Pay close attention to the tail, which is often the darkest part of the animal. Use cross-hatching techniques to build up the density of the fur, ensuring the tail looks thick and soft rather than solid or blocky.
Common mistakes when drawing skunks
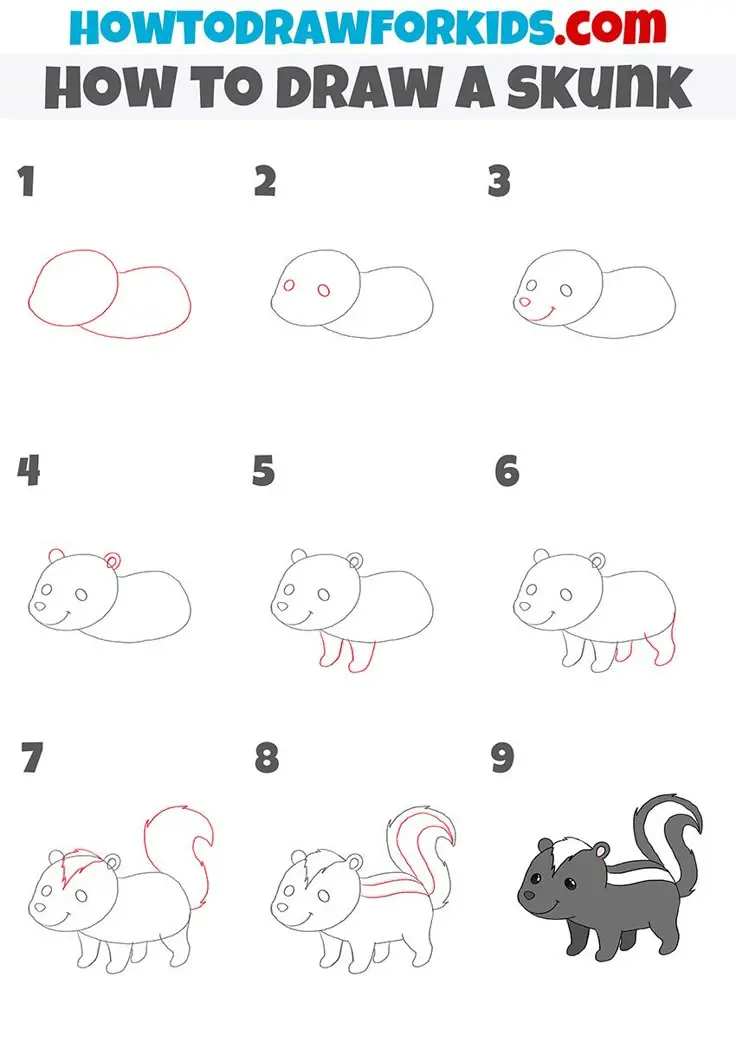
One frequent error is making the white stripe too narrow or inconsistent. In nature, the stripe usually begins as a single point on the forehead and splits into two distinct bands that run down the back. If the stripes are drawn as perfectly straight lines, the skunk will look artificial. Instead, follow the natural curve of the animal's spine to give the stripes a more organic, flowing appearance.
Another common mistake involves the proportions of the tail. Beginners often draw the tail too thin or too short, which detracts from the skunk's iconic look. Remember that a skunk's tail is a massive, plume-like appendage that often hangs low or curves upward in a gentle arc. Avoid making the legs too long, as skunks are low-to-the-ground creatures with a sturdy, compact build. Keeping these proportions in mind will help maintain the animal's characteristic silhouette.
Why skunk anatomy matters for artists
Understanding the underlying anatomy of a skunk helps you draw it with more confidence and accuracy. Skunks belong to the Mephitidae family and possess a distinct, stocky frame that is evolved for digging and foraging. By recognizing that the skeletal structure is low and heavy, you can better position the joints and muscles in your drawing. This knowledge prevents the common issue of the animal looking like a different creature, such as a cat or a ferret.
Studying the way a skunk moves can also improve your artistic output. When a skunk is alert, it often arches its back and raises its tail as a defensive posture. Incorporating this dynamic pose into your work adds energy and realism to the final piece. By observing how the fur clumps and flows over the muscles, you can create a drawing that feels alive rather than static. Consistent practice and careful observation of these biological details will significantly improve your artistic skill over time.
Key facts
- A skunk’s body is defined by a rounded, pear-shaped torso that is wider at the rear than at the shoulders.
- The signature white stripe should always begin as a narrow point on the forehead and widen as it travels down the back.
- Use a "bean" shape as a foundational sketch to establish the skunk's curved posture before adding details.
- Always include a bushy, plume-like tail that is roughly the same length as the body to maintain proper proportions.
- Keep the legs short and stout, as skunks are low-to-the-ground animals with dense, muscular builds.
- Focus on the eyes and nose as small, dark points to emphasize the skunk's compact facial features.
The bottom line
Drawing a skunk effectively relies on mastering its distinct silhouette and iconic color pattern. By starting with a rounded, bean-shaped body and adding a large, bushy tail, you establish the animal's recognizable form. Focus on the transition between the dark fur and the prominent white stripe to create depth. With patience and attention to the texture of the fur, you can create a lifelike illustration.
People also ask
What is the best medium for drawing a skunk?
Graphite pencils are ideal for beginners because they allow for easy shading of the dark fur. Charcoal or ink pens work well if you want to create high-contrast, bold black-and-white patterns.
How do I draw the skunk's fur texture?
Use short, flicking strokes with your pencil to mimic the appearance of coarse hair. Avoid drawing long, straight lines, as skunk fur is dense and slightly messy.
Should the white stripe be perfectly symmetrical?
Real skunks often have irregular or slightly asymmetrical markings. Adding subtle variations in the stripe's width makes the drawing look more natural and less like a cartoon.
How do I make the tail look fluffy?
Draw the outer edge of the tail with jagged, overlapping strokes to create a feathered effect. Layering these strokes adds volume and suggests the density of the fur.
What common mistakes should I avoid when drawing the feet?
Avoid making the feet too long or thin, as skunks have short, sturdy limbs. Ensure the claws are visible but keep them small and blunt to reflect their natural anatomy.
How can I make the skunk look realistic?
Focus on the transition between the black and white fur by using soft shading. Blending the edges slightly prevents the colors from looking like flat, hard-edged stickers.
This answer was created with the help of AI research tools and reference sources. Spotted an error? Let us know — we correct mistakes quickly. See our editorial policy.