How do you draw a sunset for beginners?
Short answer
Drawing a sunset involves layering warm colors like yellow, orange, and red while blending them into a darker horizon. Start by establishing a horizontal line, then use soft strokes to transition colors from light to dark. Adding silhouettes of trees or buildings provides contrast, creating a professional look for any beginner.
On this page
Best art supplies for beginners
To draw a vibrant sunset, you need materials that blend well and offer rich pigmentation. Soft pastels are excellent for beginners because they allow you to smudge colors together with your fingers, creating the soft, hazy effect typical of a setting sun. If you prefer a cleaner process, high-quality colored pencils or alcohol-based markers work effectively, though they require more patience to layer properly. Always use heavy-weight paper or specialized drawing pads to prevent the surface from tearing during vigorous blending.
When choosing your palette, focus on a warm color scheme. You should have at least three shades of yellow, three shades of orange, and two shades of deep red or magenta. A dark blue or purple is also essential for the top of the sky, where the light fades into the approaching night. Keep a white eraser and a blending stump nearby to refine your edges and pull highlights out of the color.
How to structure a sunset drawing
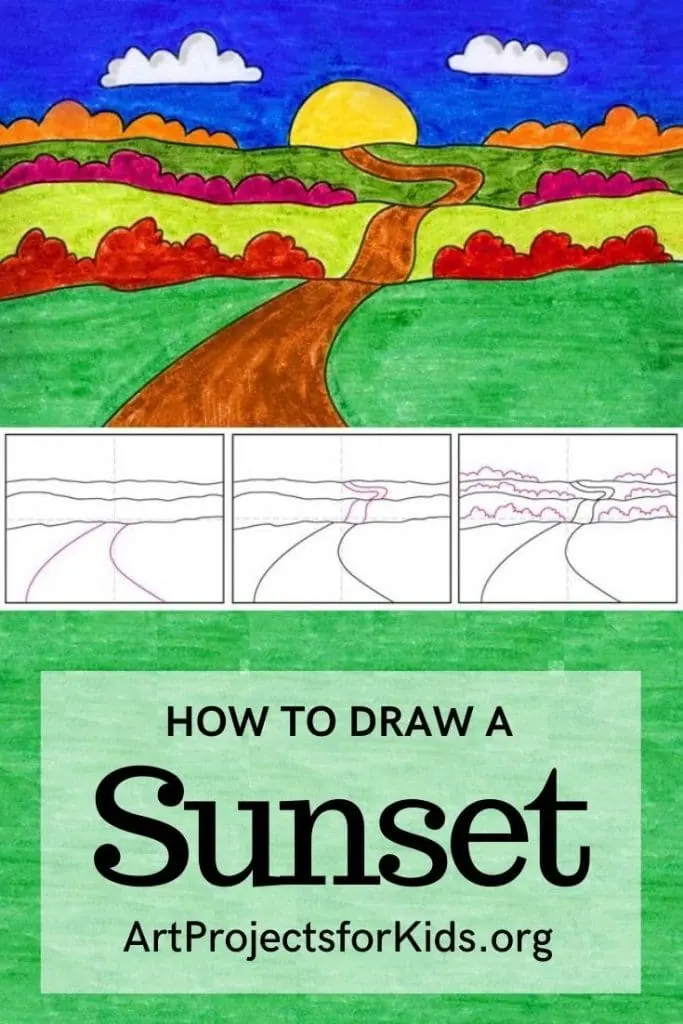
A successful sunset drawing relies on a clear composition that guides the viewer's eye. Start by drawing a light horizontal line across your paper to represent the horizon. This line should ideally sit about one-third of the way up from the bottom of the page to create a balanced "rule of thirds" layout. Once the horizon is set, lightly sketch the sun as a circle or a semi-circle if it is partially obscured by the earth.
- Draw a faint horizon line using a light graphite pencil.
- Sketch the sun’s position, ensuring it is not perfectly centered to maintain visual interest.
- Outline any foreground elements, such as distant mountains or silhouettes, before applying color.
- Mark the boundaries where different color zones will transition, such as the line between the bright yellow sun area and the deeper orange sky.
How to blend sunset colors
Blending is the most critical technique for achieving a realistic sunset. Start by applying your lightest colors, such as pale yellow, closest to the sun. Gradually transition to oranges and reds as you move further away from the light source. If you are using pastels, use a circular motion to overlap the colors, which helps eliminate harsh lines. For colored pencils, use light pressure and build up layers gradually to avoid a waxy, uneven texture.
- Apply the lightest color first to establish the glow.
- Overlap the next darker color slightly over the previous one to create a gradient.
- Use a clean blending tool or a soft cloth to smooth the transition between shades.
- Avoid pressing too hard, as this makes it difficult to add more layers later.
- Work from the horizon upward, moving from light to dark to mimic natural light patterns.
Why sunsets look different in art
Sunsets appear vibrant due to a phenomenon called Rayleigh scattering, where the atmosphere filters out shorter blue wavelengths, leaving longer red and orange light to reach your eyes. In your artwork, you can mimic this by keeping the colors near the sun very bright and saturated. As you move toward the top of the canvas, the sky should naturally become darker and cooler in tone. Adding a touch of purple or deep blue at the very top of the sky provides the necessary contrast to make the warm colors pop.
Reflecting the sky in a body of water is a common technique that adds depth to a drawing. If you include water, remember that the reflection should be a mirror image of the sky, but slightly darker and more distorted by ripples. Use horizontal strokes to represent the movement of water, which contrasts beautifully with the soft, vertical blending used for the sky. This balance between the sky and the ground creates a cohesive, professional-looking landscape.
Common mistakes when drawing sunsets
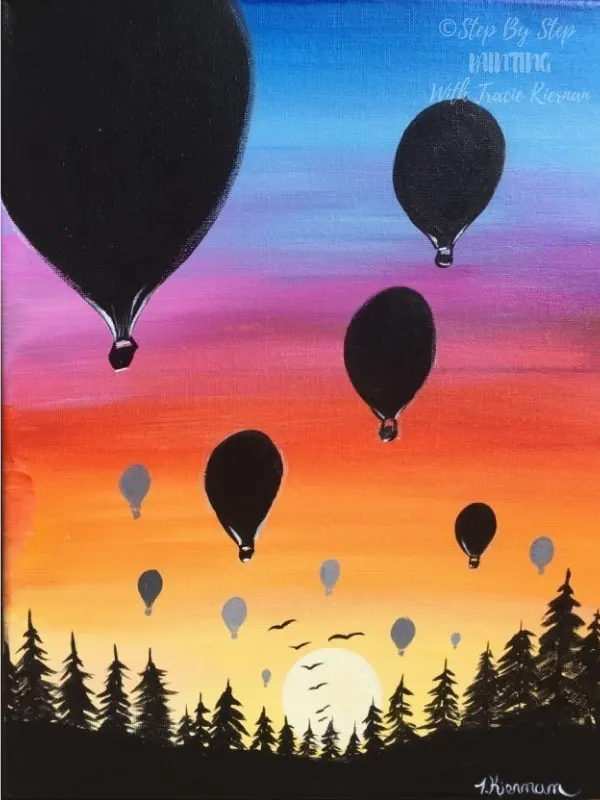
Many beginners make the mistake of using too much black when trying to create shadows or depth. Black can quickly muddy your bright colors, making the sunset look dull or "dirty." If you need to darken a section of the sky or add silhouettes, use deep indigo, dark violet, or burnt umber instead of pure black. These colors maintain the warmth of the scene while still providing the necessary contrast for your silhouettes.
Another frequent error is creating a sky that is too uniform. A real sunset is rarely a perfect, smooth gradient; it often contains clouds, haze, or varying light intensity. Use your eraser to lift small areas of color to simulate wispy clouds, which adds texture and realism. Avoid making your sun a perfect, sharp circle unless it is very high in the sky. As the sun nears the horizon, it often appears flattened or slightly distorted by the density of the atmosphere, so don't be afraid to experiment with organic, slightly irregular shapes.
Key facts
- Start with a light yellow horizon and blend upward into orange, red, and finally deep purple or blue.
- Use a horizontal line to represent the horizon, placing the sun slightly off-center for a more natural composition.
- Apply colors while the paint is still wet to achieve smooth, professional-looking gradients.
- Add silhouettes of trees, birds, or buildings in the foreground to create depth and contrast against the bright sky.
- Use a dry brush technique to add wispy clouds that catch the light near the setting sun.
- Remember that colors appear more saturated and darker near the horizon as the sun approaches the earth.
The bottom line
Drawing a beautiful sunset is all about mastering color transitions and composition. By starting with light yellows at the horizon and blending toward darker tones at the top, you create natural depth. Remember to incorporate silhouettes in the foreground to provide scale and contrast. With practice, you will learn to balance your colors effectively, turning a simple blank page into a vibrant, atmospheric landscape scene.
People also ask
What is the best medium for beginners to draw a sunset?
Soft pastels or oil pastels are excellent for beginners because they blend easily with your fingers. Watercolors are also popular, though they require more patience to manage the drying time of each color layer.
How do I stop my colors from turning muddy?
Avoid over-blending complementary colors, such as orange and blue, which will create a dull brown. Clean your brush or switch to a fresh blending tool frequently to keep the hues vibrant.
Should I draw the sun as a perfect circle?
A perfect circle can look static and artificial in a landscape. Try leaving the edges slightly soft or partially obscured by clouds to make it look more realistic.
How do I create a reflection on water?
Use vertical, jagged strokes directly beneath the sun to mimic the light hitting ripples. Ensure the reflection colors match the sky colors directly above them for consistency.
What is the rule of thirds in sunset drawing?
Place the horizon line one-third of the way up from the bottom of the page rather than in the exact center. This simple adjustment makes your drawing feel more balanced and professional.
How do I make the sky look deep and atmospheric?
Darken the top corners of your paper with deep blues or purples to create a vignette effect. This draws the viewer's eye toward the brightest part of the sunset at the center.
This answer was created with the help of AI research tools and reference sources. Spotted an error? Let us know — we correct mistakes quickly. See our editorial policy.