How do you scale up a drawing?
Short answer
Scaling up a drawing involves enlarging an image while maintaining its original proportions. You can achieve this by using a grid system, a proportional divider, or a pantograph. These methods rely on mathematical ratios to ensure that every detail remains accurate, preventing distortion as you transfer the artwork to a larger surface.
On this page
How to use the grid method for scaling
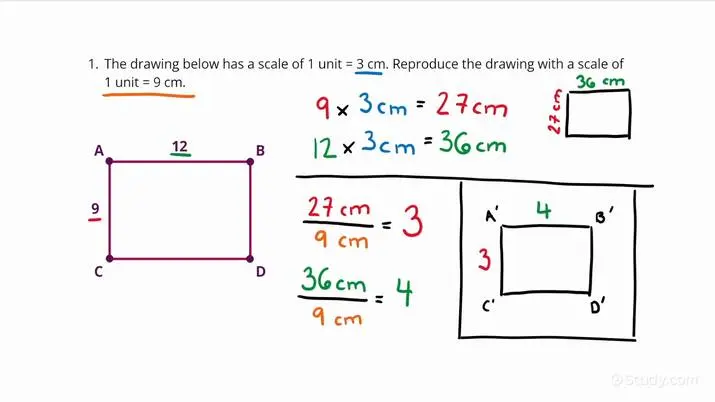
The grid method is the most reliable way to enlarge a drawing manually. By drawing a grid of equal-sized squares over your original image and a larger, proportional grid on your canvas, you isolate small sections to copy. If your original drawing is 5 by 7 inches and you want to double its size, create a 10 by 14-inch grid on your canvas. Each square on the original corresponds directly to a square on the new surface, allowing you to focus on line placement within individual boxes.
To ensure success, follow these steps:
- Divide your original image into a grid using a ruler and a light pencil.
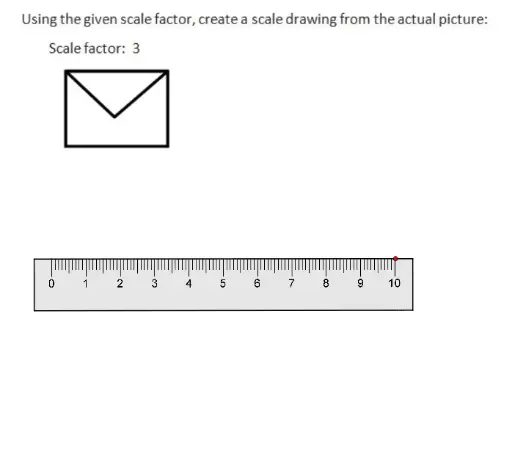
- Calculate your scale factor, such as doubling the size of each square.
- Draw a grid on your final surface using the same number of rows and columns as the original.
- Sketch the contents of each small square into the corresponding larger square on your canvas.
- Erase the grid lines once your primary outlines are complete.
How to use a proportional divider
A proportional divider is a specialized drafting tool consisting of two pointed metal or plastic arms joined by a movable pivot. By adjusting the pivot point, you can set a specific ratio, such as 1:2 or 1:3. When you measure a distance on your original drawing with one end of the tool, the other end automatically expands to the new, scaled-up measurement. This tool is highly efficient for artists who need to maintain precise accuracy without the visual clutter of grid lines.
Using this tool requires a steady hand and consistent pressure. You measure a feature, such as the width of an eye or the length of a limb, and then transfer that exact distance to your canvas. Because the tool is mechanical, it eliminates the need for complex mental math during the drawing process. It is particularly useful for portraiture or architectural sketches where maintaining the relationship between facial features or structural elements is critical for a realistic result.
How to use a pantograph for enlarging
A pantograph is a mechanical linkage system that allows an artist to trace an original image while a connected pen or pencil simultaneously draws a larger version. The device is composed of four bars connected in a parallelogram shape. As you move one end of the device over the original lines, the other end moves in perfect proportion, creating an enlarged copy. This tool was widely used in the 19th and early 20th centuries for mapmaking and technical illustration before digital scanners became common.
To operate a pantograph effectively, you must secure both the original drawing and the blank canvas to a flat surface. The device is sensitive to movement, so it is essential to keep the base fixed firmly to prevent shifting during the tracing process. While it is excellent for capturing complex shapes, it requires practice to maintain a smooth, fluid motion. If you move the tracing point too quickly or jerkily, the resulting lines on your larger surface will appear shaky or distorted.
Common mistakes when scaling drawings
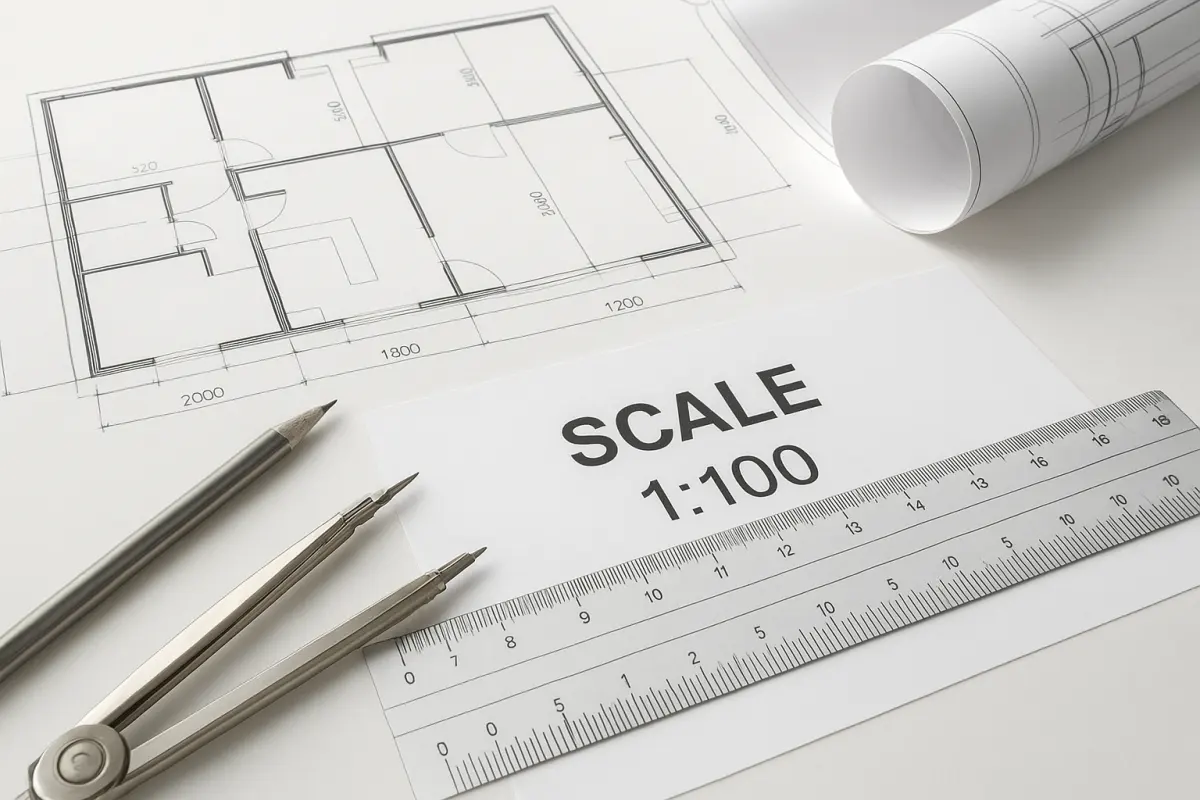
The most frequent error when scaling is failing to maintain the correct aspect ratio. If you increase the height of an image by 200 percent but only increase the width by 150 percent, the resulting drawing will look stretched or squashed. Always calculate your scale factor for both dimensions before you begin. Another common mistake is using a pencil that is too dark or heavy for the grid lines. These lines should be faint enough to be erased easily without damaging the surface of your paper or canvas.
- Miscalculating the scale factor, leading to a distorted final image.
- Pressing too hard with the pencil, which leaves indentations that are difficult to remove.
- Neglecting to count the number of grid squares accurately, which causes the drawing to shift off-center.
- Using a surface that is not perfectly flat, which can cause the drawing tool to skip or produce uneven lines.
- Failing to verify the alignment of the original and the canvas before starting the transfer.
Best tools for scaling up drawings
While traditional methods like grids and dividers are effective, certain tools can make the process significantly easier. A high-quality metal ruler is essential for creating accurate grids, as plastic rulers can sometimes flex and cause measurement errors. For those who prefer a more modern approach, an opaque projector or an art projector can cast an image directly onto your canvas. This allows you to trace the outlines at any size simply by moving the projector closer to or further from the wall or easel.
When choosing a method, consider the complexity of your subject matter. Simple, geometric designs are easy to scale with a grid, while organic, fluid shapes may benefit from the mechanical precision of a proportional divider. Regardless of the tool you choose, always work from the largest shapes toward the smallest details. This top-down approach ensures that the overall composition remains balanced and proportional, even if you are working on a surface that is significantly larger than your original source material.
Key facts
- The grid method involves drawing a grid of equal squares over your original image and a larger grid on your canvas to maintain precise proportions.
- A pantograph is a mechanical linkage tool used since the 17th century to trace and scale drawings simultaneously.
- When using the grid method, ensure your canvas has the same aspect ratio as your reference to avoid unintended stretching.
- Projectors allow artists to cast an image directly onto a surface, providing the fastest way to scale complex compositions.
- Always use a light touch with graphite pencils when sketching the grid so lines can be easily erased or covered by paint.
- Proportional dividers are handheld tools that help you measure distances on a small drawing and automatically scale them up for the larger version.
The bottom line
Scaling a drawing is a fundamental skill that relies on maintaining geometric proportions through tools like grids, pantographs, or mathematical ratios. Whether you choose the mechanical precision of a proportional divider or the visual convenience of a projector, consistency is key. By carefully calculating your aspect ratio and working systematically, you can accurately transfer any small-scale sketch to a much larger canvas with professional results.
People also ask
Can I scale a drawing without a grid?
Yes, you can use a proportional divider or a ruler to measure specific points and multiply those measurements by your desired scale factor. Alternatively, digital printing allows you to enlarge an image to the exact size needed before you begin tracing or referencing.
What is the most common mistake when scaling drawings?
The most frequent error is failing to maintain the correct aspect ratio, which results in a distorted or squashed final image. Always calculate the ratio of the width to the height of your original and apply the same ratio to your larger surface.
How do I choose the right grid size?
Use smaller squares for highly detailed drawings to ensure accuracy in complex areas like facial features. For simpler, larger shapes, larger squares are sufficient and will save you significant time during the setup phase.
Do I need to use the same number of squares on my canvas?
You do not need the same number of squares, but the grid lines must represent the same relative positions. If you double the size of the canvas, each square on the canvas should be exactly twice the size of the original grid square.
Is a pantograph still a practical tool today?
While digital tools have largely replaced it, the pantograph remains a reliable, battery-free option for artists who prefer tactile, mechanical methods. It is particularly useful for maintaining consistent line quality while enlarging simple outlines.
How do I scale a drawing if the original is not a standard size?
Measure the height and width of your original, then decide on your target height. Divide the target height by the original height to find your scale factor, then multiply the original width by that same factor to get your target width.
This answer was created with the help of AI research tools and reference sources. Spotted an error? Let us know — we correct mistakes quickly. See our editorial policy.