How do you color a sunset with colored pencils?
Short answer
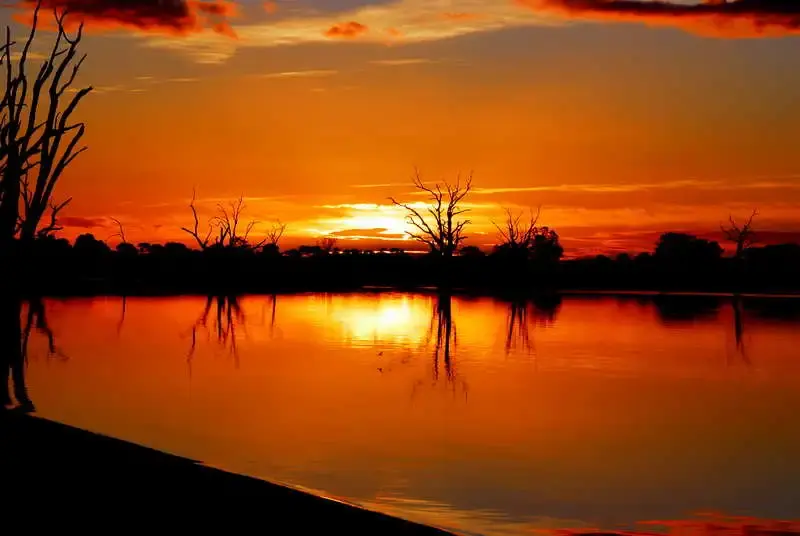
Coloring a sunset requires a layered approach, starting with light yellows and transitioning through oranges, reds, and deep purples. By applying light pressure and utilizing circular strokes, you can blend colors seamlessly. Focus on creating a smooth gradient where hues overlap, ensuring the transition between colors remains soft and natural.
On this page
How to choose the right colored pencils for sunsets
The quality of your pencils significantly impacts the final result of a sunset drawing. Professional-grade wax-based or oil-based pencils are preferred because they contain a higher concentration of pigment and softer binders. These characteristics allow for easier blending and layering, which are essential for capturing the complex, soft transitions found in a sky. Harder, student-grade pencils often contain more clay, which can scratch the paper surface and make smooth gradients difficult to achieve.
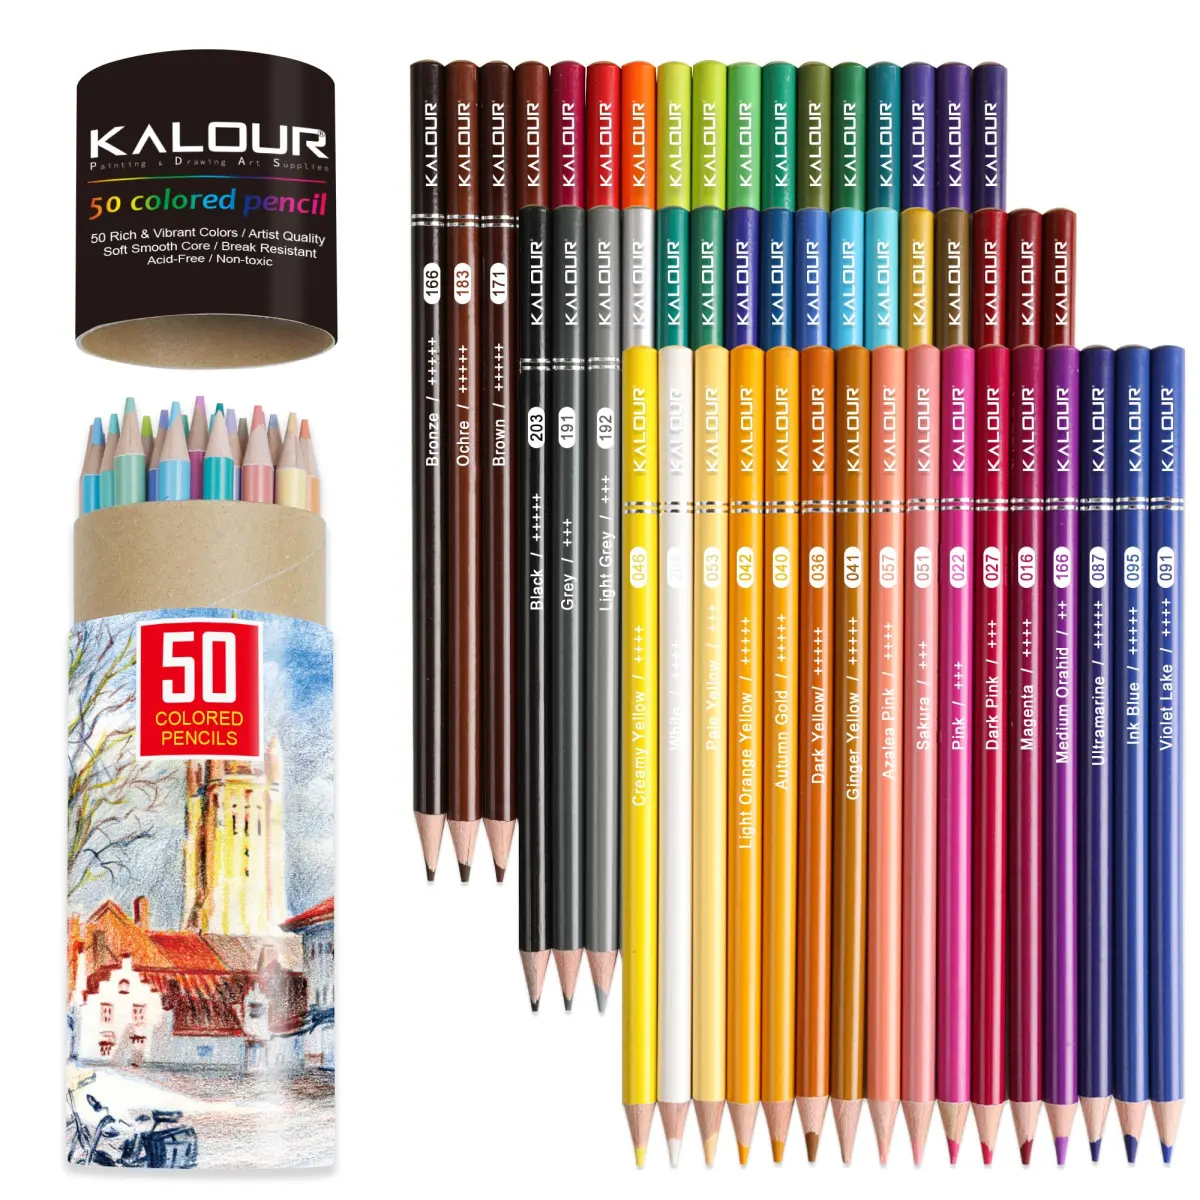
When selecting a palette, look for a wide spectrum of warm tones. You will need at least three shades of yellow, three shades of orange, and several variations of red, magenta, and deep violet. Having a white pencil is also crucial for softening edges and brightening areas where the sun meets the horizon. Consider these essential tools for your kit:
- A high-quality sharpener to maintain fine points for detailed blending.
- A colorless blender pencil to merge layers without adding extra pigment.
- Heavyweight, toothy paper that holds multiple layers of wax or oil.
- A kneaded eraser to lift pigment and create soft, cloud-like highlights.
How to layer colors for a realistic sunset
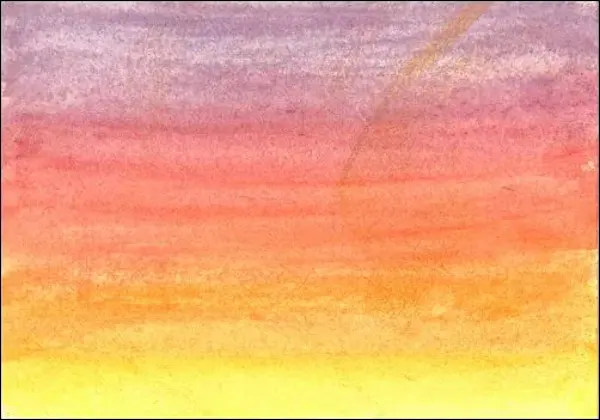
Layering is the process of building color intensity through multiple light applications rather than one heavy stroke. Start your sunset by laying down a very light base layer of pale yellow near the horizon. Gradually introduce light orange, then move into deeper reds as you work your way toward the top of the page. By keeping your pressure light, you leave "tooth" on the paper, which allows subsequent layers to grip the surface.
To achieve a professional finish, follow these steps to build your gradient:
- Apply the lightest color across the entire sky area with very soft pressure.
- Add the next color in the sequence, overlapping the first color by about one-third of the area.
- Continue this process, moving from light to dark, until you reach the deepest violet or indigo at the top.
- Use a colorless blender or a white pencil to burnish the layers, pushing the pigment into the paper fibers for a polished look.
How to blend colors smoothly
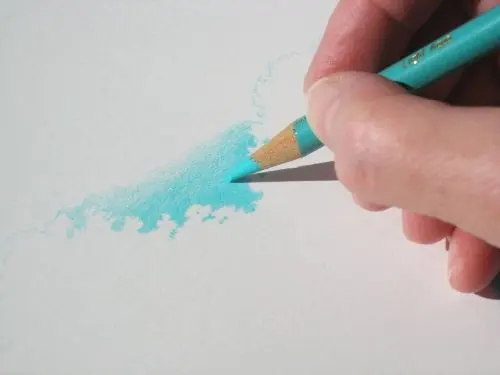
Blending is the secret to making a sunset look atmospheric rather than striped. The goal is to create a seamless transition where one color seems to melt into the next. Use small, circular motions rather than back-and-forth strokes to avoid visible lines. If you notice a harsh transition, go back with the lighter of the two colors and color over the boundary line, using slightly more pressure to merge the pigments together.
If you find that the colors are not blending well, you may be pressing too hard, which fills the paper's tooth too quickly. If the paper is already saturated, you can use a small amount of odorless mineral spirits on a blending stump to liquefy wax-based pigments. This technique creates a painterly effect that is impossible to achieve with pencils alone. Always test this method on a scrap piece of paper first to ensure you have control over the flow of the pigment.
Common mistakes when coloring sunsets
One of the most frequent errors is using too much pressure early in the drawing process. When you press hard, you burnish the paper prematurely, making it impossible to add more layers or change the colors. This often results in a "patchy" appearance where the paper texture is unevenly filled. Always start with the lightest possible touch and build intensity gradually, as you can always add more pigment, but you cannot easily remove it once the paper is saturated.
Another common mistake is neglecting the horizon line. Beginners often color the entire sky the same way, forgetting that the light is most intense near the sun. To avoid this, keep the area immediately surrounding the sun the lightest, using white or pale yellow. As you move away from the sun, the colors should naturally deepen. Avoid using pure black for the dark areas of the sky, as it can look muddy; instead, use dark blues, purples, or deep browns to maintain the vibrancy of the sunset colors.
How to add clouds and highlights
Clouds are essential for adding depth and interest to a sunset. Instead of drawing them as solid shapes, try "negative coloring" by leaving small, white gaps in your sky layers. Once the base colors are down, you can lightly shade the undersides of these gaps with a darker color, such as a muted red or purple, to give the clouds volume. This makes the clouds appear as if they are catching the light from the setting sun.
To finish your sunset, consider these final touches to enhance the realism:
- Use a sharp white pencil to add tiny, bright highlights on the edges of clouds.
- Use a kneaded eraser to gently lift pigment from the center of the sun to create a glowing effect.
- Add subtle, warm reflections of the sky colors if you are including a landscape or water at the bottom of your drawing.
- Check your work under different lighting conditions to ensure the transitions remain smooth and the colors appear balanced across the entire composition.
Key facts
- Use a light-to-dark layering technique, starting with the lightest yellows near the horizon before transitioning to oranges, pinks, and deep purples.
- Apply colors with a light hand initially to build up pigment density gradually, which prevents the waxy buildup that prevents further layering.
- Use a colorless blender pencil or a small amount of baby oil on a cotton swab to soften transitions and eliminate visible pencil strokes.
- Incorporate white or cream pencils to brighten the sun’s core and create highlights on clouds, adding depth to the composition.
- Maintain a sharp point on your pencils to fill in the paper's "tooth," ensuring a smooth, saturated appearance without white gaps.
- Avoid using black for shadows; instead, use complementary dark blues or deep violets to keep the sunset colors vibrant and realistic.
The bottom line
Creating a realistic sunset with colored pencils requires a methodical approach to layering and blending. By starting with the lightest hues and gradually introducing warmer, darker tones, you build a vibrant gradient that mimics natural light. Focus on soft pressure, consistent sharpening, and smooth blending techniques to achieve a luminous effect. With patience and the right paper, you can capture the complex, shifting beauty of a twilight sky.
People also ask
Why do my colored pencil layers look grainy or uneven?
Graininess occurs when the paper's tooth is not fully filled or when you press too hard too early. Use a light, circular motion to build layers and sharpen your pencils frequently to reach the paper's texture.
Should I color the sky horizontally or in circles?
Horizontal strokes mimic the natural bands of light in a sunset and create a sense of distance. Circular motions are better for blending colors together, so use them sparingly to smooth out transitions between hues.
How do I prevent colors from getting muddy?
Muddy colors happen when you mix too many complementary colors, like orange and blue, directly on top of each other. Keep your palette focused on warm tones for the core sunset and save cooler tones for the edges of the sky.
Is it better to use wax-based or oil-based pencils?
Wax-based pencils are softer and blend more easily, making them ideal for smooth gradients. Oil-based pencils are harder and hold a sharper point, which is useful for adding fine details or clouds.
How can I make the sun look like it is glowing?
Leave the area around the sun very light or white, then gradually darken the surrounding colors as you move outward. This high-contrast technique creates the illusion of intense light radiating from the center.
What paper is best for sunset drawings?
Use a heavy-weight, smooth-surfaced paper or Bristol board. Rough paper makes it difficult to achieve the soft, blended gradients required for a convincing sunset.
This answer was created with the help of AI research tools and reference sources. Spotted an error? Let us know — we correct mistakes quickly. See our editorial policy.