How do you color the sky with colored pencils?
Short answer
Coloring a realistic sky with colored pencils requires layering light colors, using light pressure, and blending with a colorless blender or solvent. Start with the lightest hues at the horizon, gradually transitioning to deeper blues as you move upward. Use circular motions to ensure smooth, streak-free coverage across the paper surface.
On this page
How to achieve smooth sky gradients
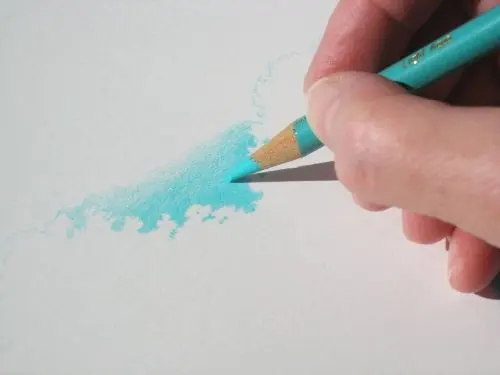
Achieving a smooth gradient is the most critical skill for coloring skies. Begin by selecting a range of three to four blue pencils, from a pale sky blue to a deep ultramarine. Start at the top of the paper with the darkest shade, applying light pressure in small, tight circular motions. As you move downward, gradually transition to the lighter shades, overlapping the colors slightly to create a seamless blend.
The key to a professional look is controlling the pressure of your pencil. If you press too hard, you will create visible lines that are difficult to erase or smooth out later. Instead, build up the color slowly through multiple thin layers. If the paper grain remains visible, you can use a colorless blender pencil to burnish the wax or oil-based pigments into the tooth of the paper, creating a solid, uniform appearance.
Best colored pencils for sky landscapes
Professional artists typically prefer wax-based or oil-based pencils for their ability to layer and blend effectively. Wax-based pencils, such as Prismacolor Premier, are softer and provide rich, opaque coverage, making them ideal for filling large areas like the sky. Oil-based pencils, such as Faber-Castell Polychromos, are harder and maintain a sharp point, which is useful for adding fine details like wispy clouds or distant atmospheric effects.
When choosing your palette, consider the time of day you are depicting in your drawing. A midday sky requires cool, bright blues, while a sunset needs warm oranges, pinks, and purples. It is often helpful to test your color combinations on a scrap piece of paper before applying them to your final work. Look for pencils with high lightfastness ratings if you intend to display your artwork, as these pigments resist fading over time.
How to use blending tools for skies
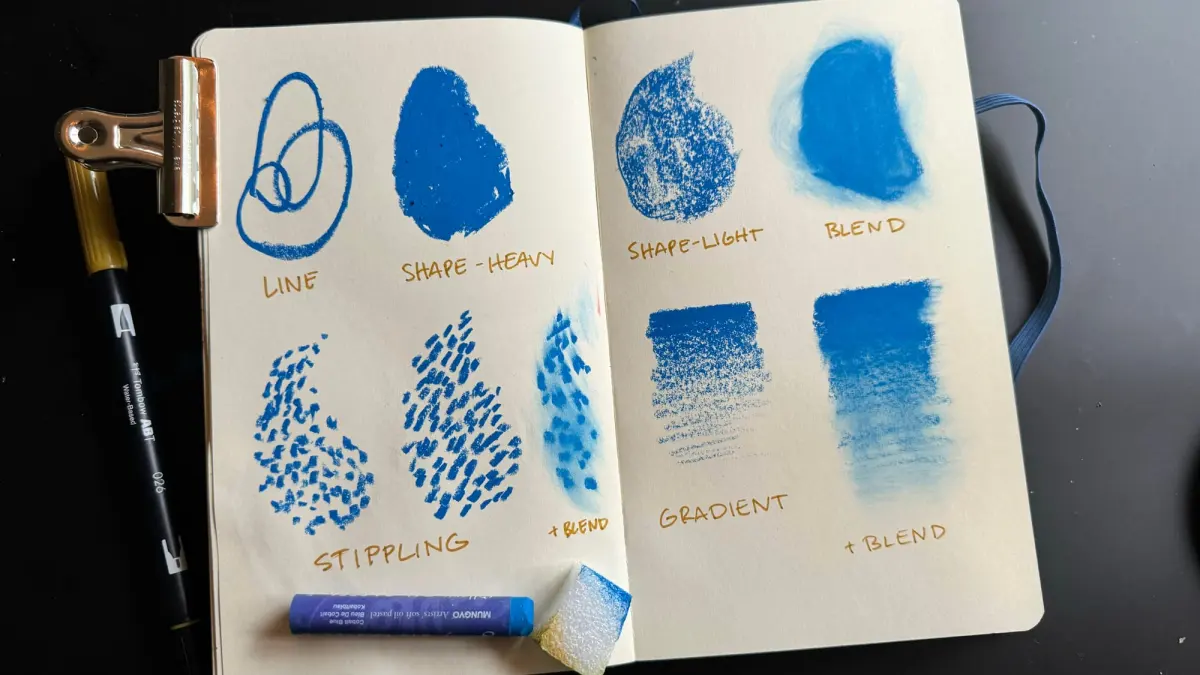
Blending tools are essential for turning individual pencil strokes into a cohesive, atmospheric sky. A colorless blender is a pencil composed of binder without pigment, which helps push the wax or oil into the paper fibers. Alternatively, you can use a small amount of odorless mineral spirits on a cotton swab or blending stump to liquefy the binder, creating a smooth, paint-like finish.
- Apply your base colors using light, circular strokes, ensuring the entire area is covered.
- Use a colorless blender pencil with medium pressure to smooth out the transition zones between your colors.
- If using mineral spirits, dip a blending stump into the liquid, dab off the excess, and gently rub over the colored area.
- Allow the surface to dry completely before adding any final highlights or cloud details.
Common mistakes when coloring skies
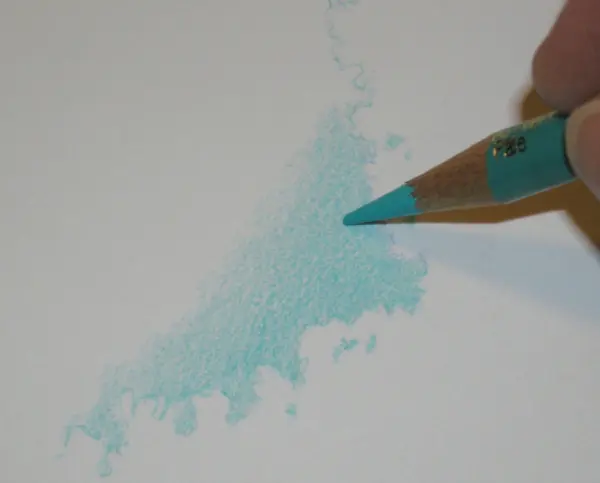
One of the most frequent errors is applying too much pressure too early in the process. This "fills" the tooth of the paper prematurely, preventing you from adding more layers or blending effectively. Another common mistake is failing to account for the horizon line. In reality, the sky is almost always lighter and warmer near the horizon due to atmospheric perspective. Beginners often make the mistake of using the same dark blue from the top of the page all the way to the bottom, which makes the sky look flat and unnatural.
- Avoid using heavy, vertical strokes that create visible lines.
- Do not ignore the color of the paper; if you are using toned paper, your sky colors will look different than they would on white paper.
- Avoid over-blending, which can turn your colors into a muddy gray or brown.
- Do not rush the process; take time to build up the depth of the sky through slow, deliberate layering.
How to add clouds and atmospheric effects
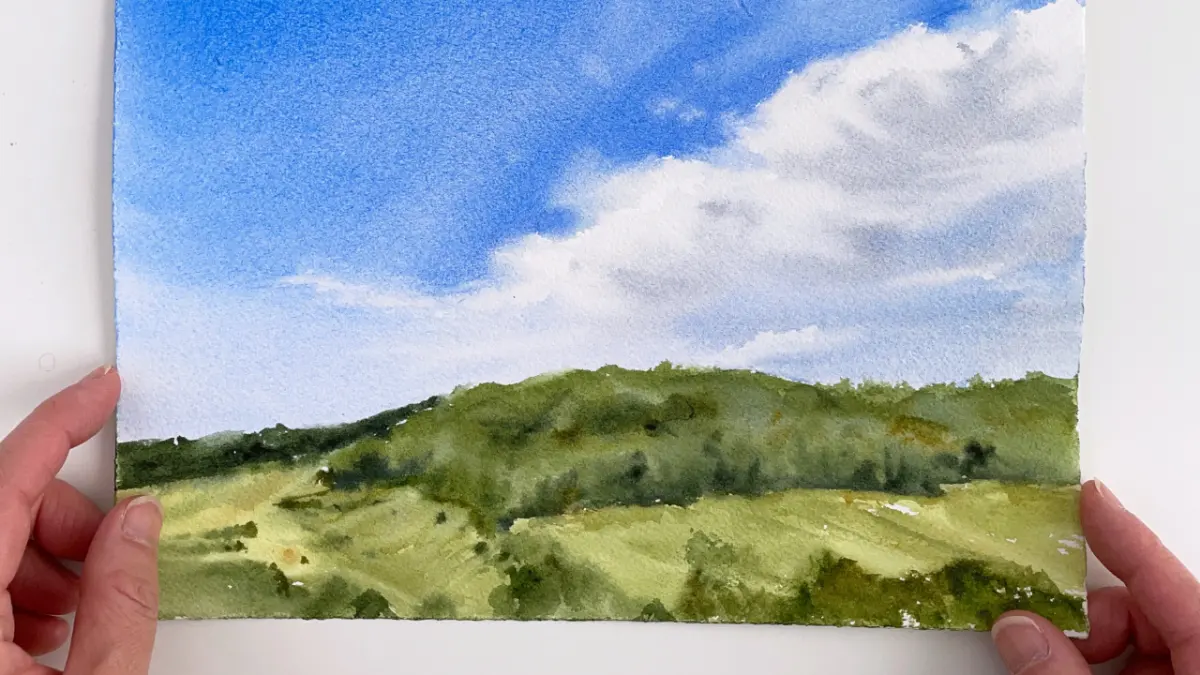
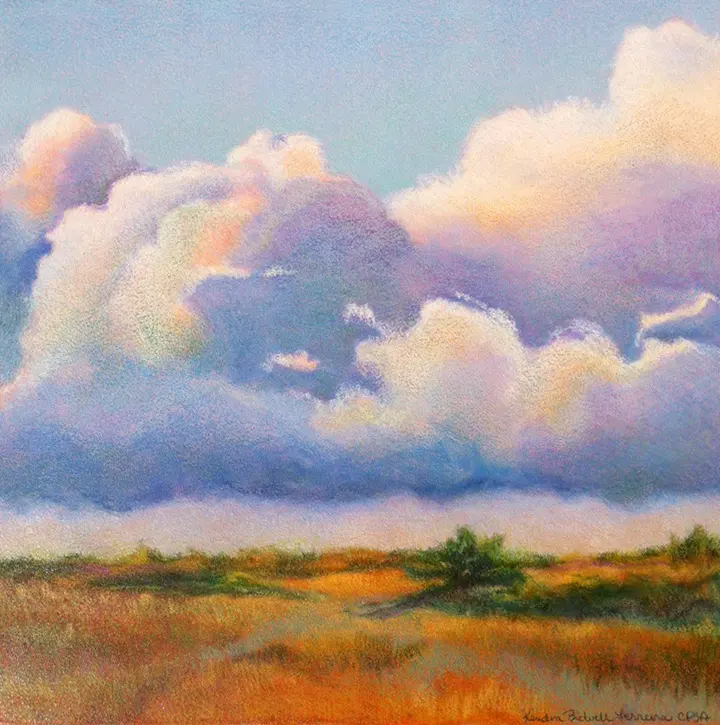
Clouds add interest and depth to any sky, but they should be approached with subtlety. Instead of drawing hard outlines, define the shapes of clouds by coloring the sky around them, leaving the white of the paper for the brightest highlights. For softer, fluffy clouds, use a white pencil or an eraser to lift some of the pigment after the blue sky is established. This creates a soft, hazy edge that mimics the appearance of water vapor in the atmosphere.
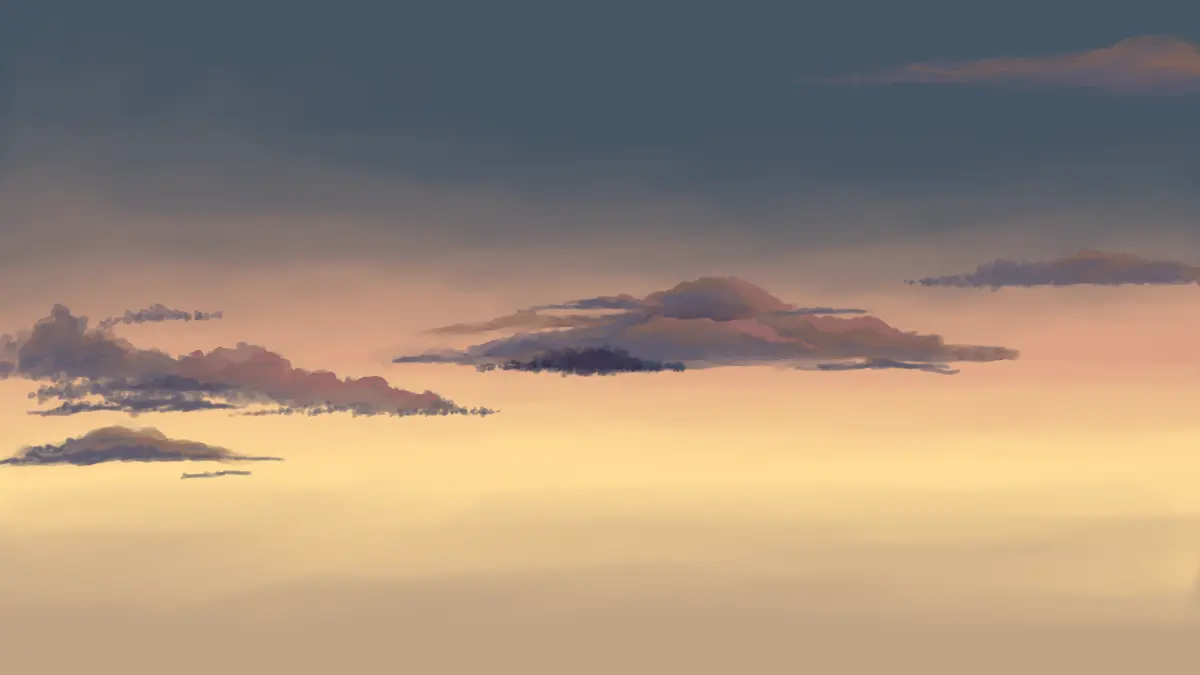
For sunset or sunrise scenes, incorporate warm colors like yellow, peach, or violet into the lower sections of the sky. Use a cross-hatching technique to blend these colors into the blue, creating a soft transition zone. You can also use a kneaded eraser to gently dab at the sky, lifting small amounts of pigment to create the illusion of distant, wispy cirrus clouds. By observing real-world references, you will learn how to balance the intensity of your colors to create a believable and captivating sky.
Key facts
- Use a light touch to apply color in small, circular motions to prevent visible stroke lines.
- Layer colors starting with the lightest shades, such as white or pale yellow, before adding blues.
- Use a colorless blender pencil or a small amount of baby oil on a cotton swab to smooth out the pigment.
- Keep your pencil sharp to reach the texture of the paper, which helps create a solid, uniform appearance.
- Work from the horizon line upward, gradually increasing the pressure to create a natural gradient effect.
- Use a kneaded eraser to lift pigment if the sky becomes too dark or to create highlights for clouds.
The bottom line
Achieving a realistic sky with colored pencils requires patience and a light, layered approach. By utilizing circular motions, maintaining sharp pencils, and blending with specialized tools, you can eliminate unwanted streaks and achieve a smooth gradient. Remember to start with light pressure and build intensity gradually, allowing the paper's texture to hold the pigment for a professional, uniform finish that captures the sky's natural depth.
People also ask
How do I prevent white spots from appearing in my sky?
White spots occur when the pencil fails to reach the "tooth" or texture of the paper. Use a circular motion and multiple thin layers to fill in the gaps completely.
Can I use water-soluble pencils for a smoother sky?
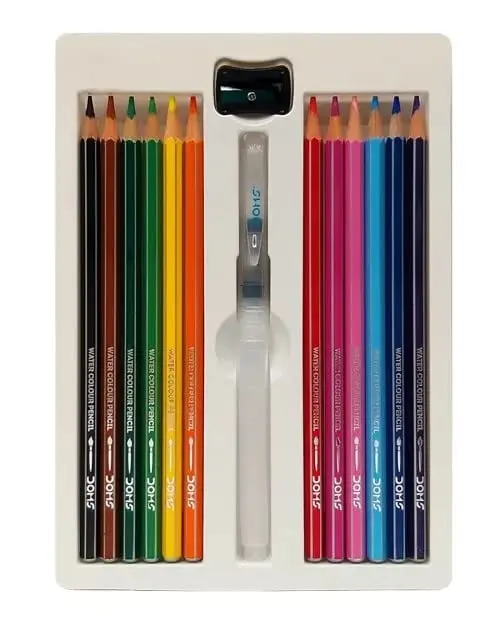
Yes, watercolor pencils allow you to spread pigment evenly with a damp brush. Apply the color dry, then use a small amount of water to blend the strokes into a wash.
What is the best way to draw clouds with colored pencils?
Leave the areas for clouds uncolored or lightly shade them with a cool gray. Use your eraser to lift color from the sky to create soft, white edges around the cloud shapes.
Should I color the sky horizontally or vertically?
Horizontal strokes are generally preferred for skies as they mimic the natural horizon line. Avoid changing direction mid-stroke to keep the texture consistent across the page.
Why does my sky look streaky?
Streaks usually result from heavy pressure or inconsistent pencil movement. Lighten your grip and overlap your circular strokes to ensure the pigment distributes evenly across the surface.
Is it better to use a wax-based or oil-based pencil?
Wax-based pencils are softer and easier to blend, while oil-based pencils are harder and hold a sharper point. Both work well, but wax-based pencils often produce a more vibrant, opaque sky.
This answer was created with the help of AI research tools and reference sources. Spotted an error? Let us know — we correct mistakes quickly. See our editorial policy.