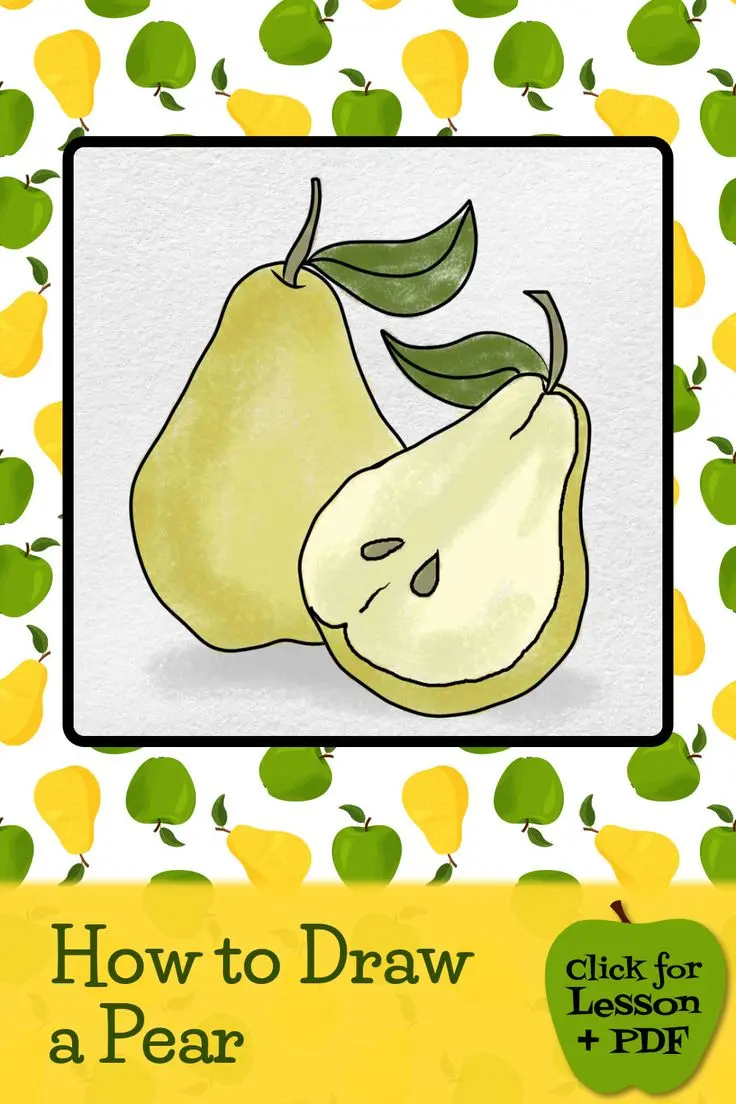
What is the easiest way to draw a pear?
Short answer
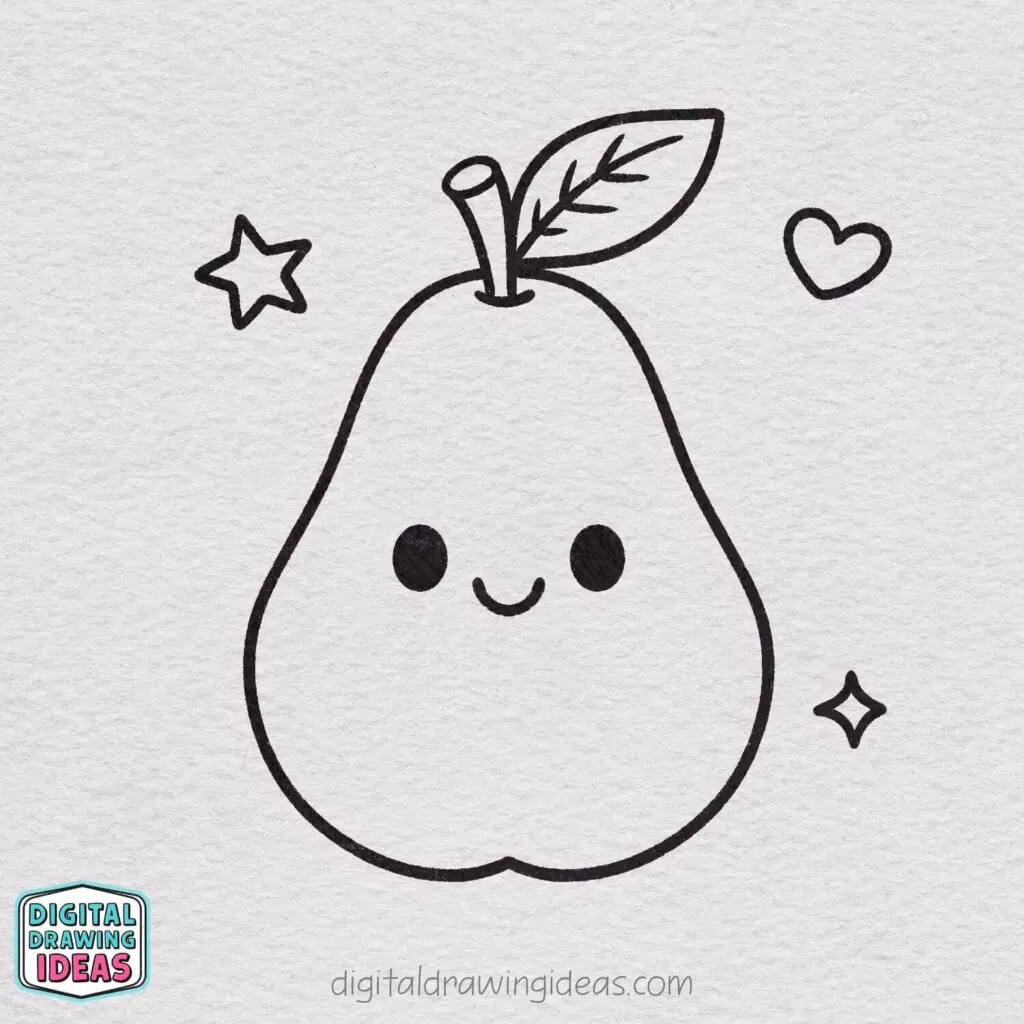
The easiest way to draw a pear is to use the "two-circle method." By sketching a small circle atop a larger, slightly wider circle, you create the signature teardrop silhouette. Connect these shapes with smooth, curving lines, erase the overlapping inner marks, and add a simple stem to complete the form.
On this page
How to draw a pear step by step
Drawing a pear is an ideal exercise for beginners because the fruit’s organic shape is forgiving and relies on simple geometry. You do not need complex tools; a standard graphite pencil, an eraser, and a piece of paper are sufficient to capture the essence of the fruit. By breaking the form down into manageable components, you avoid the intimidation of trying to draw a perfect outline in one continuous motion.
- Draw a small circle near the top of your page to represent the neck of the pear.
- Draw a larger, slightly flattened circle directly beneath it to serve as the base.
- Lightly sketch two curved lines connecting the sides of the top circle to the bottom one, creating a tapered transition.
- Erase the interior lines where the circles meet to reveal a single, fluid outline.
- Add a small, rectangular stem at the very top and a tiny indentation at the base for realism.
Best drawing tools for beginners
While professional artists often use charcoal or expensive pastels, beginners benefit most from using a standard HB or 2B graphite pencil. These pencils provide enough versatility to create both light guidelines and darker, final contours without smudging excessively. Using a high-quality kneaded eraser is also recommended, as it allows you to lift graphite off the paper gently without damaging the surface texture.
When selecting paper, choose a medium-weight sketchbook or drawing paper with a slight "tooth" or texture. This surface helps the graphite grip the page, making it easier to control your shading and line weight. Avoid glossy or extremely thin printer paper, as these surfaces often result in uneven marks and make it difficult to achieve the soft, blended transitions necessary for capturing the rounded volume of a pear.
Why pear shapes are difficult to master
The primary challenge in drawing a pear lies in the subtle asymmetry of its silhouette. Unlike a perfect sphere, a pear possesses a unique "shoulder" where the neck meets the body, and this transition must be smooth rather than sharp. If the connection between the top and bottom sections is too angular, the fruit will look like a stack of two distinct objects rather than a single, cohesive piece of produce.
Another common difficulty involves the perspective of the stem. Many beginners draw the stem as a perfectly straight vertical line, which can make the drawing appear flat or lifeless. In reality, the stem often grows at a slight angle and emerges from a small, recessed dimple at the top of the fruit. By observing how the stem curves toward the light or away from the viewer, you add a sense of three-dimensional depth that elevates a simple sketch into a convincing study.
Common mistakes when drawing fruit
One of the most frequent errors is pressing too hard with the pencil during the initial sketching phase. When you apply heavy pressure early on, it becomes nearly impossible to erase your guidelines, leaving ghostly marks that distract from the final drawing. Always keep your initial circles and connecting lines extremely light, using only the weight of the pencil itself to guide your hand across the paper.
- Failing to observe the actual light source, which leads to inconsistent shading.
- Drawing the pear perfectly symmetrical, which ignores the natural, organic variations found in nature.
- Creating a stem that is too long or disproportionately thin compared to the body.
- Forgetting to leave a small area of white paper for the "highlight," which makes the fruit look dull and flat.
- Neglecting to add a cast shadow on the surface beneath the pear, which leaves the object appearing as if it is floating.
How to shade a pear for realism
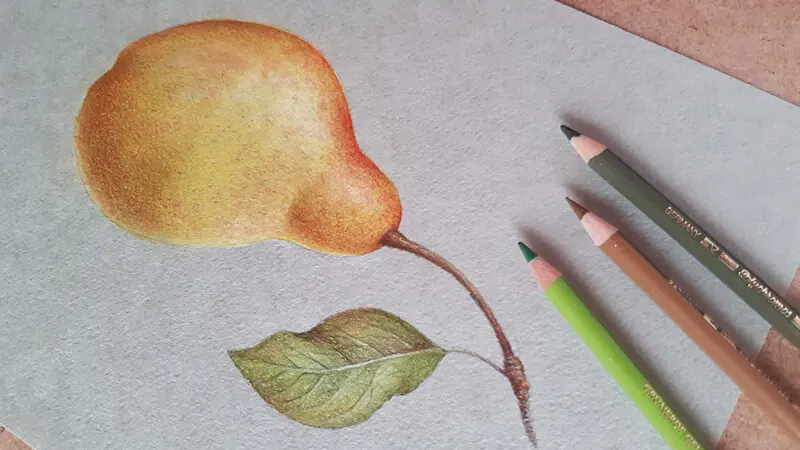
Shading is the final step that transforms a two-dimensional outline into a realistic, rounded object. Start by identifying where the light source is coming from; the side of the pear facing the light should remain the lightest, while the opposite side will require darker, layered graphite. Use the side of your pencil lead rather than the tip to create soft, broad strokes that follow the curvature of the fruit.
To achieve a smooth transition between light and shadow, use a blending stump or a clean tissue to gently smudge the graphite. Work from the darkest areas toward the lighter sections, gradually lifting the pressure as you move across the surface. Finally, use your eraser to pull out a small, sharp highlight on the side of the pear closest to the light source. This simple addition of reflected light creates the illusion of a smooth, waxy skin and gives your drawing a professional, polished finish.
Key facts
- A pear is essentially a combination of two basic geometric shapes: a small circle on top of a larger, rounded oval.
- Use a light touch with your pencil initially so you can easily erase the overlapping lines where the two shapes meet.
- The stem should be drawn as a slightly curved, thick line emerging from the center of the top circle.
- Avoid drawing a perfectly symmetrical shape, as real pears are naturally asymmetrical and slightly lopsided.
- Adding a small, curved shadow line at the base of the pear helps ground the object and creates a sense of volume.
- Focus on the "shoulder" of the pear, which is the widest point of the bottom section, to give the fruit its characteristic silhouette.
The bottom line
Drawing a pear is an excellent exercise for mastering basic form and volume. By breaking the fruit down into two overlapping circles and smoothing the transition between them, you create a realistic silhouette. Remember to embrace the natural imperfections of the shape, as these details provide character. With a light touch and careful attention to light sources, you can quickly transform simple geometry into a convincing illustration.
People also ask
Should I use a reference image when drawing a pear?
Yes, using a real pear or a photograph helps you understand how light hits the curved surface. Observing the highlights and shadows will make your drawing look much more three-dimensional.
What type of pencil is best for a beginner?
A standard HB lead pencil is ideal because it allows for both light sketching and darker detailing. You can also use a 2B pencil if you want to create softer, darker shadows.
How do I make the pear look shiny?
You can achieve a shiny appearance by leaving a small, unshaded white area on the side where the light source hits. This creates a highlight that mimics the reflective skin of the fruit.
Is it better to draw the outline first or the shading?
Always establish your outline and basic proportions before adding any shading. Once the structure is correct, you can gradually build up layers of tone to define the form.
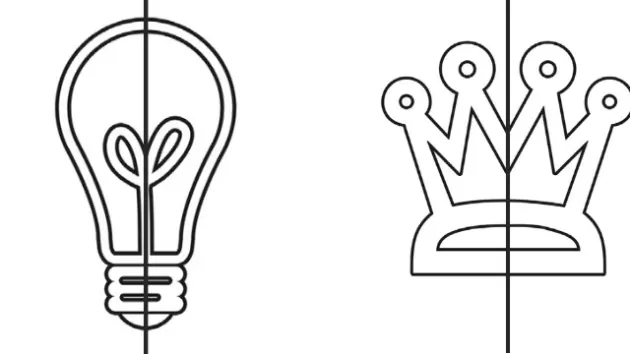
Why does my pear look like a lightbulb?
This usually happens when the top circle is too narrow or the transition to the bottom is too sharp. Ensure the curve connecting the two shapes is smooth and gradual rather than abrupt.
How can I fix a mistake without ruining the paper?
Use a kneaded eraser, which allows you to lift graphite off the page gently without damaging the paper fibers. Avoid pressing too hard with your pencil during the initial sketch phase.
This answer was created with the help of AI research tools and reference sources. Spotted an error? Let us know — we correct mistakes quickly. See our editorial policy.