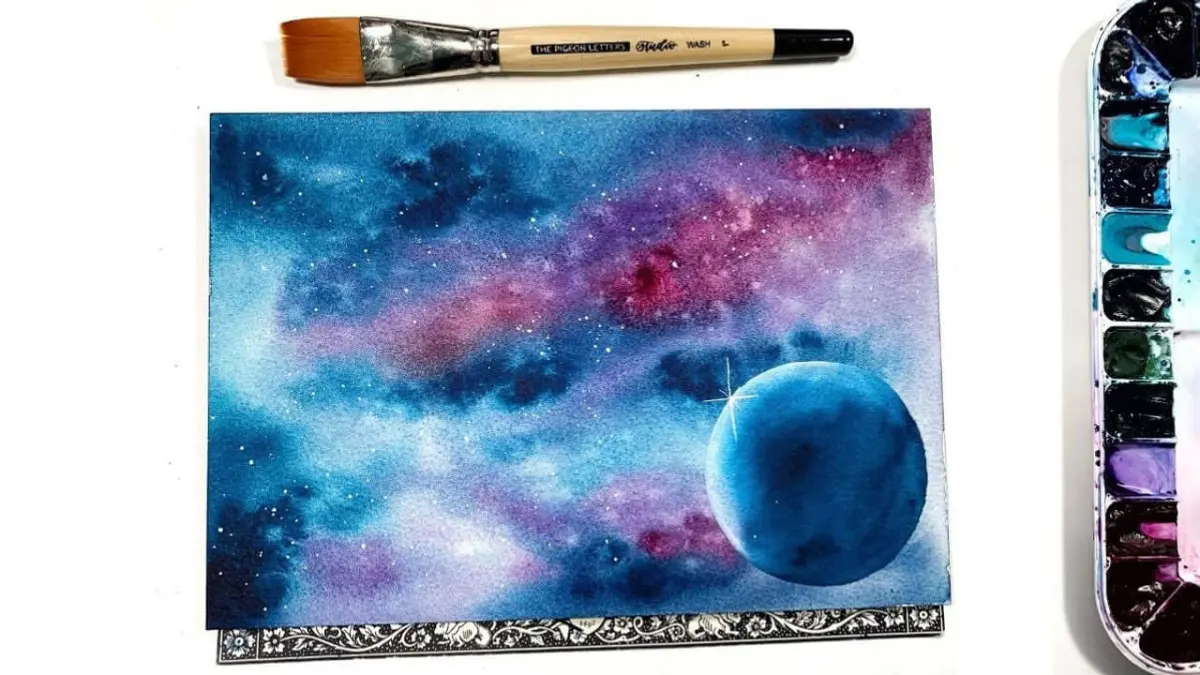
How do you paint the sky with watercolor?
Short answer
Painting a watercolor sky requires managing water-to-pigment ratios and timing. By using the wet-on-wet technique, you apply diluted paint to pre-moistened paper, allowing colors to blend naturally. Controlling the moisture levels and working quickly while the surface remains damp ensures smooth gradients, soft transitions, and a realistic, atmospheric appearance for your artwork.
On this page
How to prepare paper for watercolor skies
The foundation of a successful sky is proper paper preparation. Watercolor paper is designed to absorb water, but it often buckles if not treated correctly. For a large area like a sky, you should use cold-press paper with a weight of at least 300 grams per square meter. This thickness prevents the paper from warping when you apply the heavy washes of water required for a seamless sky.
Before you begin painting, you must secure your paper to a rigid board using masking tape or gummed paper tape. This process, known as stretching, keeps the surface flat as it dries. For beginners, the following steps are essential:
- Submerge the paper in clean water for three to five minutes.
- Lay the damp paper flat on a non-porous board.
- Smooth out any air bubbles from the center toward the edges.
- Tape down all four sides firmly to ensure it stays taut while drying.
Allow the paper to reach a state of dampness that is cool to the touch but not pooling with excess water before you start applying your pigments.
Best watercolor techniques for skies
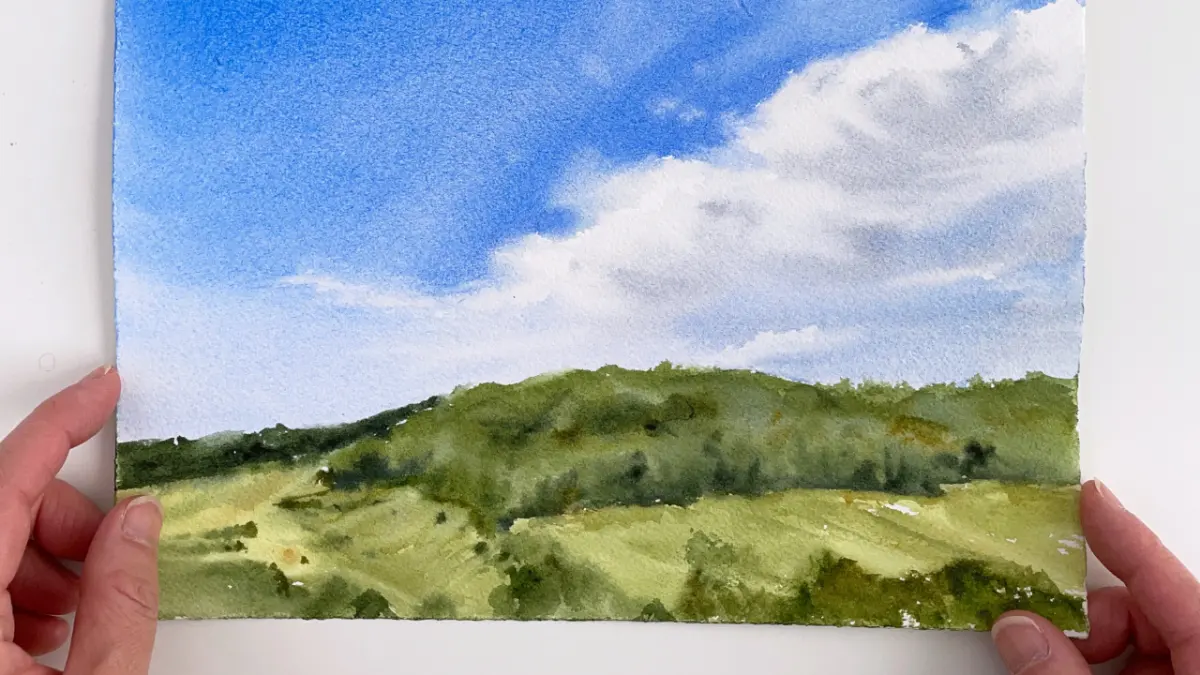
The most effective method for painting a sky is the "wet-on-wet" technique. This involves wetting the paper with a clean, wide brush before introducing any color. Once the surface has a uniform sheen, you drop in your pigment, allowing it to spread and diffuse on its own. This creates soft, ethereal edges that mimic the natural appearance of clouds and atmospheric transitions.
To achieve a professional gradient, start with a darker concentration of blue at the top of the page and gradually add more water as you move toward the horizon. Keep your brush loaded with plenty of paint to avoid hard lines, which are known as "tide marks." If you want to create clouds, you can use a clean, damp brush or a paper towel to "lift" or remove pigment while the surface is still wet. This subtractive method reveals the white of the paper, creating the illusion of light reflecting off cloud formations.
How to mix colors for a realistic sky
Achieving a realistic sky requires more than just a single tube of blue paint. While cerulean blue is a popular choice for bright, clear days, you should consider mixing it with other hues to add depth. Adding a touch of ultramarine can provide a deeper, richer tone, while a hint of alizarin crimson or burnt sienna can neutralize the blue, preventing it from looking too artificial or flat.
When mixing your paints, always prepare more than you think you will need. Running out of a custom mix halfway through a sky wash is a common frustration, as it is nearly impossible to recreate the exact shade later. Use a large palette to mix your colors, ensuring the consistency is thin, like milk or ink. If the paint is too thick, it will not flow correctly across the damp paper. Remember that watercolor dries significantly lighter than it appears when wet, so mix your colors slightly darker than your target shade.
Common mistakes when painting skies
One of the most frequent errors is overworking the paint. Once you have applied a stroke, resist the urge to go back and "fix" it, as this often creates muddy colors and disrupts the smooth flow of the wash. If you notice a mistake, it is usually better to leave it and incorporate it into the final design rather than scrubbing the paper, which can damage the delicate fibers of the surface.
Another common issue is improper water management. If your paper is too dry, the paint will not move, leading to streaky or patchy results. Conversely, if there is too much standing water on the surface, the pigment will bloom uncontrollably, creating unwanted cauliflower-like textures. To avoid these issues, observe the reflection of light on your paper; it should look like a soft, satin sheen. If you see puddles, gently soak them up with the corner of a clean, thirsty brush before you begin applying your primary color washes.
How to add clouds and texture
Once your initial sky wash is dry, you can add final details to enhance the sense of depth. While the wet-on-wet technique is perfect for the base, "wet-on-dry" is ideal for defining the edges of clouds or adding distant birds. By applying a slightly thicker, darker paint over the dry sky, you create sharp contrasts that draw the viewer's eye.
You can also experiment with creative textures during the drying process. These techniques add visual interest to an otherwise static sky:
- Salt: Sprinkle coarse sea salt onto the damp paint; as it dries, it absorbs pigment, creating star-like patterns.
- Plastic wrap: Lay a piece of crumpled plastic wrap over the wet wash to create jagged, cloud-like shapes.
- Splattering: Use a stiff brush to flick tiny droplets of clear water onto a semi-dry wash to create light-colored spots.
- Dry brushing: Use a brush with very little water and pigment to drag color across the texture of the paper, simulating wispy cirrus clouds.
Experimenting with these methods will help you develop a unique style and bring a dynamic, professional quality to your watercolor skies.
Key facts
- Use a large, round or flat brush to cover broad areas quickly before the paint dries.
- Apply a "wet-on-wet" technique by dampening the paper with clean water before adding pigment.
- Mix more paint than you think you need to avoid running out mid-wash.
- Tilt your board at a slight angle to allow gravity to pull the pigment down evenly.
- Use high-quality cold-press watercolor paper to prevent buckling and ensure even absorption.
- Reserve white space by painting around clouds or using masking fluid to preserve the paper's brightness.
The bottom line
Painting a watercolor sky requires confidence, speed, and careful preparation of your materials. By mastering the wet-on-wet technique and maintaining a consistent flow of pigment, you can achieve smooth, luminous results. Remember to work quickly to prevent uneven drying and embrace the natural transparency of the medium. With practice, you will learn to balance control and spontaneity, creating skies that feel both atmospheric and authentic.
People also ask
How do I prevent streaks in my sky wash?
Keep your brush fully loaded with pigment and work quickly while the paper remains damp. Avoid going back over areas that have already begun to dry, as this creates harsh lines known as blooms.
Should I use tap water or distilled water?
Tap water is generally acceptable, but distilled water is preferred if your local supply has high mineral content. Minerals can sometimes cause unpredictable reactions or unwanted textures in delicate sky washes.
How do I paint a sunset gradient?
Start with a light yellow at the horizon and transition to orange, then pink or purple as you move upward. Apply the colors while the paper is still wet so they bleed naturally into one another.
What is the best way to create soft clouds?
Lift color from the wet wash using a clean, damp brush or a small piece of paper towel. This technique removes pigment while the paint is still fluid, resulting in soft, diffused edges.
Why is my sky turning out muddy?
Mud occurs when you overwork the paper or mix too many complementary colors together. Use a limited palette and limit your brush strokes to maintain the transparency of the watercolor.
Can I fix a sky that dried too light?
You can apply a second thin layer of paint, known as a glaze, once the first layer is completely dry. Ensure the first layer is stable so you do not lift the original pigment.
This answer was created with the help of AI research tools and reference sources. Spotted an error? Let us know — we correct mistakes quickly. See our editorial policy.