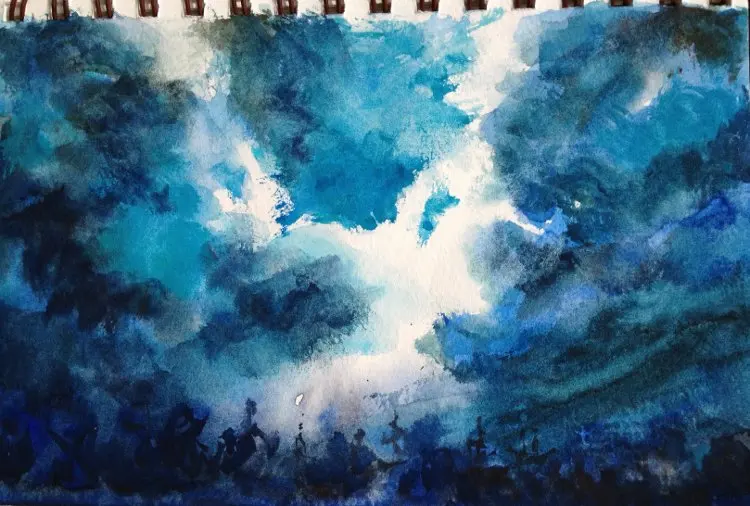
How do you paint a galaxy in watercolor?
Short answer
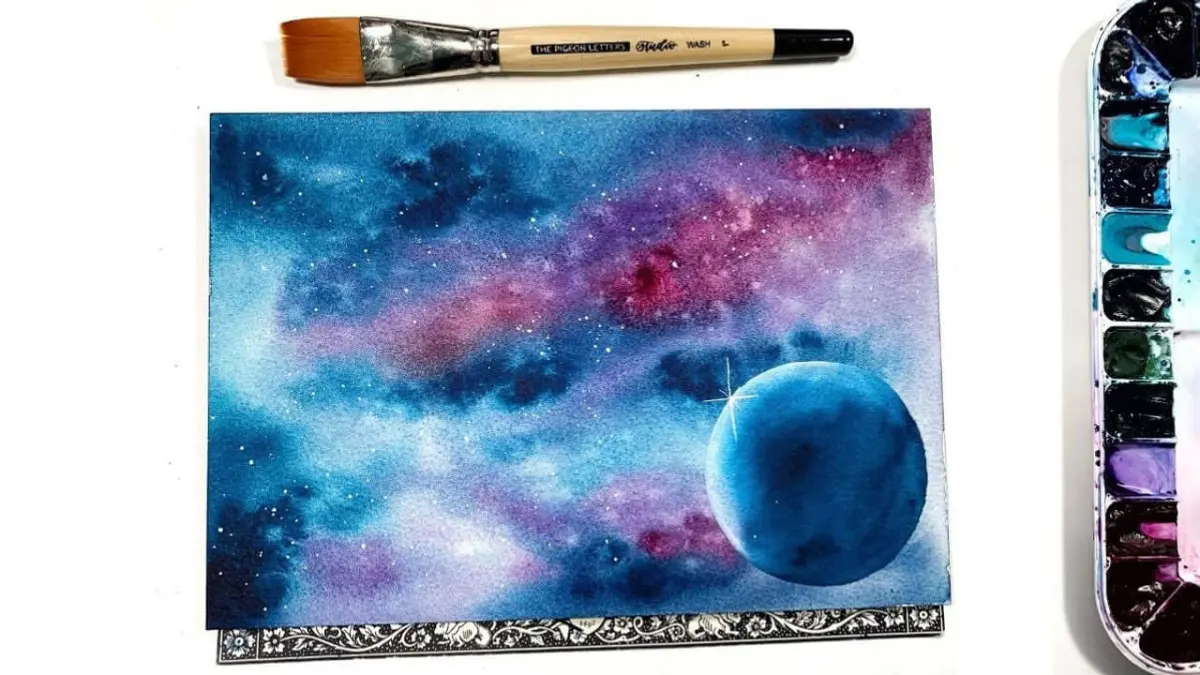
Painting a galaxy in watercolor involves the wet-on-wet technique to blend vibrant pigments seamlessly across the paper. By layering deep blues, purples, and magentas, then adding white splatters for stars, you create depth. Control your water-to-paint ratio carefully to ensure smooth gradients, allowing each layer to dry thoroughly before adding final details.
On this page
What supplies do I need for galaxy painting?
To achieve a professional appearance, start with 140lb (300gsm) cold-press watercolor paper. This weight prevents the paper from buckling when saturated with multiple water washes. You will need a set of transparent watercolors, preferably staining pigments like Phthalo Blue, Dioxazine Purple, and Alizarin Crimson, which blend beautifully without turning muddy.
You should also gather a few essential tools to manage the flow of color. A large flat or round brush, size 8 or 10, is ideal for covering large areas, while a smaller detail brush is necessary for stars. Keep two jars of clean water nearby: one for rinsing brushes and one for picking up fresh pigment. Finally, have a white gouache or a white gel pen ready for the stars, as standard white watercolor is often too transparent to show up against dark backgrounds.
How to prepare the paper for galaxy painting?
Proper preparation ensures the paint moves predictably across the surface. Secure your paper to a board using painter's tape along all four edges. This creates a clean white border and keeps the paper flat as it dries. If you prefer a softer, more ethereal look, lightly dampen the entire sheet with a clean, wide brush before applying any pigment.
- Tape all four sides of the paper firmly to a flat surface.
- Mix your primary colors—blues, purples, and pinks—in your palette before starting.
- Ensure your workspace is well-lit so you can see the saturation levels of your paint.
- Have paper towels ready to lift excess moisture or correct mistakes immediately.
Taking these steps prevents the paint from pooling in unwanted areas. If the paper is too dry, the colors will not blend; if it is too wet, the pigments will bleed uncontrollably. Aim for a sheen that reflects light without forming puddles.
How to blend colors for a galaxy effect?
The secret to a realistic galaxy is the wet-on-wet technique, which allows colors to mingle naturally. Start by applying your lightest colors, such as magenta or bright violet, in irregular, cloud-like patches. While the paint is still wet, drop in your darker blues and blacks around the edges of these patches. Use a clean, damp brush to gently nudge the colors together at their borders, creating soft transitions.
- Apply the lightest colors first to maintain vibrancy.
- Work from the center outward to create a sense of depth.
- Avoid over-mixing, as this results in a dull, greyish brown.
- Tilt your board slightly to encourage the paint to flow into organic, swirling patterns.
As you add darker layers, focus on the corners of the paper to create a vignette effect. This draws the viewer's eye toward the center of the galaxy. Remember that watercolor dries lighter than it appears when wet, so do not be afraid to use highly concentrated pigment for the deepest shadows.
How to add stars to a watercolor galaxy?
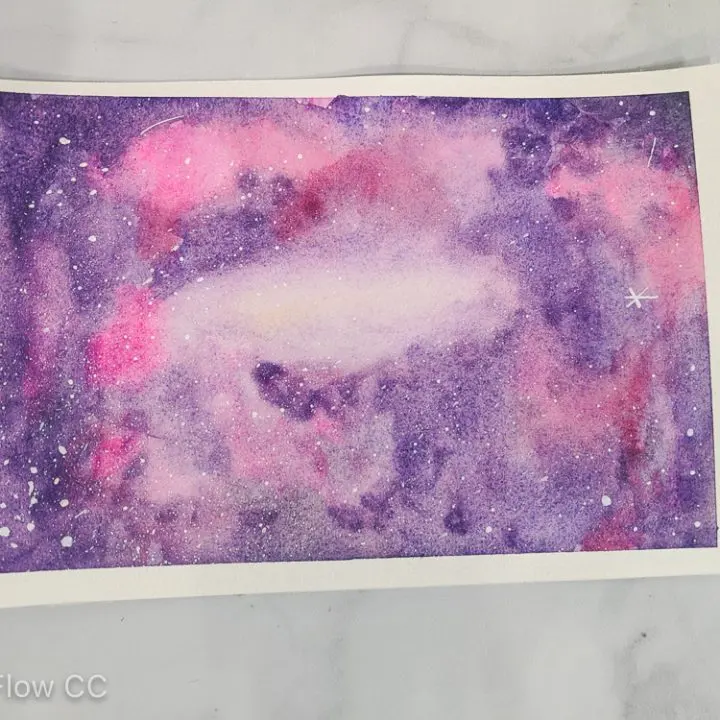
Stars provide the final contrast needed to make the galaxy pop. Once the background is completely dry to the touch, load a stiff-bristled brush with white gouache or opaque white watercolor. Dilute the paint slightly so it has the consistency of heavy cream. Hold the brush over your painting and tap the handle against your finger or another brush to create a fine mist of white droplets.
For larger, brighter stars, use the tip of a small round brush to place individual dots of white paint. You can also add a tiny touch of color to the center of these larger stars to make them appear as if they are glowing. If you want a shooting star effect, use a damp brush to gently drag the edge of a white dot before it dries, creating a soft tail. Ensure you do not overdo the stars, as a cluttered composition can distract from the swirling nebula colors you created earlier.
Common mistakes when painting galaxies?
One frequent error is failing to allow the painting to dry between layers. If you add a new color to a section that is still damp, you may accidentally lift the previous layer, resulting in "cauliflower" blooms or patchy textures. While these effects can be artistic, they often ruin the smooth, deep space look of a galaxy. Patience is essential; if you are in a rush, use a hairdryer on a low, cool setting to speed up the process.
Another mistake is using too much water, which dilutes the pigment and makes the galaxy look washed out. Always test your paint mixture on a scrap piece of paper before applying it to your main work. Finally, avoid using black paint too early or too heavily. Black can easily overpower the delicate hues of the nebula. Instead, build up depth by layering dark blues and purples, only using black as a final, subtle accent in the darkest corners of your cosmic scene.
Key facts
- Use heavy-duty, cold-press watercolor paper (at least 300 gsm) to prevent buckling when applying multiple wet layers.
- Apply a "wet-on-wet" technique by saturating the paper with clean water before adding pigment to ensure smooth, ethereal color blending.
- Utilize staining pigments like Phthalo Blue, Dioxazine Purple, and Alizarin Crimson to achieve deep, cosmic saturation.
- Masking fluid is essential for preserving crisp, white spots that serve as distant stars before you begin painting the background.
- Flick white gouache or acrylic ink onto the dried painting using a stiff-bristled toothbrush to create a realistic star field.
- Always wait for the paper to dry completely between layers to avoid "blooms" or muddying the colors unless you specifically desire a soft texture.
The bottom line
Creating a watercolor galaxy relies on the wet-on-wet technique to blend deep, cosmic hues seamlessly across the paper. By layering staining pigments and utilizing masking fluid to preserve bright stars, you can achieve professional results. Avoid the common pitfall of over-working the paper, which leads to muddy colors. With patience and high-quality materials, you can capture the vast, ethereal beauty of space on your canvas.
People also ask
Can I use regular printer paper for watercolor galaxies?
No, standard printer paper will warp, tear, and pill when exposed to the amount of water required for this technique. Always use professional-grade watercolor paper to ensure the pigments sit correctly on the surface.
Why does my galaxy look muddy instead of vibrant?
Muddy colors occur when you over-mix pigments or introduce complementary colors like red and green simultaneously. Stick to a limited palette of blues, purples, and magentas to maintain color clarity.
How do I make the stars look different sizes?
Use a small round brush to manually paint larger, brighter stars or individual constellations after the background is dry. Use the toothbrush method only for the fine, scattered dust of distant star clusters.
Is it necessary to use masking fluid?
While not strictly required, masking fluid is the most effective way to keep stars perfectly white. Without it, you must carefully paint around every star, which often results in a less natural, rigid appearance.
How do I create a glowing nebula effect?
Lift color from the center of your dark wash using a clean, damp brush while the paint is still wet. This technique creates a lighter, softer area that mimics the light of a nebula.
Should I use tube paints or pans for this project?
Tube paints are generally preferred for galaxies because they allow you to quickly mix large puddles of concentrated color. This ensures you have enough pigment ready to cover the entire page before the paper begins to dry.
This answer was created with the help of AI research tools and reference sources. Spotted an error? Let us know — we correct mistakes quickly. See our editorial policy.