How do you make a stencil?
Short answer
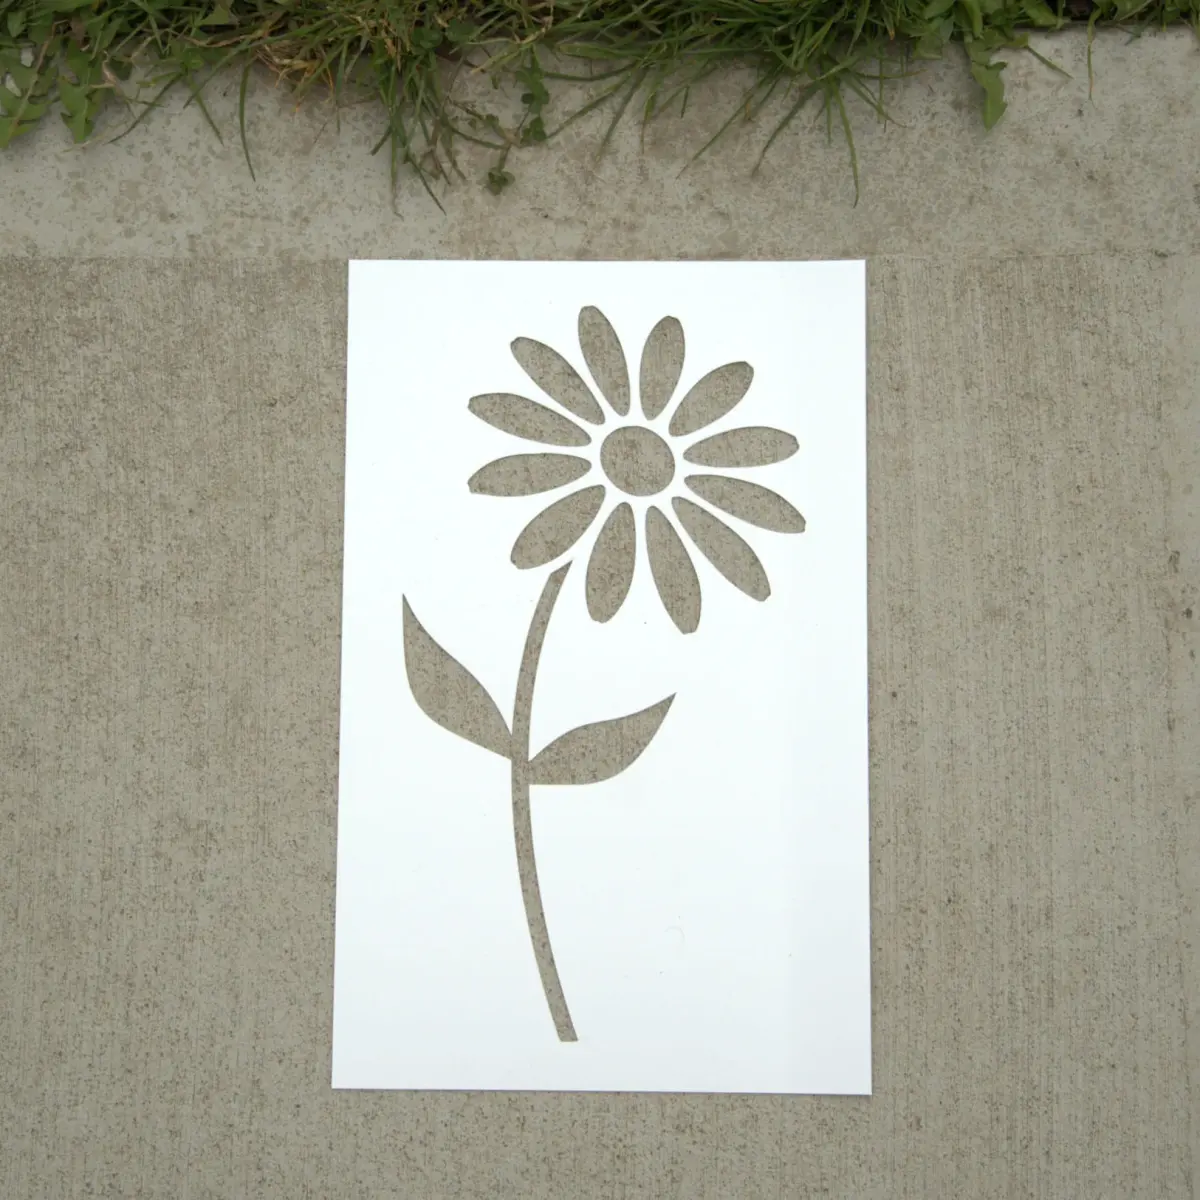
Making a stencil involves transferring a design onto a durable material like Mylar or cardstock and cutting out the negative space. By carefully removing specific areas, you create a template that allows you to repeatedly apply paint or ink through the open sections onto a surface to replicate your chosen image.
On this page
What materials are best for making a stencil?
Choosing the right substrate is the most critical step in ensuring your stencil lasts through multiple uses. For beginners, heavy cardstock or specialized stencil acetate sheets are ideal because they are easy to cut and provide enough rigidity to prevent bleeding. Mylar, a type of polyester film, is the professional standard because it is durable, reusable, and resists tearing even when cutting intricate, thin bridges. Avoid standard printer paper, as it absorbs paint quickly, becomes soggy, and will likely tear after a single application.
If you are working on a large-scale project, such as wall murals or floor patterns, consider using adhesive-backed stencil vinyl. This material stays firmly in place during the painting process, which significantly reduces the risk of paint seeping under the edges. Regardless of the material, ensure your surface is flat and clean before you begin. Having the right tools, such as a sharp craft knife or a precision laser cutter, will determine the crispness of your final design.
How to cut a stencil step by step
Precision is essential when cutting your stencil to ensure the final image looks professional. If you are cutting by hand, use a sharp craft knife with a fresh blade to prevent the material from dragging or tearing. Always place a self-healing cutting mat underneath your work to protect your table and keep your blade edge sharp for longer.
- Secure your design template to the stencil material using low-tack painter's tape to prevent slipping.
- Start cutting from the center of the design and work your way outward to maintain the structural integrity of the material.
- Use a steady, continuous motion to cut along your lines, rotating the stencil rather than your hand to navigate tight curves.
- Leave small "bridges"—narrow strips of material—between cutouts to hold the stencil together and prevent floating pieces from falling out.
- Once finished, carefully peel away the tape and smooth any rough edges with fine-grit sandpaper to ensure a clean paint transfer.
How long does it take to make a stencil?
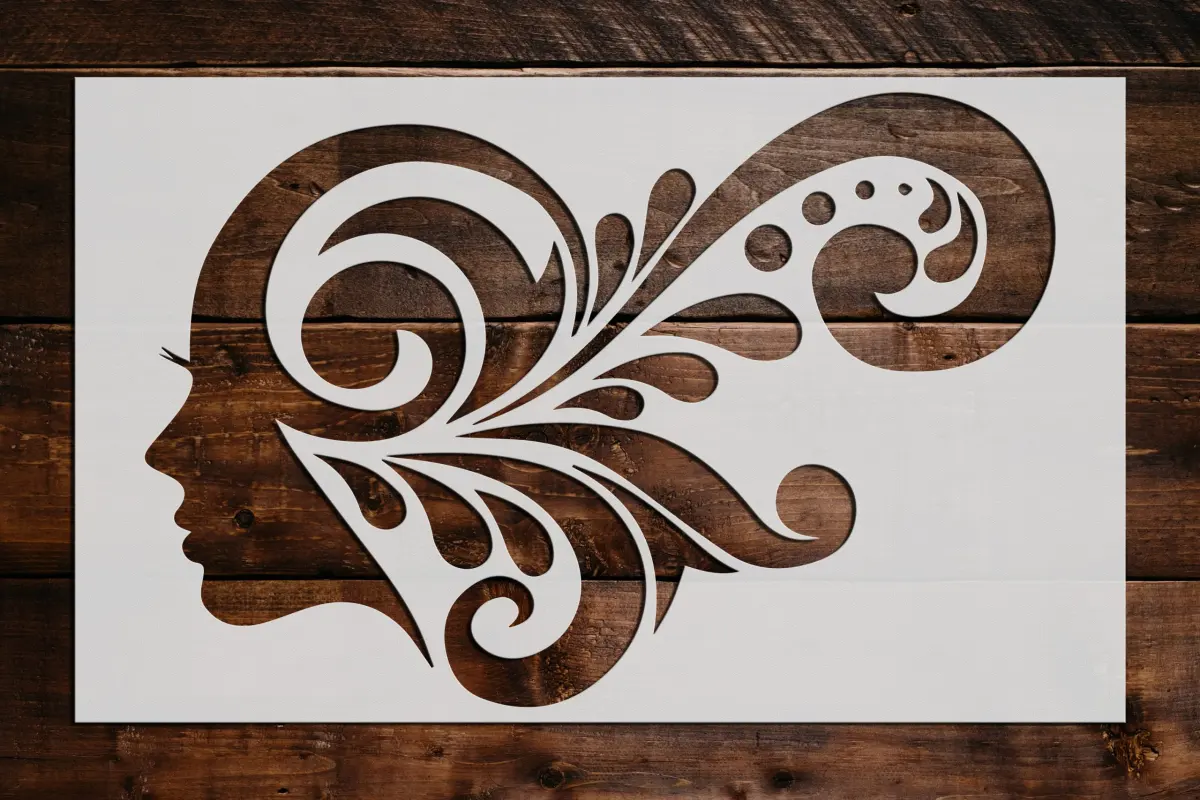
The time required to create a stencil varies significantly based on the complexity of your design and your level of experience. A simple, bold geometric shape can often be completed in under 15 minutes. Conversely, a detailed portrait or a design with many small, intricate islands can take several hours of meticulous cutting. If you are using a digital cutting machine, the process is much faster, often taking only a few minutes to process and cut the material once the file is ready.
Preparation time is a factor that many people overlook. Factoring in the time to sketch your design, refine the bridge placement, and secure the material to your workspace adds another 20 to 30 minutes to the total project duration. If you are new to the craft, do not rush the cutting phase. Taking extra time to ensure your lines are clean will save you from having to perform tedious touch-ups later when you are applying the paint to your final surface.

Common mistakes when making a stencil
One of the most frequent errors is forgetting to create bridges, which are the essential connections that keep the stencil from falling apart. If you cut out a letter like "O" or "A" without leaving a bridge, the center piece will fall out, leaving you with a blob rather than a recognizable character. Always look at your design and identify which parts are "floating" before you start your first cut.
Another common mistake is using a dull blade. A blunt knife requires more pressure, which makes the material buckle and results in jagged, uneven edges. You should also avoid using too much adhesive spray on the back of your stencil, as this can leave a sticky residue on your project surface. Finally, failing to secure the stencil firmly against the target surface leads to "bleeding," where paint seeps under the edges. Always use light, even pressure when applying paint to ensure the stencil remains flush against the substrate throughout the entire process.
Why paint bleeds under a stencil
Paint bleeding occurs when the stencil is not perfectly flush against the surface or when too much medium is applied at once. When you use a brush or roller that is overly saturated, the excess liquid naturally seeks the path of least resistance, which is the tiny gap between the stencil and the wall or fabric. To prevent this, always use a "dry" technique, where you offload most of the paint onto a paper towel before touching the stencil.
The consistency of the paint also plays a major role in the quality of your stencil work. Thicker paints, such as acrylics or specialized stencil creams, are less likely to bleed than thin, watery paints. If you are working on a textured surface, such as brick or stucco, bleeding is almost inevitable because the stencil cannot make a perfect seal. In these cases, using a spray adhesive or a stencil brush with stiff bristles can help minimize the spread. By applying multiple thin layers rather than one heavy coat, you achieve better coverage and significantly sharper results.
Key facts
- Use Mylar or acetate sheets for durable stencils that can be reused dozens of times without tearing.
- Always leave "bridges," which are thin strips of material that hold internal parts of a design in place.
- A sharp craft knife, such as an X-Acto, is essential for achieving clean, crisp edges on your stencil.
- Apply a light coat of repositionable spray adhesive to the back of the stencil to prevent paint bleed.
- Use a dense foam pouncer or a stiff-bristled stencil brush to apply paint with a light dabbing motion.
- Clean your stencil immediately after use with warm water or the appropriate solvent to prevent paint buildup.
The bottom line
Creating a stencil is a straightforward process that relies on careful planning and precise cutting. By using durable materials like Mylar and incorporating structural bridges, you ensure your design remains intact during use. Remember to use minimal paint and a dabbing technique to achieve sharp, professional results. With the right tools and a steady hand, you can easily replicate complex patterns on various surfaces.
People also ask
What is the best material for a DIY stencil?
Mylar is the industry standard because it is flexible, tear-resistant, and easy to clean. For one-time projects, heavy cardstock or even freezer paper can work well.
How do I prevent paint from bleeding under the stencil edges?
The most common mistake is using too much paint on your brush. Always offload excess paint onto a paper towel until the brush feels almost dry before dabbing.
Can I use a cutting machine to make stencils?
Yes, machines like the Cricut or Silhouette are excellent for creating intricate, precise designs. They allow you to cut complex patterns that would be difficult to do by hand.
How do I fix a broken bridge on my stencil?
You can repair a torn bridge by applying a small piece of clear packing tape or masking tape over the break. Re-cut the area with a sharp blade to restore the original shape.
What type of paint works best with stencils?
Acrylic craft paints are ideal because they have a thick consistency and dry quickly. Spray paint is also popular for street art, but it requires a very flat, secure stencil.
How do I clean a stencil after using oil-based paint?
You must use a solvent like mineral spirits or turpentine to dissolve oil-based paint. Wipe the stencil gently with a rag and ensure it is completely dry before storage.
This answer was created with the help of AI research tools and reference sources. Spotted an error? Let us know — we correct mistakes quickly. See our editorial policy.