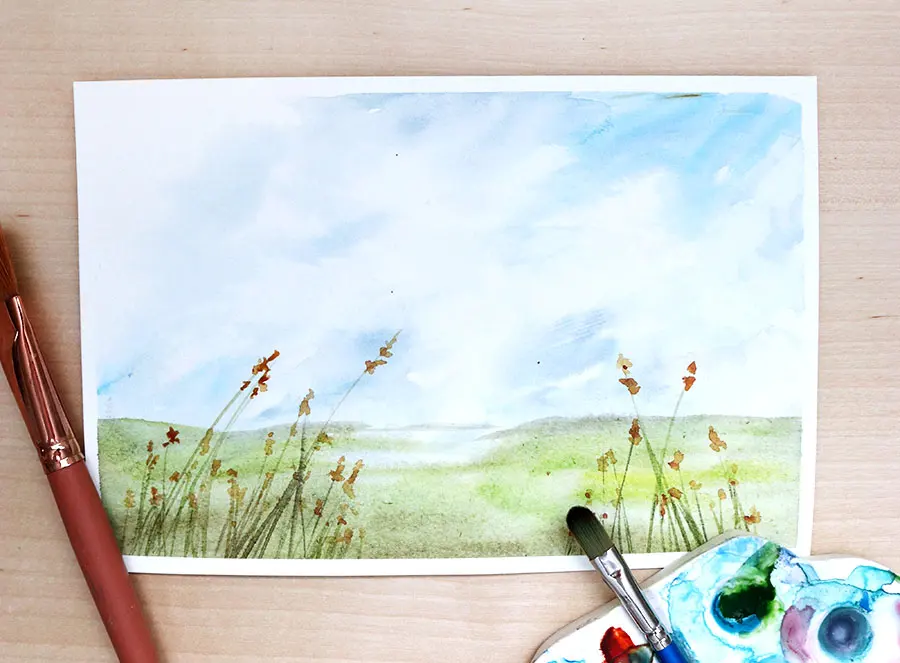
How do you paint fog in watercolor?
Short answer
Painting fog in watercolor requires managing moisture levels to create soft, diffused edges. By using the wet-on-wet technique, you allow pigments to bleed into damp paper, mimicking the atmospheric haze of mist. Key strategies include preserving white highlights, using diluted paint mixtures, and softening hard edges with a clean, damp brush.
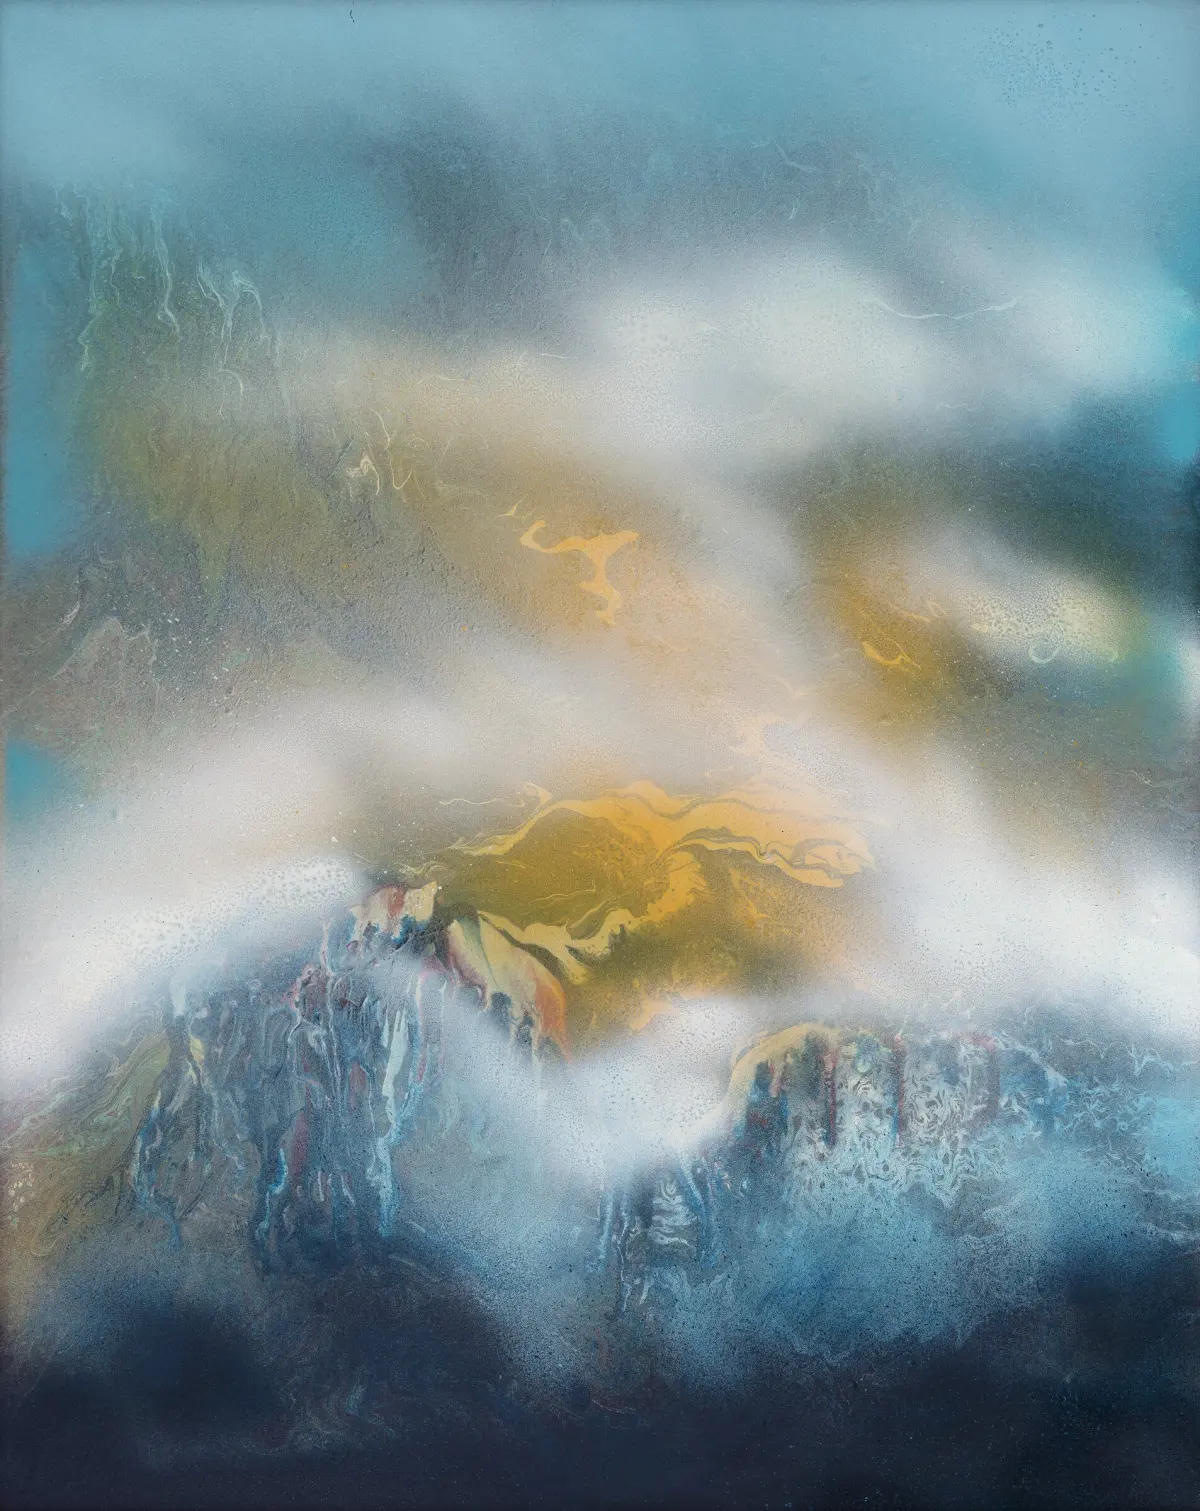
On this page
How to create a soft fog effect
The primary technique for capturing fog is the wet-on-wet method. By wetting the paper with clean water before applying pigment, you encourage the paint to spread naturally, creating the soft, blurred transitions characteristic of misty air. This approach mimics how light scatters through water droplets in the atmosphere.
To achieve the best results, you must control the ratio of water to pigment. A very thin, watery wash of neutral gray, cerulean blue, or cobalt violet works best for the initial layers. As you add more layers, keep the paint consistency thin to maintain transparency. If the paint becomes too saturated, the fog effect will look muddy rather than ethereal.
- Tape your paper down to prevent buckling during heavy water application.
- Apply a uniform layer of clean water across the area where the fog will appear.
- Drop in diluted pigment while the surface remains shiny, allowing the paint to travel.
- Tilt the board slightly to guide the flow of the pigment into desired shapes.
Best watercolor supplies for painting mist
High-quality materials are essential when working with wet-on-wet techniques. Cold-press watercolor paper is the industry standard because its textured surface helps trap pigment in the valleys, creating a natural diffusion. Avoid hot-press paper, as its smooth surface causes paint to pool and streak, making it difficult to control the soft gradients needed for fog.
For brushes, a large, soft mop brush—typically made of squirrel or high-quality synthetic hair—is ideal. These brushes hold a significant amount of water, allowing you to cover large areas quickly before the paper dries. You should also have a clean, damp round brush nearby to "lift" or soften any edges that become too sharp or defined during the painting process.
- Mop brushes for large, even washes.
- Cold-press paper for better water retention.
- Neutral tints like Payne’s Gray or Davy’s Gray for realistic atmospheric color.
- Masking fluid to preserve crisp highlights like distant trees or sharp rocks.
Why fog looks different at various distances
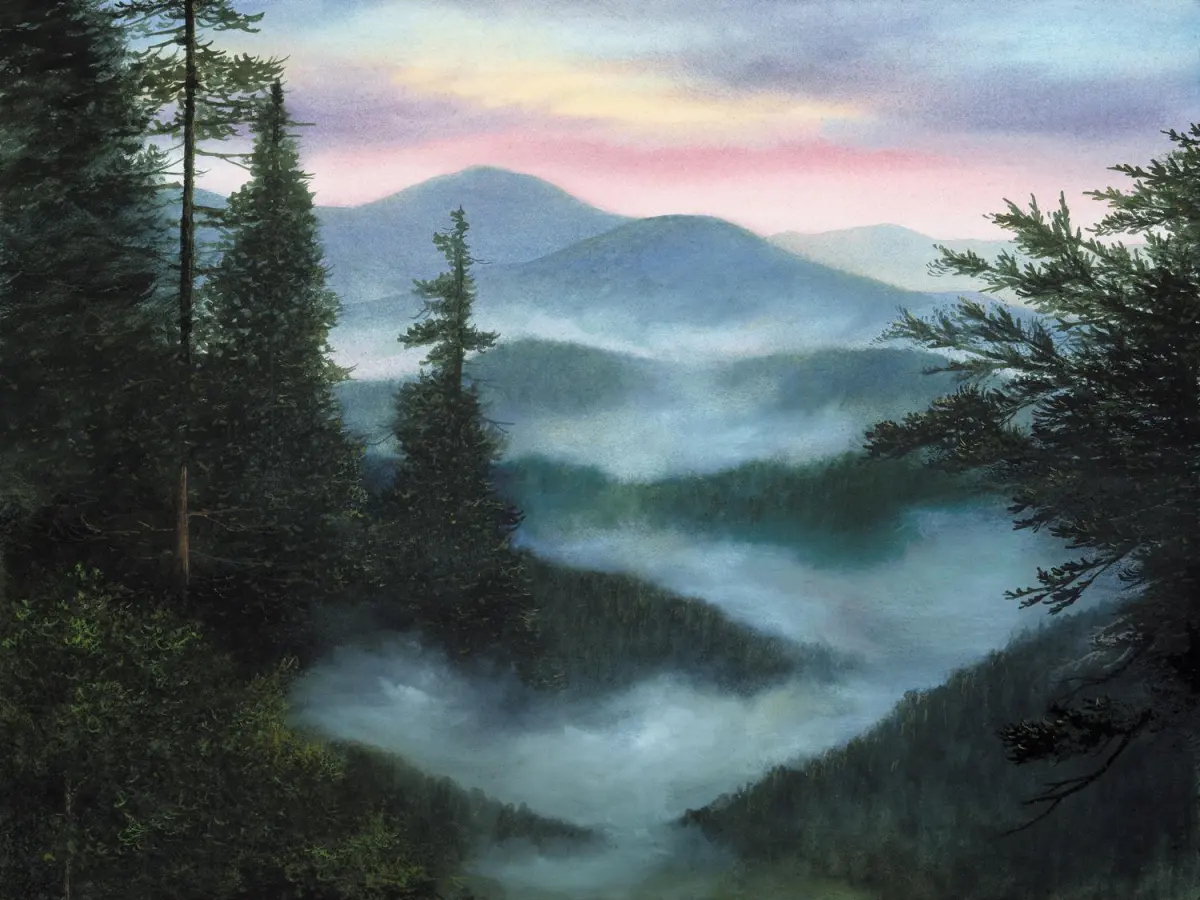
Fog acts as a natural filter that reduces contrast and desaturates colors as objects move further away. In art, this is known as aerial perspective. Objects close to the viewer appear darker and more defined, while distant objects fade into the background, becoming lighter and cooler in tone. To paint this effectively, you must layer your work from back to front.
Start by painting the most distant, faded elements with a very pale, cool wash. As you move toward the foreground, gradually increase the intensity of your pigment and the sharpness of your edges. By the time you reach the foreground, you should be using thicker paint and more precise brushwork. This transition creates the illusion of depth, tricking the eye into perceiving a vast, misty space.
Common mistakes when painting fog
The most frequent error is overworking the paper. Once the paper begins to dry, touching it with a brush often creates "cauliflowers" or backruns, where new water pushes the pigment out of the drying area. These marks look like jagged, unnatural blooms that destroy the smooth, hazy atmosphere you are trying to cultivate. If you see the paper losing its sheen, stop painting immediately.
Another common mistake is using colors that are too vibrant. Fog is inherently desaturated because the suspended water droplets scatter light, muting the colors behind them. Avoid using pure, tube-strength colors. Instead, mix your pigments with a touch of white or a complementary color to neutralize them. If your fog looks like a solid block of color, it is likely that your paint mixture is too thick or opaque.
How to fix mistakes in a watercolor fog painting
If you accidentally create a hard edge where you wanted a soft one, you can often correct it by gently re-wetting the area. Use a clean, damp brush to stroke over the edge, softening the pigment boundary. If the paint has already stained the paper, you can use a technique called lifting. This involves scrubbing the area lightly with a damp brush and dabbing it with a paper towel.
When a section becomes too dark, you can lift the pigment while it is still damp to reveal the white of the paper underneath. However, be careful not to scrub too hard, as this can damage the paper fibers and create a fuzzy, unattractive texture. If the painting is already dry and you are unsatisfied, consider turning the piece into a study or using a gouache highlight to reclaim some of the lost light in the scene.
Key facts
- Fog is essentially negative space; preserve the white of the paper rather than painting it with opaque white pigment.
- Use a "wet-on-wet" technique by dampening your paper with clean water before applying diluted pigment to achieve soft, diffused edges.
- Employ a "lifting" technique with a clean, damp brush or a paper towel to remove color and create light-filled atmospheric pockets.
- Keep your color palette limited to cool, desaturated tones like Payne’s Gray, Ultramarine Blue, or Burnt Umber to mimic natural atmospheric perspective.
- Work from the background forward, keeping distant elements faint and blurry while increasing contrast and detail as you move to the foreground.
- Avoid overworking the paper, as watercolor loses its luminous, ethereal quality if the pigments become muddy from excessive blending.
The bottom line
Painting fog in watercolor requires a delicate balance of patience and restraint. By mastering wet-on-wet techniques and prioritizing the preservation of white paper, you can create a sense of depth and atmosphere. Focus on soft, blurred transitions and cool, muted color palettes to suggest distance. Ultimately, the key is to let the water do the work, allowing the pigments to diffuse naturally across the page.
People also ask
Can I use white gouache to create fog effects?
Yes, applying a thin, watery layer of white gouache over dry watercolor can simulate a light mist. However, use it sparingly to avoid a chalky appearance that can clash with the transparency of the surrounding watercolor.
Why does my fog look like a solid gray block instead of mist?
This usually happens because the paint was applied too thickly or the edges were too sharp. Ensure your paint is highly diluted with water and soften all edges immediately with a clean, damp brush.
Should I use cold-press or hot-press paper for foggy scenes?
Cold-press paper is generally preferred because its texture helps disperse pigments unevenly, creating natural, grainy transitions. Hot-press paper is smoother and can make it harder to achieve the soft, organic gradients required for fog.
How do I keep my distant objects from looking too dark?
Mix your colors with significantly more water than you think you need for distant elements. If they appear too dark, immediately blot them with a paper towel while the paint is still wet.
Is it better to paint fog in one layer or multiple layers?
Multiple thin, transparent glazes are superior for building depth. Allow each layer to dry completely before adding the next to maintain the luminosity of the underlying washes.
How do I create "rays" of light cutting through the fog?
You can achieve this by masking out the light beams before you begin painting or by carefully lifting the paint in straight, diagonal lines while the wash is still damp.
This answer was created with the help of AI research tools and reference sources. Spotted an error? Let us know — we correct mistakes quickly. See our editorial policy.