How do you make a bookmark?
Short answer
Making a bookmark involves cutting a rectangular strip of heavy paper or cardstock to a size of approximately two by six inches. You can personalize it by adding decorative elements like ribbons, paint, or pressed flowers. Laminating the finished piece ensures durability, protecting the bookmark from wear during frequent daily use.
On this page
How to make a simple paper bookmark
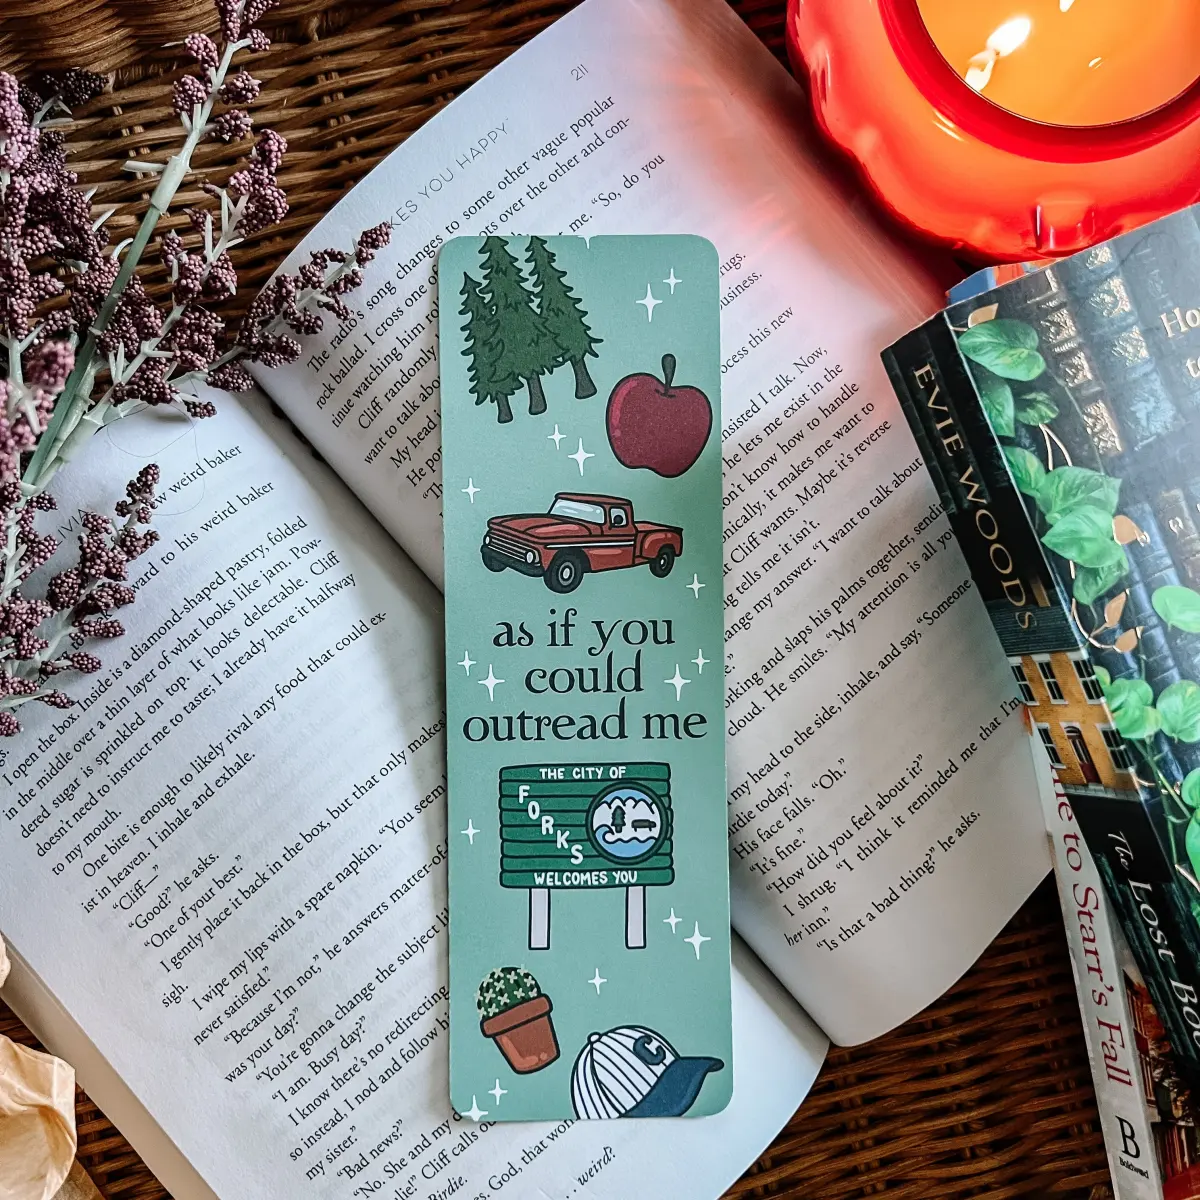
Creating a basic bookmark is a straightforward project that requires minimal materials. Start by selecting a piece of cardstock or heavy-weight paper, as standard printer paper is often too flimsy to withstand repeated insertion into books. Measure a rectangle that is roughly two inches wide and six to eight inches long, then cut it out carefully using a ruler and a utility knife or scissors for clean, straight edges.
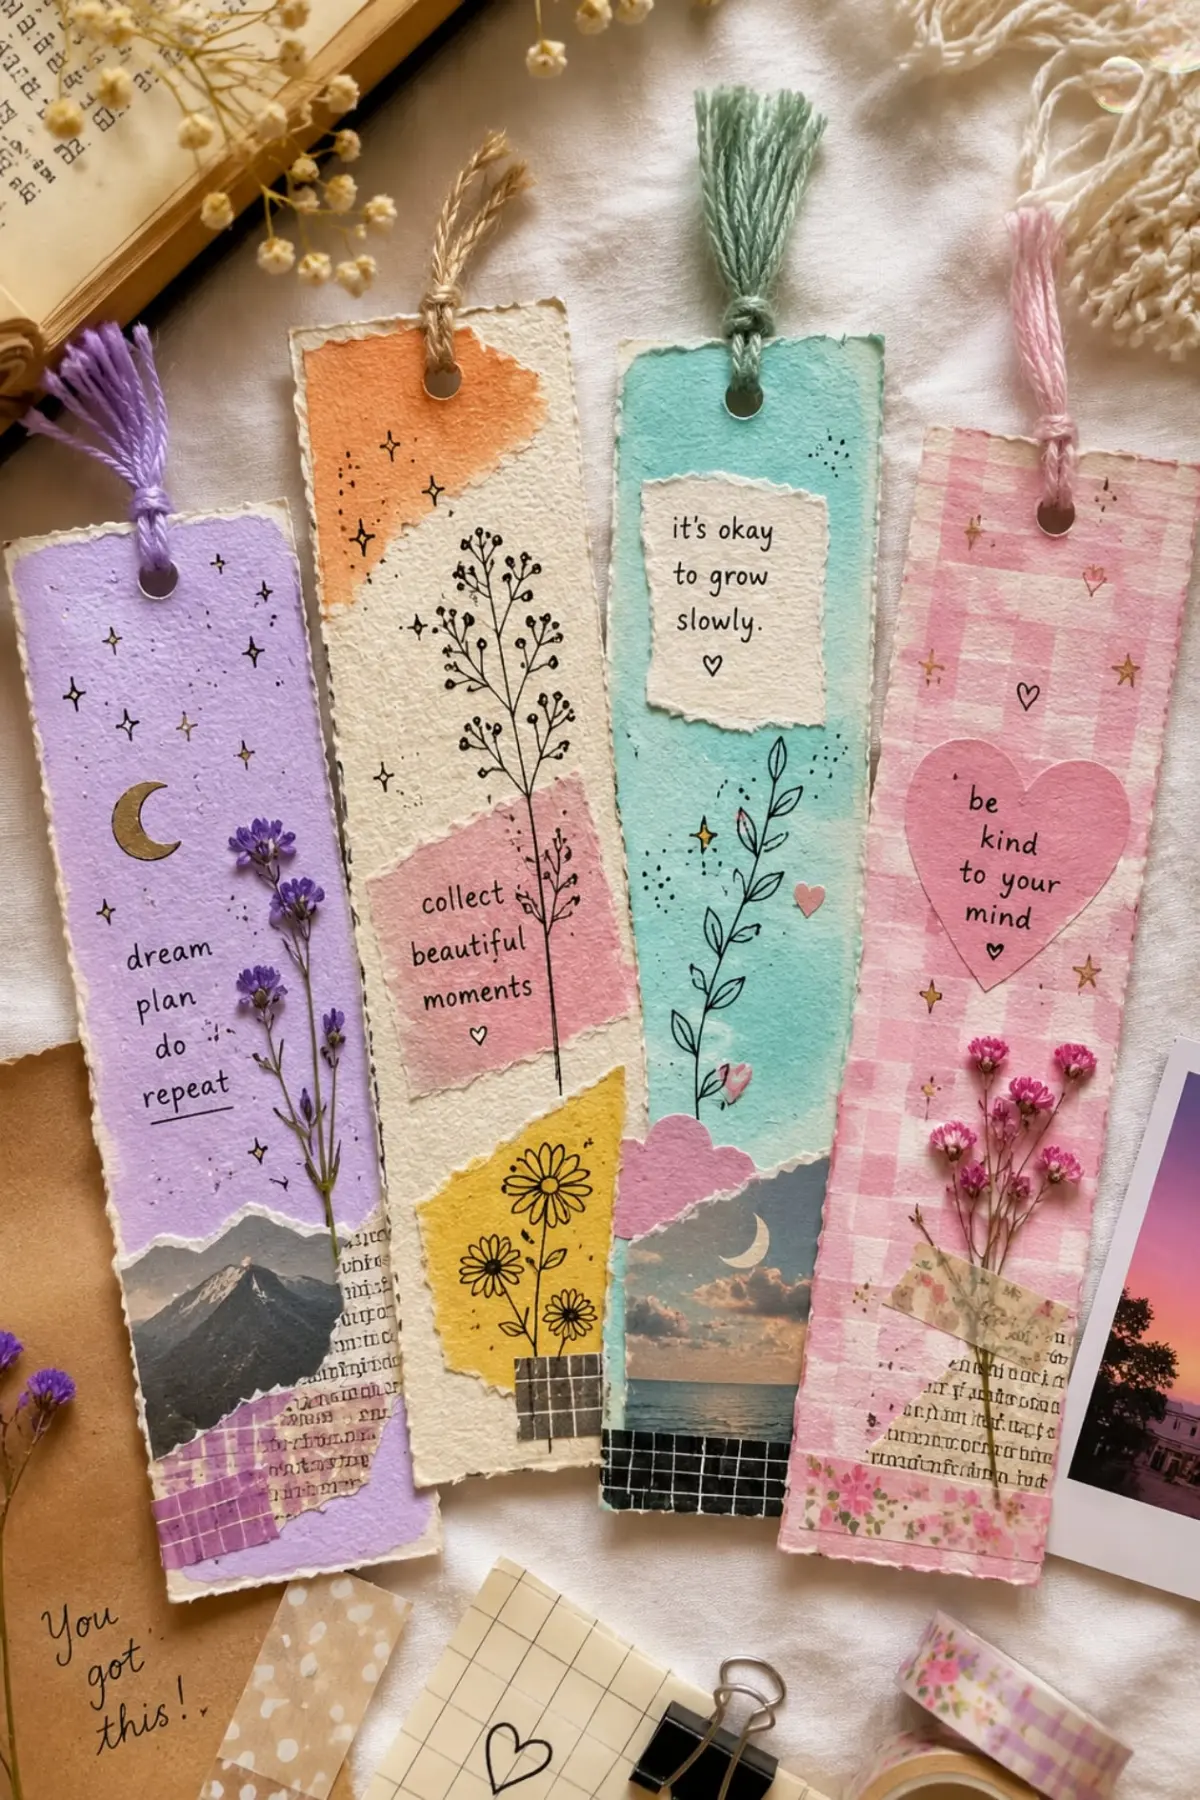
Once the base is cut, you can customize the shape by rounding the corners with a craft punch or scissors. If you want to add a functional detail, use a hole punch at the top center of the strip. You can thread a piece of ribbon, embroidery floss, or twine through this hole and tie it in a knot to create a decorative tassel. This addition makes it easier to locate your page quickly.
Best materials for durable bookmarks
Choosing the right material is essential for ensuring your bookmark lasts through years of reading. While cardstock is the industry standard for DIY projects, you can also use recycled materials like cereal boxes or thick shipping tags. These materials provide the necessary rigidity to prevent the bookmark from bending or tearing when placed between pages.
To further increase longevity, consider these finishing techniques:
- Clear packing tape: Apply a strip over the entire surface to create a makeshift lamination.
- Contact paper: Use adhesive clear vinyl sheets to seal the paper and protect it from moisture.
- Laminating pouches: Use a thermal laminator for a professional, airtight finish that prevents fraying.
- Mod Podge: Apply a thin coat of decoupage glue to seal the surface and add a slight sheen.
How to decorate your bookmark
Personalization is the most creative part of the process, allowing you to reflect your personal style or the theme of the book you are reading. You can use markers, watercolors, or acrylic paints to add patterns, quotes, or illustrations directly onto the cardstock. For those who prefer a textured look, consider using stamps with archival ink or layering different types of decorative scrapbooking paper.
If you enjoy mixed media, try these artistic approaches:
- Press dried flowers or leaves between two layers of clear adhesive film for a botanical aesthetic.
- Use washi tape to create geometric patterns or borders along the edges of the bookmark.
- Apply metallic leafing or gold paint pens to create elegant, high-contrast highlights.
- Attach small charms or beads to the ribbon tassel for a sophisticated, dangling effect.
Common mistakes when making bookmarks
One of the most frequent errors is using materials that are too thick or bulky. Adding heavy embellishments like thick buttons, metal charms, or excessive layers of cardboard can create "spine stress" on your books. When a bookmark is too thick, it forces the book to stay open at an unnatural angle, which can eventually damage the binding or cause the pages to warp near the gutter.
Another common mistake is failing to seal the edges of paper-based bookmarks. Over time, the constant friction against paper pages causes the edges of your bookmark to fray or peel. Always ensure that any added decorations are securely adhered and that the surface is sealed with a protective coating. Avoid using wet glue that is too thin, as it can cause the paper to wrinkle or warp significantly during the drying process.
How long does it take to make a bookmark
The time required to complete a bookmark varies based on the complexity of your design and the drying time of your materials. A simple cardstock bookmark with a ribbon tassel can be completed in approximately ten to fifteen minutes. This includes measuring, cutting, punching the hole, and attaching the decorative topper. It is an ideal project for a quick creative break.
If you choose to incorporate more complex techniques, such as painting, stamping, or multi-stage decoupage, you should allow for additional time. If you apply a sealant like Mod Podge or use paint, you must factor in drying times, which can range from thirty minutes to several hours depending on humidity. By planning your workflow, you can create a batch of bookmarks efficiently, ensuring each one has ample time to set before it is used in your favorite reading material.
Key facts
- Cardstock is the ideal material because its thickness prevents tearing and keeps the bookmark flat.
- A standard bookmark size is 2 inches wide by 6 inches long, which fits most books comfortably.
- Laminating your bookmark with clear adhesive film significantly increases its lifespan and prevents fraying.
- Punching a hole at the top allows you to add ribbons or tassels, making the bookmark easier to locate.
- Using acid-free paper or ink ensures the bookmark will not damage the pages of your books over time.
- Rounded corners are less likely to snag or bend compared to sharp, square-cut corners.
The bottom line
Creating a custom bookmark is a simple, rewarding craft that protects your books while adding a personal touch to your reading experience. By selecting sturdy materials like cardstock, applying protective finishes, and focusing on functional dimensions, you can produce a durable tool that lasts for years. Whether you choose minimal designs or elaborate decorations, a well-made bookmark is an essential companion for any dedicated reader.
People also ask
What materials are best for making a durable bookmark?
Heavyweight cardstock, recycled cardboard, or thick watercolor paper provide the best structural integrity. You can also use fabric, leather, or thin wood veneer for more specialized, long-lasting designs.
How do I prevent my bookmark from curling?
Curling often happens when using thin paper or applying too much liquid glue. To prevent this, use dry adhesives like glue sticks or double-sided tape, and press the bookmark under a heavy book overnight.
Can I use photos to create a custom bookmark?
Yes, printing photos on high-quality photo paper works well. Always laminate the photo bookmark afterward to protect the ink from smudging and to prevent the edges from peeling.
What is the purpose of a tassel on a bookmark?
A tassel serves as a visual and tactile guide that hangs outside the book. This allows you to find your page instantly without needing to flip through the leaves of the book.
How can I decorate a bookmark without using expensive art supplies?
You can use items from around the house such as dried flowers, decorative stamps, washi tape, or even fabric scraps. Simple markers and colored pencils are also effective for creating unique, hand-drawn designs.
Is it safe to use metal paperclips as bookmarks?
While convenient, metal paperclips can rust over time or leave permanent indentations on paper pages. If you use them, ensure they are vinyl-coated to minimize damage to the book's binding.
This answer was created with the help of AI research tools and reference sources. Spotted an error? Let us know — we correct mistakes quickly. See our editorial policy.