How do you make stained glass?
Short answer
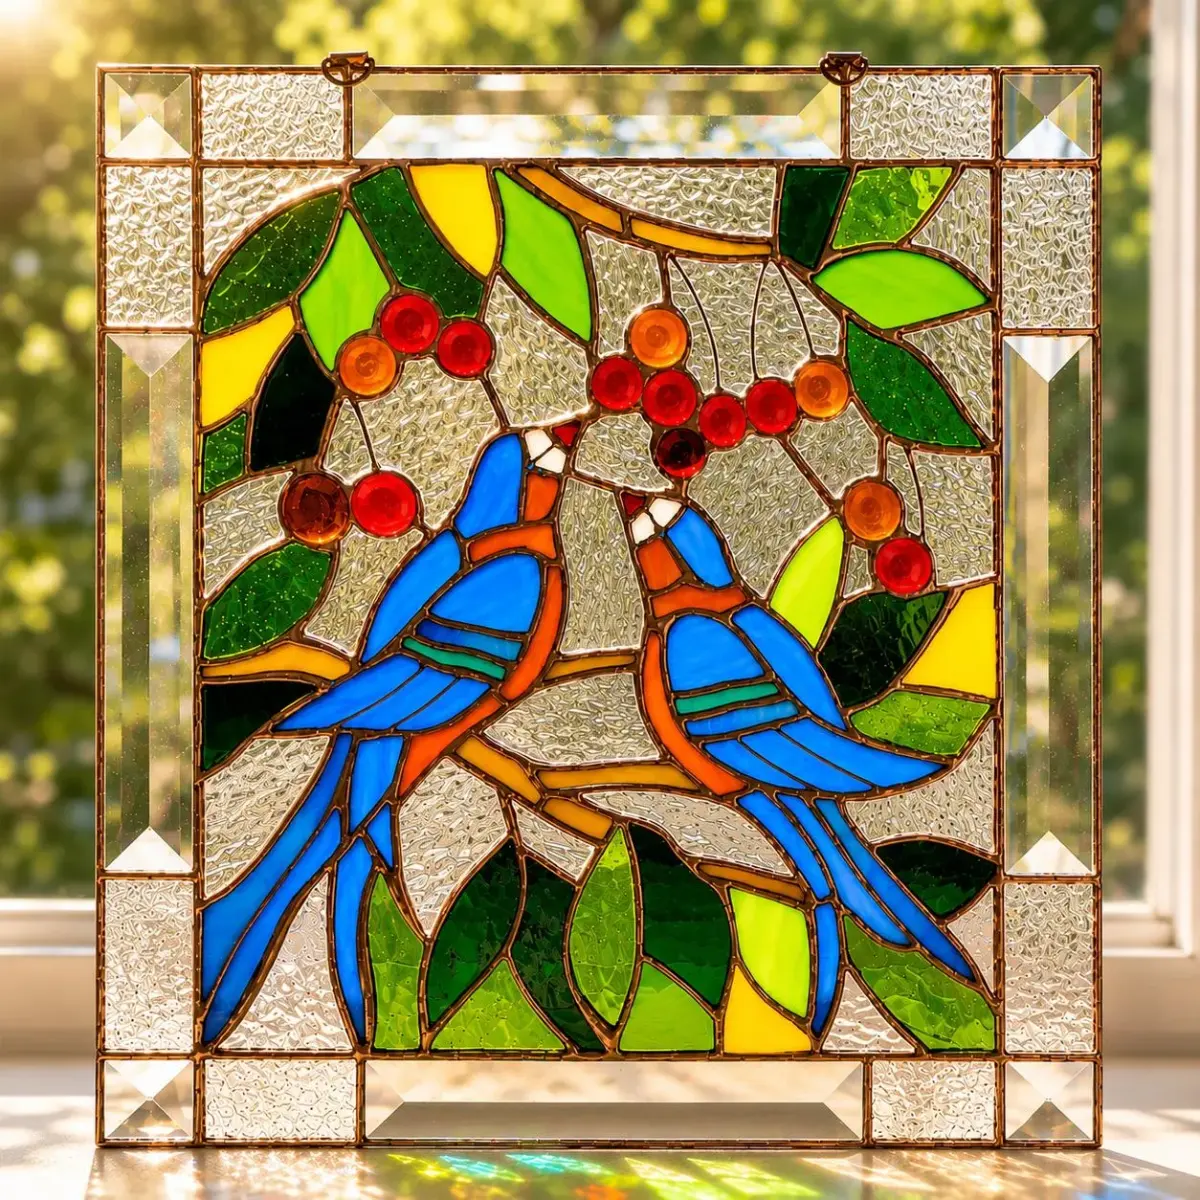
Stained glass is created by cutting colored glass sheets into specific shapes, wrapping their edges in copper foil or lead came, and soldering them together. The process involves precise design, glass scoring, grinding for a perfect fit, assembly, and finally, applying a chemical patina to darken and protect the metallic solder joints.

On this page
How to get started with stained glass
To begin, you need a dedicated workspace with a stable, flat surface. Essential tools include a glass cutter, a grozing plier for snapping glass, a soldering iron (100-watt recommended), and a glass grinder to smooth sharp edges. Beginners should start with the copper foil method, which is ideal for intricate designs and smaller projects like suncatchers or decorative panels.
Safety is paramount when working with glass and lead. Always wear safety glasses to protect your eyes from flying shards and use a respirator when soldering to avoid inhaling toxic fumes. Keep your workspace clean by using a damp sponge to wipe away glass dust, and never eat or drink near your materials. Lead is a heavy metal, so wash your hands thoroughly after every session.
- Design your pattern on paper, numbering each piece for reference.
- Purchase high-quality cathedral or opalescent glass sheets.
- Invest in a quality oil-fed glass cutter for consistent scoring.
- Set up a well-ventilated area with proper lighting.
How to cut and grind glass
Cutting glass requires a steady hand and a sharp, oil-lubricated cutter. Place your pattern under the glass and score a single, continuous line across the surface. Use your grozing pliers to apply firm, even pressure along the score line until the glass snaps cleanly. If the break is jagged, use the pliers to nibble away excess material until the shape matches your template.
Once the glass is cut, the edges will be dangerously sharp and uneven. A glass grinder uses a rotating diamond bit to smooth these edges, ensuring they fit precisely against adjacent pieces. Keep the grinder bit wet with water to prevent overheating and to minimize glass dust. Once ground, rinse each piece thoroughly and dry it completely before moving to the next stage of assembly.
- Use a light touch; pressing too hard will crush the glass.
- Always score from edge to edge to ensure a clean break.
- Keep your glass cutter oiled to extend the life of the wheel.
- Grind only as much as necessary to achieve a smooth, flat edge.

How to assemble and solder pieces
After grinding, wrap the edge of each glass piece with adhesive copper foil. Press the foil firmly against the glass, ensuring it is centered and smooth; use a plastic fid or burnishing tool to eliminate air bubbles. Once wrapped, arrange your pieces on a layout board, pinning them in place so they do not shift during the soldering process.
Apply a liquid or gel flux to the copper foil, which helps the solder flow evenly. Using a hot soldering iron, melt a 60/40 lead-tin solder along the foil lines. Aim for a smooth, slightly rounded bead of solder that connects the pieces securely. If the solder looks lumpy or pitted, apply more flux and reheat the area to reflow the metal into a uniform seam.
- Clean the soldering iron tip frequently with a damp sponge.
- Apply enough flux to cover all exposed copper foil.
- Work in sections to prevent the glass from becoming too hot.
- Use a heat-resistant surface, such as a Homasote board, for assembly.
Why stained glass projects fail
Common failures in stained glass often stem from poor pattern planning or inaccurate cutting. If your glass pieces do not fit together snugly, the gaps will be too wide for the solder to bridge effectively, resulting in a weak, unstable panel. Always double-check your glass pieces against the original pattern before moving on to the foiling stage to ensure a tight, professional fit.
Another frequent issue is thermal shock, which occurs when glass is heated or cooled too rapidly. This can cause the glass to crack spontaneously during the soldering process. To prevent this, avoid touching the hot iron to the glass surface directly and allow your project to cool slowly at room temperature. Additionally, using low-quality glass with internal stresses can increase the likelihood of cracks regardless of your technique.
- Avoid "hinging," where pieces move because the solder bead is too thin.
- Ensure the copper foil is not overlapping the edge of the glass.
- Check that your soldering iron is hot enough to melt the metal instantly.
- Never force a piece into place if it does not fit perfectly.
Best practices for finishing touches
The final step in the process is cleaning and applying a patina. After soldering both sides, wash the panel with a mild soap and water solution to remove all acidic flux residue. Once dry, apply a chemical patina—usually black or copper—to the solder lines using a soft cloth. This darkens the metal, making the glass colors pop and giving the piece a finished, professional appearance.
To protect your work, apply a high-quality glass wax to the entire panel and buff it to a shine. This prevents the solder from oxidizing over time and adds a protective layer against fingerprints and dust. If you intend to hang your piece in a window, ensure you have attached sturdy jump rings to the frame, as the finished panel will be heavier than it appears. With proper care, a well-made stained glass piece can last for generations.
Key facts
- Stained glass is colored by adding metallic salts, such as cobalt for blue or gold for red, during the glass-making process.
- The two primary techniques for assembly are the lead came method, using H-shaped metal channels, and the copper foil method, developed by Louis Comfort Tiffany.
- Glass is cut using a handheld tool with a small, hardened steel or carbide wheel that scores the surface for a clean break.
- Grinding the edges of each glass piece is essential to ensure a smooth fit and to prevent the glass from cracking under pressure.
- Soldering requires a flux, a chemical agent that cleans the metal surfaces to allow the solder to flow and bond effectively.
- A soldering iron should be set to a temperature between 700°F and 800°F to melt the lead-tin alloy properly without damaging the glass.
The bottom line
Creating stained glass is a precise craft that combines artistic design with technical assembly. By mastering the fundamental skills of scoring, grinding, and soldering, you can transform simple sheets of colored glass into intricate, light-refracting panels. While the process requires patience and attention to safety, the result is a durable, luminous work of art that can last for generations when constructed with high-quality materials and care.
People also ask
How do you cut glass without it shattering?
You must apply consistent, firm pressure with a glass cutter to create a single, continuous score line. Once scored, use running pliers to apply pressure on either side of the line, which forces the glass to snap cleanly along the intended path.
What is the purpose of flux in stained glass work?
Flux prevents oxidation from forming on the metal surfaces when they are heated by the soldering iron. Without it, the solder will bead up and fail to create a smooth, structural bond between the pieces of lead or copper foil.
Is it safe to handle lead came and solder?
Lead is toxic if ingested or inhaled as dust, so you must wash your hands thoroughly after handling materials. Always work in a well-ventilated area and avoid eating or smoking while working with these components.
What is the difference between lead came and copper foil?
Lead came consists of flexible metal channels used for larger, structural windows and traditional designs. Copper foil is a thin adhesive tape wrapped around glass edges, allowing for more intricate, delicate, and three-dimensional designs like lampshades.
How do you prevent glass from cracking during soldering?
Thermal shock occurs when cold glass is heated too rapidly or unevenly. To avoid this, move your soldering iron steadily and avoid dwelling in one spot for too long, allowing the heat to dissipate naturally across the piece.
Can stained glass be repaired if a piece breaks?
Yes, you can repair a broken panel by carefully removing the solder or lead around the damaged area. Once the old piece is extracted, you can cut a new piece of glass to match the original shape and re-solder the seam.
This answer was created with the help of AI research tools and reference sources. Spotted an error? Let us know — we correct mistakes quickly. See our editorial policy.