How do you paint pottery?
Short answer
Painting pottery involves applying specialized ceramic glazes or underglazes to either raw clay or bisque-fired ware. You must apply multiple coats for even coverage, allow the piece to dry completely, and then fire it in a kiln at high temperatures to fuse the glass-like coating to the clay body permanently.
On this page
How to prepare pottery for painting
Before you begin painting, you must ensure your pottery surface is pristine. If you are working with bisque-ware, which is pottery that has already been fired once, use a damp sponge to gently wipe away any dust or debris. Dust acts as a barrier that prevents the glaze from adhering properly, which often leads to flaking or "crawling" during the firing process.
If you are painting raw, unfired clay, handle the piece with extreme care as it is fragile and prone to cracking. Ensure the clay is "bone dry," meaning it contains no moisture, before applying any underglaze. Never attempt to paint "greenware" that is still damp, as the added liquid from the paint will cause the structure to warp or collapse.
- Clean the surface thoroughly with a slightly damp, lint-free sponge.
- Inspect the piece for cracks or air bubbles that require patching with slip.
- Place the item on a clean, stable surface like a banding wheel to ensure even rotation.
- Avoid touching the surface with your bare hands, as natural oils can create resist spots.
Best types of paint for pottery
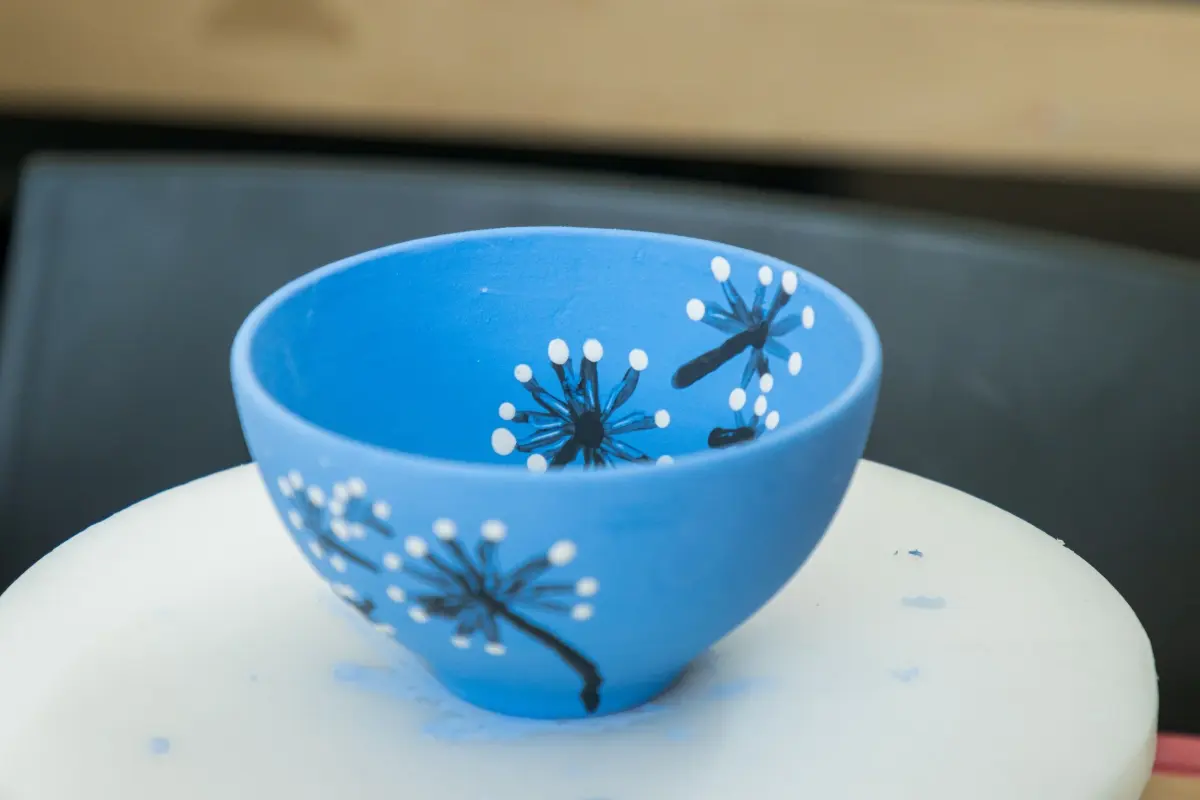
It is a common misconception that standard acrylics or house paints can be used on pottery intended for food or heat. You must use ceramic-specific products, primarily underglazes or glazes. Underglazes act like colored clay slips and provide opaque, matte coverage that does not move during firing, making them ideal for intricate designs and detailed illustrations.
Glazes, by contrast, contain silica and flux, which melt into a glass-like coating when heated. They are typically applied after the underglaze and can be transparent, translucent, or opaque. For beginners, premixed commercial glazes are the safest choice because they are formulated to mature at specific temperatures, usually labeled as cone 06, 05, or 6. Always check the manufacturer’s label to ensure your paint is compatible with your clay body’s firing range.
- Underglazes: Best for painting fine details and consistent, non-flowing colors.
- Low-fire glazes: Designed for temperatures around 1800°F (cone 06-04).
- Mid-to-high fire glazes: Formulated for stoneware and porcelain (cone 5-10).
- Clear glazes: Used as a final topcoat to provide a shiny, food-safe finish.
How to apply glaze for even coverage
Achieving a smooth, professional finish requires patience and the correct tools. Use high-quality soft brushes for underglaze to minimize streak marks, and use a fan brush or a dipping method for applying clear glazes. If you are brushing on glaze, apply three thin, even coats. Allow each coat to dry until it loses its sheen before applying the next one in a perpendicular direction.
If you apply the glaze too thickly, it will likely run or pool at the bottom of the piece during firing, potentially bonding your pottery to the kiln shelf. Conversely, if the coat is too thin, the color will appear patchy or faded. Aim for a thickness similar to heavy cream. If you are using a dipping glaze, submerge the piece quickly and pull it out in one fluid motion to prevent drips.
- Stir your glaze thoroughly before use to ensure the minerals are suspended.
- Apply the first coat horizontally, the second vertically, and the third horizontally.
- Clean the bottom of your piece carefully with a damp sponge to remove all glaze.
- Ensure the foot of the pottery is completely bare, or it will fuse to the kiln shelf.
Common mistakes when painting pottery
Many beginners struggle with "crawling," a defect where the glaze pulls away from the surface during firing, leaving bare patches of clay. This is almost always caused by oils from fingers or dust left on the surface before painting. Another frequent error is failing to let the piece dry long enough between coats, which traps moisture and causes the glaze to bubble or "pinhole" during the firing cycle.
Another major mistake is neglecting to clean the "foot" of the pottery. If even a small amount of glaze remains on the bottom, it will liquefy in the kiln and act like glue, permanently welding your work to the shelf. This can destroy both your pottery and the expensive kiln furniture. Always wipe the bottom of your piece with a damp sponge until the raw clay is visible before you load it into the kiln.
- Touching the piece with greasy fingers before glazing.
- Applying glaze too thickly, leading to drips and pooling.
- Skipping the "drying time" between layers, causing uneven absorption.
- Forgetting to sign the bottom with an underglaze pencil before the final fire.
How long does it take to finish a piece
The timeline for painting pottery depends heavily on the drying time and the firing schedule of your kiln. After painting, you must allow the piece to dry completely for at least 24 hours to ensure all moisture has evaporated. If you load a damp piece into the kiln, the rapidly expanding steam can cause the pottery to explode, a process known as "dunting" or "blowing up."
Once dry, the firing process typically takes between 8 and 12 hours, followed by a cooling period of at least 12 to 24 hours. Opening the kiln too early while the pieces are still hot can cause "thermal shock," which results in hairline cracks. Patience is the most critical tool in the studio; rushing the cooling phase often ruins days of careful painting work. Always wait until the kiln temperature drops below 150°F before you attempt to unload your finished pottery.
Key facts
- Underglaze is applied to greenware or bisque, while glaze is applied only to bisque-fired pieces.
- Bisque firing is the initial kiln cycle that hardens clay into a porous, durable state.
- Always wipe your pottery with a damp sponge before painting to remove dust and oils.
- Apply three thin, even coats of glaze for the most consistent and professional coverage.
- Avoid painting the bottom of your piece, as glaze will fuse the pottery to the kiln shelf.
- Wax resist is a liquid used to prevent glaze from sticking to specific areas, such as the foot of a mug.
The bottom line
Painting pottery is a rewarding process that bridges artistic expression and chemistry. By preparing your bisque-ware thoroughly, applying multiple thin layers of glaze, and respecting the technical requirements of kiln firing, you can create durable, functional art. Remember that patience is essential; allowing each layer to dry fully prevents common defects, ensuring your finished piece is both beautiful and safe for everyday use in your home.
People also ask
Can I use acrylic paint on pottery?
You can use acrylics for decorative items that will not hold food or water. However, acrylic paint is not food-safe and will peel off if the piece is fired in a kiln.
What is the difference between underglaze and glaze?
Underglaze is similar to colored slip and is used for detailed painting before a clear glaze is applied. Glaze contains silica and flux, which melt in the kiln to create a glassy, protective surface.
Do I need to fire my pottery in a kiln?
Yes, professional ceramic pottery requires a kiln to reach temperatures between 1,800 and 2,400 degrees Fahrenheit. Without this heat, the clay will remain fragile and the glaze will not vitrify.
How do I fix a mistake while painting?
If the glaze is still wet, you can gently wipe it away with a damp sponge or scrape it off with a needle tool. If the glaze has dried, use a damp brush to carefully lift the pigment from the surface.
Why did my glaze turn out streaky?
Streaks usually occur when coats are applied too thickly or unevenly. Ensure each layer is completely dry before applying the next, and use a soft-bristled brush to maintain a smooth flow.
Is it safe to eat off hand-painted pottery?
It is safe only if you use lead-free, food-safe glazes and fire the piece to the manufacturer's recommended maturity temperature. Always check the labels on your materials to confirm they are rated for functional dinnerware.
This answer was created with the help of AI research tools and reference sources. Spotted an error? Let us know — we correct mistakes quickly. See our editorial policy.