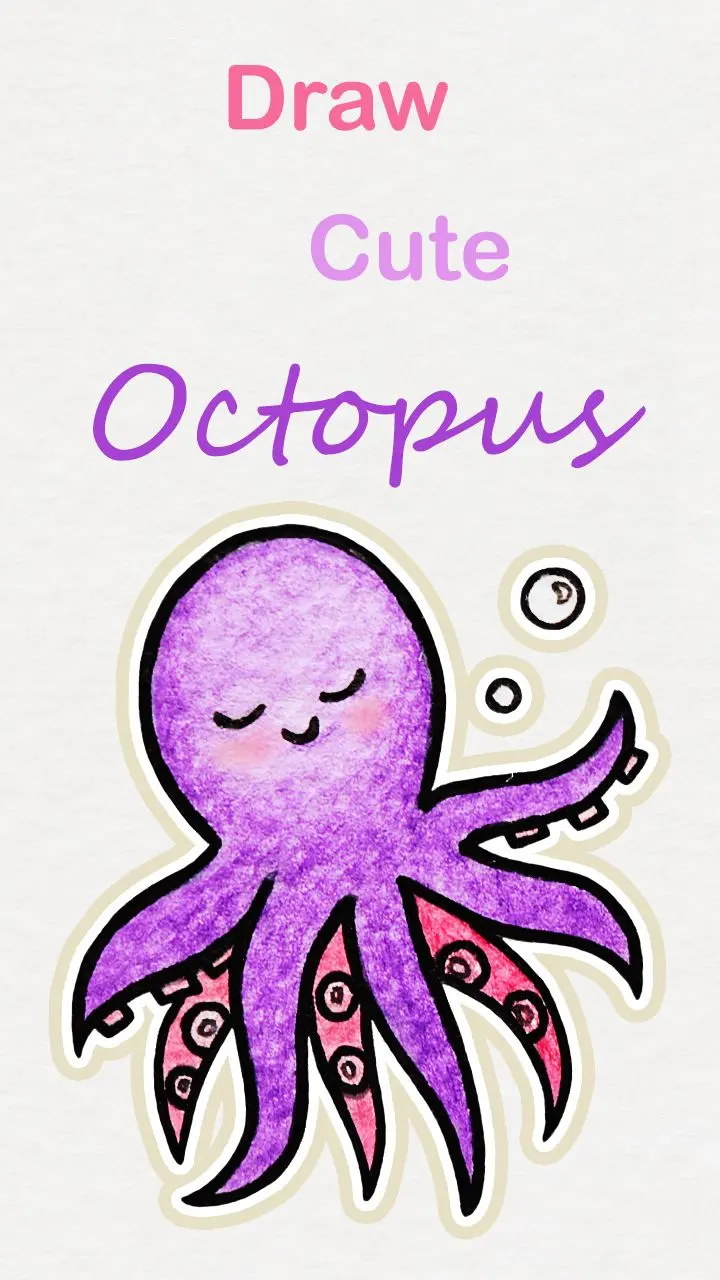
How do you draw a princess step by step?
Short answer
Drawing a princess involves constructing a balanced figure using simple geometric shapes like ovals and cylinders. Start by sketching a light mannequin to establish proportions, then layer on details such as flowing hair, a regal gown, and facial features. Practice consistent pressure and layering to refine your character's unique royal aesthetic.
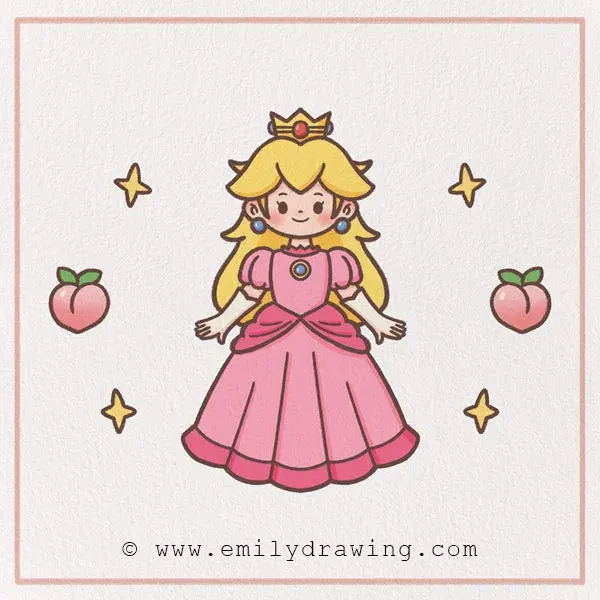
On this page
How to draw a princess step by step
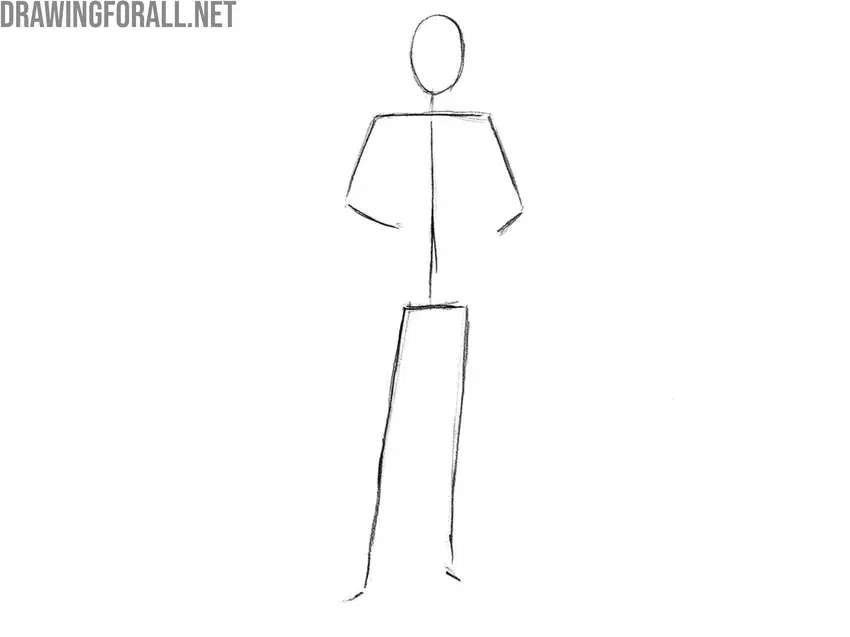
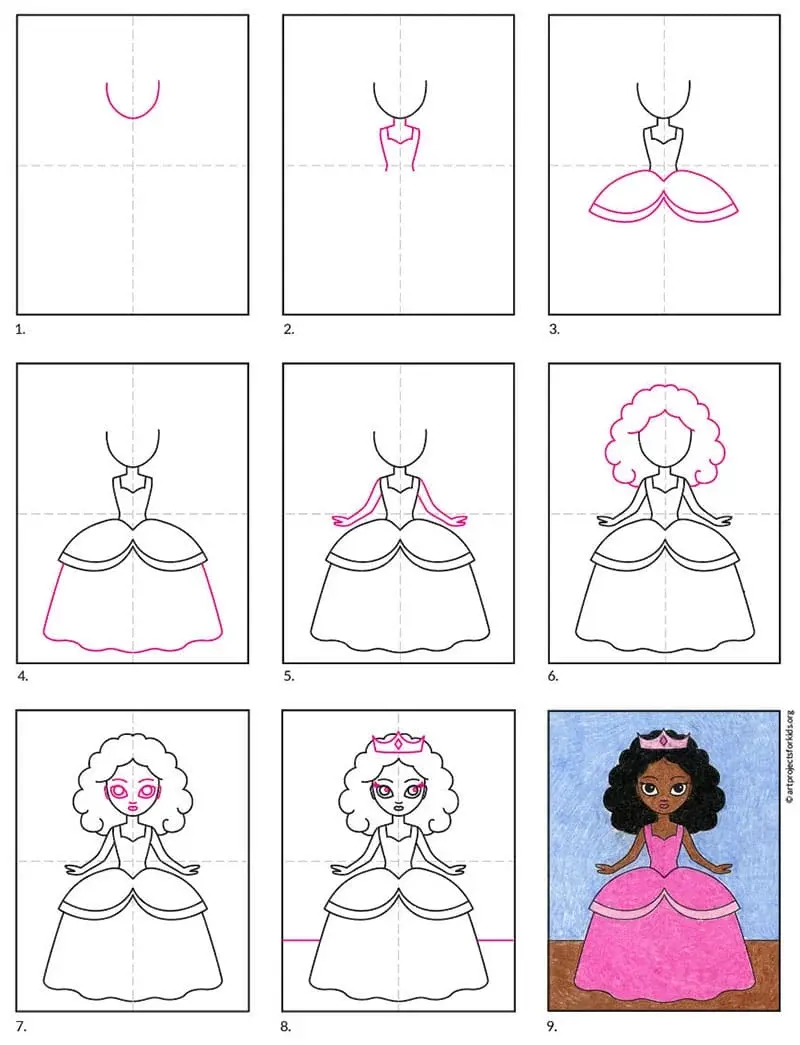
To begin your drawing, establish the foundation of the figure using a light pencil. Start by drawing an oval for the head and a vertical line to mark the center of the body. Sketch a smaller oval for the torso and two larger, flared shapes at the bottom to represent the volume of a ballgown. This scaffolding ensures your character remains proportional before you commit to permanent lines.
Once the frame is set, refine the silhouette by connecting your shapes with smooth, flowing lines. Focus on the waistline, which should be slightly cinched to emphasize the gown's grandeur. Add simple lines for the arms, keeping them graceful and slightly bent, as if the princess is waving or holding a fan. Remember that the gown should occupy at least half of the total height of your drawing to capture that iconic royal look.
Best drawing tools for beginners
For those new to character design, using a standard HB pencil is ideal for the initial sketch because it is easy to erase. A kneaded eraser is particularly helpful, as it allows you to lift graphite off the paper without damaging the surface or leaving residue. Once you are satisfied with the structure, use a fine-tip archival pen or a 2B pencil to darken the final outlines.
When adding color, consider the medium that best suits your style and comfort level. Colored pencils provide excellent control for shading the folds of a dress, while markers offer bold, vibrant pigments. If you prefer a softer look, watercolor pencils can be blended with a damp brush to create smooth gradients. Always keep a sharpener nearby, as fine details like eyelashes and jewelry require a precise point to appear clean and intentional.
- Start with a sharp HB pencil for light construction lines.
- Use a kneaded eraser to gently remove mistakes.
- Apply ink or darker graphite only after the proportions are verified.
- Utilize a blending stump or a soft cloth to smooth out shaded areas on the gown.
How to draw princess hair and accessories
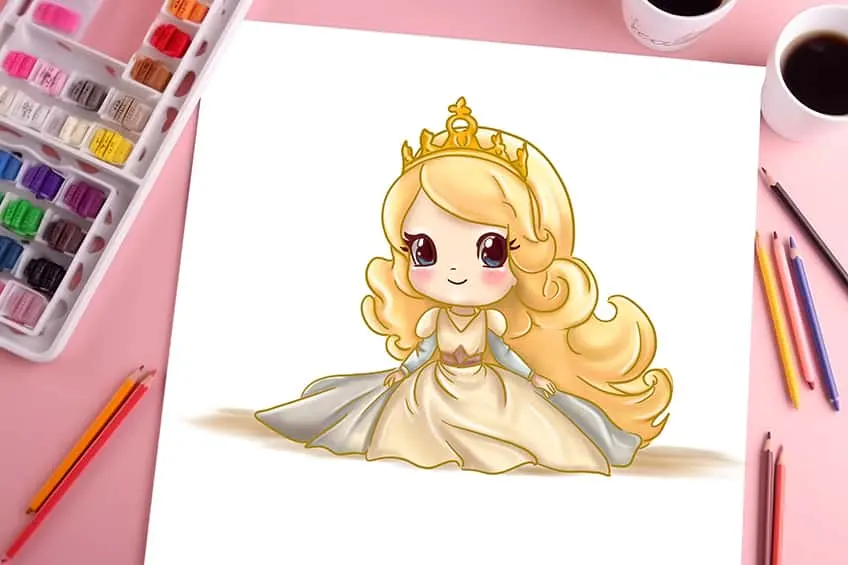
Hair is a defining feature of any princess illustration and should be drawn in large, grouped sections rather than individual strands. Start by sketching the hairline near the top of the oval head shape, then sweep the hair outward to create volume. Add a crown or tiara by drawing a simple band across the top of the head with small triangles or circles for jewels.
Accessories add personality and context to your character. You might include a necklace, long gloves, or a small bouquet of flowers to enhance the regal theme. When drawing these details, keep them relatively simple; overly complex patterns can distract from the overall figure. Focus on symmetry for the crown, ensuring it sits firmly on the head, and use light, curved strokes to suggest the texture and movement of flowing locks.
Common mistakes when drawing faces
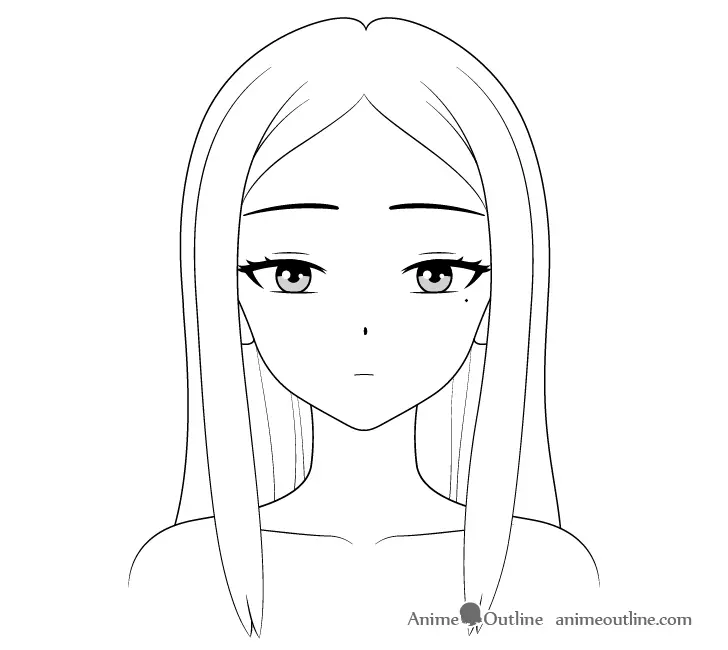
The most frequent error in character drawing is placing the eyes too high on the head. In human anatomy, the eyes generally sit on the horizontal midline of the skull. Beginners often crowd the features into the upper third of the oval, which creates an unnatural, top-heavy appearance. Take the time to lightly mark the placement of the eyes, nose, and mouth before adding detail.
Another common mistake involves the lack of expression or depth in the eyes. To make your princess look alive, add a small white circle within the pupil to represent a highlight, which suggests light reflecting off the surface of the eye. Keep the eyebrows arched and thin to maintain a soft, elegant appearance. If the face looks flat, use light shading along the jawline and under the nose to create a three-dimensional effect that adds realism to your final design.
How to shade a princess gown
Shading is essential for giving the gown a sense of weight and movement. Identify where your light source is coming from, then apply darker tones to the areas furthest from that light. For a ballgown, focus your shading within the deepest folds of the fabric, which are typically found near the waist and along the hemline. Use long, sweeping strokes that follow the curve of the skirt to emphasize the fabric's drape.
- Apply light pressure for base tones across the entire dress.
- Use darker, concentrated strokes in the crevices where fabric bunches together.
- Leave small, unshaded areas on the tops of folds to represent highlights.
- Consider the material; silk or satin requires sharper, brighter highlights compared to velvet.
By layering your shading from light to dark, you can create a realistic texture that makes the dress appear as though it is made of high-quality fabric. Take your time with the transitions between light and shadow, as these gradients define the shape and volume of the skirt. With consistent practice, you will develop a natural instinct for how light interacts with complex clothing, resulting in a professional and polished illustration of your princess character.
Key facts
- Start with a light pencil sketch of an oval for the head and a vertical line to establish the body's posture.
- Use a "T" shape guide on the face to ensure the eyes, nose, and mouth are symmetrical.
- Draw the torso as a trapezoid to provide a solid foundation for the dress's bodice.
- Add volume to the hair by drawing large, sweeping shapes rather than individual strands initially.
- Create a sense of movement by sketching the skirt with wide, flowing curves that flare out at the bottom.
- Incorporate small details like lace, ribbons, or a crown only after the main proportions are finalized.
The bottom line
Drawing a princess effectively relies on establishing clear proportions before adding decorative details. By using geometric shapes like ovals and trapezoids, you create a balanced foundation for the figure. Focus on the flow of the dress and the posture of the character to convey elegance. Practice these basic structural steps consistently, and you will soon be able to customize your illustrations with unique gowns and accessories.
People also ask
How do I make the princess look elegant?
Focus on posture by drawing a straight spine and slightly tilted head. Adding long, flowing sleeves or a high collar often conveys a sense of regal sophistication.
What is the best way to draw a crown?
Start with a simple band around the head, then add triangles or arches on top. Keep the base of the crown curved to match the perspective of the head.
How do I draw hands correctly?
Keep hands simple by using mitten shapes for beginners. If you want detail, remember that the middle finger is the longest and the thumb should point toward the body.
Should I use ink or pencil?
Use a light graphite pencil for the initial sketch so you can erase mistakes. Once the drawing is complete, use a fine-liner pen to finalize the outlines.
How can I make the dress look realistic?
Add vertical lines or shading along the skirt to represent folds and fabric weight. Darker shading near the waist creates depth and suggests the dress is cinched.
What are common mistakes to avoid?
Avoid drawing the eyes too high on the forehead or making the neck too thin. Always check your proportions against the head size before adding permanent ink.
This answer was created with the help of AI research tools and reference sources. Spotted an error? Let us know — we correct mistakes quickly. See our editorial policy.