How can I draw a doctor easily?
Short answer
Drawing a doctor is best approached by breaking the human figure into simple geometric shapes like circles and rectangles. Focus on iconic accessories like a stethoscope and a white coat to establish the character immediately. By using a layered construction method, you can build a recognizable professional figure with minimal artistic experience.
On this page
How to draw a doctor step by step
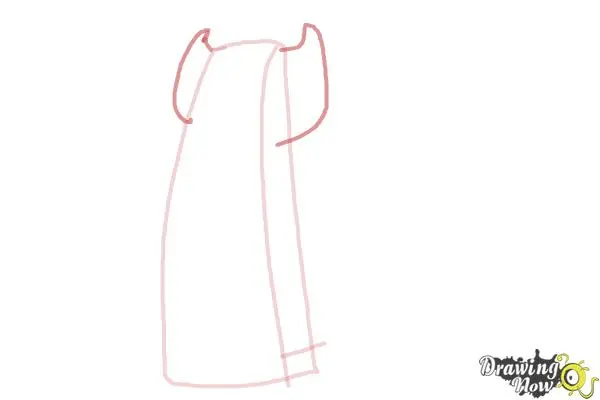
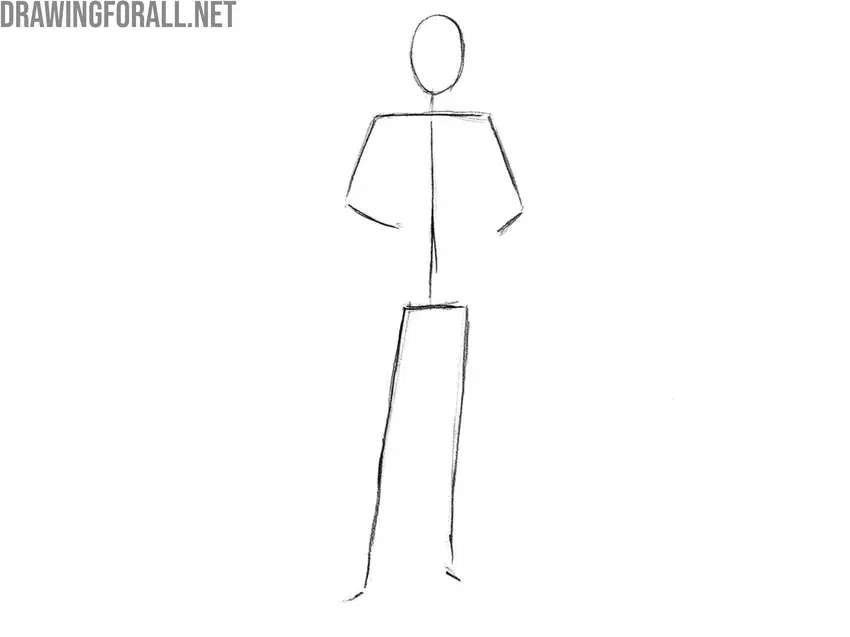
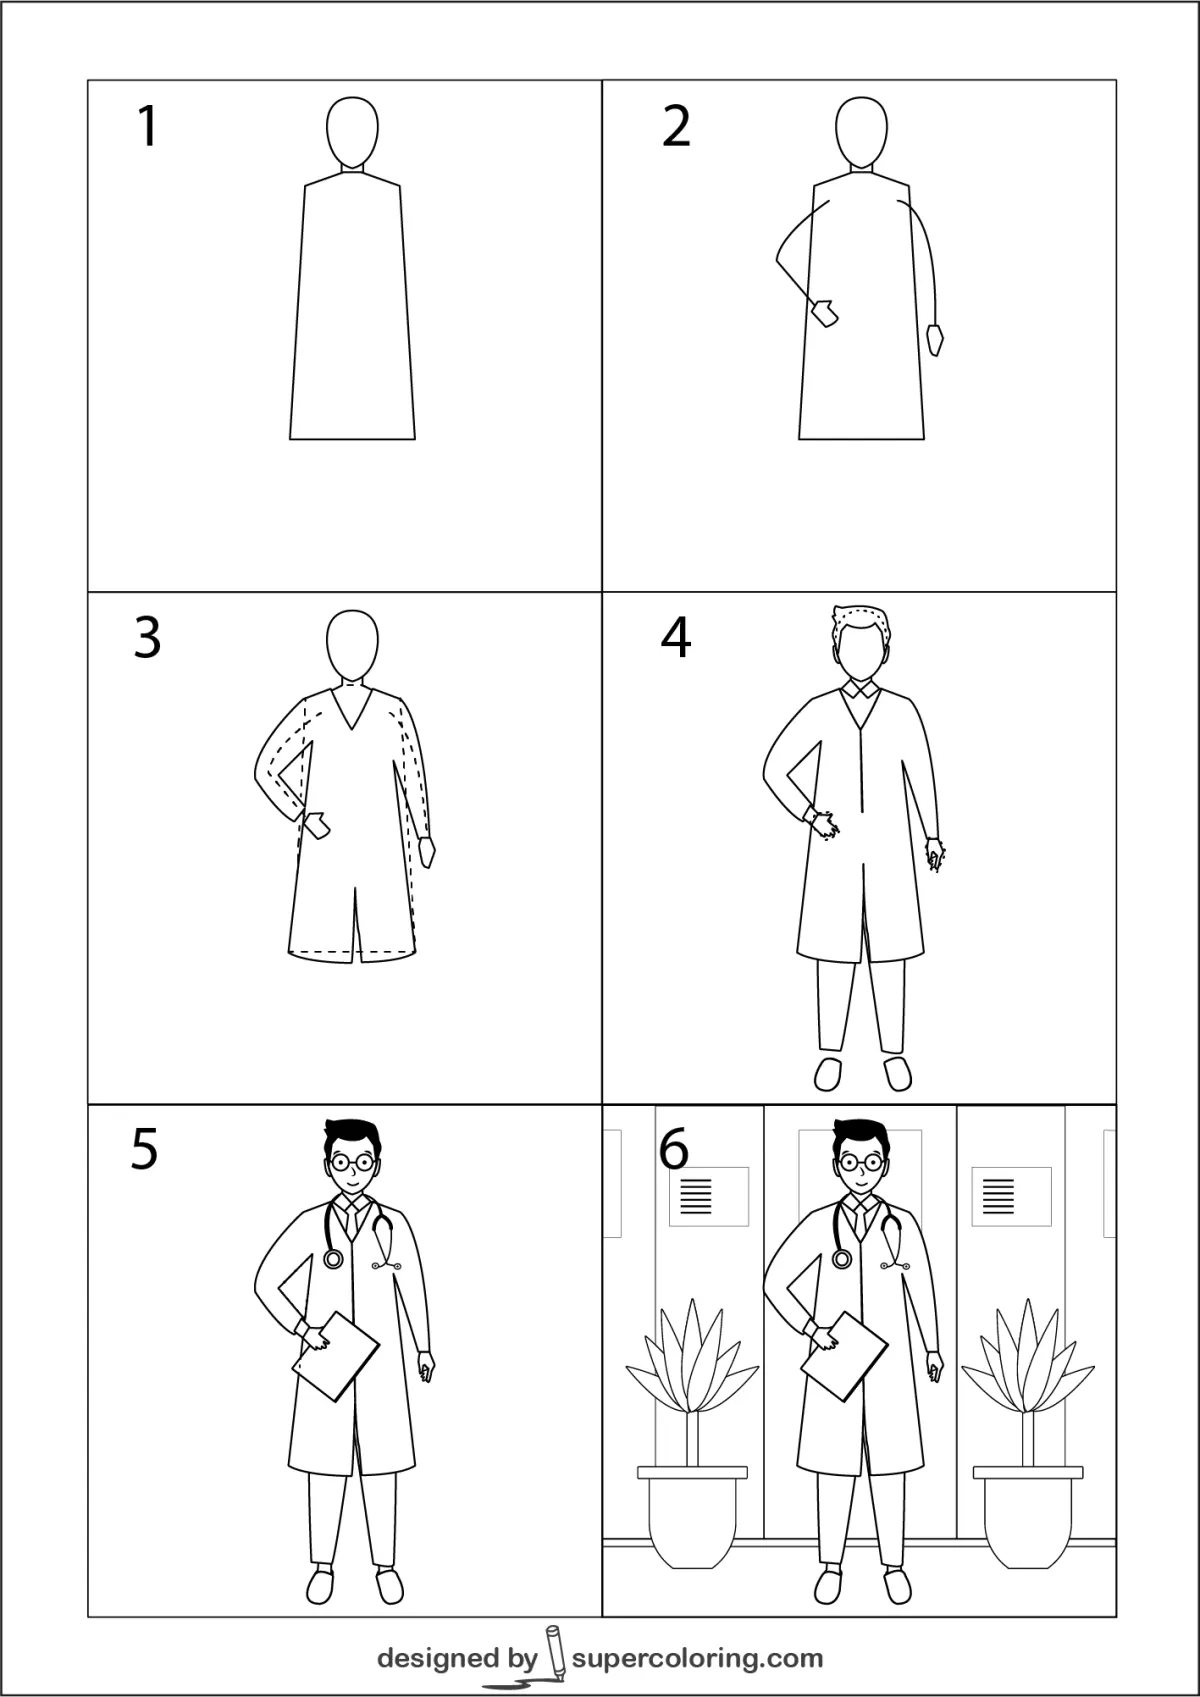
To draw a doctor, begin by sketching a simple stick figure to establish the pose and proportions. Use an oval for the head, a rectangle for the torso, and lines for the limbs. Once the basic structure is set, add volume by drawing outlines around these shapes to create the body’s mass. This foundational approach ensures that your character looks anatomically proportional before you add clothing or details.
After establishing the body, follow these steps to add the professional attire:
- Draw a long, open rectangle over the torso to represent the white lab coat.
- Add a small "Y" shape around the neck area to indicate the collar of the shirt underneath.
- Sketch a stethoscope by drawing a thin, curved line draped around the neck, ending in two small circles on the chest.
- Add pockets on the lower sides of the lab coat to provide realistic detail.
- Finish by adding simple shoes and refining the facial features with basic dots for eyes.
Best drawing tools for beginners
For those starting out, a standard graphite pencil is the most effective tool because it allows for easy erasing and adjustment. HB or 2B pencils provide a good balance between darkness and smudgability, which is perfect for sketching initial shapes. Using high-quality drawing paper with a slight tooth, or texture, helps the graphite adhere better and allows for smoother lines. Avoid using pens or markers until you have finalized your pencil sketch, as these permanent tools do not allow for corrections.
In addition to pencils, consider using a kneaded eraser. Unlike standard pink erasers, a kneaded eraser can be molded into specific shapes to lift graphite off the page without damaging the paper surface. This is particularly useful when you need to lighten your initial construction lines before adding the final, darker outlines of the doctor’s coat or stethoscope. Keeping a sharpener nearby is also essential to maintain precise lines for smaller details like the stethoscope earpieces.
How to add realistic medical details
Adding specific accessories is the fastest way to make your drawing look authentic. A stethoscope is the most recognizable symbol of the medical profession, so ensure the tubing is clearly visible draped over the shoulders. You might also draw a small name tag on the chest pocket or a pen tucked into the coat. These minor elements provide context and help the viewer immediately identify the character as a physician.
Consider the following details to enhance the professional look:
- A clipboard held in one hand to suggest the doctor is reviewing patient charts.
- A head mirror or an otoscope for a more specialized medical appearance.
- A subtle "plus" sign or a caduceus symbol drawn on the lapel or a pocket.
- Fold lines on the lab coat to show movement and fabric depth.
- A neutral, clean background to emphasize the professional nature of the subject.
Common mistakes when drawing a doctor
One frequent error is making the lab coat appear too stiff or like a solid box. Remember that fabric is flexible and reacts to the body’s movement, so add slight curves at the elbows and waist to show where the coat bends. Another mistake is drawing the stethoscope too small or disconnected from the ears. The tubing should look like it is resting naturally on the shoulders, following the curve of the neck and chest rather than floating in space.
Proportions are also a common area of struggle for beginners. Often, the head is drawn too large compared to the body, or the arms are too short. Always check that the elbows align with the waist and the fingertips reach roughly to the mid-thigh. If the figure looks awkward, step back and view the drawing from a distance to see if the balance feels correct. Taking a break and returning with fresh eyes can help you spot these structural issues much faster.
Why practice makes drawing easier
Drawing is a skill that improves significantly with repetition and consistent observation. By drawing multiple doctors in different poses, you will naturally develop a better understanding of how the lab coat drapes over the body. Do not be discouraged if your first attempt is not perfect; even professional illustrators use multiple drafts to refine their work. Focus on the process of breaking down complex forms into basic shapes rather than achieving immediate perfection.
To accelerate your progress, try sketching from reference photos of real doctors in various settings. Observe how the light hits the white coat and where the shadows fall, as these details add dimension and realism to your work. Over time, you will find that you no longer need to rely on strict steps and can draw the figure more fluidly. Consistent practice, even for just ten minutes a day, will build the muscle memory required to draw figures with confidence and ease.
Key facts
- Start by sketching a simple oval for the head and a vertical line for the body to establish proper proportions.
- Use a white coat as the primary visual identifier, drawing it as a long, open jacket that reaches the knees.
- Include a stethoscope hanging around the neck or held in the hand to instantly signal the character's profession.
- Keep facial features minimal with simple dots for eyes and a small curved line for a friendly, professional smile.
- Draw the arms bent at the elbows to suggest the doctor is actively working or holding a medical chart.
- Focus on clean, bold lines to ensure the character looks professional rather than cluttered or overly detailed.
The bottom line
Drawing a doctor is best achieved by focusing on iconic symbols like the white coat and stethoscope. By using simple geometric shapes for the body and adding these key medical accessories, you can create a recognizable figure quickly. Focus on clean lines and proper proportions to ensure the character appears professional. With consistent practice, these basic steps will allow you to illustrate medical professionals with confidence and ease.
People also ask
How do I make the stethoscope look realistic?
Draw a small circular disc at the end of a line for the chest piece and two small ear tips at the top. Ensure the tube connects these two parts clearly across the chest area.
What is the best way to draw a medical coat?
Sketch a long rectangular shape that flares slightly at the bottom to represent the coat. Add two small pockets on the lower front to give it a classic, functional appearance.
Should I draw the doctor standing or sitting?
A standing pose is generally easier for beginners because it allows for a clear view of the full medical attire. Sitting poses require more complex perspective work on the legs and chair.
How can I show that the doctor is a professional?
Add accessories like a clipboard, a pen in the pocket, or a name tag on the chest. These small details provide context and reinforce the character's identity without needing complex anatomy.
What are common mistakes when drawing a doctor?
Beginners often make the white coat too short or forget the stethoscope entirely, which makes the character look like a regular person. Avoid adding too many wrinkles, as this can make the drawing look messy.
Can I draw a doctor using simple shapes?
Yes, you can construct the entire figure using circles for the head and joints, and rectangles for the torso and limbs. This method helps maintain correct body proportions before adding the clothing details.
This answer was created with the help of AI research tools and reference sources. Spotted an error? Let us know — we correct mistakes quickly. See our editorial policy.