How do you draw a sand dune step by step?
Short answer
Drawing a sand dune involves capturing the interplay between wind-swept curves and shifting light. By establishing a primary ridge line, defining the slipface, and applying gradual gradients for shadows, you create a sense of depth. Focus on the organic, asymmetrical nature of the landscape to achieve a realistic, professional-looking desert illustration.
On this page
How to draw the basic shape of a sand dune
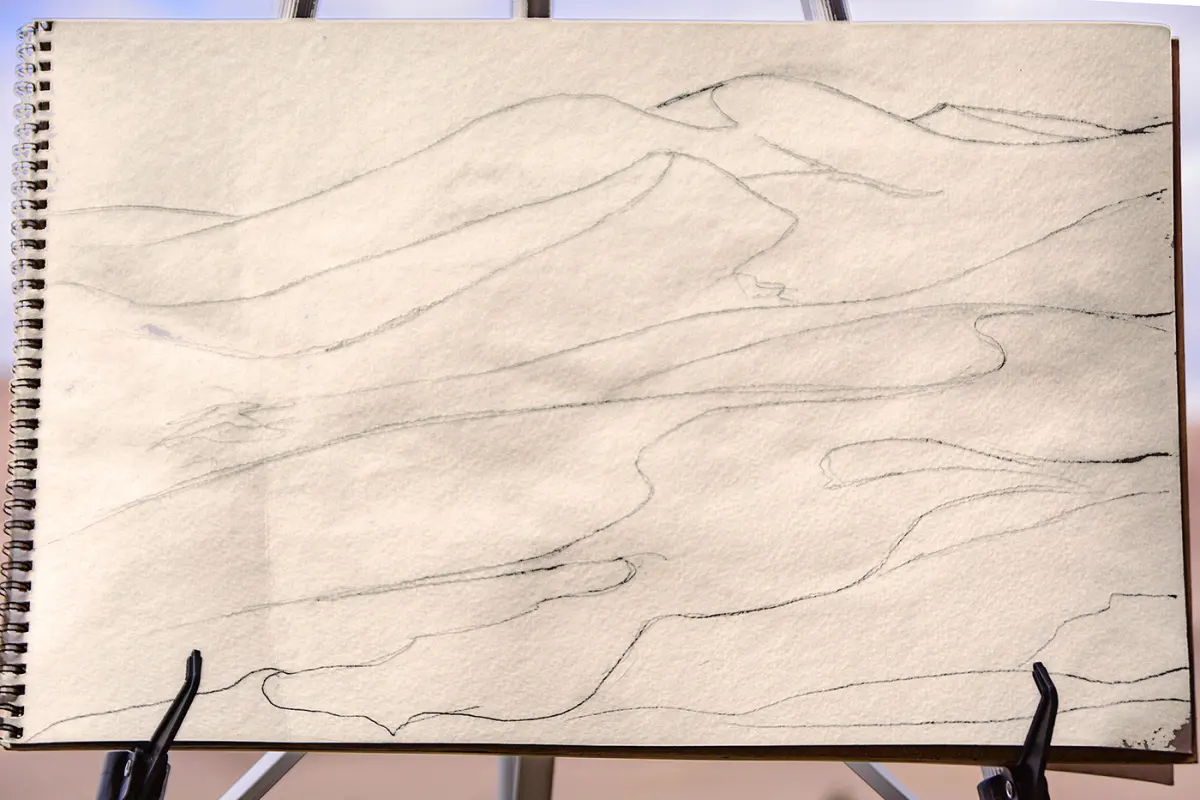
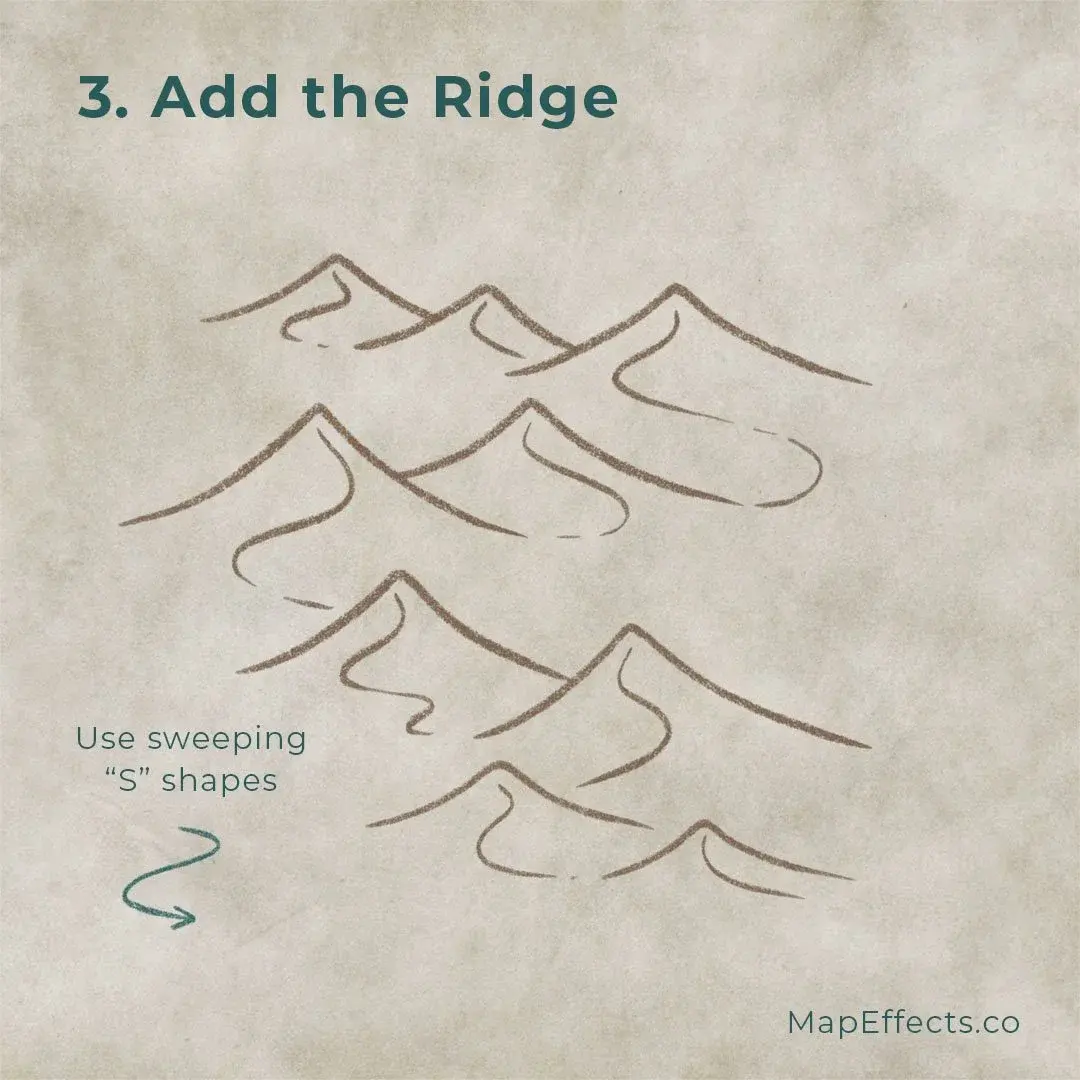
To begin, you must establish the structural foundation of the dune by sketching a primary ridge line. This line should not be perfectly straight or symmetrical; instead, use a soft, undulating curve to mimic the natural movement of wind-blown sand. Think of the dune as a large, organic mound that rises gradually on the windward side and drops off sharply on the leeward side.
- Lightly sketch a long, sweeping arc that represents the crest of the dune.
- Add a shorter, steeper line descending from the crest to represent the slipface.
- Ensure the transition between the windward slope and the crest is smooth and rounded.
- Keep your initial pencil marks very faint so they can be easily blended or erased later.
By focusing on these basic geometric components, you create a believable silhouette. Avoid drawing perfectly uniform shapes, as nature rarely produces identical curves in desert environments.
How to add texture and shading to sand
Once the basic outline is set, you must focus on the texture and light to bring the dune to life. Sand is a granular material that catches light differently depending on the angle of the sun. Use a side-to-side motion with your pencil to create soft, horizontal gradients that follow the contour of the dune.
- Use a soft-lead pencil (such as a 2B or 4B) to build up dark shadows in the slipface area.
- Leave the windward side lighter to signify where the sun hits the sand directly.
- Use a blending stump or a piece of tissue to smooth out the transition between light and shadow.
- Add tiny, irregular dots or faint lines near the crest to suggest the texture of shifting grains.
Consistency in your light source is vital. If the sun is positioned to the left, ensure all shadows on the slipface fall toward the right side of the dune.
How to create depth in a desert landscape
Creating a sense of scale requires you to understand how dunes interact with one another in a vast desert. To make a single dune look like part of a larger ecosystem, you should layer multiple ridges behind the primary subject. Objects that are further away should be drawn with less detail and lighter pressure to simulate atmospheric perspective.
- Draw smaller, overlapping ridge lines in the background to create distance.
- Vary the height and width of these secondary dunes to provide visual interest.
- Keep the foreground dune the darkest and most detailed to pull the viewer’s eye forward.
- Use lighter, thinner lines for distant dunes to make them appear as if they are fading into the horizon.
By establishing these layers, you prevent the drawing from looking flat. The interplay of overlapping shapes creates a three-dimensional effect that mimics the vast, rolling nature of the Sahara or the Namib Desert.
Common mistakes when drawing sand dunes
Many beginners struggle with the tendency to make dunes look too rigid or geometric. One of the most frequent errors is drawing the crest of the dune as a sharp, artificial edge. In reality, wind erosion constantly softens the peaks of sand dunes, creating a rounded, pillowy appearance. Avoid using harsh, dark outlines, as these can make the sand appear solid or rocky rather than loose and granular.
Another common mistake is applying uniform shading across the entire surface. If you shade the whole dune with the same intensity, you lose the sense of volume and form. Remember that shadows are dynamic; they should be deepest at the base of the slipface and gradually lighten as they move toward the crest. If your drawing looks like a static triangle, try breaking up the silhouette with more irregular, sweeping curves to restore the organic feel.
Best tools for drawing realistic dunes
The quality of your drawing is heavily influenced by the tools you choose to use. Graphite pencils are the standard for this work because they allow for a wide range of values, from delicate highlights to deep, rich shadows. A mechanical pencil is excellent for defining the sharp ridge lines, while a softer wood-cased pencil is better for covering larger areas of shadow.
- Use a kneaded eraser to lift graphite and create subtle highlights on the windward slope.
- Choose a smooth, medium-weight drawing paper to allow for easy blending of shadows.
- Keep a blending stump or a soft cloth nearby to soften transitions between light and dark areas.
- Consider using a white gel pen to add tiny, bright highlights where the sun hits the sharpest edges of the sand.
By selecting the right paper and tools, you can manipulate the graphite to mimic the fine, powdery texture of sand. Practice these techniques consistently to master the art of capturing the ephemeral beauty of desert landscapes in your sketches.
Key facts
- Sand dunes are formed by wind-blown sand accumulating into mounds, often taking the shape of a crescent, star, or ridge.
- The "slip face" is the steep side of a dune, usually angled at about 30 to 34 degrees, where sand cascades down.
- Use a soft graphite pencil to lightly sketch the undulating, organic curves of the dune crest before adding shadows.
- Dunes are not static; they shift constantly, so avoid drawing perfectly symmetrical or rigid geometric shapes.
- Apply shading using a cross-hatching technique to represent the fine, granular texture of wind-swept sand.
- Add depth by making the base of the dune darker and the top crest lighter to simulate the sun hitting the peak.
The bottom line
Drawing a sand dune requires capturing the fluid, organic nature of wind-shaped landscapes. By focusing on the contrast between the sunlit crest and the shadowed slip face, you create a sense of three-dimensional depth. Avoid rigid lines and embrace soft, smudged shading to mimic the granular texture of sand. With practice, these techniques allow you to render the vast, shifting beauty of desert environments with professional clarity.
People also ask
What is the best pencil grade for drawing sand textures?
An HB pencil is ideal for initial outlines, while a 2B or 4B pencil works best for creating the soft, deep shadows found on the slip face. Softer leads allow you to smudge the graphite to mimic the smooth appearance of sand.
How do I create the appearance of wind ripples on a dune?
Draw thin, wavy, parallel lines that follow the contour of the dune’s surface. Keep these lines very light and spaced irregularly to suggest the natural movement of wind over the sand.
Should I use a blending stump to smooth out my shading?
Yes, a blending stump or a piece of tissue helps soften the transitions between light and dark areas. This technique is essential for capturing the smooth, fluid look of sand dunes.
How can I make a dune look like it is in the desert?
Add smaller, secondary dunes in the background to provide a sense of scale and vastness. Including a few sparse, dark shapes at the base can represent desert vegetation or rocks to ground the scene.
Why does my dune look like a flat triangle?
This usually happens because the shading lacks a gradual transition or the crest is too sharp. Ensure the shadow side has a subtle gradient that lightens as it moves away from the slip face.
What is the most common mistake when drawing dunes?
The most common error is drawing the lines too dark and rigid. Dunes are soft, shifting landforms, so using heavy outlines will make the drawing look artificial rather than natural.
This answer was created with the help of AI research tools and reference sources. Spotted an error? Let us know — we correct mistakes quickly. See our editorial policy.