How do you draw a sandwich?
Short answer
Drawing a sandwich involves constructing basic geometric shapes to represent bread and fillings, then adding texture and depth. Start by sketching a rectangular or triangular base, layer internal ingredients using horizontal lines, and apply shading to create volume. Focus on contrasting textures, such as smooth cheese or ruffled lettuce, to achieve realism.
On this page
How to draw a sandwich for beginners
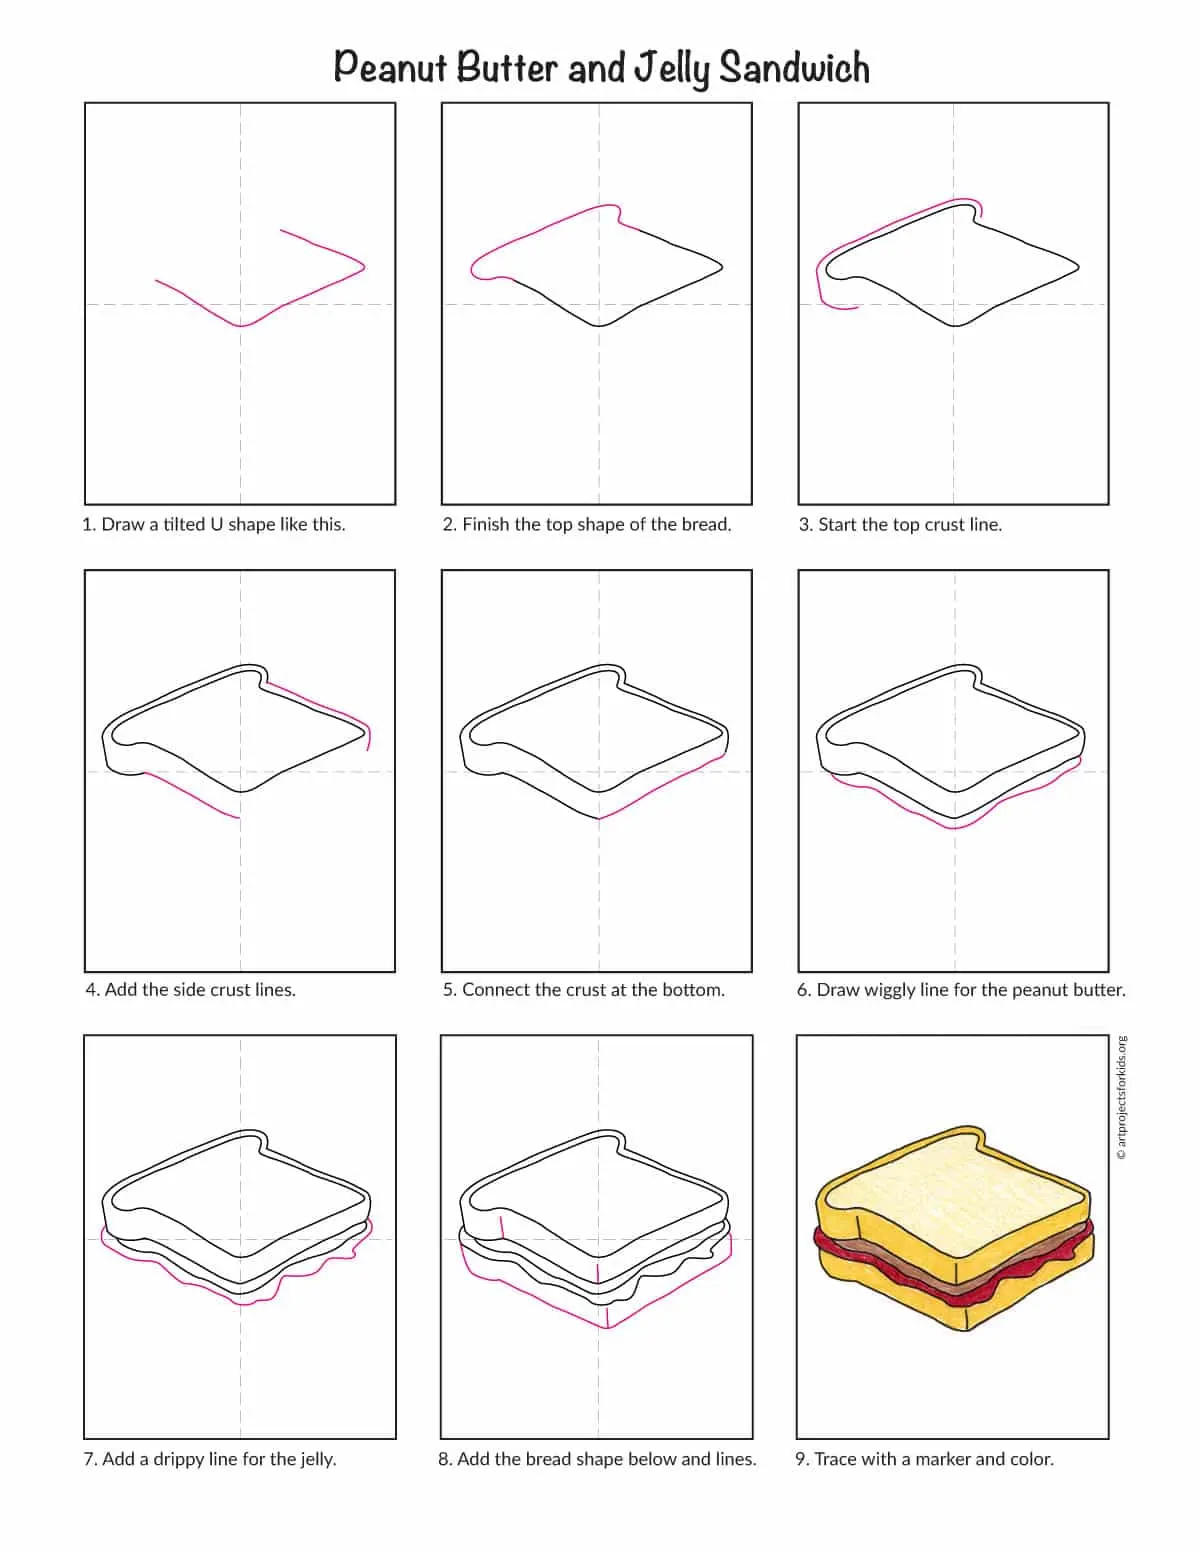
Beginners should start by viewing a sandwich as a stack of simple geometric forms. A standard sandwich is essentially a series of rectangles or triangles piled vertically. Start by drawing two parallel lines to represent the top and bottom slices of bread. Connect these with shorter, vertical lines to establish the thickness of the bread. Once the frame is set, you can begin filling the space between the slices with horizontal, wavy, or jagged lines to suggest various ingredients.
Focusing on the "sandwich stack" is the most effective way to maintain proportions. If you draw the bread slices too far apart, the sandwich will look unstable or empty. Keep your initial lines light so you can easily erase or adjust the height of the filling layers. Using a reference photo can help you understand how much space different ingredients, like tomato slices or meat, actually occupy in a real sandwich.
What materials are best for drawing food
Choosing the right tools depends on the level of detail you want to achieve. Graphite pencils are ideal for beginners because they allow for easy shading and blending of textures. A 2B pencil is versatile for both outlining and creating soft shadows. If you prefer color, colored pencils or markers work well to distinguish between vibrant ingredients like green lettuce, red tomatoes, and yellow cheese.
For those interested in adding depth, consider these essential tools:
- A kneaded eraser to lift graphite and create highlights on shiny surfaces like cheese or oil.
- A blending stump to smooth out transitions between different ingredients.
- Fine-liner pens to add crisp, dark outlines once the initial sketch is complete.
- A white gel pen to add small, bright highlights that make the food look fresh and moist.
How to add texture to sandwich ingredients
Texture is what makes a drawing look appetizing rather than flat. Each ingredient has a unique visual signature that you can recreate with specific pencil strokes. For bread, use small, circular stippling or light, irregular dashes to mimic the porous nature of the crust and crumb. For lettuce, use loose, ruffled, and overlapping lines to create a sense of volume and crispness.
Meat and cheese require different techniques to look authentic:
- Use long, horizontal, slightly curved lines for sliced deli meat to show the grain.
- Apply smooth, consistent shading for cheese to suggest a flat, solid surface.
- Add small, irregular dots or clusters for tomato seeds to break up the texture.
- Use cross-hatching on the bread edges to indicate the toasted or browned areas.
Common mistakes when drawing sandwiches
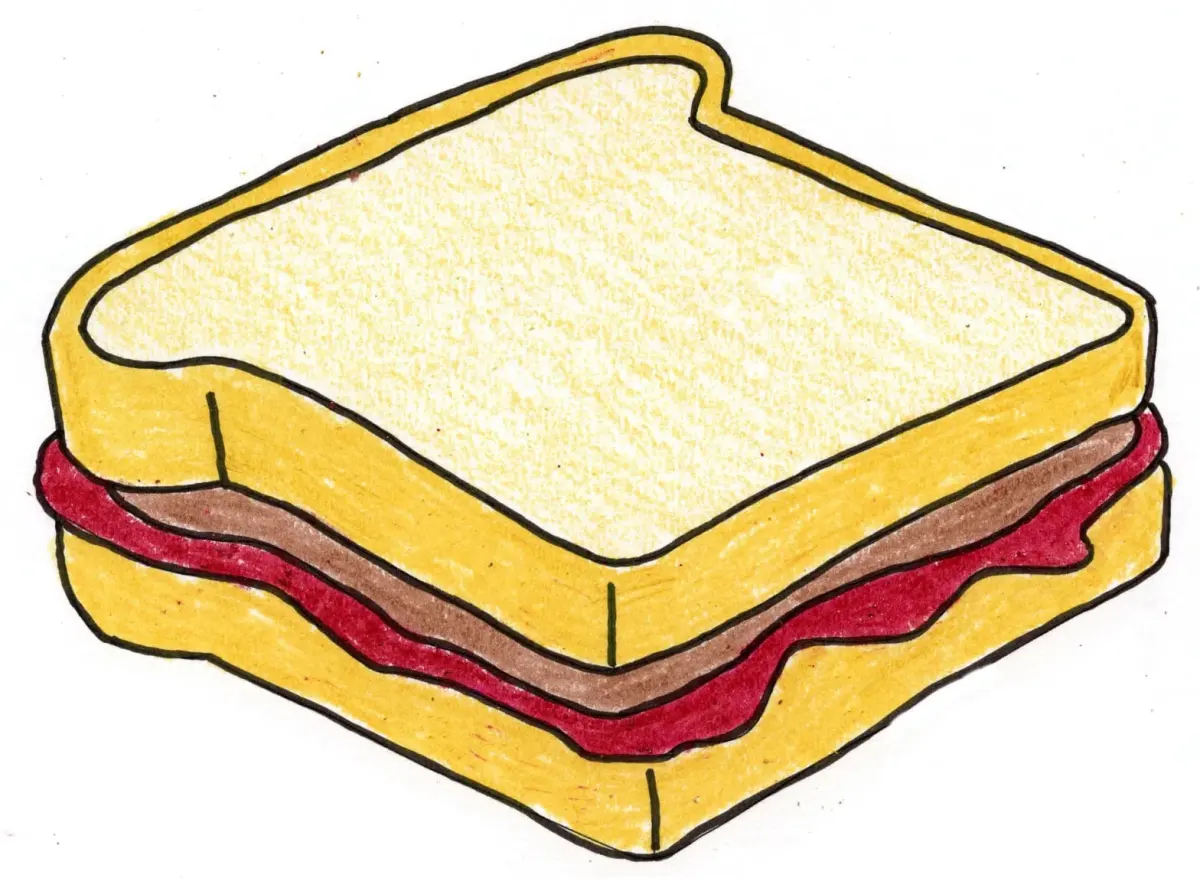
One of the most frequent errors is neglecting the perspective of the bread. If the top slice is drawn at a different angle than the bottom slice, the sandwich will appear distorted or disjointed. Always ensure that the corners of the bread align logically with the overall orientation of the stack. Another common mistake is making the filling perfectly straight, which makes the sandwich look like a stiff, manufactured object rather than a natural meal.
Avoid these pitfalls to improve your results:
- Do not make all ingredients the same thickness; variety in layers adds realism.
- Avoid using heavy, dark outlines for every single ingredient, as this flattens the image.
- Do not forget to add a cast shadow underneath the sandwich to ground it on a surface.
- Avoid using overly symmetrical lines, as natural food items are rarely perfectly uniform.
How to shade for a three-dimensional look
Shading is the final step that transforms a simple sketch into a realistic representation. Identify a consistent light source, such as the top-right corner, and apply darker tones to the opposite side of each ingredient. This creates the illusion of depth within the stack. The bread slices should cast a slight shadow onto the ingredients immediately below them, which helps define the individual layers clearly.
Pay close attention to the "rim light" or highlights on rounded ingredients like pickles or onions. By leaving a small area of the paper white or using an eraser to pull out highlights, you create the appearance of moisture or shine. This contrast between deep shadows and bright highlights is what makes the food look edible. Practice layering your graphite, starting with light pressure and gradually building up to darker tones, to achieve a professional finish that brings your sandwich drawing to life.
Key facts
- Start by drawing a horizontal rectangle for the base slice of bread to establish the sandwich's foundation.
- Use overlapping shapes like rectangles and triangles to represent layers of meat, cheese, and vegetables.
- Add "rough" or jagged lines along the edges of lettuce or tomato slices to create a realistic, organic texture.
- Incorporate a slight overhang of ingredients beyond the bread's edge to imply volume and depth.
- Use shading underneath the sandwich to ground it on a surface, preventing it from appearing as if it is floating.
- Keep your lines clean and consistent to ensure the sandwich looks appetizing rather than messy or cluttered.
The bottom line
Drawing a sandwich is an exercise in layering and observation. By starting with simple geometric foundations and gradually adding organic details like jagged lettuce edges or dripping cheese, you can create a convincing illustration. Focus on light sources to establish depth and avoid perfect symmetry to keep the food looking natural. With practice, these basic techniques will allow you to render any meal with confidence and clarity.
People also ask
What is the best medium for drawing food?
Colored pencils are excellent for beginners because they allow for easy layering and blending of colors. Markers can also work well if you want bold, graphic lines and vibrant, saturated tones.
How do I make the sandwich look three-dimensional?
You must use light and shadow to create volume. Identify a single light source and darken the areas opposite to it to give the ingredients a rounded, physical form.
Should I draw the crust of the bread?
Including the crust adds realism and texture to your drawing. Use a darker, warmer color for the crust and a lighter, neutral tone for the soft inner crumb.
How do I draw melted cheese?
Draw irregular, wavy drips that hang over the edge of the meat or bread. Use highlights on the rounded parts of the drips to make the cheese appear glossy and warm.
What is the most common mistake when drawing sandwiches?
Many artists make the ingredients too uniform or perfectly symmetrical. Real food is organic and irregular, so vary the shapes of your vegetables and the placement of your layers.
How do I show the texture of bread?
Use small, light dots or tiny circles on the surface of the bread to represent air pockets. This simple detail prevents the bread from looking like a flat, solid block.
This answer was created with the help of AI research tools and reference sources. Spotted an error? Let us know — we correct mistakes quickly. See our editorial policy.