How do you draw a realistic apple?
Short answer
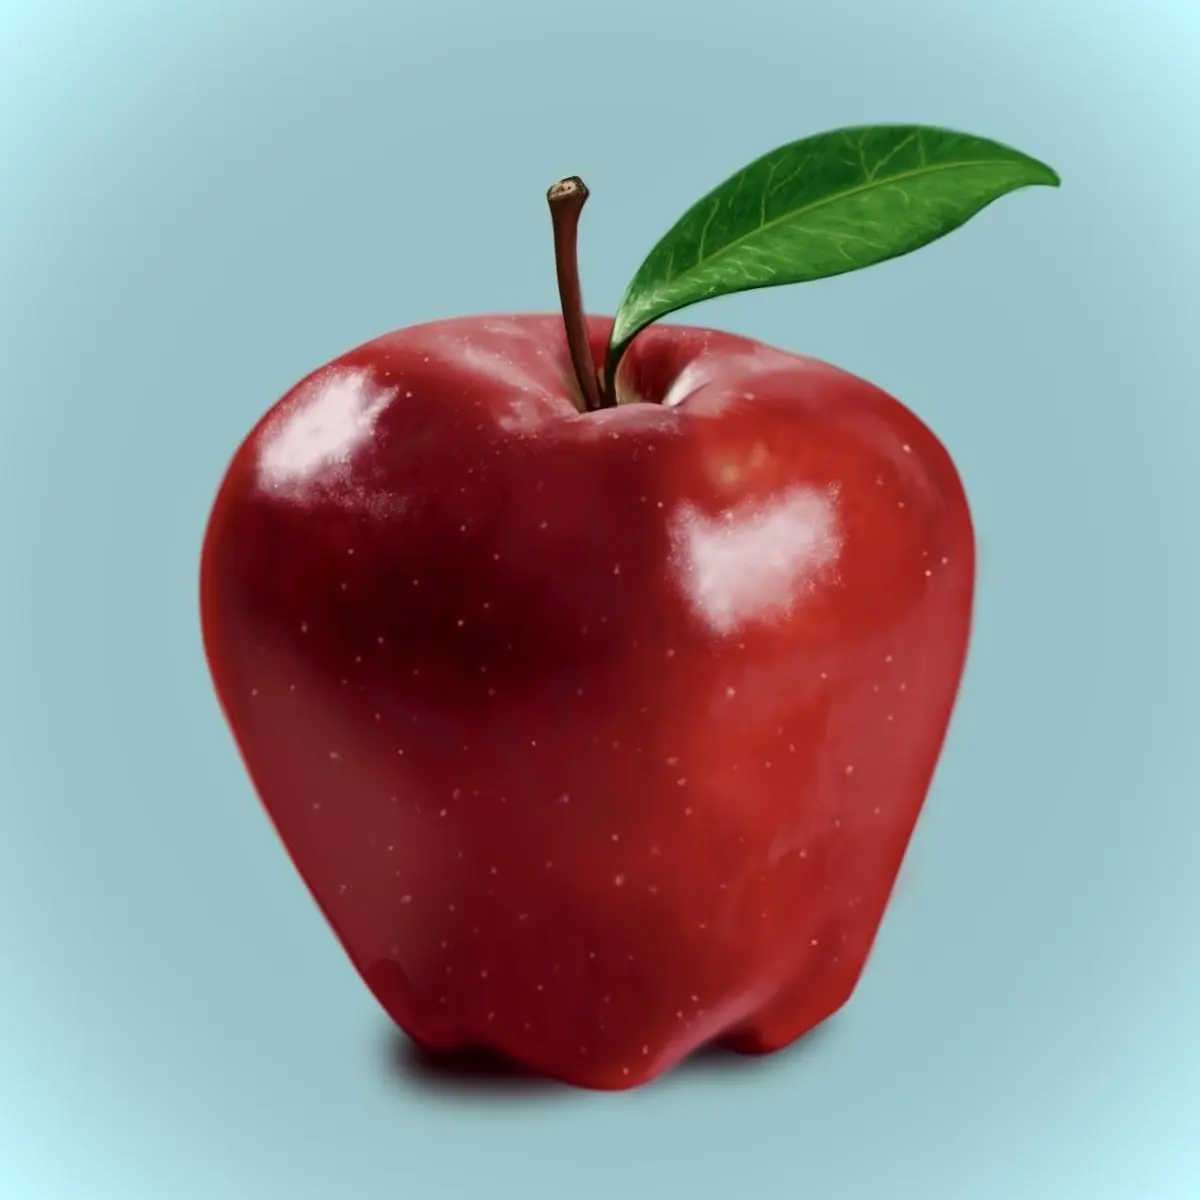
Drawing a realistic apple requires capturing its spherical volume through light, shadow, and texture. Begin by observing the fruit's organic shape and identifying the primary light source. Use gradual shading to create a three-dimensional form, paying close attention to the highlight, core shadow, reflected light, and the stem’s unique structural placement.
On this page
How to choose the right materials for drawing
To achieve a realistic result, you need a variety of graphite pencils ranging from hard (H) to soft (B). Hard pencils, such as 2H or HB, are ideal for light initial sketches and fine details, while soft pencils like 4B or 6B allow for deep, velvety shadows. A high-quality kneaded eraser is essential for lifting highlights and correcting mistakes without damaging the paper surface.
Select a medium-tooth drawing paper that can hold multiple layers of graphite. Smooth paper may become slick too quickly, preventing you from building the rich, dark tones necessary for a convincing apple. You should also keep a blending stump or a piece of chamois cloth nearby to soften transitions between light and shadow. Avoid using your fingers to smudge graphite, as the natural oils on your skin can create uneven patches and prevent further layering.
How to sketch the basic apple shape
Start by drawing a light, loose circle to establish the general size and placement of the apple. Avoid drawing a perfect geometric circle, as real apples are asymmetrical, often featuring subtle bumps or flattened sides. Mark the center axis of the apple, which helps maintain symmetry even when the fruit is tilted or irregular.
- Lightly sketch the indentation at the top where the stem emerges.
- Define the bottom curve, noting that it is rarely a perfect arc.
- Draw the stem as a small cylinder, ensuring it follows the curvature of the top depression.
- Refine the outline by observing the specific contours of your subject, adjusting the lines to match the organic nature of the fruit.
Keep your initial lines extremely faint so they can be easily erased or covered by subsequent shading. A heavy hand at this stage makes it difficult to achieve a clean, realistic finish later.
How to shade for a three-dimensional effect
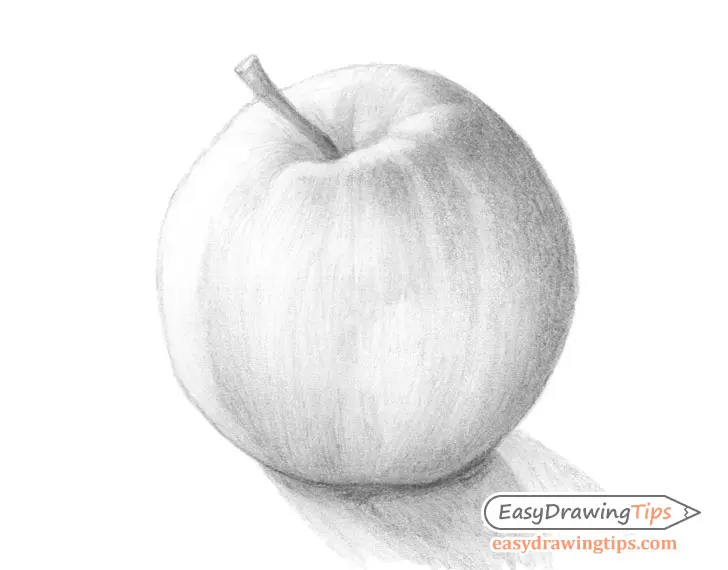
Shading is the most critical step in creating the illusion of volume. Identify the light source early and mark the area where the highlight will remain the brightest. Use a circular motion with your pencil to follow the curvature of the apple, which helps define its spherical form. Gradually transition from the highlight to the mid-tones, using light pressure to build up layers slowly.
The core shadow—the darkest part of the apple—should be located on the side opposite the light source. Do not forget the reflected light, which is a subtle glow on the shaded side of the apple caused by light bouncing off the surface underneath. This small detail is often what separates a flat drawing from a professional, realistic piece. Use these steps to build your values:
- Apply a light base layer of graphite across the entire apple except for the highlight.
- Darken the core shadow area using a softer pencil like 4B.
- Use a kneaded eraser to pull out the brightest highlight, creating a sharp contrast.
- Soften the edges of the shadows to ensure a smooth, natural transition.
Why highlights and shadows define realism
Realism relies on the accurate placement of light and shadow, often referred to as chiaroscuro. The highlight represents the point where the light source hits the apple directly, usually appearing as a bright, crisp shape. If your highlight is too large or dull, the apple will look like a matte object rather than a firm, waxy fruit.
The shadow cast by the apple onto the table is just as important as the shading on the fruit itself. A cast shadow is typically darkest near the base of the apple and becomes lighter and softer as it extends away. By carefully observing the shape of this shadow, you provide the apple with a sense of weight and grounding. Without a proper cast shadow, the apple will appear to float in space, destroying the illusion of a realistic, physical object.
Common mistakes when drawing apples
One of the most frequent errors is creating outlines that are too dark and uniform. In nature, objects do not have black outlines; they are defined by the contrast between light and shadow. If you use a heavy, dark line around the entire perimeter of the apple, it will look like a flat sticker rather than a three-dimensional object. Always allow your shading to define the edges instead of relying on heavy contour lines.
Another common mistake is neglecting to observe the texture of the stem and the skin. Apples often have small spots, bruises, or variations in tone that add character and realism. Avoid making the surface look perfectly smooth unless you are drawing a polished, artificial fruit. Finally, ensure your proportions are accurate before committing to deep shading. If the stem is too large or the apple is too elongated, no amount of shading will correct the underlying structural issues. Always step back from your work periodically to view the entire composition from a distance.
Key facts
- Start by drawing a circle, but flatten the top and bottom slightly to mimic the natural, irregular shape of a real apple.
- Identify your light source early; the highlight should be the brightest white area, usually located on the upper curve of the apple.
- Use a graphite pencil to establish a full range of values, from deep shadows to pure highlights, to create a three-dimensional effect.
- Apply shading in circular, overlapping strokes to follow the apple’s rounded contour rather than drawing flat, straight lines.
- Leave a small, unshaded gap near the edge of the shadow to create a "reflected light" effect, which adds significant realism.
- Use a kneaded eraser to lift graphite and create crisp highlights, as this provides more control than a standard rubber eraser.
The bottom line
Drawing a realistic apple requires careful observation of light and shadow rather than just outlining a simple shape. By focusing on the interplay between deep shadows, mid-tones, and bright highlights, you can transform a basic circle into a convincing three-dimensional form. Practice consistent, rounded shading techniques and always prioritize the light source to ensure your final drawing possesses the volume and texture of a real piece of fruit.
People also ask
What is the best type of pencil to use for realistic shading?
A set of pencils ranging from 2H to 6B is ideal. Use the harder H pencils for light initial sketches and the softer B pencils for building deep, dark shadows.
How do I make the apple look shiny?
Shiny surfaces have high-contrast highlights. Keep the transition between the highlight and the surrounding area sharp to simulate the reflective quality of the apple's skin.
Should I draw the stem first or last?
It is better to draw the stem after establishing the main body of the apple. This allows you to accurately position the stem within the natural indentation at the top.
How do I create a realistic cast shadow?
The cast shadow should be darkest directly beneath the apple and fade as it moves away. Use a blending stump or a soft tissue to smooth the transition for a natural look.
Why does my drawing look flat?
A drawing looks flat when it lacks a full range of values. Ensure you have deep blacks, various mid-tones, and bright highlights to give the object volume.
Is it better to draw from a photo or a real apple?
Drawing from a real apple is superior because it allows you to observe how light interacts with a physical object. You can also rotate the object to study its texture and shape from different angles.
This answer was created with the help of AI research tools and reference sources. Spotted an error? Let us know — we correct mistakes quickly. See our editorial policy.