How do you draw fruit?
Short answer
Drawing fruit requires observing basic geometric shapes, establishing a light source, and layering values to create depth. Start by sketching simple spheres or cylinders, then refine the contours and add shadows. Consistent practice with shading techniques and attention to surface textures will help you achieve a realistic, three-dimensional appearance on paper.
On this page
How to start drawing fruit for beginners
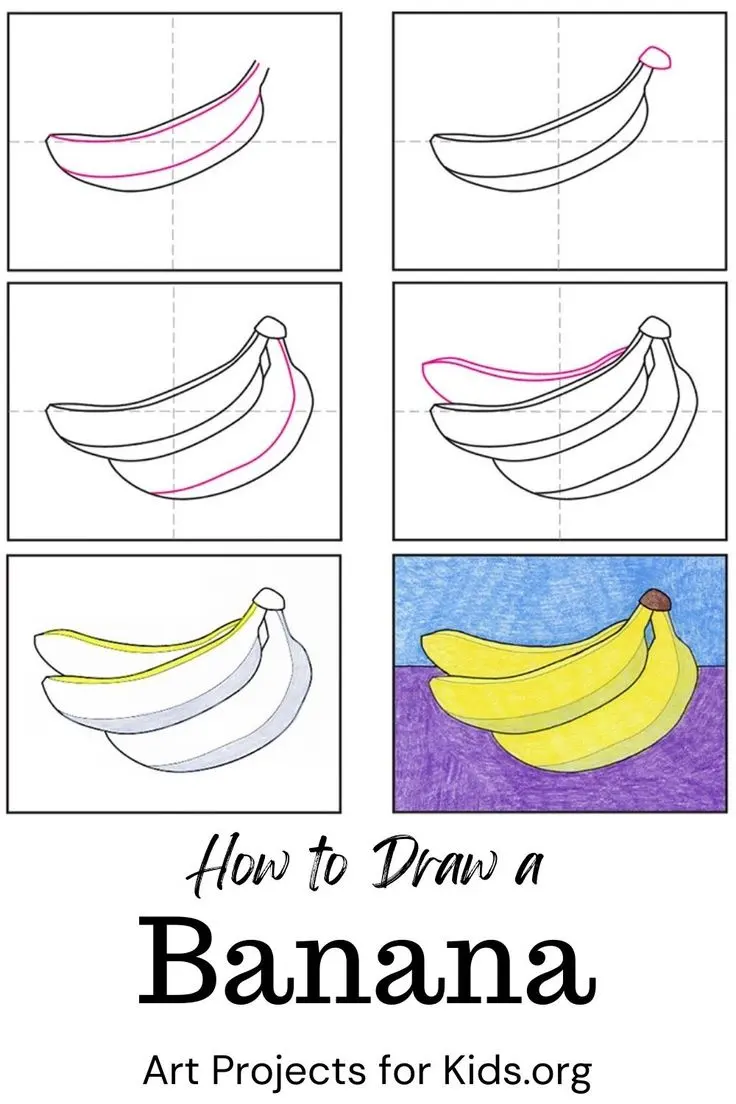
Beginners should focus on identifying the underlying geometry of common fruits. Most items, such as apples, oranges, or grapes, are variations of a sphere. Others, like bananas or pears, combine spheres with cylinders or cones. By breaking down a complex subject into these primitive shapes, you simplify the drawing process and ensure your proportions remain accurate from the start.
To begin your drawing, follow these foundational steps:
- Lightly sketch the basic geometric shape that represents the fruit's overall form.
- Observe the fruit from a fixed angle to maintain consistent proportions.
- Draw a light horizon line to ground the object, preventing it from appearing as if it is floating.
- Use a hard lead pencil, such as an H or HB, to keep initial guide lines faint and erasable.
Avoid pressing too hard on the paper during this initial stage. Heavy lines are difficult to remove and can leave permanent indentations, which often ruin the final appearance of a finished sketch.
How to use light and shadow effectively
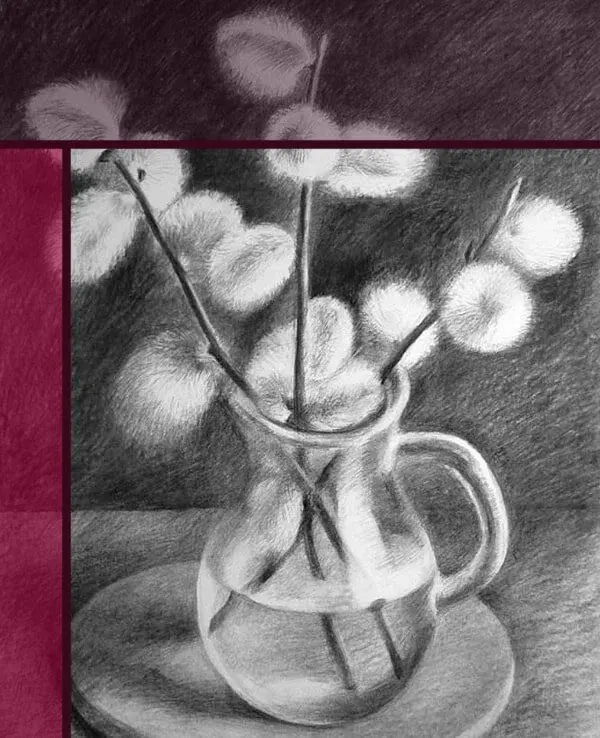
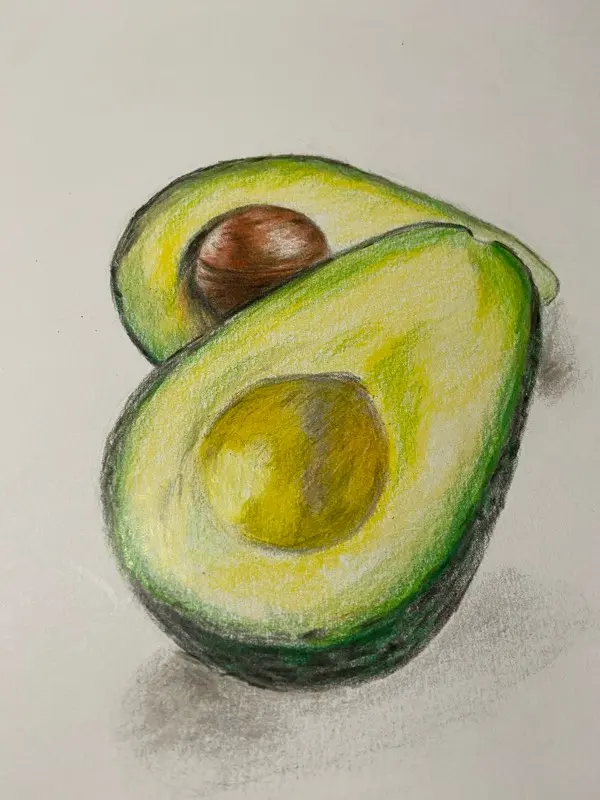
The key to making fruit look realistic is the application of value, which refers to the relative lightness or darkness of a color. Before you begin shading, identify where your light source is located. The area closest to the light will be the highlight, while the area directly opposite will contain the deepest shadows. This contrast is what gives a two-dimensional drawing its three-dimensional volume.
When shading, follow these principles to build depth:
- Identify the core shadow, which is the darkest part of the fruit itself.
- Add a cast shadow on the surface underneath the fruit to anchor it in space.
- Include reflected light, which is a subtle glow on the shadowed side caused by light bouncing off the table.
- Use a blending stump or a soft cloth to smooth out transitions between light and dark areas.
Gradual layering is essential. Start with light, sweeping strokes and slowly build up the darkness. If you apply too much pressure too soon, you will lose the ability to create subtle gradients.
What tools are best for drawing fruit
The quality of your drawing depends significantly on the tools you select. For graphite drawing, a set of pencils ranging from 2H to 6B allows for a full spectrum of tones. Hard pencils (H) are ideal for light, structural lines, while soft pencils (B) are perfect for deep, rich blacks. You should also use high-quality drawing paper with a slight tooth, or texture, which helps the graphite adhere to the surface.
In addition to pencils, keep a variety of erasers on hand. A kneaded eraser is particularly useful because it can be molded into specific shapes to lift graphite from the page, allowing you to create highlights or correct small mistakes without damaging the paper. A vinyl eraser is better for large, clean removals. Using a sharpener or a craft knife to keep your pencil tips pointed is also vital for adding fine details like stems or skin textures.
Common mistakes when drawing fruit
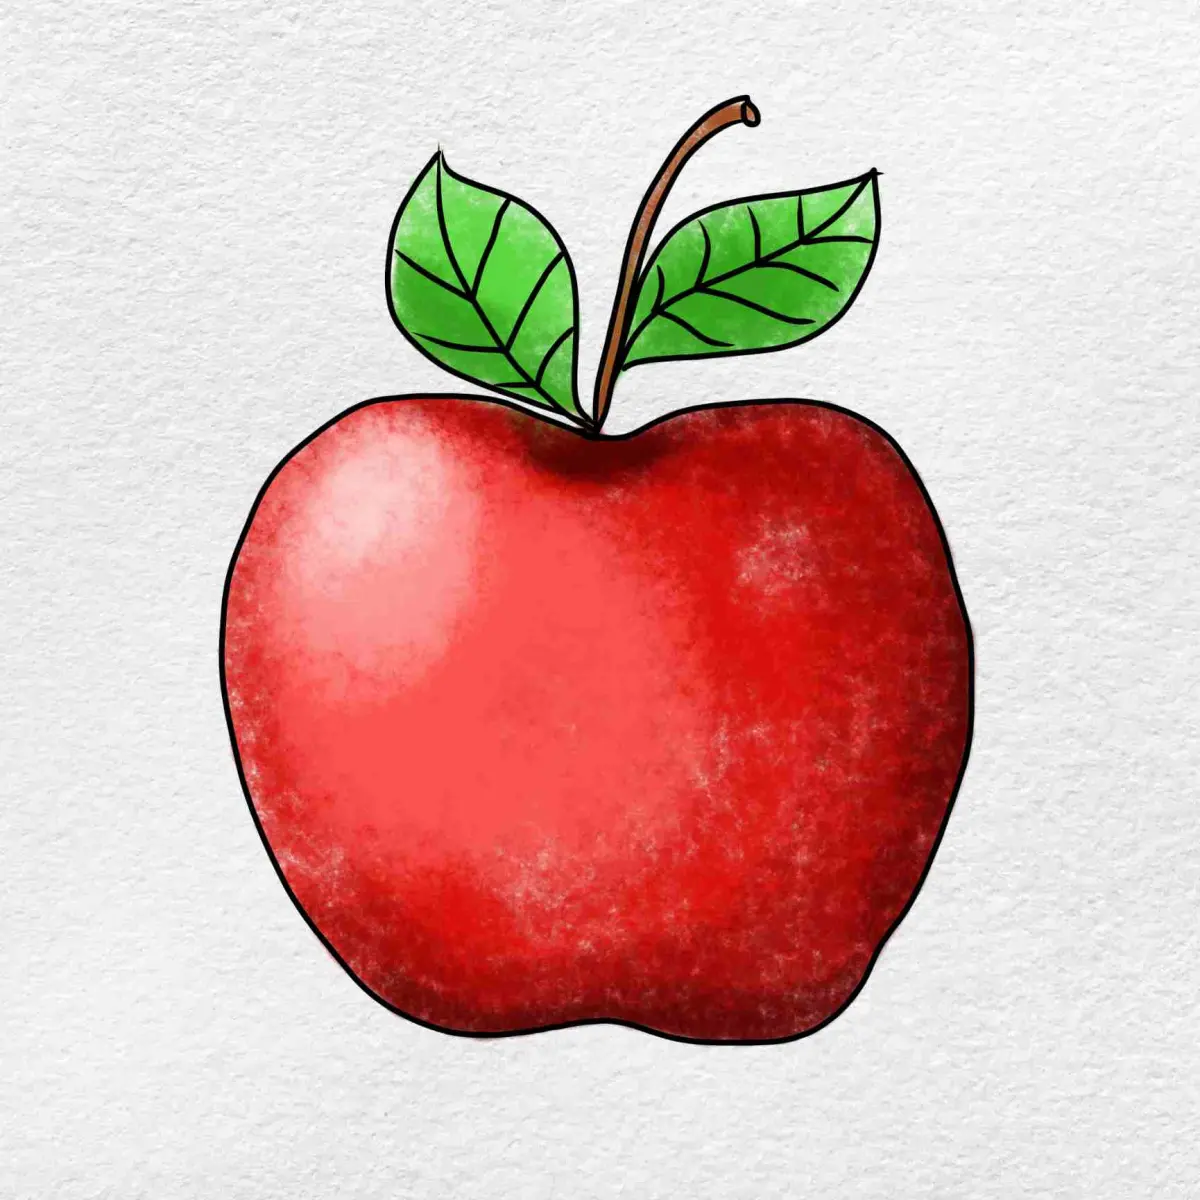
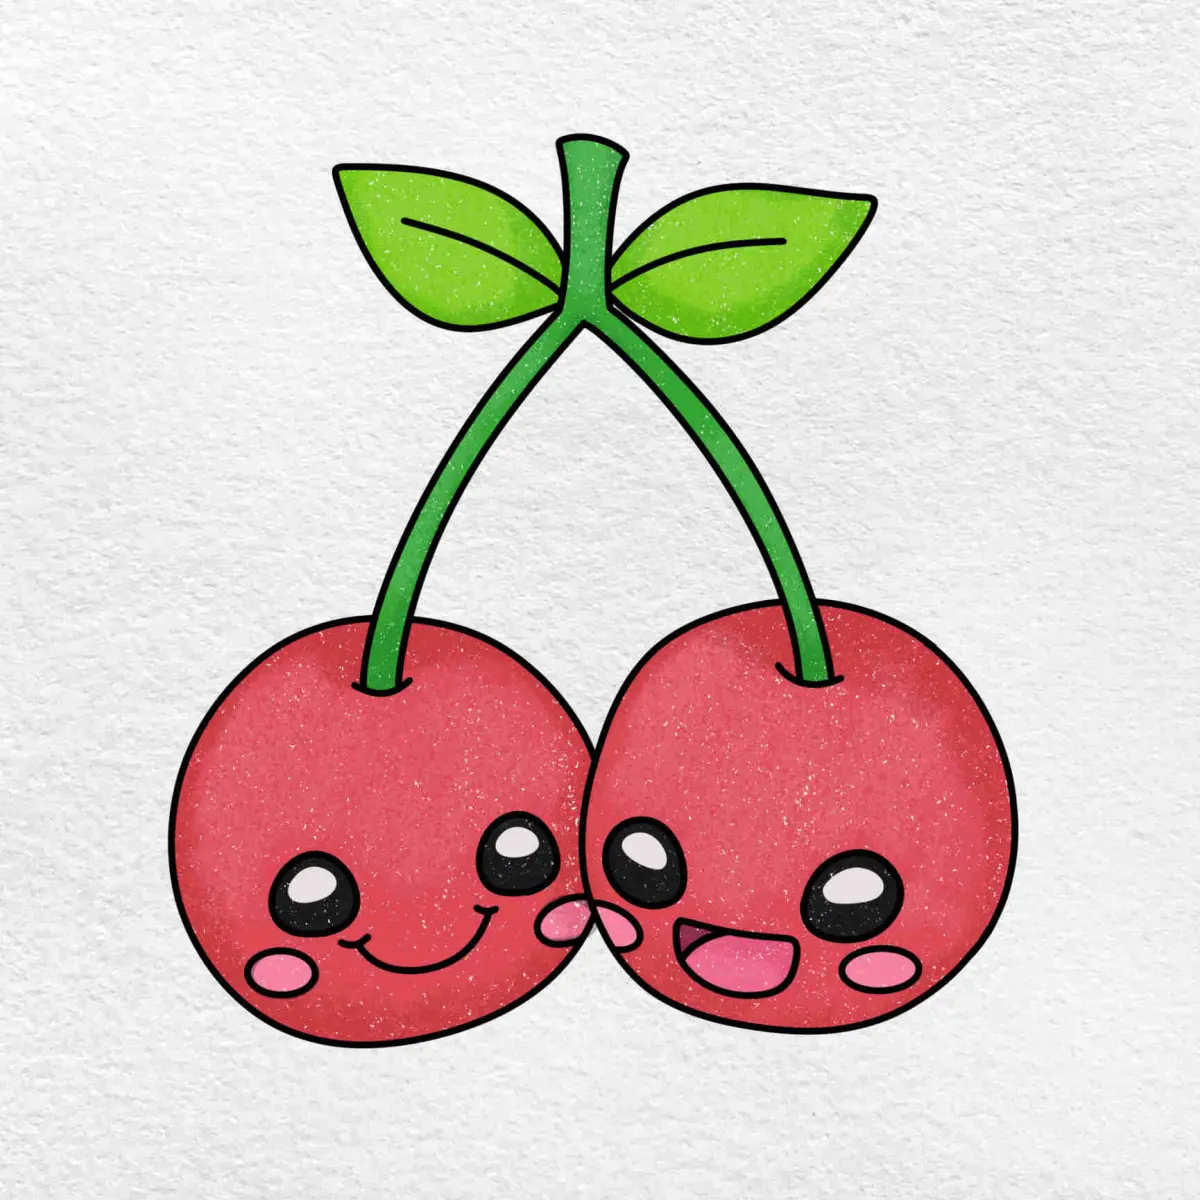
A frequent error is drawing an outline that is too dark or thick. In nature, objects do not have black outlines; they are defined by the contrast between light and shadow. If you draw a heavy line around your fruit, it will look like a cartoon rather than a realistic study. Instead, try to define the edges by shading one side of the fruit darker than the background.
Another common mistake is ignoring the cast shadow. A fruit without a shadow appears to be floating in a void, which destroys the sense of realism. Additionally, many beginners make their shadows too uniform. A shadow should be darkest near the base of the fruit and become lighter and softer as it moves away from the object. Pay close attention to the shape of the shadow, as it should correspond to the form of the fruit casting it.
How to improve your drawing technique
Consistency is the most important factor in improving your artistic skills. Dedicate time to observational drawing rather than relying on memory. Place a piece of fruit on a table under a single lamp to create dramatic shadows, and draw it for 30 minutes every day. Over time, your eye will become better at noticing subtle shifts in tone and texture that you previously overlooked.
To further refine your technique, consider these advanced practices:
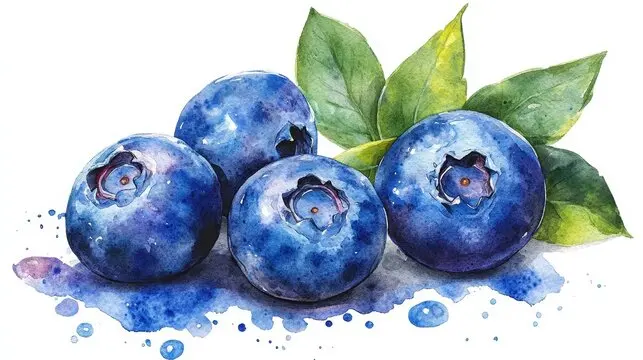
- Study the texture of the fruit skin, such as the dimples on an orange or the smooth, reflective surface of a cherry.
- Experiment with different mark-making styles, such as cross-hatching or stippling, to create texture.
- Practice drawing multiple fruits together to learn how shadows interact and overlap.
- Compare your drawing to the actual fruit frequently, checking your angles and proportions against the physical reality.
By consistently analyzing your work and comparing it to your subject, you will develop the visual literacy required to capture the complexity of fruit with increasing accuracy and confidence.
Key facts
- Start by sketching basic geometric shapes like spheres for apples or cylinders for bananas to establish correct proportions.
- Use a light touch with your pencil initially so you can easily erase guidelines before adding final details.
- Identify your light source early to ensure shadows and highlights remain consistent across the entire composition.
- Apply shading in layers, starting with light mid-tones and gradually building up to the darkest shadows.
- Observe the texture of the fruit skin, such as the dimples on an orange or the smooth surface of a plum, to add realism.
- Use a kneaded eraser to lift graphite for highlights, which creates a natural, soft look compared to hard plastic erasers.
The bottom line
Drawing fruit is an excellent exercise for mastering the fundamentals of light, shadow, and geometric form. By breaking complex organic shapes into simple spheres and cylinders, you can create a solid foundation for any composition. Remember to prioritize your light source and build your values in gradual layers. With consistent practice and careful observation of textures, you will develop the skills to render realistic, vibrant still-life drawings.
People also ask
Should I use colored pencils or graphite for my first fruit drawing?
Graphite is recommended for beginners because it allows you to focus on value, lighting, and form without the complexity of color theory. Once you master shading with pencil, transitioning to colored pencils or pastels becomes much easier.
How do I make my fruit look three-dimensional?
You must include a core shadow, a reflected light on the shaded side, and a crisp highlight where the light hits the surface directly. This contrast between light and dark creates the illusion of volume on a flat page.
What is the best way to draw a realistic fruit texture?
Use short, stippled dots for porous skins like oranges or lemons, and long, smooth strokes for shiny fruits like apples or cherries. Varying your pencil pressure helps mimic the specific tactile quality of the fruit's surface.
Why does my drawing look flat even after I add shading?
A common mistake is failing to draw a cast shadow on the surface where the fruit is resting. The cast shadow grounds the object and provides the necessary contrast to make the fruit appear as though it occupies physical space.
How do I handle complex shapes like a bunch of grapes?
Simplify the cluster into a single large mass first, then define the individual grapes within that shape. Focus on the highlights of each grape to show their roundness and transparency.
Is it better to draw from a photograph or a real-life object?
Drawing from life is superior because it allows you to see subtle color shifts and depth that photographs often flatten or distort. Observing a real piece of fruit helps you understand how light interacts with physical objects in your specific environment.
This answer was created with the help of AI research tools and reference sources. Spotted an error? Let us know — we correct mistakes quickly. See our editorial policy.