How do you draw a lemon?
Short answer
Drawing a lemon involves sketching an asymmetrical oval with slightly pointed ends. By focusing on the fruit’s organic curvature, adding a small dimple for the stem, and applying light-to-dark shading, you can create a realistic representation. Use a graphite pencil for structure and colored pencils or markers for vibrant yellow textures.
On this page
How to sketch the basic shape of a lemon
The secret to a convincing lemon lies in avoiding a perfect, symmetrical oval. Lemons are organic, irregular shapes that often feature a slight bulge or a subtle taper toward the ends. Start by drawing a light, horizontal guideline to establish the orientation of the fruit. Then, sketch a rounded, egg-like shape that is slightly wider at one end than the other.
Pay close attention to the "nipple" or the small protrusion where the stem attaches. This is a defining characteristic of the lemon that separates it from a lime or a generic yellow sphere. Keep your initial pencil lines very faint, as you will need to erase or refine them later. A common mistake is drawing a perfectly smooth outline, whereas a real lemon has subtle bumps and ridges along its skin.
- Lightly sketch a slanted, elongated oval shape.
- Add a small, rounded nub at one end for the stem base.
- Observe the curve and flatten one side slightly to mimic natural growth.
- Erase any overly rigid or geometric edges to soften the profile.
Best drawing tools for beginners
For those just starting, a standard HB graphite pencil is the most versatile tool for mapping out the initial form. Its medium hardness allows for light sketching that is easy to erase without damaging the paper surface. Once the outline is complete, you can transition to softer pencils, such as a 2B or 4B, to build up the darker shadows.
If you intend to add color, wax-based colored pencils are excellent for layering. They allow you to blend different shades of yellow, green, and white to capture the waxy sheen of the rind. Avoid using a single yellow marker, as this results in a flat, cartoonish look. Instead, use a variety of tools to create depth and texture, which are essential for making the fruit appear three-dimensional on a two-dimensional surface.
- HB pencil for initial light outlines.
- 2B or 4B pencil for adding depth to shadows.
- Kneaded eraser to lift graphite and create highlights.
- High-quality drawing paper with a slight tooth for better pigment grip.
Why shading creates a realistic lemon
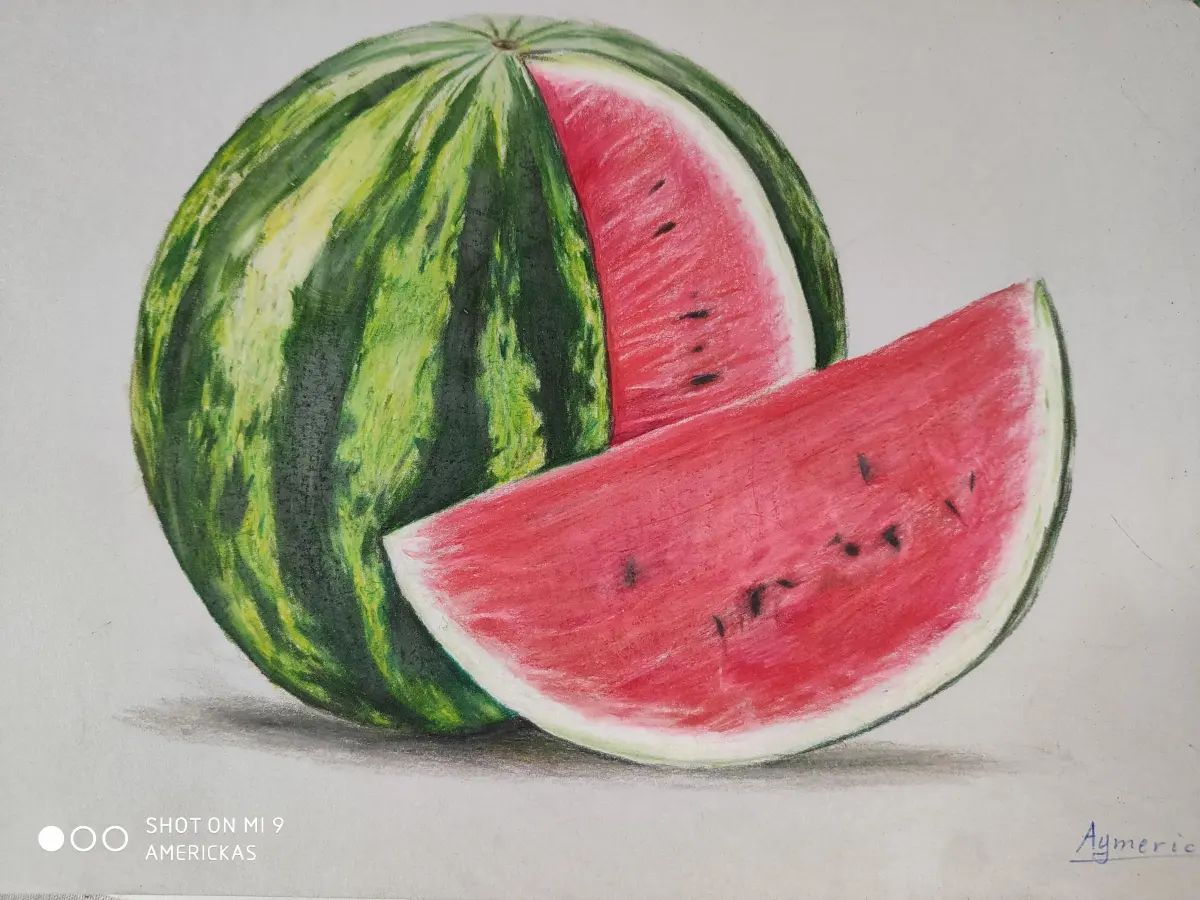
Shading is the process of defining volume through light and shadow. To make your lemon look round, identify the light source before you begin. If the light is coming from the top left, the bottom right of your lemon should be the darkest area. Use a technique called cross-hatching or smooth blending to transition from the brightest highlight to the deepest shadow.
The most important element is the "highlight," which is the brightest spot on the lemon where light hits the skin directly. Leave this area white or very light. Conversely, the "core shadow" is the darkest part of the fruit itself, usually found just before the reflected light on the edge. By carefully observing the transition between these tones, you mimic the way light interacts with the bumpy, textured surface of citrus skin.
Common mistakes when drawing fruit
One frequent error is failing to account for reflected light. Many beginners shade the entire shadowed side of the lemon with a uniform dark tone, which makes the fruit look like a flat cutout. In reality, light bounces off the surface underneath the lemon and hits the bottom of the fruit, creating a subtle band of lighter value within the shadow.
Another mistake is ignoring the texture of the peel. Lemons are covered in tiny oil glands called flavedo, which give the skin a stippled, porous appearance. If you draw the lemon as perfectly smooth, it will look like plastic rather than fruit. Use small, light dots or irregular dashes to suggest this texture, especially near the edges where the light catches the surface. Always keep your pencil sharp to maintain control over these fine, descriptive details.
How to add final details and highlights
The final stage of your drawing involves refining the contrast and adding the stem. Use a sharp, dark pencil to define the shadow cast by the lemon on the surface beneath it. This "cast shadow" is usually the darkest part of the entire composition and anchors the lemon to the page. Without this shadow, the fruit will appear to be floating in mid-air.
Finally, use a kneaded eraser to pull out tiny highlights on the skin. You can press the eraser onto the paper to lift pigment, creating the appearance of the small, raised bumps on the lemon's exterior. Ensure that your stem is centered correctly on the nub you drew earlier, perhaps adding a tiny green leaf to provide a pop of complementary color. By focusing on these final touches, you transform a basic shape into a vivid, lifelike illustration that captures the essence of the fruit.
Key facts
- Lemons are technically modified ovals with slightly pointed ends called nipples.
- Use a light graphite pencil to sketch the initial shape before applying permanent ink or color.
- A lemon’s skin is textured with tiny indentations called oil glands, which appear as small dots.
- Shadows on a lemon should be curved to emphasize the fruit's spherical volume.
- Adding a small white highlight on one side creates the illusion of a glossy, waxy surface.
- The stem end of a lemon is often slightly recessed, creating a small shadow pocket.
The bottom line
Drawing a convincing lemon requires moving beyond simple geometric shapes to capture organic imperfections. By starting with a slightly asymmetrical oval, layering varied shades of yellow, and using stippling to suggest the porous texture of the rind, you can create a realistic depiction. Remember that light and shadow are your primary tools for defining volume, so observe how light hits the waxy surface before finalizing details.
People also ask
What is the best medium for drawing a realistic lemon?
Colored pencils are ideal for beginners because they allow for easy layering of yellow, green, and brown tones. Pastels work well for soft, vibrant textures, while graphite is best for studying light and shadow.
How do I create the texture of a lemon peel?
Use a stippling technique, which involves tapping the tip of your pencil or pen to create clusters of tiny dots. Concentrating these dots in shaded areas mimics the natural porous surface of the rind.
Should I draw a perfect circle for the base shape?
No, a perfect circle will look unnatural. Always draw an oval and add slight bumps or flattened areas to give the fruit a unique, organic character.
How do I make the lemon look three-dimensional?
Focus on the "core shadow," which is the darkest area on the fruit, and the "reflected light," which is the faint glow on the shadow side. These elements define the curvature and mass of the object.
What colors should I use for a realistic yellow?
Avoid using only one shade of yellow. Layer bright lemon yellow with hints of orange in the shadows and cool, pale greens near the stem to add depth and realism.
How do I draw the stem of a lemon?
Keep the stem small and slightly off-center at one of the pointed ends. Use a dark, muted green or brown to contrast against the bright yellow body of the fruit.
This answer was created with the help of AI research tools and reference sources. Spotted an error? Let us know — we correct mistakes quickly. See our editorial policy.