How do you draw a pumpkin step by step?
Short answer
Drawing a pumpkin involves creating a rounded, segmented shape with a sturdy stem. By sketching a central oval, adding overlapping curved sections, and refining the texture with shading, you can achieve a realistic look. This process relies on understanding basic geometry and natural variations in shape to create depth and character.
On this page
How to draw a pumpkin step by step
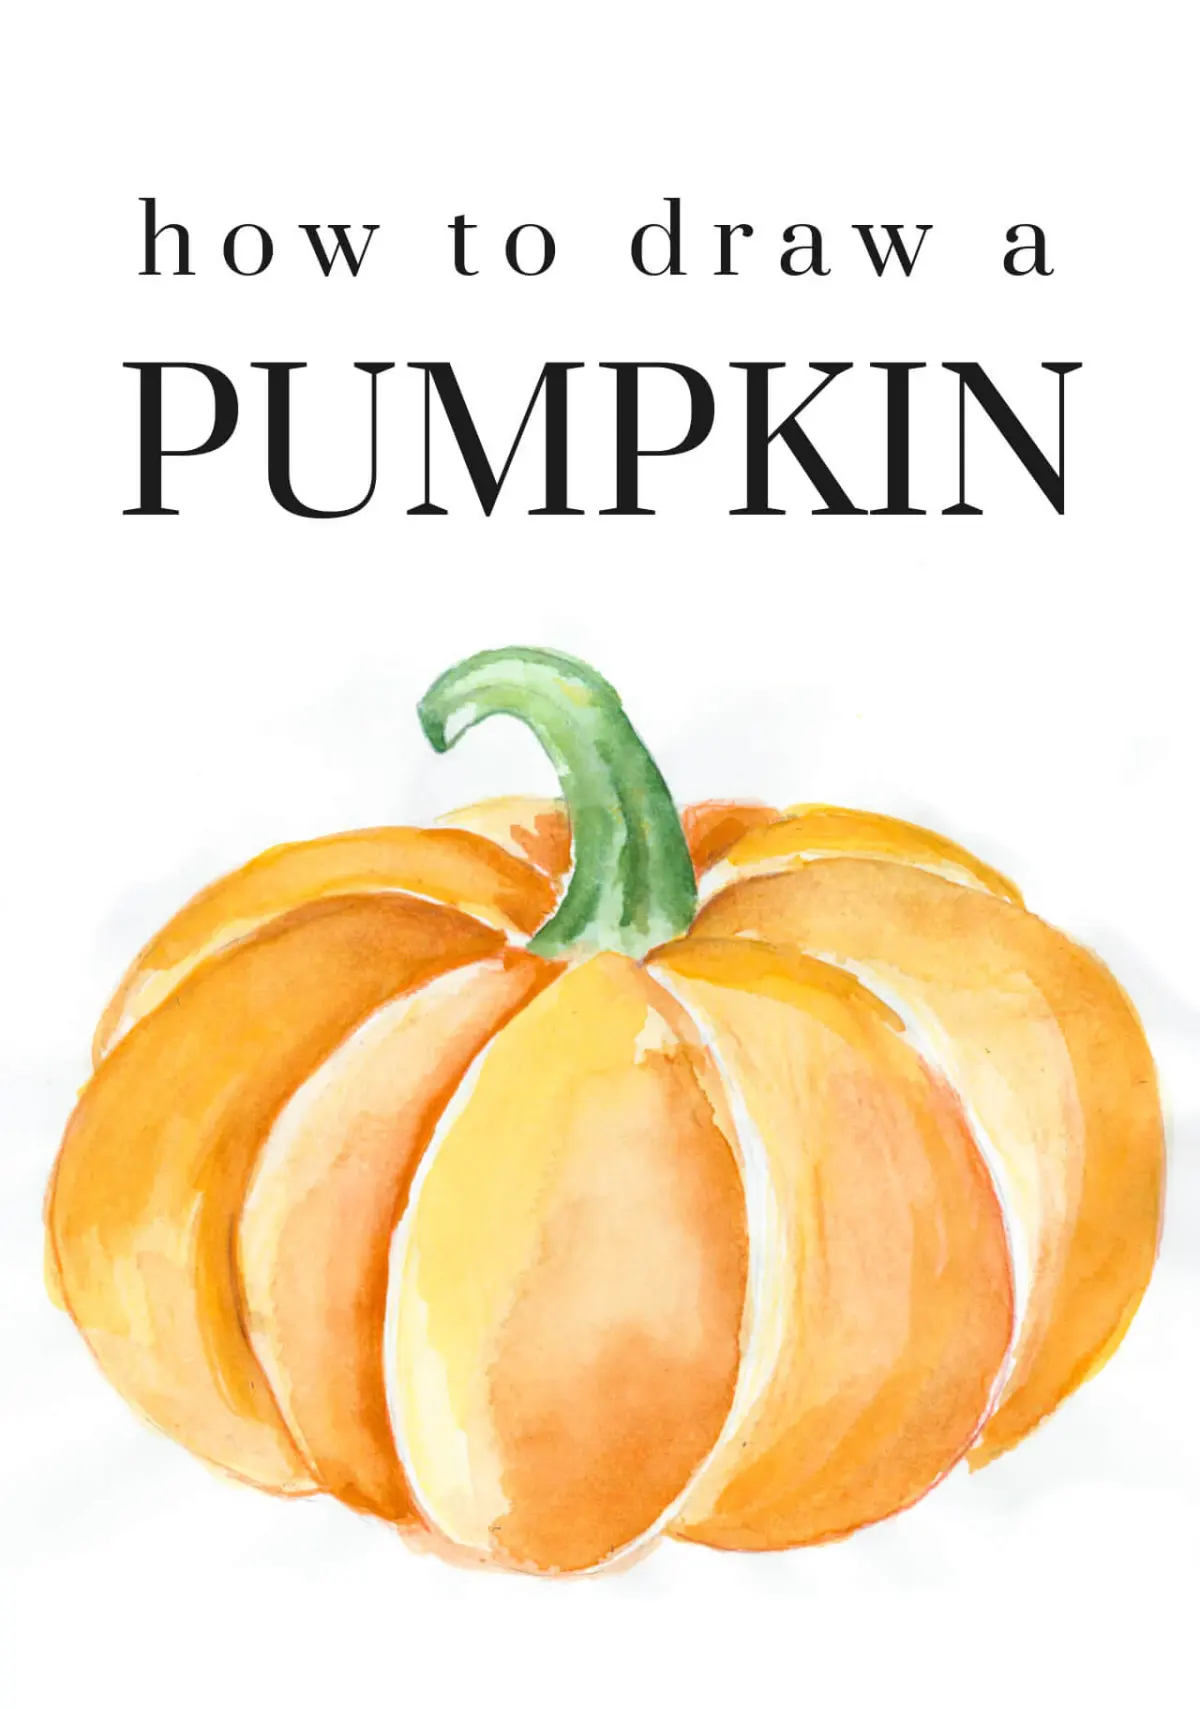
Drawing a pumpkin starts with establishing the basic structure. Begin by drawing a slightly flattened circle or an oval in the center of your paper. This serves as the core volume of the pumpkin. Next, draw vertical, curved lines radiating from the top center to the bottom center, similar to the segments of a peeled orange. These lines should bow outward to suggest the roundness of the fruit.
Once the segments are defined, add a stem to the top. Draw a small, thick cylinder or a slightly tapered rectangle emerging from the center point where your vertical lines meet. You can add a small, curled vine or a leaf near the base of the stem to provide visual interest. Remember that pumpkins are rarely perfectly symmetrical, so varying the width of your segments will make the drawing look more organic and realistic.
Best tools for drawing pumpkins
For beginners, a standard HB graphite pencil is the most versatile tool. It allows for light initial sketches that are easy to erase before you commit to darker lines. If you want to add depth, consider using a 2B or 4B pencil, which provides a softer, darker lead perfect for creating shadows. Using a kneaded eraser is also highly recommended, as it allows you to lift graphite gently without damaging the paper texture.
If you prefer working with color, orange and brown colored pencils are essential. Start with a light yellow or pale orange base layer, then build up the intensity with darker oranges in the shadows. Using a colorless blender pencil can help smooth out the strokes and create a more professional finish. Ensure your pencils are sharpened regularly to maintain precision, especially when detailing the stem or the grooves between the segments.
- Start with a light HB pencil sketch to outline the general shape.
- Use a darker pencil to define the primary segments and the stem.
- Apply light pressure to create a base layer of color or shading.
- Gradually deepen the shadows in the grooves to create a three-dimensional effect.
- Use an eraser to pull out highlights on the rounded parts of the segments.
Why pumpkins look rounder with shading
Shading is the most critical element for transforming a flat drawing into a three-dimensional object. Light typically hits the top or side of a pumpkin, creating a highlight on the most prominent, rounded part of each segment. By leaving these areas lighter and applying darker tones toward the sides and the deep grooves between segments, you simulate the way light interacts with a curved surface.
To achieve this, identify your light source before you begin shading. If the light comes from the upper left, the shadows should be concentrated on the lower right of each pumpkin segment. Use short, curved strokes that follow the contour of the pumpkin rather than straight, flat lines. This technique, known as cross-contouring, reinforces the physical volume of the object. Blending these shadows carefully will prevent the pumpkin from looking like a series of disconnected shapes.
- Identify the light source clearly before starting your shading process.
- Use curved lines that follow the pumpkin's shape to emphasize volume.
- Keep the highlights bright to create contrast against the shadows.
- Gradually transition from dark to light to create a smooth, rounded appearance.
- Avoid over-blending, which can make the drawing look muddy or flat.
Common mistakes when drawing pumpkins
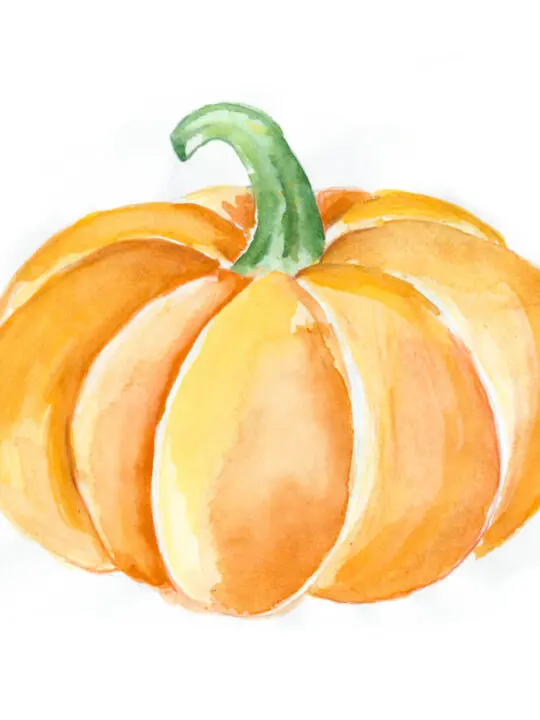
One of the most frequent errors is drawing segments that are perfectly uniform in size. Real pumpkins are irregular, with some ribs being wider or more pronounced than others. When every segment is identical, the pumpkin looks like a cartoon or a mechanical object rather than a natural fruit. Try to vary the curvature and width of your lines to mimic the unpredictable nature of organic growth.
Another common mistake is neglecting the stem's perspective. Many beginners draw the stem as if it is viewed from directly above, even when the pumpkin itself is drawn from the side. Ensure the base of the stem connects naturally to the top of the pumpkin, following the curvature of the fruit’s crown. If the stem looks like it is floating or stuck on as an afterthought, the entire drawing will lose its sense of structural integrity.
How to add texture to a pumpkin
Adding texture elevates a drawing from a simple sketch to a detailed study. Pumpkins often have small bumps, ridges, or slight discolorations on their skin. You can represent these by adding tiny, irregular dots or faint, jagged lines within the segments. Avoid making these too uniform; nature is rarely consistent, and these small imperfections are exactly what make a drawing feel authentic and grounded in reality.
The stem also benefits from texture. Instead of a smooth surface, use short, rough strokes to indicate the woody, fibrous nature of the stem. You might add small, horizontal lines to show the ridges that run along its length. By focusing on these fine details after the main shading is complete, you add a layer of complexity that draws the viewer’s eye. Keep your touch light, as these details are meant to accent the overall shape rather than overwhelm it.
Key facts
- Pumpkins are members of the Cucurbitaceae family, which also includes squash, cucumbers, and melons.
- A pumpkin’s shape is defined by its vertical ribs, which typically number between 8 and 12 on a standard specimen.
- The stem of a pumpkin is technically a peduncle and is usually thick, woody, and slightly off-center.
- To draw a realistic pumpkin, start with a flattened sphere rather than a perfect circle to account for gravity.
- Adding highlights on the rounded edges of each rib creates a three-dimensional effect through shading.
- Most pumpkins are not perfectly symmetrical, so slight irregularities in shape will make your drawing look more natural.
The bottom line
Drawing a convincing pumpkin relies on capturing its unique, rib-based structure rather than focusing on a perfect circle. By sketching a flattened oval and adding curved vertical lines, you establish the essential form. Consistent shading along these ribs provides the necessary depth and volume. Remember that nature is rarely symmetrical; incorporating slight bumps and variations will ensure your final drawing looks realistic, organic, and full of character.
People also ask
What is the best medium for drawing a pumpkin?
Graphite pencils are excellent for beginners to practice shading and depth. If you prefer color, orange pastels or colored pencils allow you to layer warm tones effectively.
How do I make the pumpkin look round instead of flat?
Use a curved shading technique that follows the contour of the ribs. Keep the center of each rib lighter and darken the areas where the ribs meet.
Should I draw the stem first or last?
It is best to draw the main body of the pumpkin first to establish the size. Once the body is set, attach the stem to the top center, ensuring it overlaps the top edge.
How do I draw a jack-o'-lantern face?
Sketch the eyes, nose, and mouth as simple geometric shapes like triangles or trapezoids. Remember to follow the curve of the pumpkin’s surface so the features do not look like flat stickers.
Why does my pumpkin drawing look like a ball?
You likely missed the vertical indentations known as ribs. Adding subtle, curved vertical lines radiating from the center will immediately give the object its signature squash-like appearance.
Is there a trick to drawing the bottom of the pumpkin?
The bottom is rarely perfectly flat; it usually curves slightly inward. Draw a gentle arc at the base to suggest the weight of the fruit resting on the ground. ## Drawing Steps Sketch a wide, flattened oval to serve as the main body. Draw 5 to 7 curved vertical lines that arch from the top center to the bottom center, mimicking the ribs. Draw a small, thick rectangle or cylinder at the top center to represent the stem. Add a small, curved line at the base to indicate where the pumpkin touches the surface. Use a soft pencil to shade the sides of each rib, leaving the center of the ribs brighter to indicate light reflection. Erase any overlapping guide lines and refine the outer edges to be slightly bumpy rather than perfectly smooth. ## Common Mistakes to Avoid Drawing the ribs as perfectly straight lines, which makes the pumpkin look like a beach ball. Making the stem too thin or perfectly centered, which removes the organic, asymmetrical look of a real gourd. Forgetting to shade the indentations, which leaves the drawing looking two-dimensional and flat.
This answer was created with the help of AI research tools and reference sources. Spotted an error? Let us know — we correct mistakes quickly. See our editorial policy.