How do you draw a meadow?
Short answer
Drawing a meadow requires establishing a sense of depth through layered foliage and varying textures. Begin by sketching a low horizon line, then build the scene by layering tall grasses in the foreground, wildflowers in the mid-ground, and soft, blurred shapes in the distance to create a realistic, expansive natural landscape.
On this page
How to structure a meadow composition
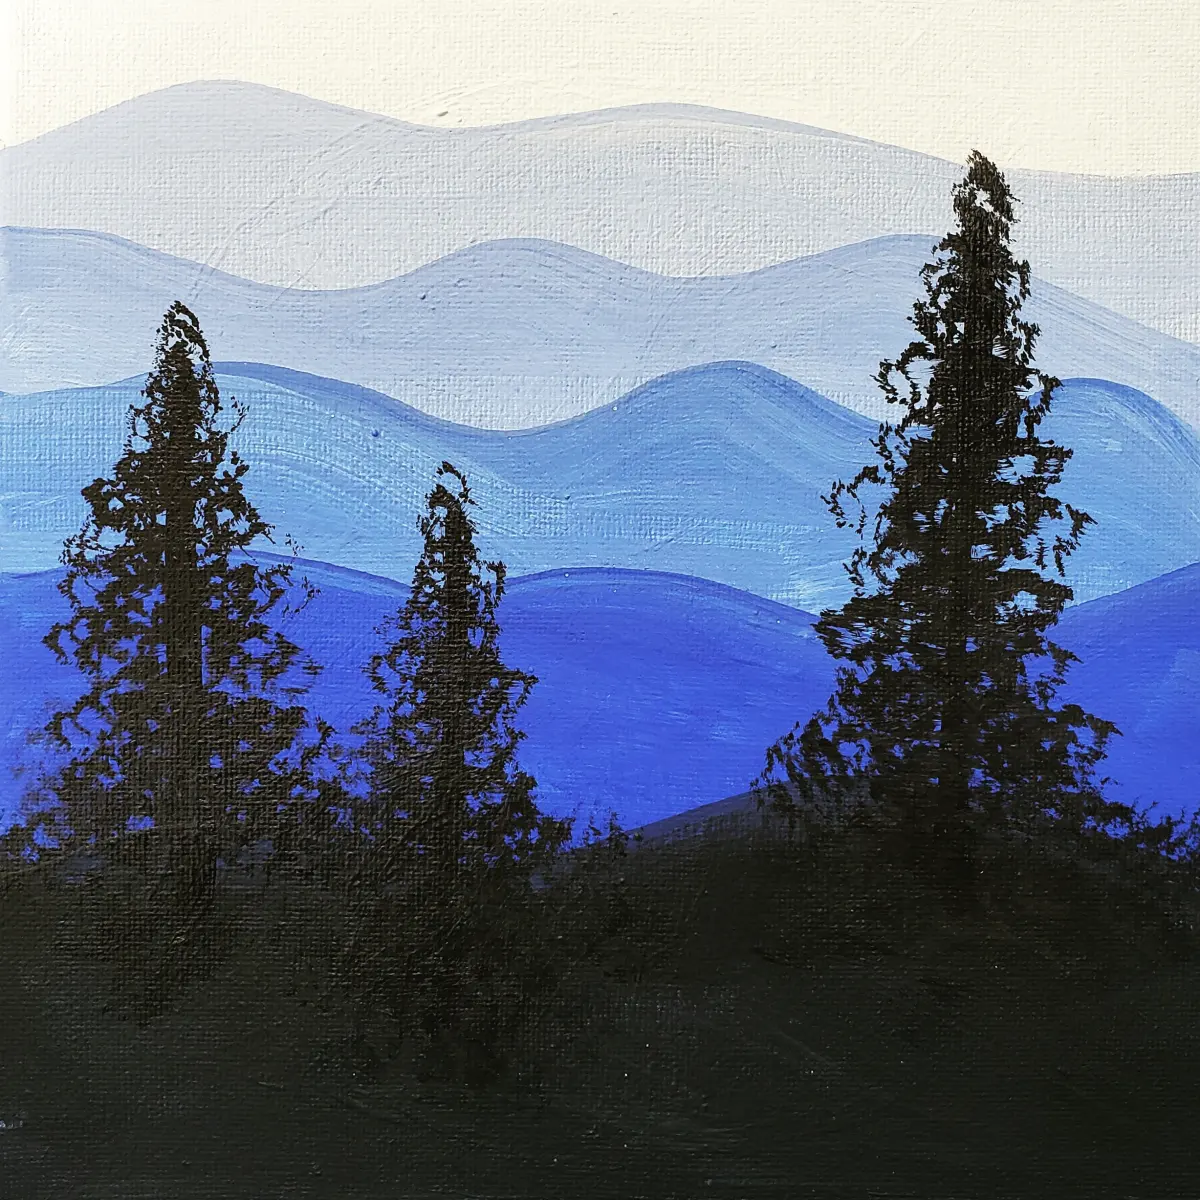
A successful meadow drawing relies on the concept of atmospheric perspective, which mimics how the human eye perceives distance. Start by placing your horizon line relatively low on the page to emphasize the vastness of the sky or higher to focus on the density of the flora. Divide your paper into three distinct zones: the immediate foreground, the mid-ground, and the distant background.
In the foreground, details should be sharp, large, and high-contrast to draw the viewer into the scene. As you move toward the horizon, decrease the size of your elements and soften the edges of your strokes. This transition creates the illusion of a receding landscape. Use the following steps to establish your layout:
- Lightly sketch the horizon line with a hard graphite pencil.
- Mark out clusters of wildflowers to act as focal points.
- Draw faint, sweeping curves to suggest the movement of grass in the wind.
- Define the foreground boundary to separate the viewer from the field.
Best drawing techniques for meadow textures
Capturing the chaotic beauty of a meadow requires a variety of mark-making techniques rather than uniform lines. Grass is rarely perfectly vertical; it bends, clumps, and overlaps. Use quick, flicking motions with your pencil or pen to create individual blades, varying the pressure to show thickness. Avoid drawing every single blade, as this leads to a cluttered and unnatural appearance.
To represent wildflowers, focus on the general silhouette rather than intricate petal detail. Small, irregular circles or star-like shapes work well for daisies, while vertical, tapered clusters represent lupines or foxgloves. Grouping these flowers in irregular, organic patches makes the meadow feel authentic. Remember that light hits the tops of the grass, so keep the upper portions of your stalks lighter while adding deeper shadows near the roots and base of the clusters.
How to use color and light in a meadow
If you are working with color, the secret to a professional-looking meadow is the variation of greens. Avoid using a single tube of green paint or one marker; instead, mix warm, yellow-toned greens for the sunlit areas and cool, blue-toned greens for the shadows. This contrast adds physical depth to the two-dimensional surface.
When applying light, consider the time of day. A morning meadow features long, soft shadows and a golden hue, while a midday scene requires high-contrast, sharp shadows directly beneath the plants. Use these color strategies to enhance your work:
- Apply a light wash of yellow or pale orange across the background to simulate a hazy, sun-drenched atmosphere.
- Use darker, desaturated greens for the distant background to make it recede further.
- Add small dots of bright, saturated color for flowers, but keep them clustered to maintain visual balance.
- Use a white gel pen or eraser to create highlights on the tips of the grass blades.
Common mistakes when drawing meadows
The most frequent error beginners make is drawing every blade of grass with equal intensity. This results in a flat, "static" image that lacks depth. If the entire drawing is rendered with the same level of detail, the viewer’s eye has no place to rest. Focus your detail in the foreground and allow the background to remain soft, blurred, or simplified.
Another mistake is placing flowers in a perfectly symmetrical or grid-like pattern. Nature is inherently irregular, so avoid lining up your wildflowers in rows. Instead, scatter them in clusters, leaving empty patches of grass in between. Additionally, beginners often forget to account for the wind. If you draw some blades leaning to the left, ensure that the majority of the grass follows that same directional flow, or the scene will look disjointed and confusing.
How to add life and movement to a meadow
A meadow is a living ecosystem, and adding subtle elements of life can make your drawing feel more dynamic. Consider adding small silhouettes of birds in the distance or a few butterflies hovering near the foreground flowers. These small additions provide a sense of scale and suggest that the meadow is an active, breathing environment.
You can also suggest movement by drawing blades of grass at varying angles. Some should be upright, while others should be bent at sharp angles to indicate a breeze. To finish your piece, refine the edges where the meadow meets the sky. Softening this transition helps integrate the landscape with the atmosphere, ensuring the transition from ground to horizon feels natural. By focusing on these subtle details, you transform a simple study of plants into a vivid, immersive scene that captures the essence of an open field.
Key facts
- Start by sketching a low, horizontal horizon line to establish the depth of the field.
- Use vertical, varied brushstrokes or pencil marks to create the texture of tall grasses.
- Place larger, more detailed flowers in the foreground and smaller, blurred shapes in the distance.
- Vary the height of the vegetation to avoid a flat, uniform appearance across the drawing.
- Use a light touch for distant hills or trees to create atmospheric perspective.
- Incorporate negative space between clusters of flowers to prevent the composition from looking cluttered.
The bottom line
Drawing a meadow is an exercise in layering and perspective rather than precision. By establishing a clear horizon and varying the density of your strokes, you create the illusion of a vast, living space. Focus on the foreground details to ground the viewer, then soften your marks as they recede into the distance. With patience and attention to natural textures, you can capture the essence of any landscape.
People also ask
How do I make the grass look realistic?
Focus on layering your strokes rather than drawing every individual blade. Start with a base layer of light green, then add darker vertical lines to suggest shadows and density.
Should I use color or keep it black and white?
Both styles work well depending on your goal. Use colored pencils or watercolors for a vibrant, natural feel, or use graphite shading to emphasize the textures and patterns of the meadow.
How do I show distance in a meadow?
Objects closer to the viewer should be larger, darker, and more detailed. As you move toward the horizon, make your marks smaller, lighter, and less defined to simulate distance.
What are the most common mistakes when drawing a meadow?
A frequent error is drawing every single flower with the same level of detail. Another mistake is making the ground perfectly flat, which ignores the natural undulations of the landscape.
How do I draw wildflowers effectively?
Use simple geometric shapes like circles or triangles to map out where the flowers go first. Once the layout is set, add petals and stems to give them their specific character.
What tools are best for beginners?
A set of graphite pencils ranging from 2H to 6B is excellent for practice. If you prefer color, soft pastels or watercolor pencils allow you to blend tones easily to create a soft, meadow-like atmosphere.
This answer was created with the help of AI research tools and reference sources. Spotted an error? Let us know — we correct mistakes quickly. See our editorial policy.