How do you draw bushes?
Short answer
Drawing bushes requires capturing the suggestion of foliage rather than individual leaves. Focus on creating irregular, cloud-like silhouettes and varying your mark-making to indicate depth. By establishing a clear light source and layering shadows, you can transform simple circular shapes into convincing, three-dimensional plants that anchor your landscape drawings effectively.
On this page
How to draw bushes for beginners
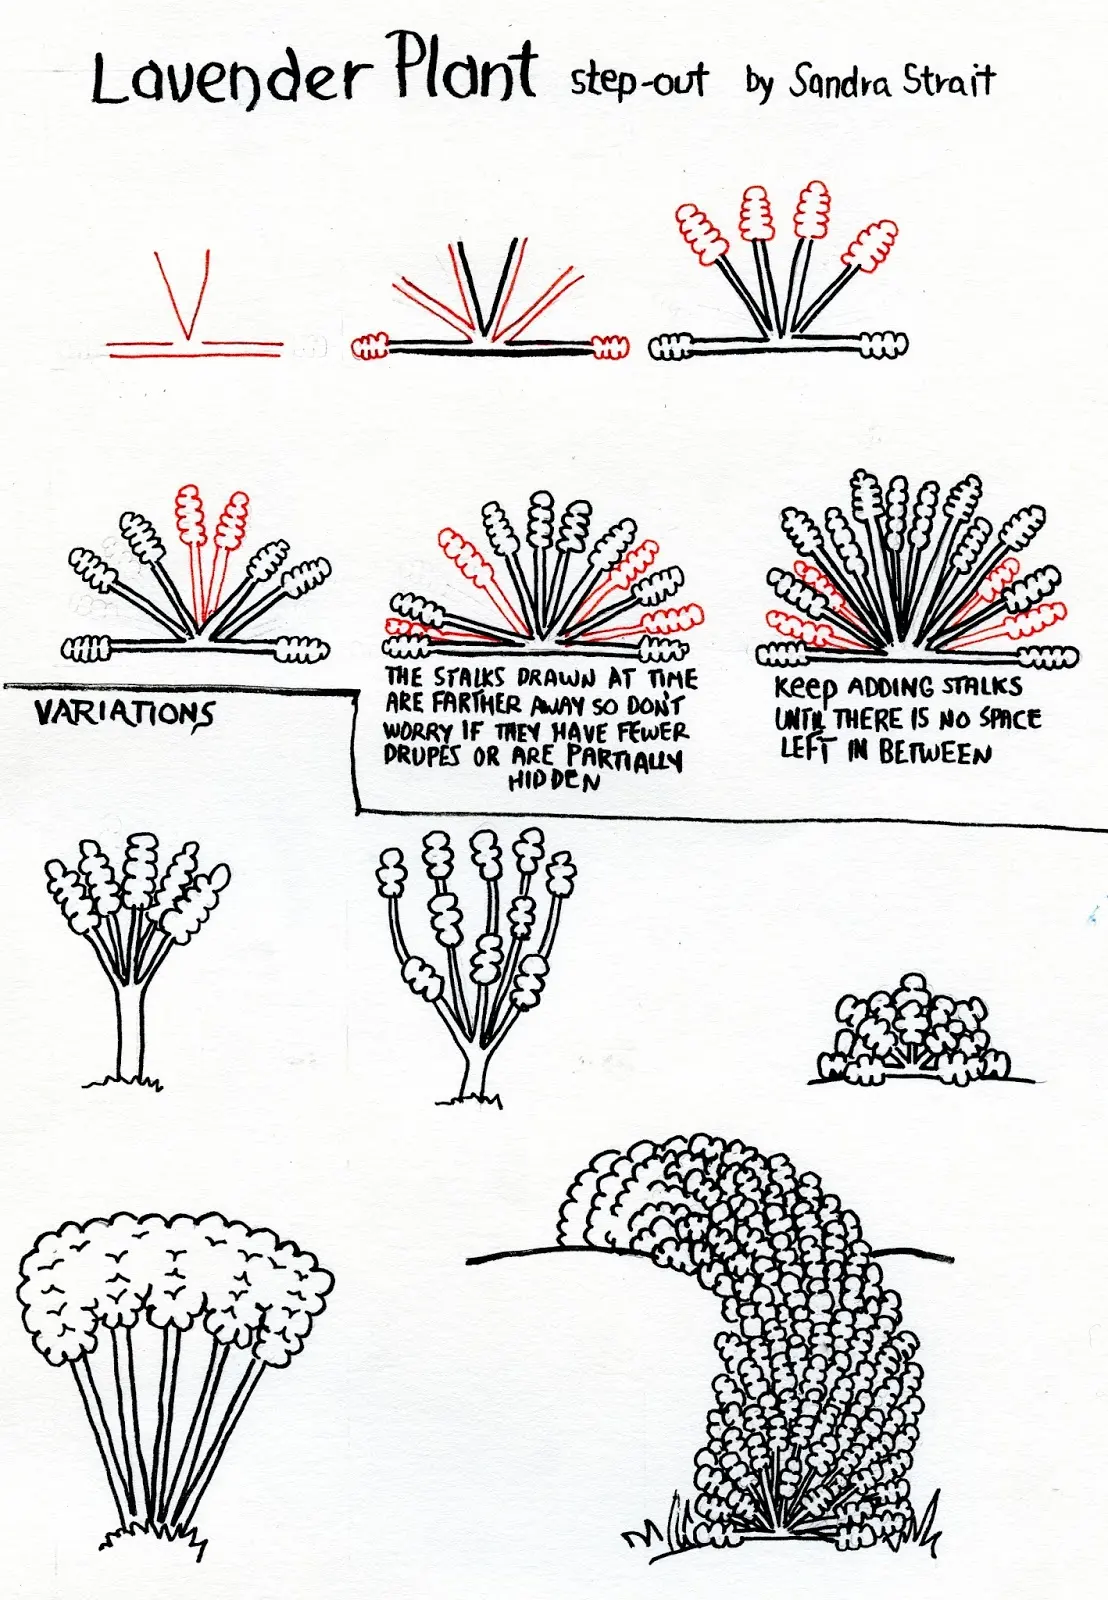
Beginners often make the mistake of drawing every leaf, which results in a cluttered and unnatural appearance. Instead, think of a bush as a collection of interconnected, rounded volumes. Start by sketching a loose, irregular outline that resembles a lumpy cloud. Do not worry about perfect symmetry, as nature is inherently chaotic and asymmetrical.
Once the general shape is established, divide the bush into smaller segments to represent clusters of leaves. Use a light touch to map out where the sun hits the plant and where the shadows fall. Focus on these three fundamental steps to build your foundation:
- Sketch a light, organic boundary line to define the overall mass.
- Divide the interior into smaller, overlapping circular shapes.
- Identify the side opposite your light source to prepare for shading.
By focusing on these volumes rather than details, you create a structure that feels solid and believable. This approach allows you to build complexity gradually without becoming overwhelmed by the sheer number of leaves.
Best shading techniques for realistic bushes
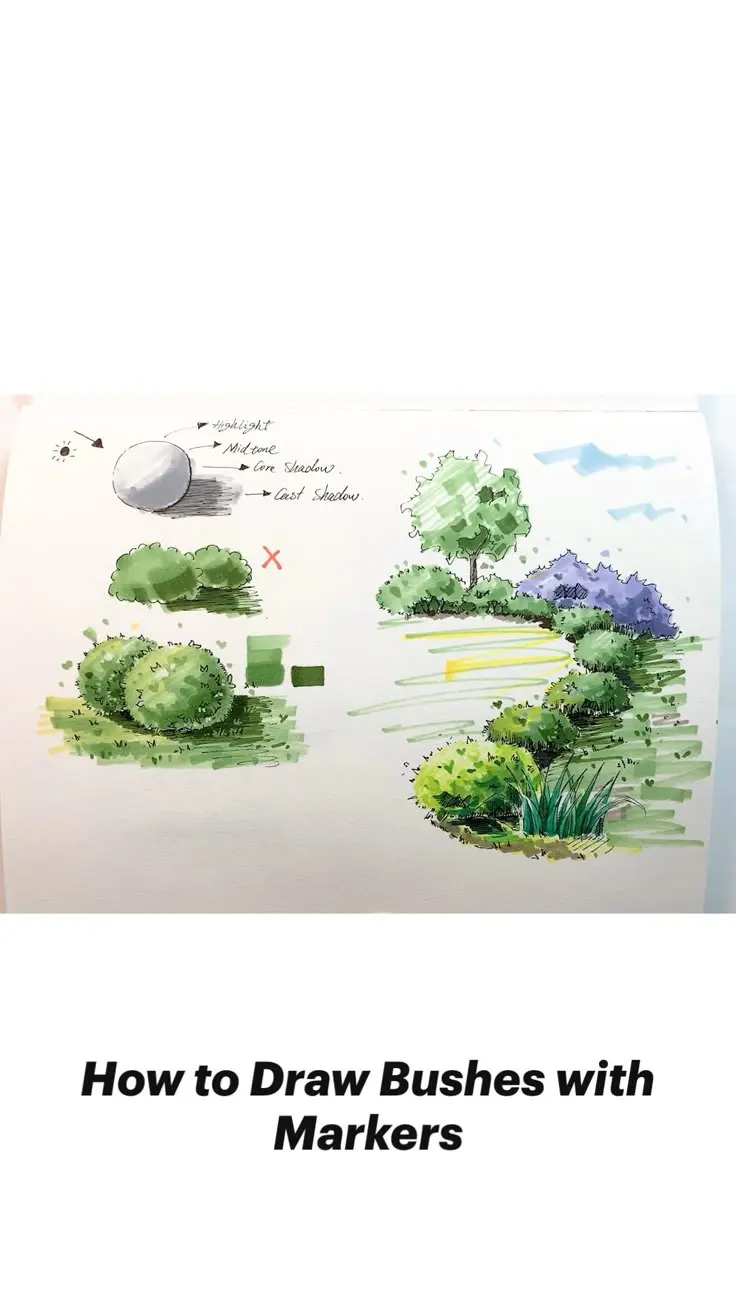
Shading is the process that gives a flat outline its three-dimensional quality. To achieve realism, you must differentiate between the highlights, mid-tones, and core shadows. Use a soft pencil, such as a 2B or 4B, to create dark, dense patches in the crevices where the foliage is thickest. These deep shadows provide the necessary contrast to make the lighter areas pop.
When applying texture, vary your stroke style to mimic different types of foliage. Use quick, flicking motions for a jagged look or soft, stippled dots for a smoother, rounded appearance. Remember that the shadows inside the bush should be darker than the shadows cast on the ground. Implement these techniques to enhance your work:
- Use cross-hatching in the deepest recesses to suggest density.
- Leave small, unshaded gaps between clusters to suggest light filtering through.
- Soften the edges of your shadows to prevent the bush from looking like a hard rock.
How to add texture to foliage
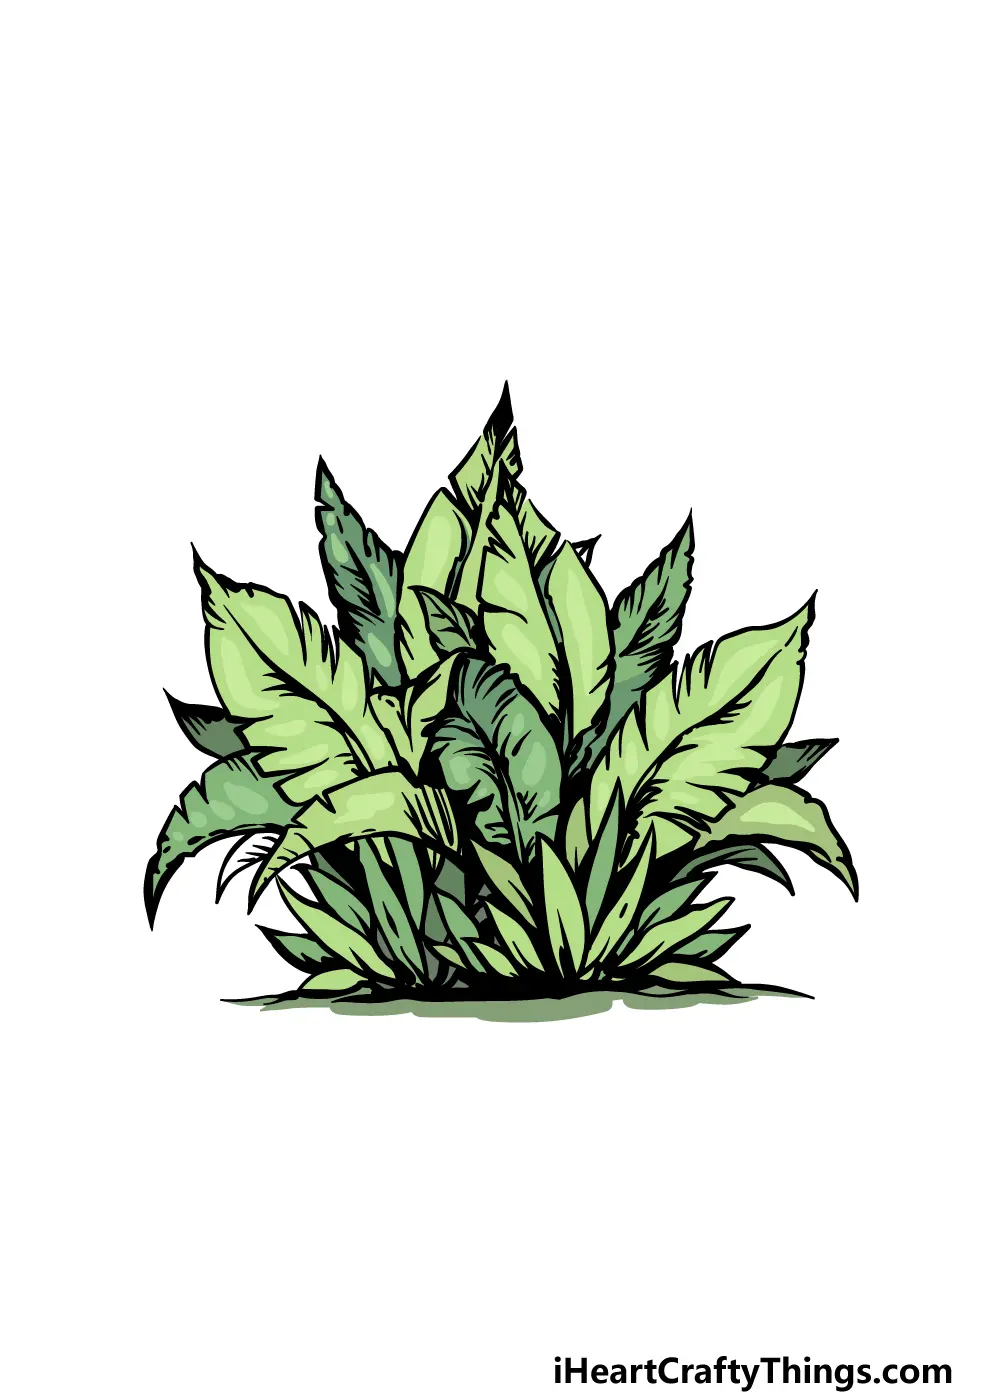
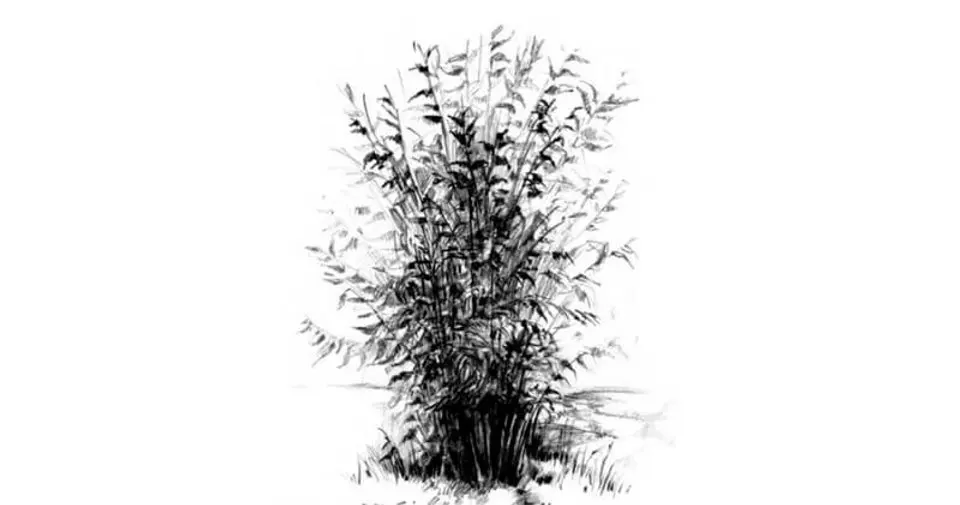
Texture is what separates a professional-looking drawing from a basic sketch. Instead of drawing lines, try to "suggest" leaves by using varied mark-making. Short, curved strokes can mimic the growth pattern of shrubs, while jagged, angular marks work well for pine-like bushes. Experiment with the pressure of your pencil to create a range of values that suggest depth.
The density of your marks should increase as you move toward the center of the bush. The outer edges should remain relatively light and airy to show individual branches reaching toward the light. If you find your drawing looks too uniform, add a few "stray" marks outside the main silhouette to simulate wild growth. This variation breaks up the solid shape and adds a sense of organic movement that is essential for capturing the character of living plants.
Common mistakes when drawing bushes
One of the most frequent errors is creating a uniform outline that makes the bush look like a solid ball. This lack of variation makes the plant appear artificial and heavy. Another common mistake is ignoring the light source, which causes the bush to look flat and two-dimensional. Always decide where the sun is located before you begin your shading process.
Avoid these pitfalls to improve your results:
- Don't outline the entire bush with a single, continuous dark line.
- Avoid making all the shadows the same shade of gray.
- Don't forget to draw the cast shadow on the ground beneath the bush.
By breaking the outline and varying the shadow intensity, you create a more dynamic image. Always remember that the ground beneath the bush should be darker than the surrounding area, as the plant blocks ambient light from reaching the soil.
How to draw bushes in a landscape
When placing bushes in a larger landscape, consider their position relative to the viewer. Bushes in the foreground require more detail and high-contrast shading to draw the eye. As you move toward the horizon, simplify your shapes and reduce the contrast. This atmospheric perspective helps create a sense of distance and scale, making your drawing feel much more immersive and professional.
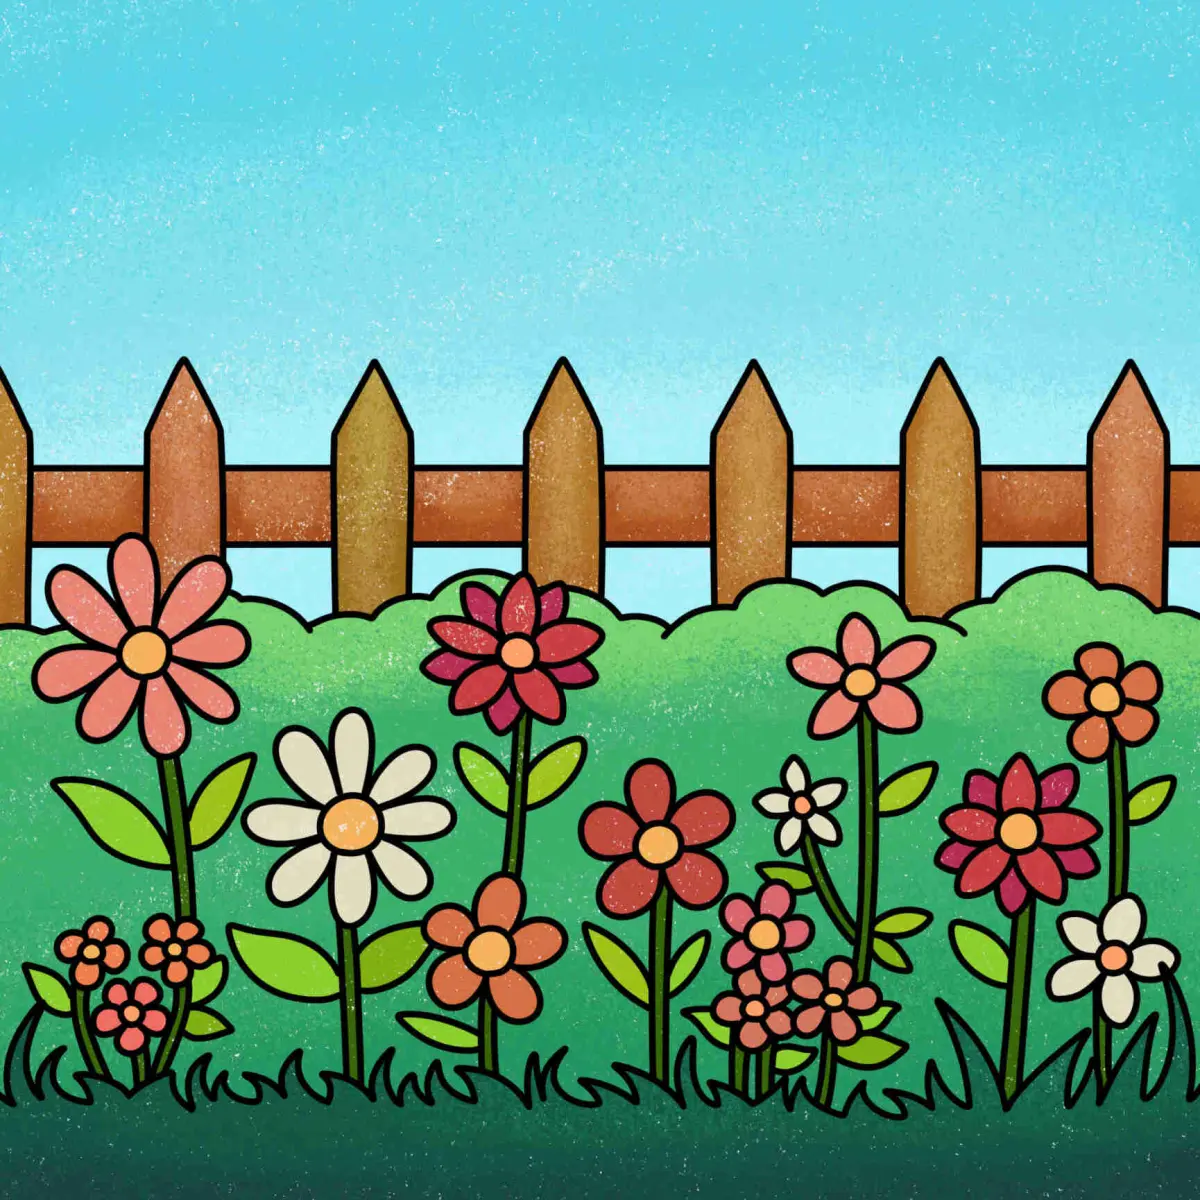
Think about how the bushes interact with the environment around them. Are they growing against a wall, or are they standing alone in a field? Adding elements like grass around the base or a few visible branches peeking through the leaves can ground the plant in its setting. By treating the bush as part of a larger, interconnected ecosystem rather than an isolated object, you ensure that your landscape drawings feel cohesive and natural. Practice these techniques consistently to develop your own unique style of rendering vegetation.
Key facts
- Use a "cloud" shape with irregular, bumpy outlines to mimic the organic growth of foliage.
- Avoid drawing every individual leaf; instead, focus on the overall mass and volume of the bush.
- Apply darker values to the bottom and center of the bush to create a sense of depth and shadow.
- Use a stippling technique or small, quick scribbles to suggest texture on the surface of the leaves.
- Leave small gaps or "holes" in the silhouette to show light passing through the branches.
- Vary the size of your bumps to prevent the bush from looking like a uniform, symmetrical ball.
The bottom line
Drawing convincing bushes requires moving away from rigid outlines and embracing the chaotic, organic nature of foliage. By focusing on volume, light, and shadow rather than individual leaves, you can create depth and texture. Remember to vary your shapes, keep the base shadowed, and ground the object with a cast shadow. Practice observing real plants to understand how light filters through their complex, layered structures.
People also ask
Should I use a sharp pencil to draw bushes?
It is better to use a softer lead pencil, such as a 2B or 4B, to create varied line weights. A sharp point can make the foliage look too rigid and mechanical, whereas a softer lead allows for more natural, fluid strokes.
How do I make a bush look three-dimensional?
Focus on the light source and apply shading accordingly. By keeping the top of the bush lighter and the underside darker, you create a clear sense of volume and mass.
Is it necessary to draw the inner branches?
Only draw the branches if they are visible through the leaves. In most cases, the foliage hides the structure, so focusing on the outer shape is more effective for a realistic look.
What is the best way to draw shadows under a bush?
Use a horizontal, cast shadow that extends away from the light source on the ground. This anchors the bush to the landscape and prevents it from appearing as if it is floating.
Can I use colored pencils for bushes?
Yes, layering different shades of green, yellow, and brown adds realism. Start with a base layer of light green and build up shadows with darker tones to mimic the complexity of real plants.
How do I avoid making a bush look like a cartoon cloud?
Break up the perfect circular outline with protruding twigs or irregular clusters of leaves. Adding these small, jagged details helps the object look like a living plant rather than a simple geometric shape.
This answer was created with the help of AI research tools and reference sources. Spotted an error? Let us know — we correct mistakes quickly. See our editorial policy.