How do you draw a flower crown step by step?
Short answer
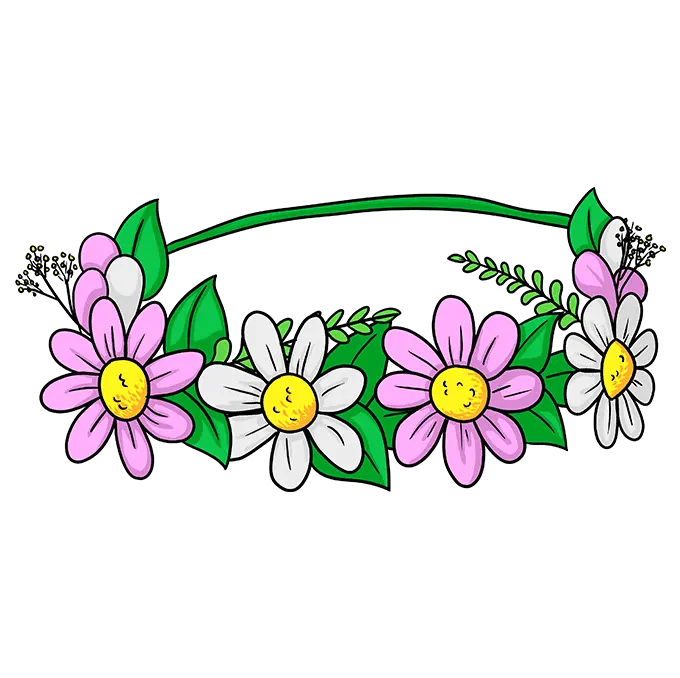
Draw a flower crown by sketching a curved horizontal band across the forehead, then layering varied organic shapes like circles and petals along that arc. Define the foliage by adding small leaves and stems between the blooms, then finish by refining the textures and adding depth with consistent shading and highlights.
On this page
How to draw a flower crown step by step
Begin by drawing a light, curved line that follows the natural contour of a forehead. This arc serves as the structural base for your crown and ensures the final drawing sits realistically on the head. Once the guide is set, sketch simple circles or ovals at uneven intervals along the line to represent the primary flower heads. Vary the sizes of these shapes to create a natural, asymmetrical look rather than a rigid, uniform pattern.
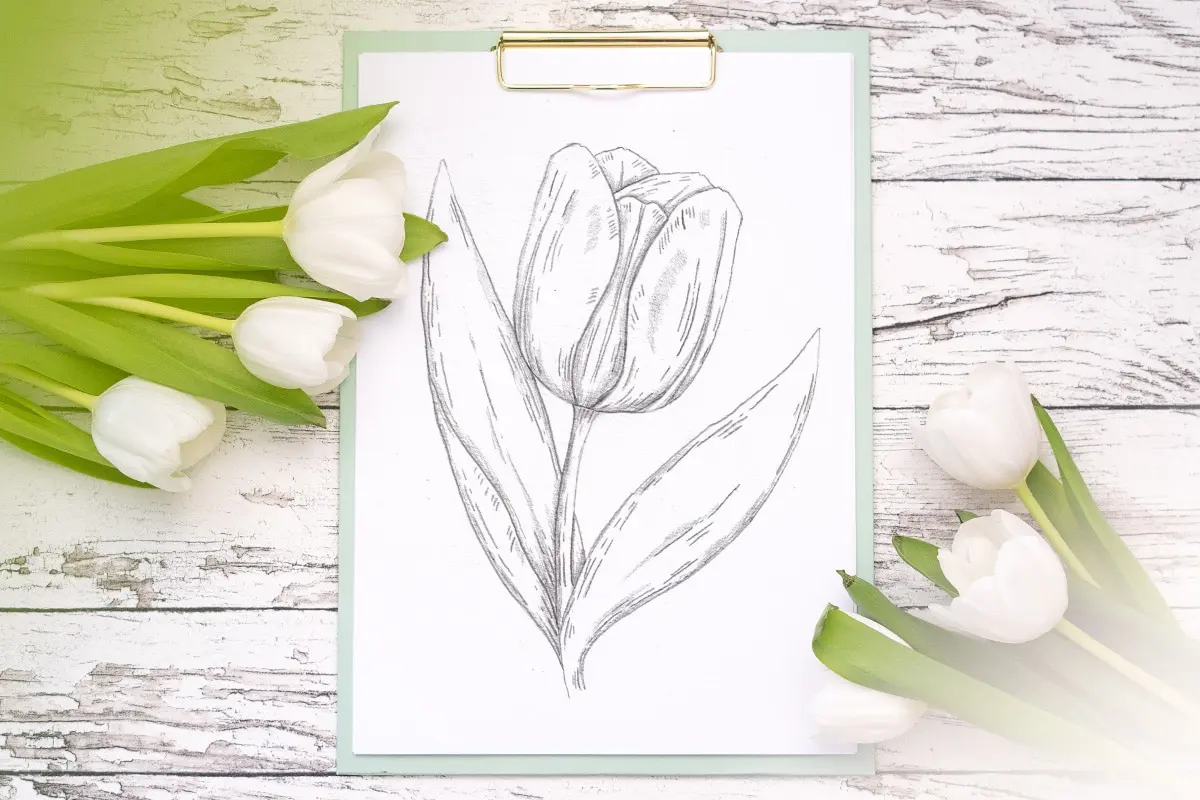
After establishing the placement, add petals to your circular shapes using soft, overlapping strokes. You can create different flower types by using rounded petals for daisies or pointed, elongated shapes for roses. Ensure that some flowers appear to be tilting away or toward the viewer to provide a sense of three-dimensional space. Keep your initial pencil pressure light so you can easily erase overlapping lines once the final composition is finalized.
Which drawing materials are best for beginners
For those just starting, a standard HB graphite pencil is the most versatile tool for sketching the initial structure. It provides enough darkness for visibility while remaining easy to erase. Pair this with a high-quality kneaded eraser, which allows you to lift graphite gently without damaging the paper surface. Using a smooth, medium-weight drawing paper will help your pencil strokes glide more effectively than they would on textured or rough cardstock.
If you intend to add color, consider using colored pencils or alcohol-based markers. Colored pencils offer excellent control for layering and blending, which is essential for capturing the delicate gradients found in flower petals. When working with markers, start with lighter base colors and build up to darker tones for shadows. Regardless of the medium, always maintain a sharp point on your tools to ensure the fine details of the stems and leaves remain crisp and defined.
How to add realistic foliage and leaves
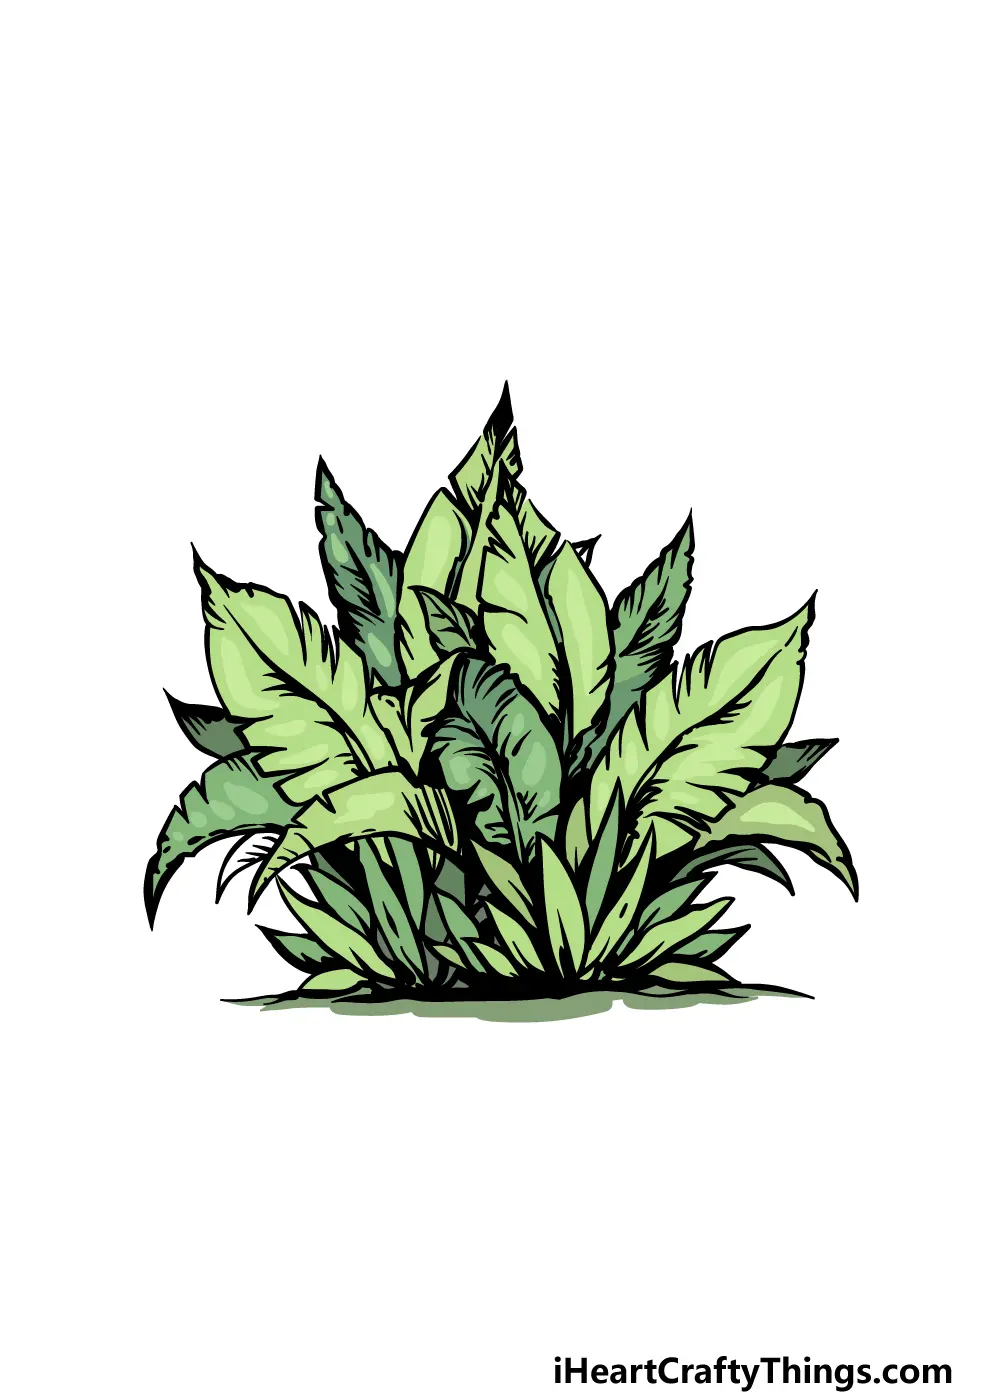
Foliage is the essential bridge that connects individual flowers into a cohesive crown. Start by drawing small, tapered leaf shapes tucked into the gaps between your main blooms. Vary the orientation of these leaves so they point in different directions, which mimics the chaotic but elegant nature of real vegetation. Use thin, slightly curved lines to draw stems that weave behind the flowers, suggesting that the crown is constructed from intertwined vines.
To enhance the realism, pay attention to the connection points where the stems meet the flowers. Adding small, jagged sepals at the base of each bloom creates a professional touch that anchors the flower to its stem. You can also introduce tiny buds or sprigs of baby’s breath by drawing clusters of small dots connected by hair-thin lines. These intricate details add density to the crown, making it look lush and full rather than sparse and disconnected.

Common mistakes when drawing flower crowns
A frequent error is placing flowers in a perfectly symmetrical line, which makes the drawing appear artificial and stiff. Nature rarely follows precise geometry, so embrace intentional irregularities in spacing and flower orientation. Another common mistake is neglecting the perspective of the crown. If the crown is meant to be worn, the flowers at the sides of the head should appear slightly foreshortened compared to the flowers directly facing the viewer.
- Avoid drawing every flower the exact same size, as this creates a repetitive, pattern-like appearance.
- Do not press too hard with your pencil during the early stages, as dark, heavy outlines are difficult to hide later.
- Remember to account for the thickness of the band itself, as a crown is a physical object that occupies space on the head.
- Ensure that the shadows are consistent; if the light source comes from the left, all petals should have their darker tones on the right side.
How to add depth with shading and highlights
Shading is the final step that transforms a flat line drawing into a vibrant, lifelike accessory. Identify your light source and apply darker graphite or pigment to the areas of the petals that are tucked away or overlapping. Use soft, circular motions to blend these shadows, ensuring the transition from dark to light is smooth. Deepening the shadows within the center of the flowers will create an immediate sense of depth and volume.
Highlights are equally important for giving the crown a fresh, crisp appearance. Use a clean eraser or a white gel pen to add small, bright spots on the tips of the petals or the curves of the leaves where light hits directly. These highlights create a contrast that makes the flowers pop against the darker, shaded areas. By focusing on the interplay between light and shadow, you elevate your drawing from a simple sketch to a detailed, professional-looking illustration that captures the delicate beauty of a natural floral crown.
Key facts
- A flower crown is structurally based on a circular frame, typically made from flexible floral wire or willow branches.
- Use floral tape to wrap stems, as it is self-adhesive and creates a clean, professional finish.
- Choose flowers with woody or sturdy stems, such as roses, baby’s breath, or lavender, for better durability.
- Measure the wearer's head circumference before shaping the wire to ensure a comfortable, secure fit.
- Group small flowers into "boutonnieres" or mini-bouquets before attaching them to the frame for a fuller look.
- Keep finished crowns in a cool, dark place or a refrigerator to prevent wilting before the event.
The bottom line
Creating a flower crown requires a sturdy base, proper floral preparation, and careful assembly. By measuring your head, grouping small stems into clusters, and securing them with floral tape or wire, you can craft a professional-looking accessory. Remember to choose hardy flowers and keep the finished piece cool to ensure it remains fresh and vibrant throughout your event, providing a beautiful, natural touch to any ensemble.
People also ask
How do you keep a flower crown from wilting?
Mist the finished crown lightly with water and store it in an airtight container in the refrigerator. Using floral sealant spray can also help lock in moisture and extend the life of the petals.
What is the best wire to use for a flower crown?
Use 22-gauge or 24-gauge green floral wire for the base, as it is flexible enough to bend but strong enough to hold the weight of the flowers. You can twist two strands together for extra stability.
Can I use fake flowers for a crown?
Yes, silk or high-quality plastic flowers are excellent for long-term use and durability. They are easier to work with than fresh blooms because they do not require water and will not wilt.
How do you attach heavy flowers to the crown?
Use floral wire to wrap the stem of the heavy flower directly onto the base frame. Ensure the wire is wrapped tightly enough so the bloom does not flop or rotate while worn.
What flowers are best for beginners?
Baby’s breath, waxflower, and eucalyptus are ideal because they are hardy and have small, manageable stems. They provide a lush, textured base that hides the wire frame effectively.
How do you secure the crown to your head?
Leave small loops at the ends of the wire frame to thread a ribbon through. You can then tie the ribbon at the back of the head to adjust the fit perfectly.
This answer was created with the help of AI research tools and reference sources. Spotted an error? Let us know — we correct mistakes quickly. See our editorial policy.