How can I draw a weeping willow easily?
Short answer
Drawing a weeping willow requires focusing on the tree’s signature downward-sweeping branches rather than individual leaves. Start by establishing a thick, textured trunk, then layer long, cascading lines that curve toward the ground. By using varying line weights and clusters of foliage, you can create the illusion of graceful, drooping movement.
On this page
How to structure the weeping willow trunk
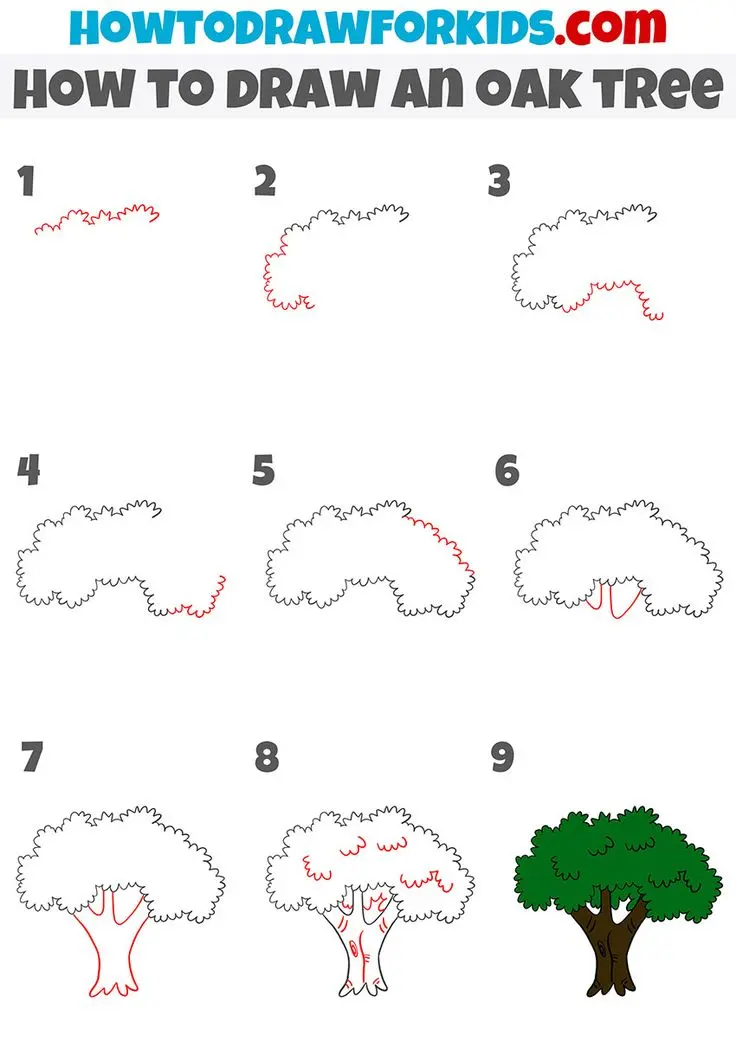
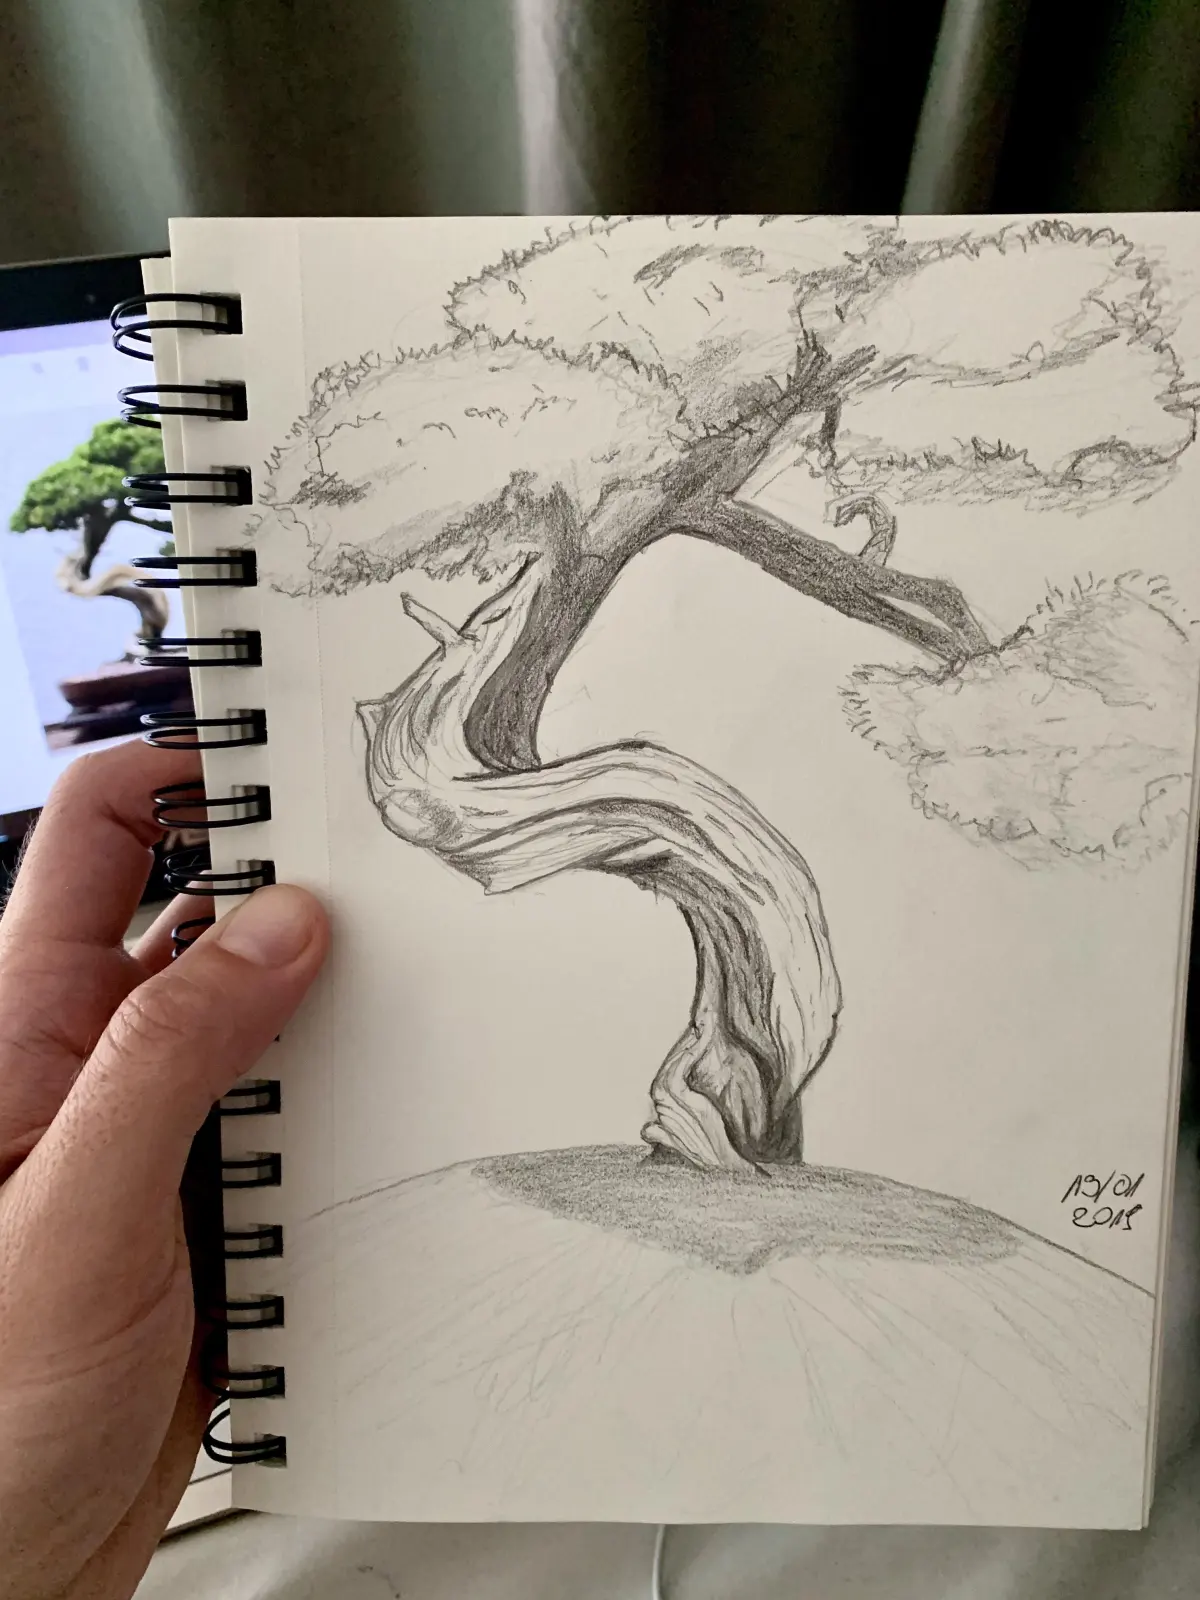
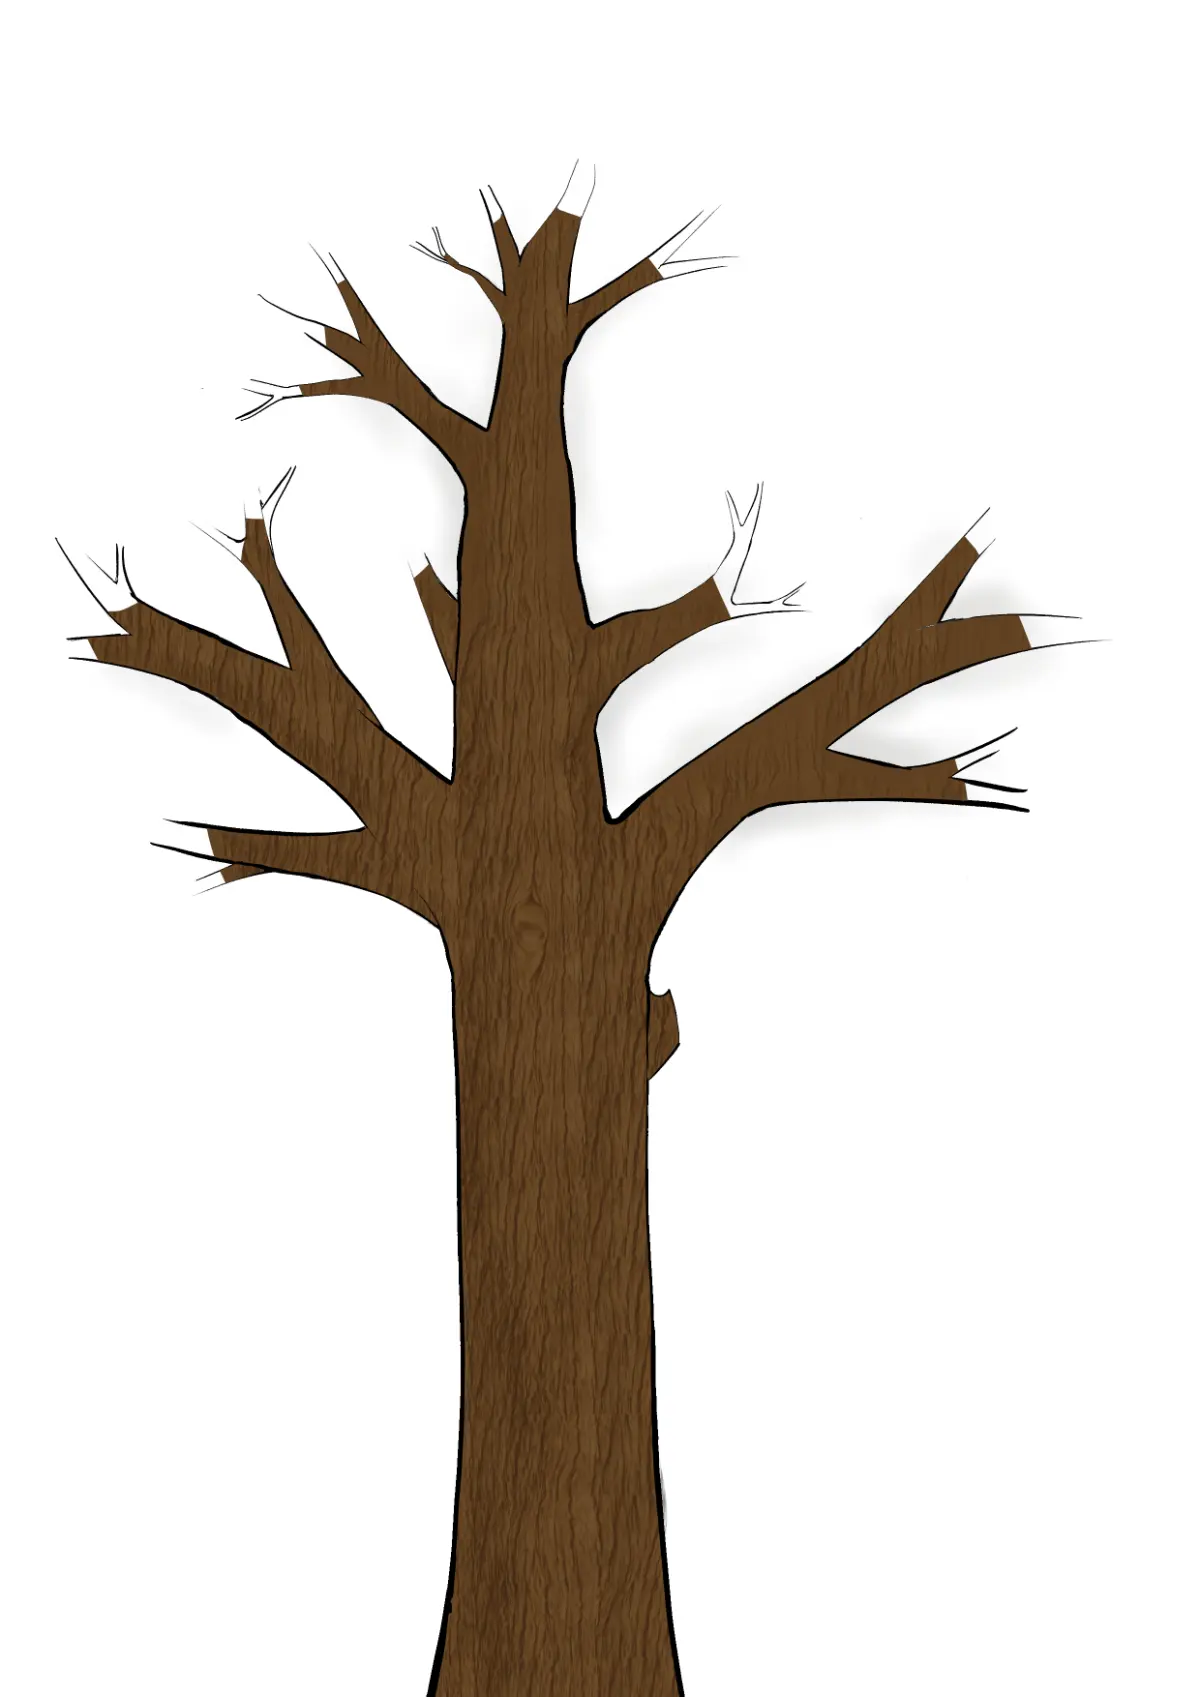
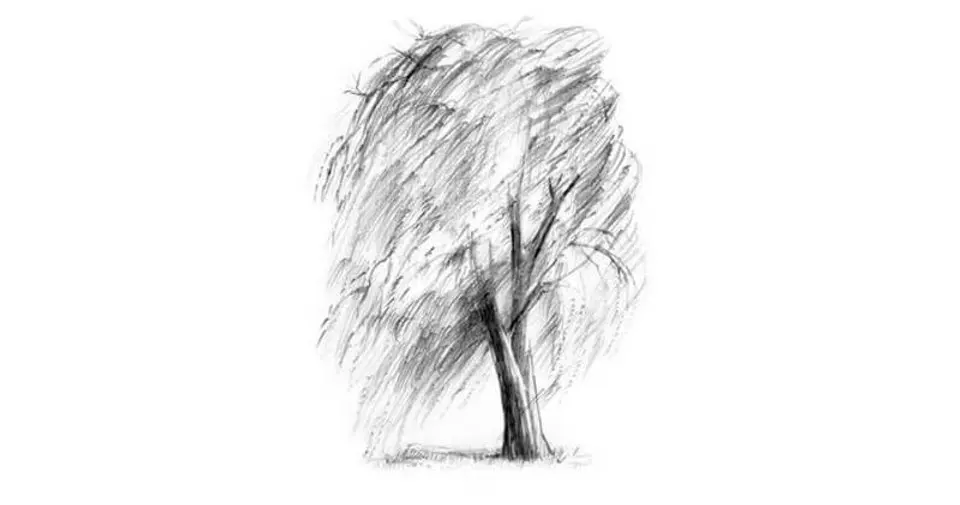
The trunk of a weeping willow is typically thick, rugged, and often leans at a slight angle. Begin by drawing two vertical, slightly wavy lines to establish the main stem. As you move toward the top, taper the trunk inward and begin branching out into thick, primary limbs that arch upward before bending sharply toward the earth.
Focus on the texture of the bark to add realism. Use short, jagged horizontal strokes across the trunk to suggest deep ridges and knots. Avoid making the trunk perfectly straight or smooth, as willow trees in nature are characterized by their gnarled, weathered appearance. A slight curve in the base adds a sense of organic life to your initial sketch.
- Draw a central, slightly leaning cylinder for the main trunk.
- Add two or three thick, primary branches that reach upward like reaching arms.
- Sketch rough, irregular bark patterns using short, overlapping dashes.
- Ensure the base of the trunk appears firmly rooted in the ground with a few wider, flared lines.
How to draw cascading willow branches
The defining feature of the weeping willow is its long, pendulous branches that hang like curtains. To achieve this, draw thin, flowing lines that originate from the primary limbs and sweep down toward the ground in a gentle, rhythmic curve. These branches should not be perfectly vertical; they should sway slightly as if caught in a light breeze.
Vary the length of these lines to create a natural, layered look. Some branches should extend nearly to the ground, while others should be shorter, creating a dense canopy effect. By keeping your lines light and fluid, you mimic the delicate nature of the willow's foliage. Remember that these branches grow in clusters, so group your lines together rather than spacing them evenly across the tree.
- Start lines at the tips of the thick primary branches.
- Use a light touch to allow for overlapping and layering.
- Vary the curves to avoid a stiff, uniform appearance.
- Let some lines cross over each other to create depth and shadow.

How to add foliage and texture
Once your structural lines are in place, you must add the foliage to give the tree its characteristic weight. Instead of drawing individual leaves, use small, quick marks or "v" shapes along the cascading lines. Focus these marks more heavily toward the ends of the branches, where the leaves are most concentrated and create the "weeping" effect.
To create a sense of volume, vary the density of your marks. Areas where branches overlap should have more foliage, while thinner areas allow the viewer to see the underlying branch structure. This contrast is essential for making the tree look three-dimensional rather than flat. Keep your hand loose, as the goal is to suggest the texture of thousands of leaves rather than detailing each one.
Common mistakes when drawing weeping willows
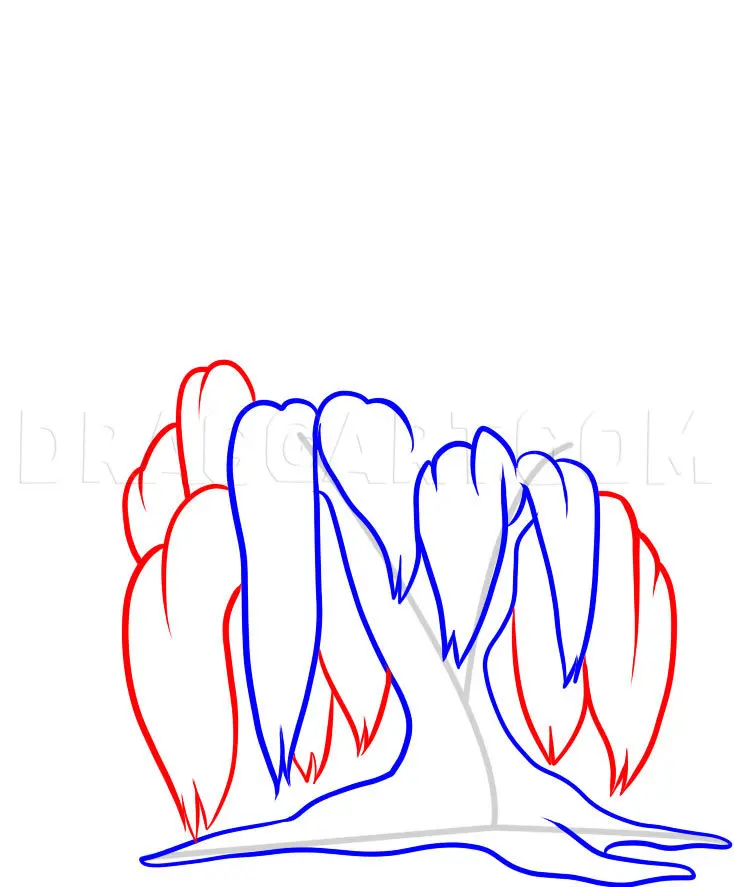
A frequent error is drawing branches that move upward or outward like a standard oak or maple tree. Remember that gravity is the primary influence on the weeping willow's silhouette. If your branches do not curve downward, the tree will lose its identity. Another common issue is making the lines too rigid; weeping willows are defined by their soft, swaying motion.
Avoid outlining the entire canopy as a single, solid shape. This creates a "blob" effect that hides the intricate, drooping nature of the branches. Instead, allow the edges of your foliage to be irregular and broken. By focusing on the movement of the branches rather than the perimeter of the tree, you ensure the final drawing remains light and airy.
Best tools for drawing trees
For beginners, a set of graphite pencils ranging from 2H to 4B is ideal for capturing the range of tones found in a tree. Use the harder 2H pencil for light, structural guidelines that can be easily erased. The softer 4B pencil is perfect for adding dark, dramatic shadows under the thickest parts of the canopy and defining the bark’s texture.
If you prefer ink, a fine-liner pen allows for crisp, clean lines that emphasize the delicate nature of the willow branches. Using a combination of thin pens for the foliage and thicker markers for the trunk can create a professional, high-contrast look. Whether using pencil or ink, always keep a kneaded eraser nearby to lift out highlights and create the soft, dappled light effect often seen through willow leaves.
Key facts
- Weeping willows are defined by their long, pendulous branches that sweep toward the ground.
- Start your drawing with a thick, rugged trunk that leans slightly to suggest natural growth.
- Use "S" curves for the branches to mimic the flexible, drooping nature of the wood.
- Draw leaves in small, clustered groups rather than individually to capture the tree's dense texture.
- Keep the overall silhouette asymmetrical to avoid a stiff, artificial appearance.
- Add shadows beneath the drooping foliage to create depth and emphasize the tree's cascading volume.
The bottom line
Drawing a weeping willow effectively relies on capturing its signature downward motion rather than focusing on fine details. By emphasizing long, sweeping branch curves and grouping leaves into dense, shadowed masses, you create a convincing sense of weight and grace. Practice maintaining an asymmetrical silhouette to keep the tree looking natural, and remember that layering these simple shapes is the key to achieving a professional, artistic result.
People also ask
What is the best pencil grade for sketching trees?
Use an HB pencil for light initial outlines and a 4B or 6B pencil for adding dark, dramatic shadows. Softer leads allow for better blending when creating the dense leaf clusters characteristic of willows.
Should I draw every single leaf on the tree?
No, drawing individual leaves will make the tree look cluttered and unrealistic. Instead, focus on the general shape of the foliage masses and use short, quick strokes to suggest texture.
How do I make the branches look like they are hanging?
Ensure your branch lines originate from the main limbs and curve downward toward the earth. Avoid drawing straight lines, as the weight of the leaves pulls the branches into a natural, graceful arc.
Why does my willow look like a generic tree?
This usually happens when the branches are drawn too short or too rigid. Extend your pendulous branches well past the main trunk line to achieve that iconic, weeping silhouette.
How can I show the texture of the bark?
Use vertical, jagged lines along the trunk to simulate the deep ridges found on mature willow bark. Adding cross-hatching in the shaded areas will further enhance the rugged, three-dimensional look.
Is it better to draw from memory or a reference photo?
Always use a reference photo when starting out to understand how the branches layer over one another. Once you grasp the pattern of the cascading foliage, you can experiment with your own stylized versions.
This answer was created with the help of AI research tools and reference sources. Spotted an error? Let us know — we correct mistakes quickly. See our editorial policy.