How do you draw a seashell step by step?
Short answer
Drawing a seashell involves capturing its spiral geometry through a series of overlapping curves and tapering lines. Begin by establishing a central axis, then build the shell’s volume by layering rounded segments that expand outward. Refine these shapes with textured ridges and shading to create a realistic, three-dimensional appearance on paper.
On this page
How to draw a seashell step by step
To begin your drawing, focus on the structural foundation of the shell. Most spiral shells, such as the conch or auger, rely on a central axis line that dictates the overall tilt and length. Lightly sketch a long, slightly curved line to serve as the spine of the shell. From this spine, draw a series of expanding ovals or rounded segments that wrap around the axis, ensuring each subsequent shape is larger than the one before it.
Once the basic framework is established, follow these steps to refine the form:
- Connect the outer edges of your segments with smooth, sweeping curves to create the outer lip of the shell.
- Add a point or "spire" at the top of the axis, ensuring it tapers to a sharp, narrow tip.
- Draw the opening, or aperture, at the base of the shell, giving it an elongated, teardrop-like shape.
- Erase the internal construction lines that are hidden by the overlapping segments to clarify the shell’s silhouette.
Best drawing tools for beginners
For those new to sketching natural forms, graphite pencils are the most forgiving and versatile medium. Use an HB pencil for the initial light outlines, as it is easy to erase without damaging the paper. Once the shape is finalized, transition to a 2B or 4B pencil to add depth and darker values. These softer leads allow for smooth transitions between light and shadow, which is essential for depicting the glossy, curved surfaces of mollusk shells.
When selecting paper, choose a medium-weight drawing pad with a slight tooth or texture. This surface helps the graphite adhere evenly, preventing smudging while allowing for subtle blending. You may also want to keep a kneaded eraser nearby; it is excellent for lifting highlights off the shell’s ridges, which gives the drawing a sense of three-dimensional volume. Avoid using heavy-handed pressure early on, as deep indentations in the paper can make shading appear uneven and muddy later in the process.
How to add texture and detail
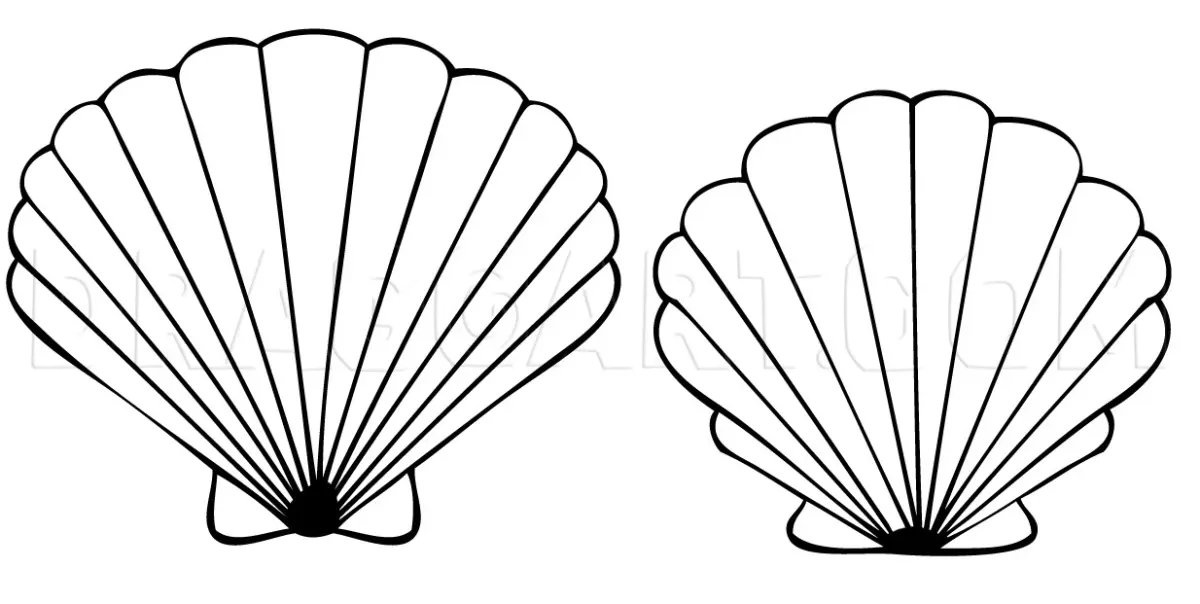
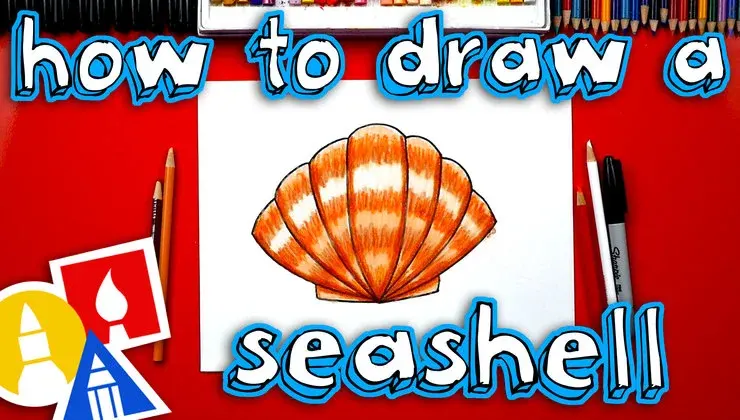
The beauty of a seashell lies in its intricate surface details, such as ribs, spines, or growth lines. To add these, observe the shell’s curvature and draw lines that follow the contour of the shape rather than straight across it. For ribbed shells, draw thin, parallel lines radiating from the spire toward the outer lip. Vary the thickness of these lines to suggest the physical ridges and valleys found on the shell’s exterior.
Consider these techniques for adding realism:
- Use cross-hatching in the deepest shadows to create a sense of density and weight.
- Add small, irregular dots or dashes to mimic the natural patterns or barnacles often found on weathered shells.
- Keep your lines lighter near the edges where the shell catches the most light, and darker toward the center of the spiral.
- Ensure that your growth lines are not perfectly uniform, as natural objects are rarely symmetrical or flawlessly smooth.
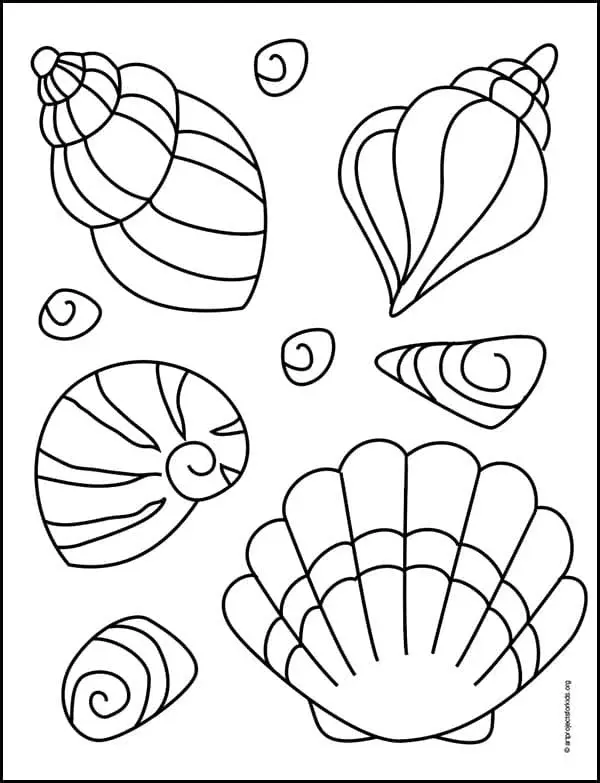
Why shading is important for shells
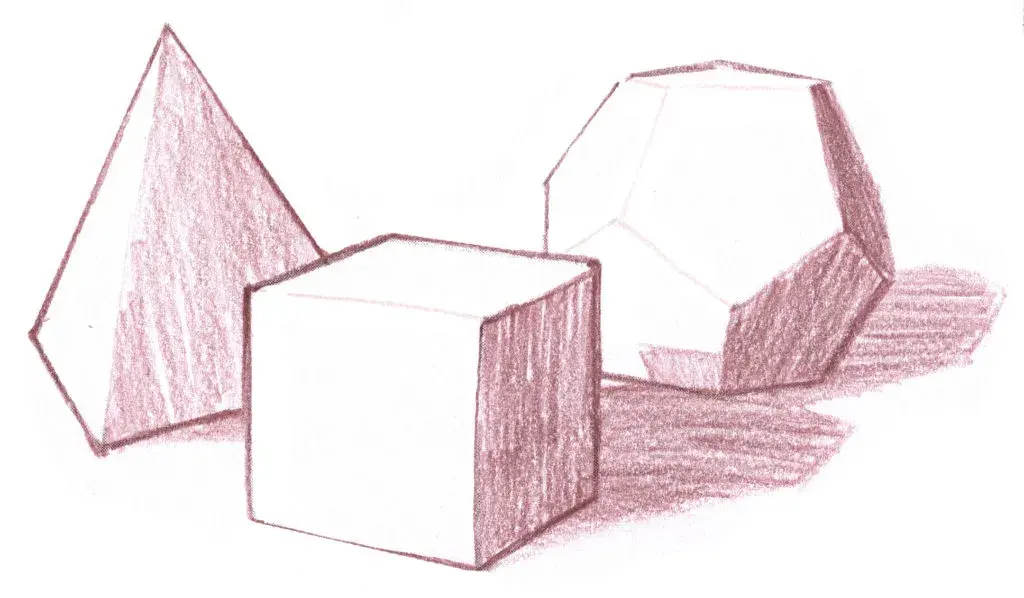
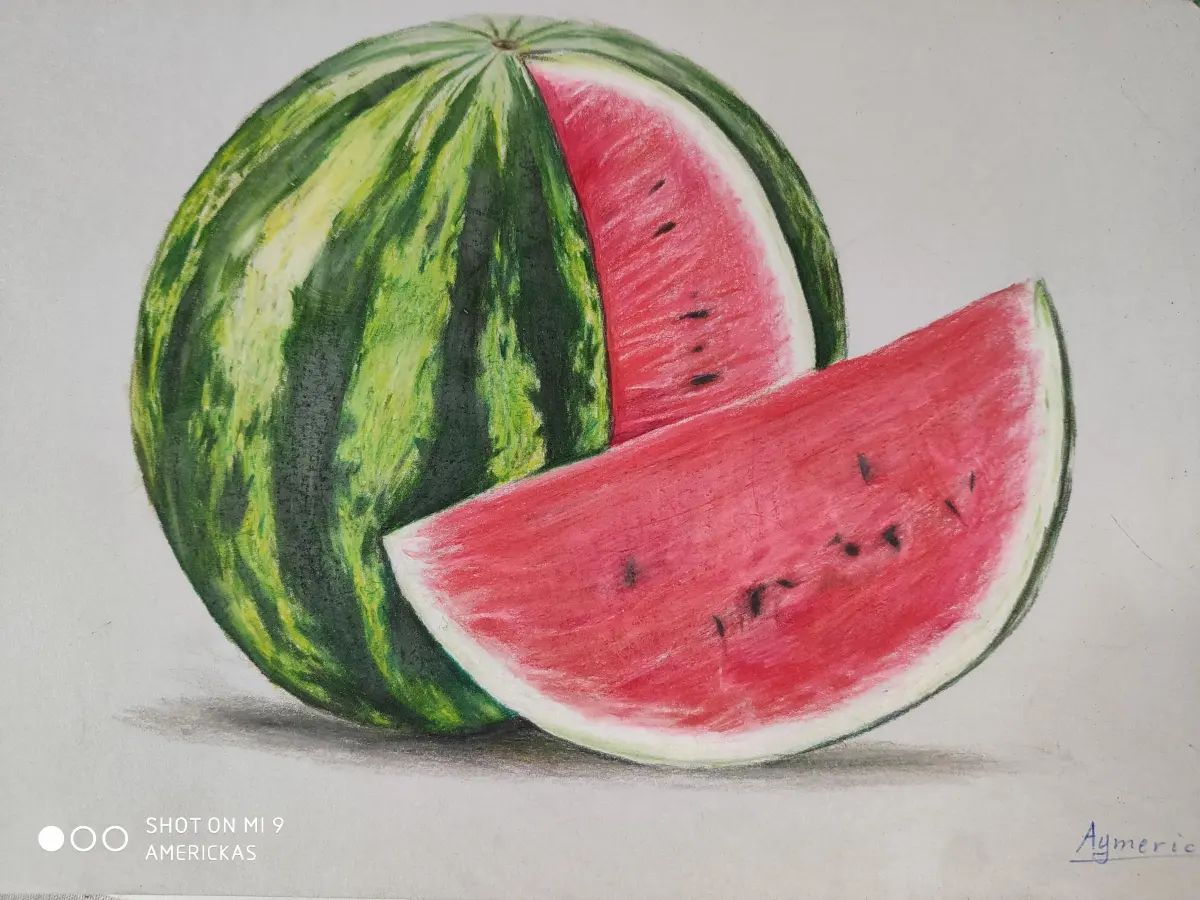
Shading is the primary tool for transforming a flat, two-dimensional outline into a convincing, solid object. Because shells are often curved and reflective, they possess distinct highlights and deep, cast shadows. Identify your light source before you begin shading, and keep that direction consistent across the entire drawing. The side of the shell facing the light should remain relatively pale, while the opposite side should transition into a rich, dark tone.
Focus on creating a smooth gradient from the highlight to the shadow. Use a blending stump or a soft tissue to smudge the graphite gently, which mimics the smooth, polished surface of many seashells. Pay close attention to the "core shadow," which is the darkest part of the curved surface, and ensure it follows the shell’s rounded geometry. If you neglect these tonal transitions, the shell will appear flat and lack the tactile quality that makes it look like a real object.
Common mistakes when drawing seashells
One of the most frequent errors is drawing the spiral too symmetrically. In nature, seashells are organic and often asymmetrical; if the segments are perfectly identical, the drawing will look mechanical or artificial. Another common mistake is failing to account for the thickness of the shell’s lip. Always draw a double line or a slight edge at the opening to indicate that the shell has physical thickness, rather than appearing as a thin, paper-like cutout.
Avoid these pitfalls to improve your results:
- Do not outline every single detail with a heavy, dark line, as this flattens the image.
- Avoid using pure white for the entire shell; keep some mid-tones to show the natural color and depth.
- Do not ignore the cast shadow that the shell creates on the surface beneath it, as this grounds the object in space.
- Ensure that the perspective of the aperture is consistent with the angle of the shell’s spire, or the drawing will appear distorted.
Key facts
- Seashells are primarily composed of calcium carbonate, which forms their rigid, protective structures.
- The spiral shape of many shells, such as the conch, follows a mathematical pattern known as the golden spiral.
- Start your sketch by drawing a central axis line to ensure the shell remains symmetrical or balanced.
- Use light, sweeping pencil strokes to outline the main body before adding intricate details like ridges or patterns.
- Adding shadows on one side of the shell creates the illusion of depth and three-dimensional volume.
- Always observe a real shell or a high-quality photograph to capture the organic irregularities that make the shape look authentic.
The bottom line
Drawing a seashell requires careful observation of organic curves and consistent lighting. By establishing a central axis and using soft, layered shading, you can transform a simple outline into a realistic, three-dimensional object. Remember to avoid rigid, straight lines and focus on the unique textures and patterns that define each species. With practice, you will capture the elegant, complex geometry found in these natural marine structures.
People also ask
What is the best pencil grade for sketching shells?
Use an HB pencil for initial light outlines and a 2B or 4B pencil for adding darker, deeper shadows. These softer leads allow for smooth transitions between light and dark areas.
How do I draw the texture of a seashell?
Use short, curved hatching lines to follow the contour of the shell's surface. Vary the pressure of your pencil to mimic the ridges and grooves found in nature.
Should I use a ruler to draw a seashell?
Avoid using a ruler, as seashells are organic forms defined by soft, natural curves. Freehand drawing helps maintain the fluid, asymmetrical beauty characteristic of marine life.
How can I make my drawing look more realistic?
Focus on the light source and ensure all shadows fall consistently on the opposite side. Adding a small highlight where the light hits the curved surface will make the shell appear glossy.
What is the most common mistake when drawing shells?
The most frequent error is drawing the shell too flat or perfectly symmetrical. Most shells have subtle wobbles and uneven edges that provide character and realism.
Can I use color to enhance my sketch?
Yes, colored pencils or watercolors work well to capture the iridescent tones of shells. Layering light washes of color helps build the complex, multi-toned appearance of the exterior.
This answer was created with the help of AI research tools and reference sources. Spotted an error? Let us know — we correct mistakes quickly. See our editorial policy.