How can I draw a throne easily?
Short answer
Drawing a throne is best achieved by constructing a simple box-like base and adding a tall, rectangular backrest. By focusing on geometric shapes first, you can easily build complexity through decorative armrests and cushions. Use light pencil lines to establish symmetry and perspective before finalizing the ornate details and shading for depth.
On this page
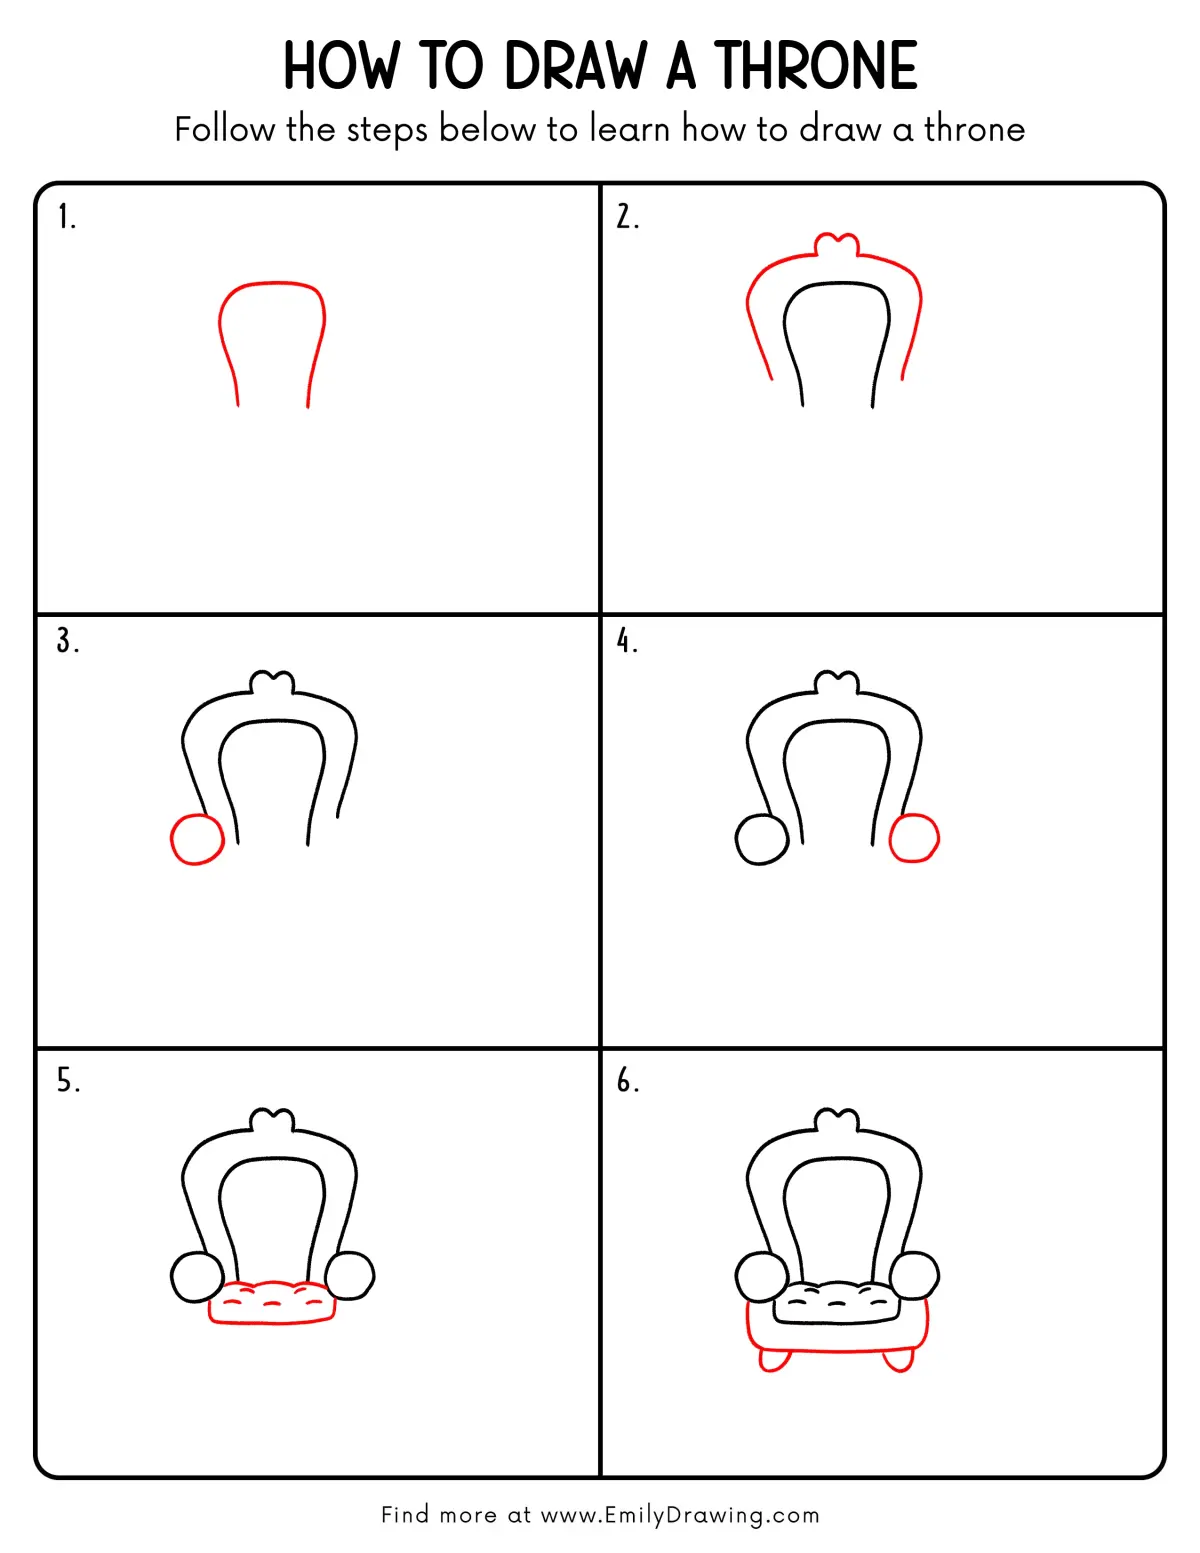
How to draw a throne for beginners
To draw a throne, start by visualizing it as a series of stacked geometric forms. Begin by drawing a wide, flat rectangle for the seat and a tall, vertical rectangle behind it for the backrest. Connect these with a thick base to create a sense of weight and stability. Keep your initial lines very light so you can easily erase or adjust them as you refine the proportions.
Focus on maintaining symmetry, as most traditional thrones are balanced on both sides. You can use a vertical center line as a guide to ensure that the armrests and legs align perfectly. Once the basic silhouette is established, you can move from simple boxes to more complex shapes. Remember that the throne should look like a chair, so ensure the seat is at a height that looks comfortable for a seated figure.
- Draw a horizontal rectangle for the seat.
- Add a tall, wide rectangle behind it for the back.
- Sketch two squares on either side for the armrests.
- Add four sturdy legs beneath the seat.
- Connect these shapes with clean, straight lines.
How to add detail to a throne
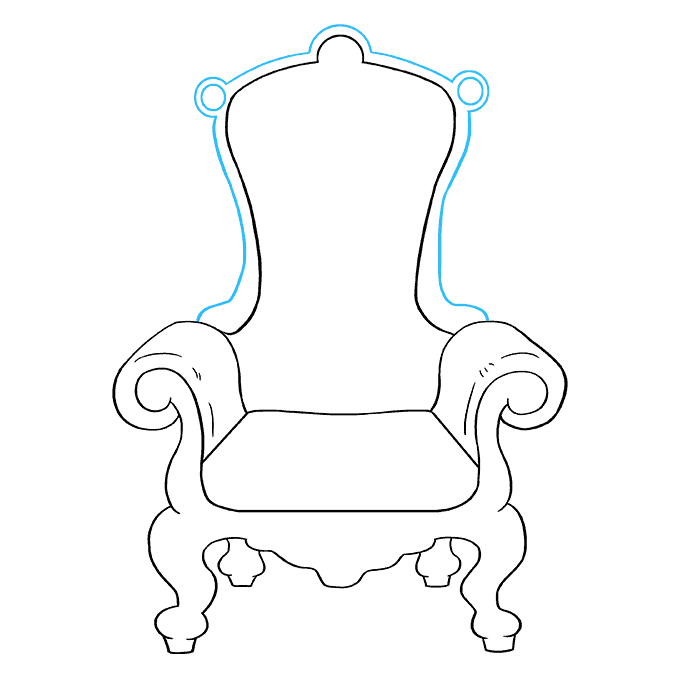
Once the basic structure is complete, you can begin adding decorative elements that define the throne’s style. Consider adding finials—ornamental knobs or spikes—to the top of the backrest to give it a regal appearance. You can also carve out the armrests by rounding the edges or adding scrollwork patterns. Texture is key; adding small lines can indicate velvet cushions or carved wooden grain.
Details should be added incrementally to avoid cluttering the drawing. If you are aiming for a medieval look, focus on sharp, angular silhouettes and heavy stone-like textures. For a more ornate, baroque style, incorporate curved lines and intricate patterns along the legs and back. Always consider where the light source is coming from, as adding shadows under the seat and behind the backrest will make the object pop.
- Use cross-hatching to create deep shadows in the crevices.
- Add small circles or diamonds to represent inlaid jewels.
- Draw horizontal lines across the seat to suggest tufted upholstery.
- Use thick, bold lines for the outer edges to create a strong silhouette.
How to use perspective in throne drawings
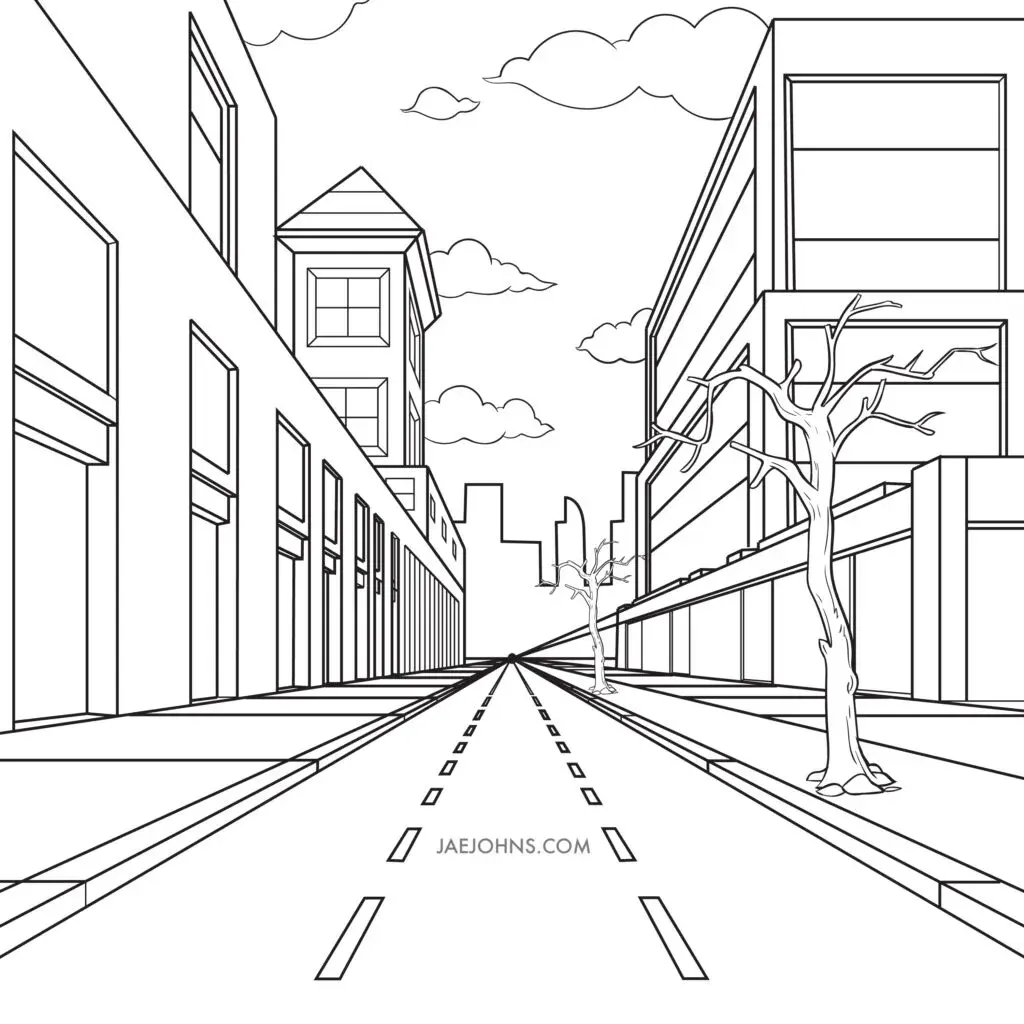
Perspective is essential for making a throne look solid rather than flat. Use a one-point or two-point perspective grid to ensure that the seat and backrest recede correctly into the distance. If the throne is viewed from a low angle, it will appear more imposing and powerful. Conversely, a high angle makes the throne look smaller and more accessible to the viewer.
To achieve a professional look, ensure that the seat’s depth matches the vanishing point of your drawing. If you draw the seat too shallow, the throne will look like it is floating or tipped over. Practice drawing the throne from different viewpoints, such as a side profile or a three-quarter view, to understand how the components overlap. Consistent perspective creates a sense of realism that makes the throne feel like a physical object.
Common mistakes when drawing a throne
One of the most frequent errors is neglecting the thickness of the materials. Beginners often draw the backrest or seat as thin lines, which makes the throne look fragile and unrealistic. Remember that a throne is meant to be heavy and durable, so ensure that the edges have visible thickness. Another common mistake is failing to account for the space beneath the seat, which should be clearly defined to avoid a "blocky" appearance.
Another issue is inconsistent symmetry, which can make the throne look lopsided. Even if you are sketching a rugged, ancient throne, the structural balance must remain intact for it to look functional. Avoid adding too many intricate details before the proportions are finalized, as this can make it difficult to correct mistakes later. Take a step back frequently to look at the overall shape rather than focusing solely on small, decorative carvings.
How to improve your throne sketches
To advance your skills, study historical examples of thrones from different eras. Look at the high-backed chairs of the Tudor period or the gilded, ornate designs of the French monarchy. By analyzing how these real-world objects were constructed, you can incorporate authentic features into your own designs. Practice drawing different materials, such as polished metal, carved wood, and soft fabric, to add variety to your portfolio.
Experiment with different styles, such as fantasy thrones made of swords or minimalist, modern designs. The more you practice, the more intuitive your understanding of form and structure will become. Always keep your pencil sharp to ensure that your lines remain crisp, especially when drawing small, repeating patterns. With consistent practice, you will be able to design elaborate and convincing thrones that serve as the perfect centerpiece for any character or scene you choose to illustrate.
Key facts
- Start by drawing a simple rectangle to serve as the base, which provides the foundation for the throne's perspective.
- Use a vertical line as a center axis to ensure the left and right sides of the backrest remain symmetrical.
- A throne typically features a high backrest; aim for a height at least twice the length of the seat.
- Add thick, blocky shapes for the armrests to convey a sense of weight and royal authority.
- Incorporate geometric patterns like diamonds or squares on the upholstery to suggest luxurious fabric textures.
- Avoid making the legs too thin, as they must visually support the heavy structure of the seat.
The bottom line
Drawing a throne is an exercise in structural design and perspective. By starting with a solid rectangular base and maintaining strict symmetry, you can build a convincing royal seat. Focus on adding weight to the armrests and legs to convey stability, then add decorative textures to finalize the look. With consistent shading and attention to vanishing points, you can easily create a regal, three-dimensional throne.
People also ask
What is the most common mistake when drawing a throne?
The most frequent error is neglecting perspective, which makes the throne look flat or tilted. Ensure all horizontal lines converge toward the same vanishing point to create a realistic three-dimensional appearance.
How can I make the throne look more regal?
Add decorative elements like finials on the top corners or gold-leaf carvings along the edges. Including velvet textures or a plush cushion on the seat will also enhance the appearance of opulence.
Should I use a ruler for drawing a throne?
Using a ruler is highly recommended for the initial structural lines to maintain clean, sharp edges. Once the frame is established, you can switch to freehand sketching for organic details like carvings.
How do I draw the throne from a low angle?
To create a powerful, imposing look, place your vanishing points closer together on the horizon line. This technique exaggerates the height and makes the throne appear as if it is looming over the viewer.
What materials are best for sketching a throne?
A 2B pencil is ideal for initial sketching because it is easy to erase. For final outlines, use a fine-liner pen to provide sharp contrast and define the intricate details of the frame.
How do I shade a throne to show depth?
Identify a single light source and keep it consistent across the entire object. Apply darker shadows beneath the seat and behind the armrests to create a sense of volume and physical presence.
This answer was created with the help of AI research tools and reference sources. Spotted an error? Let us know — we correct mistakes quickly. See our editorial policy.