How can I draw a cake easily?
Short answer
Drawing a cake is best achieved by starting with simple geometric shapes like cylinders or rectangles to establish the structure. By layering these shapes, adding details like icing drips, and incorporating candles or decorations, you can create a realistic illustration. Focus on perspective and shading to give your drawing depth and dimension.
On this page
How to draw a basic cake structure
The foundation of a professional-looking cake drawing relies on understanding basic geometry. Most cakes are essentially cylinders or rectangular prisms, depending on whether you want a round or square dessert. Start by sketching a light, faint oval for the top of a round cake, then draw two vertical lines extending downward from the sides. Connect the bottom of these lines with a curved arc that mirrors the top oval. This creates the illusion of volume.
For a square cake, begin with a flat rectangle or a cube shape. Use a ruler if you struggle with straight lines, but keep your initial strokes very light so they are easy to erase later. Once your basic form is established, you can refine the edges to make them look softer or more realistic. Remember that the top surface should always be slightly narrower than the base to account for natural perspective.
Best drawing techniques for beginners
To make your cake look appetizing, you must focus on the texture of the frosting and decorations. Beginners often make the mistake of drawing flat, lifeless shapes, but adding small details makes a significant difference. Use short, scalloped lines along the top edge to represent piped frosting or decorative borders. You can also add small circles or dots to suggest sprinkles or berries placed on top.
Follow these steps to add texture and detail to your cake illustration:
- Draw a series of small, connected "U" shapes along the top rim to simulate decorative piping.
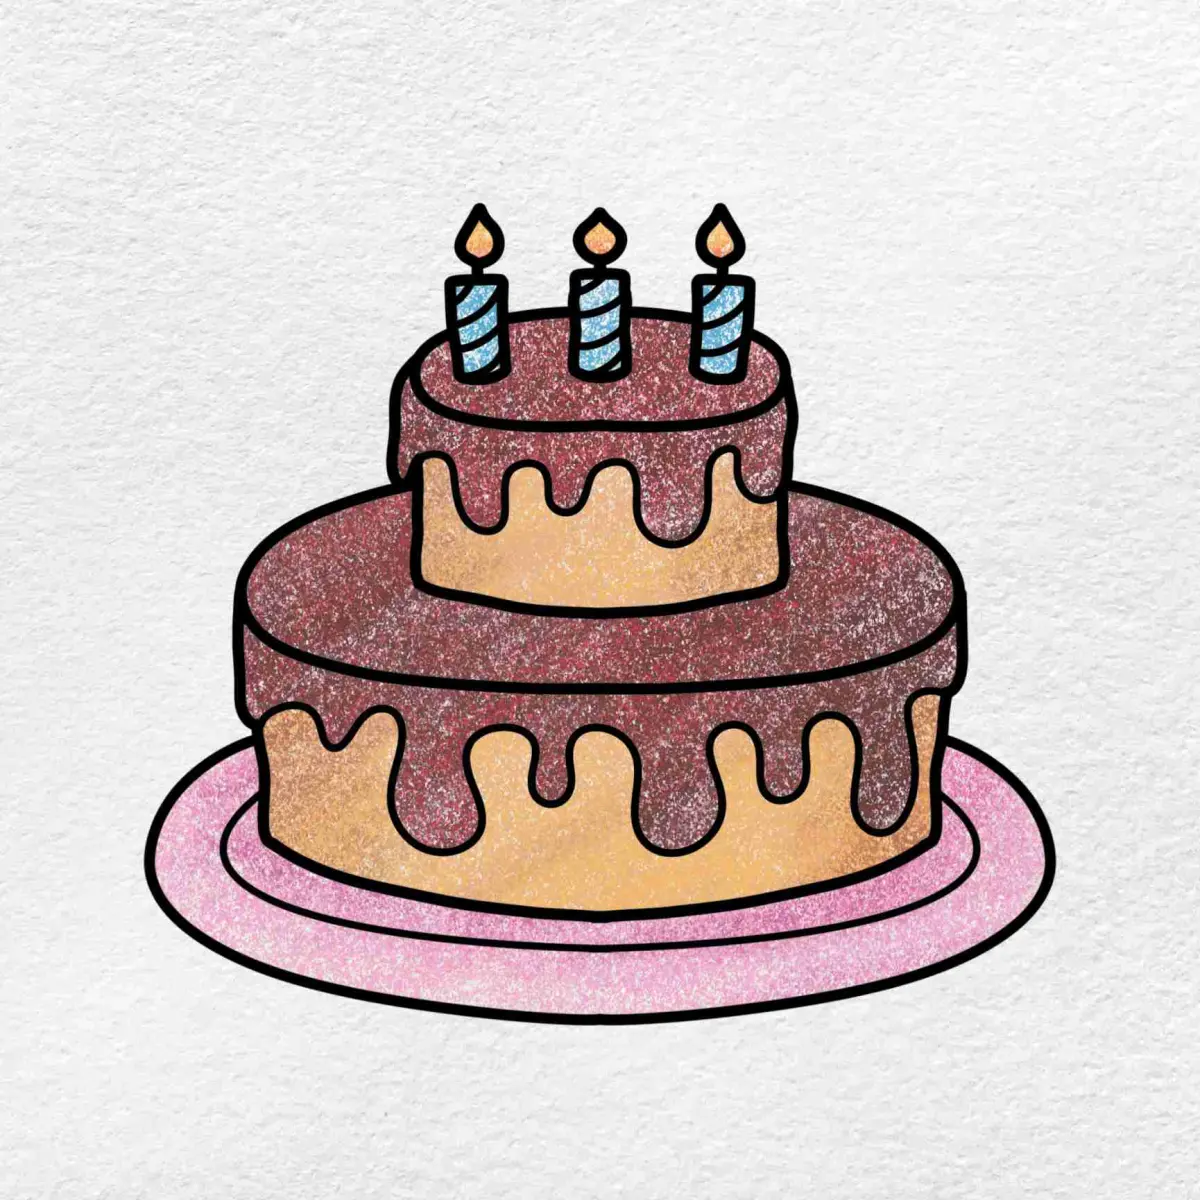
- Add a few irregular, teardrop-shaped drips running down the side of the cake to represent melting icing or ganache.
- Place small, varied circles on the top surface to act as cherries, strawberries, or chocolate chips.
- Sketch thin, vertical lines with a small flame shape at the top to represent birthday candles.
How to add depth and dimension
Shading is the most important element for transforming a two-dimensional drawing into a three-dimensional object. Identify where your light source is coming from before you begin applying shadows. If the light hits the cake from the top left, the right side and the bottom edge should be darker. Use a soft graphite pencil to gently smudge the edges of your shadows, creating a smooth transition from light to dark.
Consistency in shading creates a sense of realism that makes the cake appear solid. Avoid using harsh, black lines for shadows; instead, layer your pencil strokes to build up the darkness gradually. You can also add a small, oval-shaped shadow on the surface underneath the cake to ground it in the space. This simple addition prevents the cake from looking like it is floating in mid-air, providing a necessary anchor for your composition.
Common mistakes when drawing cakes
One of the most frequent errors is ignoring the rules of perspective, which can make the cake look distorted or tilted. If the top oval of a round cake is not parallel to the bottom curve, the entire structure will appear lopsided. Always ensure that your curves are consistent throughout the drawing. Another common issue is making the decorations too large or too small relative to the size of the cake, which ruins the sense of scale.
Avoid these common pitfalls to improve your drawing quality:
- Drawing the cake top as a perfect circle when it should be an ellipse, which flattens the image.
- Using heavy, dark outlines for every single feature, which prevents the drawing from looking soft and edible.
- Forgetting to account for the thickness of the cake layers, which makes the sides look like a single thin sheet.
- Placing candles at random angles instead of aligning them with the vertical axis of the cake.
How to color and finish your drawing
Once your pencil sketch is complete, you can use colored pencils, markers, or watercolors to bring the cake to life. Select a color palette that reflects the flavors you want to represent, such as soft pinks for strawberry or deep browns for chocolate. When coloring, maintain the shading you established during the sketching phase. Keep the lightest areas of the frosting bright and use darker shades of your chosen color to emphasize the shadows.
Final touches often involve adding highlights with a white gel pen or an eraser. A small, bright white dot on the side of a cherry or a highlight on the icing can make the entire illustration pop. Take your time with the small details, as these are what viewers notice first. By cleaning up your stray pencil marks and ensuring your colors are blended smoothly, you will finish with a polished and professional-looking cake drawing.
Key facts
- Start by drawing a horizontal oval to serve as the top surface of the cake.
- Draw two vertical lines of equal length downward from the sides of the oval.
- Connect the bottom of these lines with a curved line that mirrors the top oval.
- Use a light pencil touch initially so you can easily erase guidelines later.
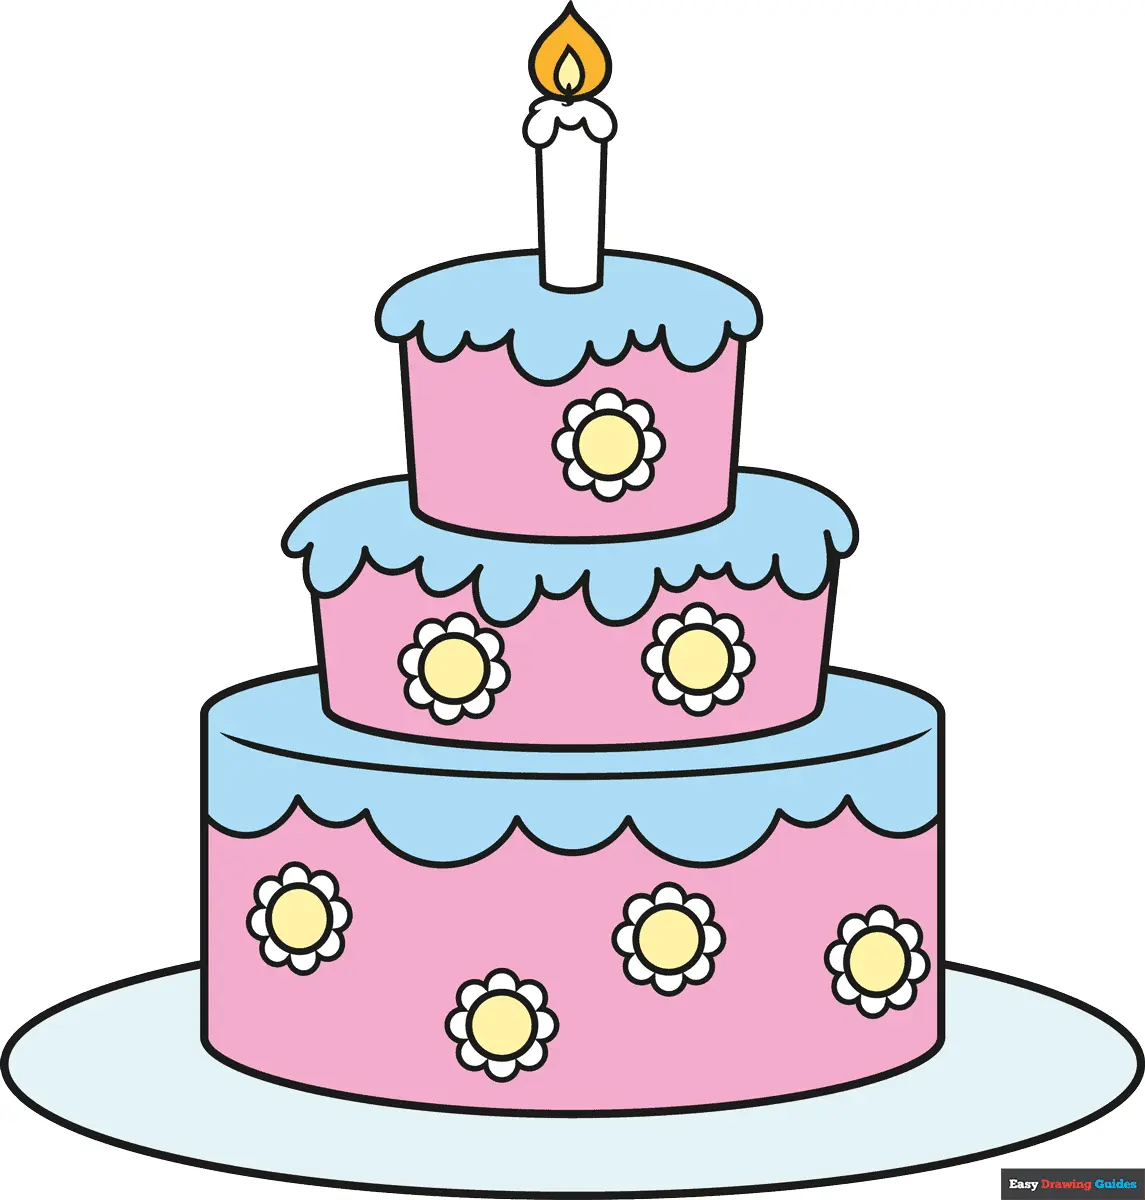
- Add a smaller, thinner oval on top of the first to create a tiered effect.
- Incorporate simple shapes like triangles or circles on the surface to represent candles or frosting decorations.
The bottom line
Drawing a cake is an accessible exercise in basic geometry that relies on mastering the cylinder shape. By focusing on consistent curves and simple proportions, you can build complex, tiered desserts from basic ovals and lines. Remember to keep your initial sketches light and prioritize the overall structure before adding decorative details. With practice, these fundamental techniques will allow you to illustrate any style of cake.
People also ask
What is the best way to make a cake look three-dimensional?
Use perspective by ensuring the bottom curve of the cake matches the curvature of the top oval. Adding a slight shadow on one side of the cake will also enhance the illusion of depth.
Should I use a ruler for the lines?
You can use a ruler for very sharp, modern-looking cakes, but hand-drawn lines often look more natural for food illustrations. A slight wobble in your lines can actually make the cake appear softer and more appetizing.
How do I draw frosting dripping down the sides?
Draw a series of connected, rounded "U" shapes hanging from the top edge of the cake. Vary the length of these drips to make the frosting look realistic and gravity-affected.
Is it better to start with the cake or the decorations?
Always establish the basic geometric structure of the cake first. Once the cylinders or tiers are in place, you can add details like candles, flowers, or piping on top of the established form.
How do I color a cake drawing effectively?
Use lighter shades on the top surface and darker shades on the sides to indicate where light is hitting the object. This simple shading technique immediately makes a flat drawing look more professional.
What are the most common mistakes beginners make?
Beginners often draw the top and bottom lines at different angles, which makes the cake look lopsided. Another common error is drawing the candles too large, which can throw off the scale of the entire dessert.
This answer was created with the help of AI research tools and reference sources. Spotted an error? Let us know — we correct mistakes quickly. See our editorial policy.