How can I draw a tree with roots easily?
Short answer
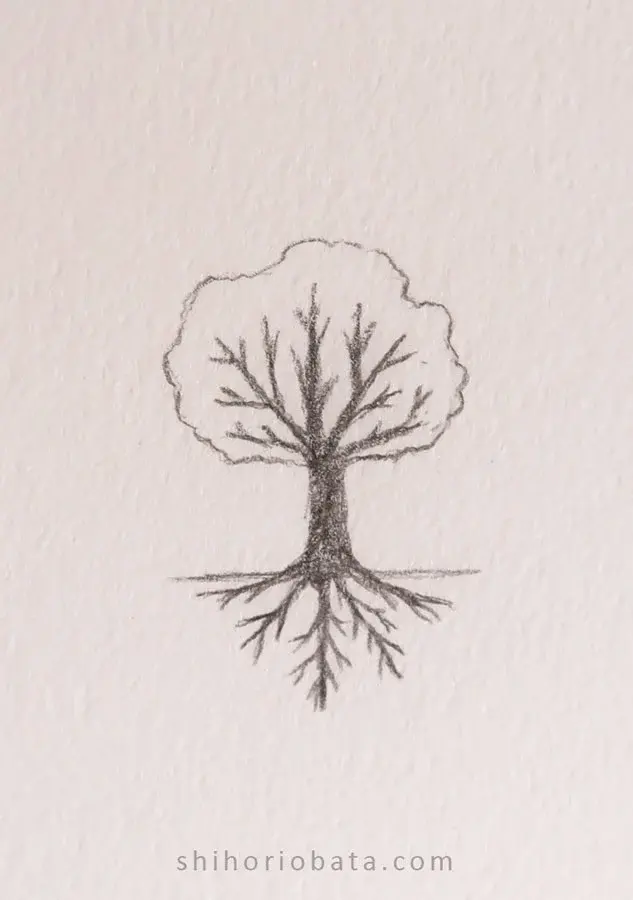
Drawing a tree with roots is best achieved by starting with a central vertical line for the trunk and branching outward with V-shaped limbs. Extend the trunk downward into thick, tapering root structures that anchor into the ground. Use overlapping lines to create depth, ensuring the roots appear to emerge from the earth.
On this page
How to structure a tree drawing for beginners
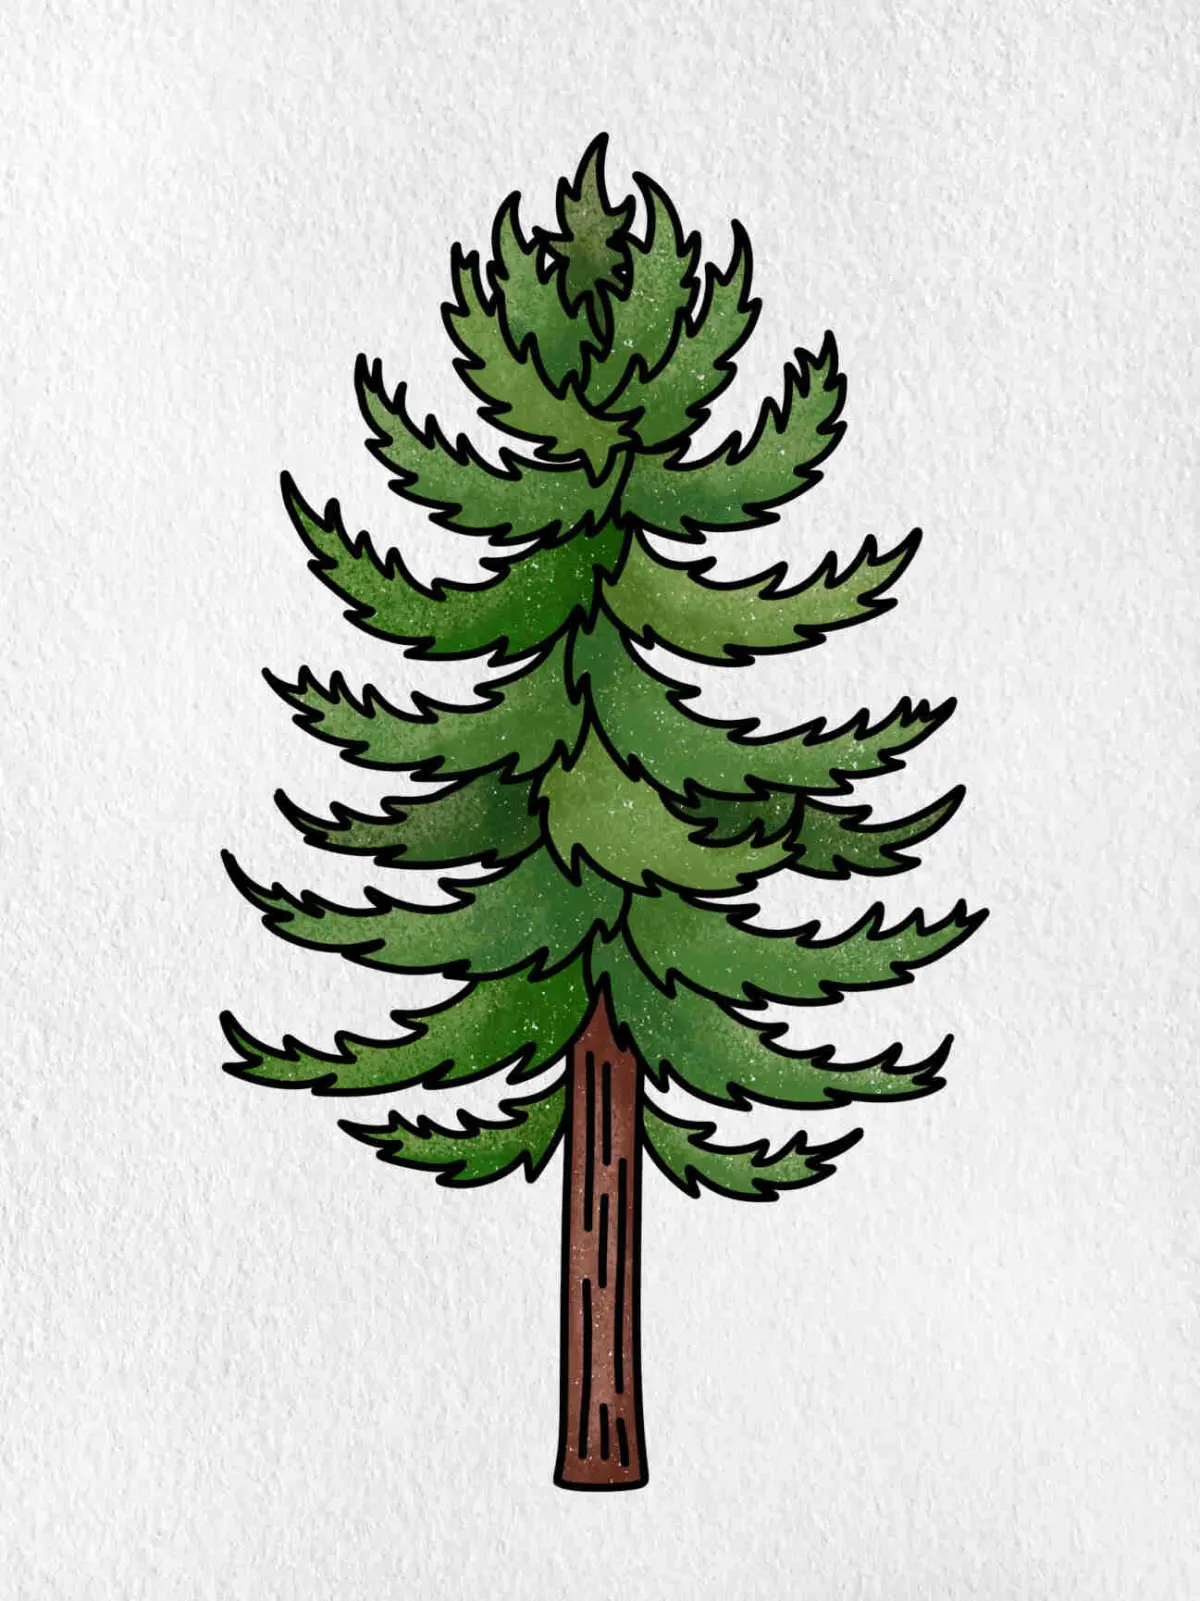
The most effective way to draw a tree is to establish a clear skeletal framework before adding details. Start by drawing a long, slightly curved vertical line to represent the main trunk. From this line, sketch smaller, thinner lines extending upward and outward at alternating angles to form the primary branches. Keep these lines loose and organic, as natural trees rarely grow in perfectly straight or symmetrical patterns.
Once the basic structure is set, you can add volume by outlining the branches and trunk. Instead of single lines, use elongated, irregular shapes that taper as they move away from the center. This creates a sense of realistic growth and weight. Remember that the base of the trunk should be the widest point, providing a visual foundation that supports the entire structure before you begin adding the root system.
How to draw realistic tree roots
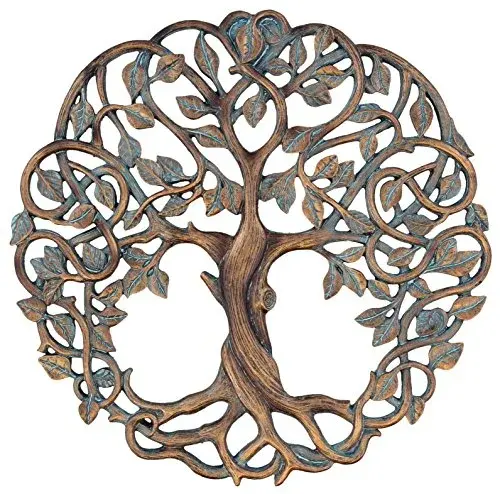
Roots are essentially an extension of the trunk that spreads into the soil. To draw them, extend the base of your trunk downward into several thick, curved lines that fan out across the ground. These lines should not be uniform; make some thicker and shorter while others are longer and thinner to mimic natural growth. Allow the roots to curve slightly, as if they are wrapping around rocks or uneven terrain.
To make the roots look integrated with the ground, follow these steps:
- Draw the primary roots extending from the trunk base using wide, tapering shapes.
- Add secondary, smaller rootlets branching off the main roots to create a complex web.
- Use short, horizontal lines at the base of the roots to suggest the soil line or grass.
- Overlap the root lines where they meet the trunk to show depth and connection.
Best techniques for adding texture and depth
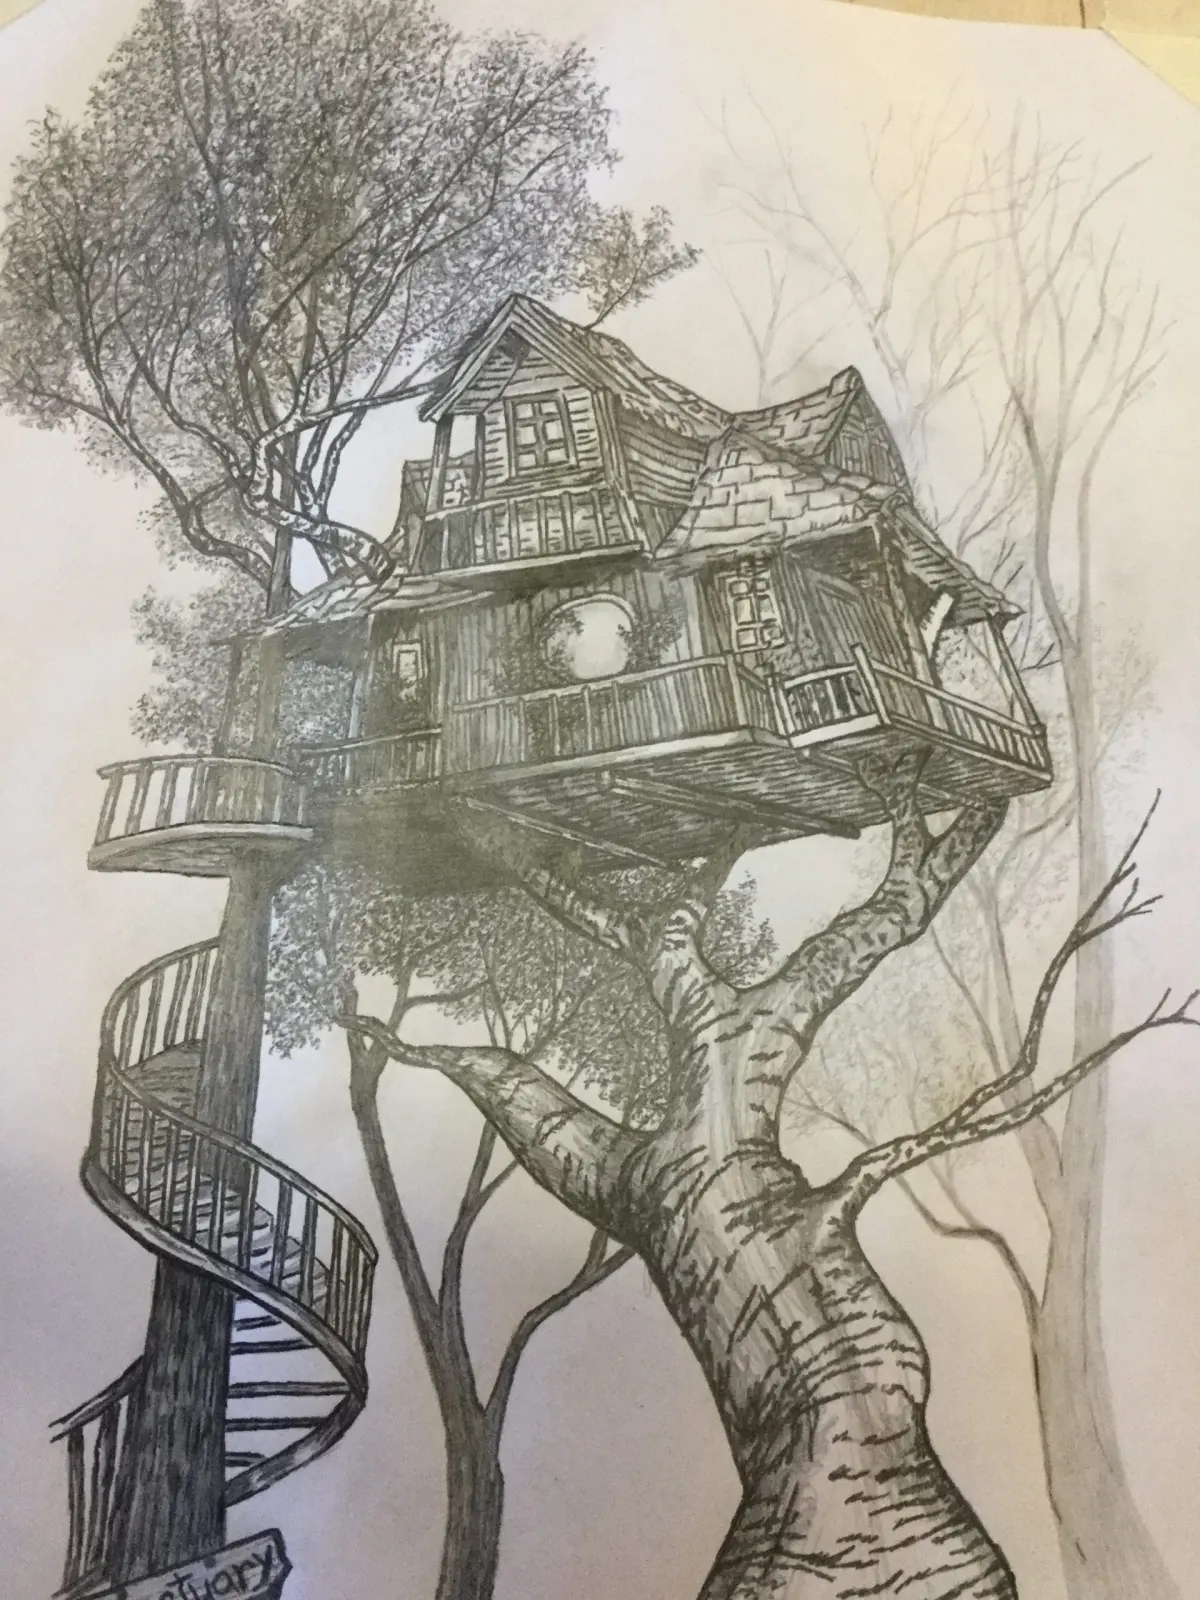
Texture transforms a simple outline into a professional-looking drawing. For the bark, use short, broken vertical lines and small hatch marks along the length of the trunk and branches. Focus these marks on the sides of the trunk to suggest a rounded, three-dimensional form. As you move toward the roots, use longer, sweeping strokes that follow the direction of the root's growth to emphasize its strength and reach.
Shadowing is equally important for adding depth to your tree. Identify a light source and shade the opposite side of the trunk and branches consistently. When shading the roots, darken the areas where they meet the ground to create a "grounding" effect. This contrast helps the tree stand out from the background and makes the roots appear as though they are physically embedded in the earth rather than just resting on top of it.
Common mistakes when drawing trees and roots
One of the most frequent errors is drawing a tree that looks too symmetrical or rigid. Nature is chaotic, so avoid placing branches at perfectly even intervals or making the roots look like a mirror image of the canopy. If the left side of the tree has a large, heavy branch, balance it with a cluster of roots on the opposite side to maintain visual equilibrium.
Another common mistake involves the transition between the trunk and the roots. Beginners often draw the roots as separate shapes attached to the bottom of the trunk. Instead, the roots should flow seamlessly out of the trunk, appearing as a continuous piece of organic matter. If you find your drawing looks flat, avoid using solid, dark outlines for everything. Use lighter, thinner lines for distant branches and heavier, bolder lines for the roots and the base of the trunk to create a natural atmospheric perspective.
How to refine your tree drawing style
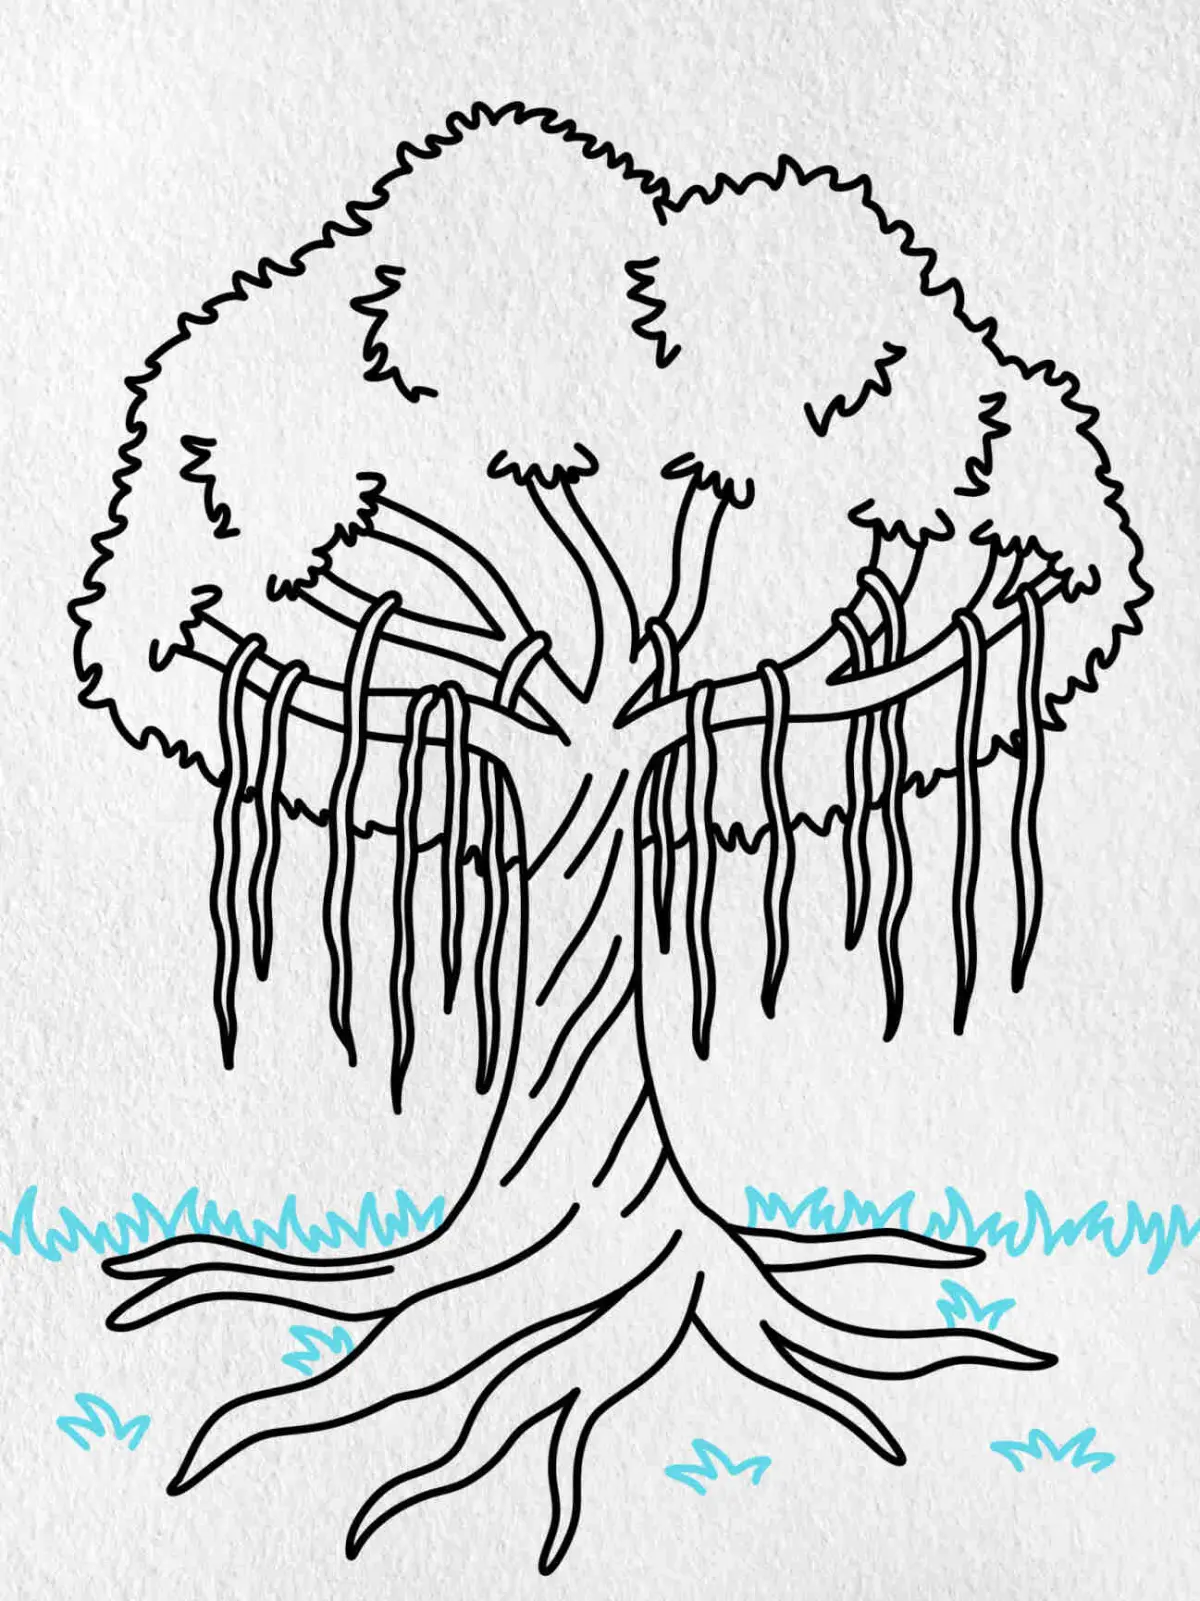
As you gain confidence, experiment with different tree species to understand how growth patterns change. For example, an oak tree typically has thick, gnarled roots that stay close to the surface, while a willow tree features long, flowing branches that reach toward the ground. Observing real trees in your local park or looking at photographs will provide you with a library of shapes and textures to incorporate into your work.
To further refine your skills, try these focus areas:
- Practice varying your line weight to create shadows without needing heavy shading.
- Study how light hits the leaves and branches to create highlights and mid-tones.
- Use an eraser to pull out highlights on the trunk, which adds a realistic sheen to the bark.
- Sketch quickly without worrying about perfection to capture the essential "gesture" or movement of the tree.
Consistent practice with these techniques will allow you to develop a unique artistic voice while maintaining the structural integrity of your botanical subjects.
Key facts
- Start by drawing the trunk as two slightly curved vertical lines that widen at the base to suggest stability.
- Sketch the roots as irregular, tapering extensions that reach outward into the soil rather than straight down.
- Use a "Y" shape as the fundamental building block for branching patterns to maintain natural proportions.
- Vary the thickness of lines by pressing harder at the base of the tree and lighter toward the outer tips.
- Overlap root lines to create depth and suggest that some parts are buried deeper than others.
- Add small, jagged "V" shapes along the trunk and roots to simulate the texture of bark and weathering.
The bottom line
Drawing a tree with roots is most effective when you focus on the transition from the trunk to the ground. By using tapering lines, varying the thickness of the roots, and incorporating asymmetrical shapes, you can create a sense of organic movement and stability. Remember to ground your drawing with subtle soil textures, ensuring your tree looks like a permanent part of the landscape.
People also ask
Should I draw the roots before or after the trunk?
It is best to draw the trunk first to establish the center of gravity. Once the base is defined, you can naturally extend the roots outward to anchor the tree to the ground.
How do I make the roots look realistic instead of like tentacles?
Avoid drawing perfectly symmetrical or uniform curves. Real roots grow around obstacles like rocks and soil, so incorporate sharp angles and uneven, knobby segments.
What is the most common mistake when drawing tree roots?
Many beginners draw roots that are too thin or perfectly straight. Roots should appear thickest where they meet the trunk and gradually taper as they spread into the ground.
How many roots should a tree have?
There is no set number, but a natural look usually involves three to five primary roots visible above the surface. Focus on quality and placement rather than trying to draw a high volume of lines.
Should roots always be symmetrical?
No, nature is rarely symmetrical. Draw roots spreading further on one side to suggest the tree is growing on a slope or leaning toward a light source.
How can I show that roots are going into the ground?
Use horizontal lines or small clusters of dots near the base of the roots to represent soil. This technique helps ground the drawing and creates a clear transition between the tree and the earth.
This answer was created with the help of AI research tools and reference sources. Spotted an error? Let us know — we correct mistakes quickly. See our editorial policy.