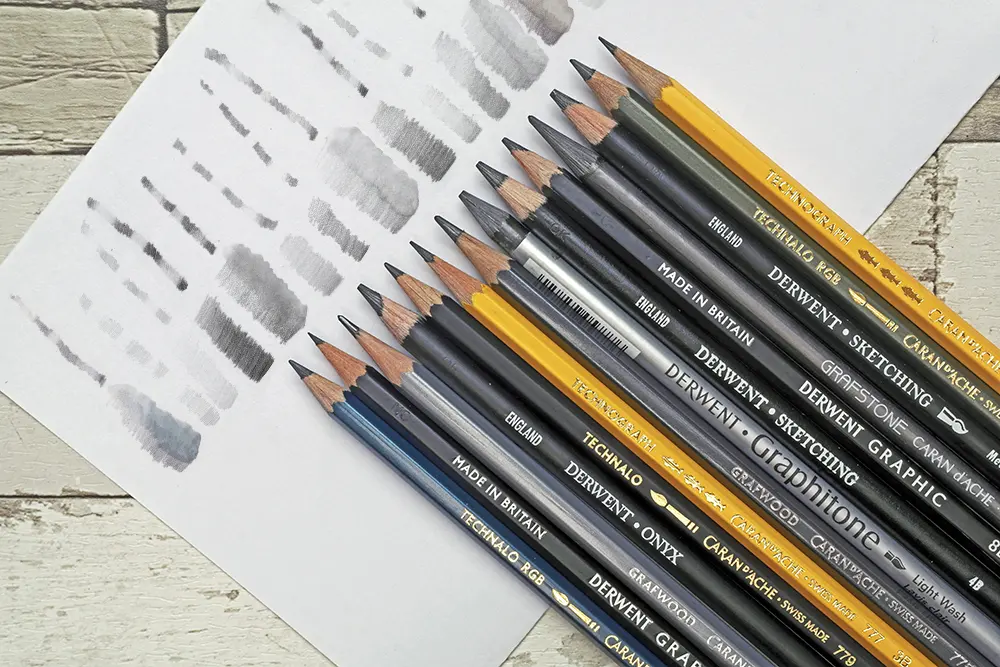
What is blending in drawing?
Short answer
Blending is the artistic technique of softening the edges between two colors or values to create smooth transitions. By smudging or layering pigments, artists eliminate harsh lines, simulating realistic light, shadow, and volume. This process is essential for achieving depth and three-dimensional form in drawings using graphite, charcoal, or pastels.
On this page
What is the purpose of blending in drawing?
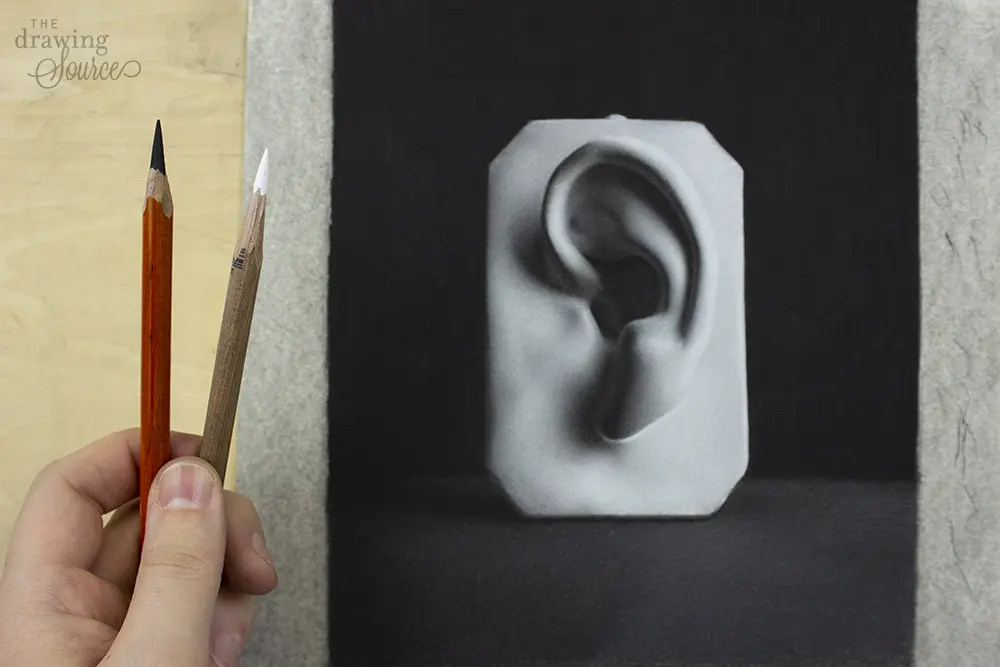
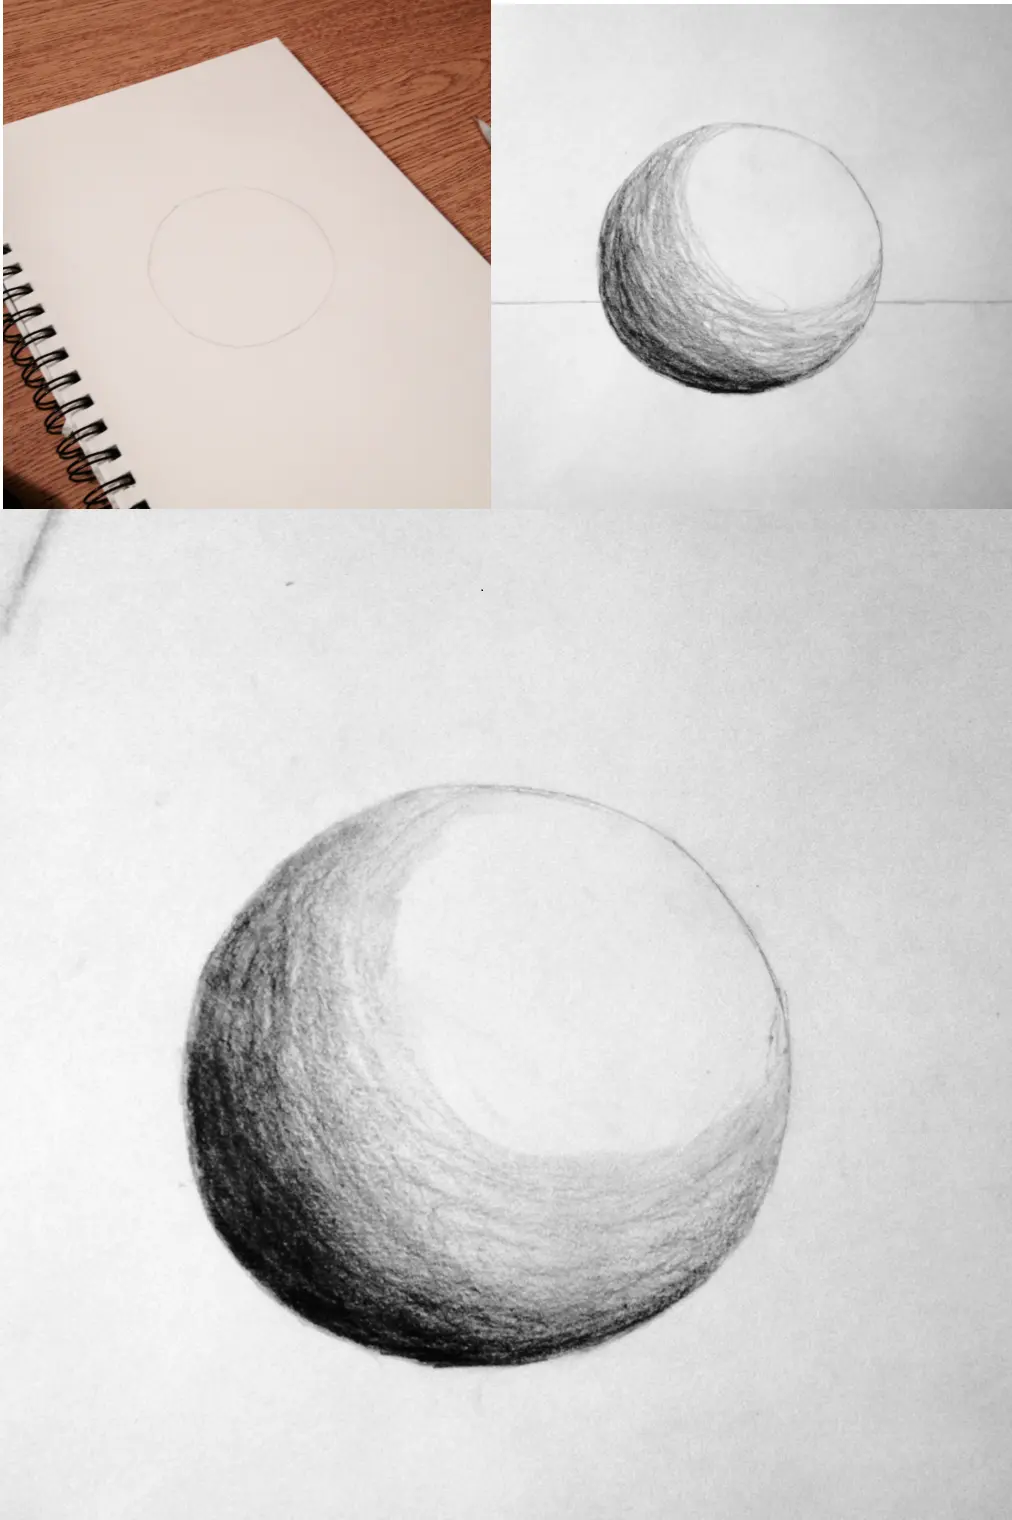
Blending serves as the primary method for creating the illusion of volume on a two-dimensional surface. When an artist draws a sphere, the transition from highlight to shadow must be gradual to mimic the way light wraps around a curved object. Without blending, the drawing would appear as a flat shape with distinct, disconnected sections rather than a cohesive, solid form.
Beyond creating volume, blending allows for the subtle rendering of textures and atmospheric effects. By softening the boundaries between tones, artists can depict soft skin, hazy landscapes, or smooth metallic surfaces. This technique bridges the gap between individual marks and a unified image, ensuring that the viewer’s eye moves naturally across the page without being interrupted by jarring, unblended lines.
How to blend graphite and charcoal effectively
Achieving a professional finish requires selecting the right tools and applying consistent pressure. While many beginners use their fingers, this is often discouraged because skin oils can damage the paper and create uneven, muddy patches. Instead, professional artists utilize specific tools designed to manipulate dry media without compromising the integrity of the drawing surface.
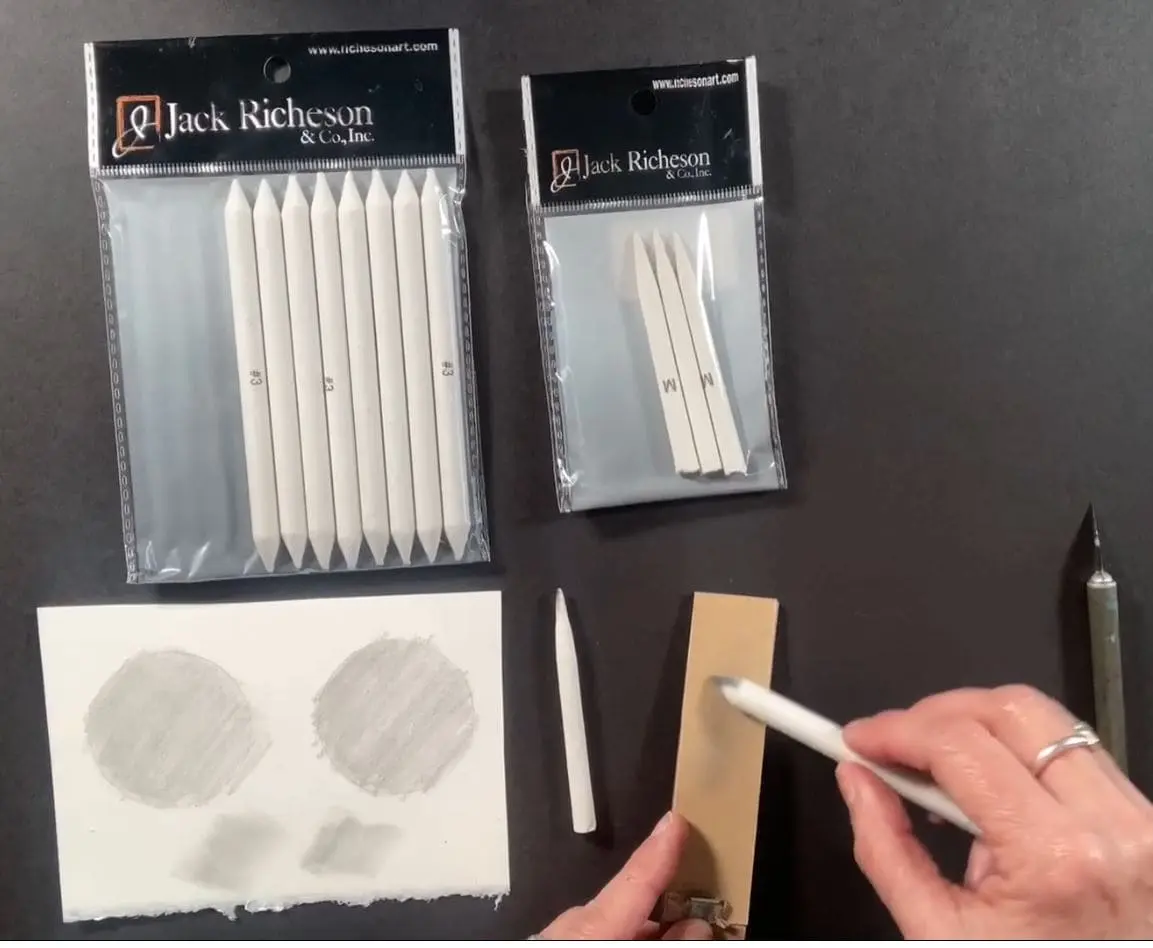
- Select a high-quality blending stump or tortillon, which is a tightly rolled paper stick.
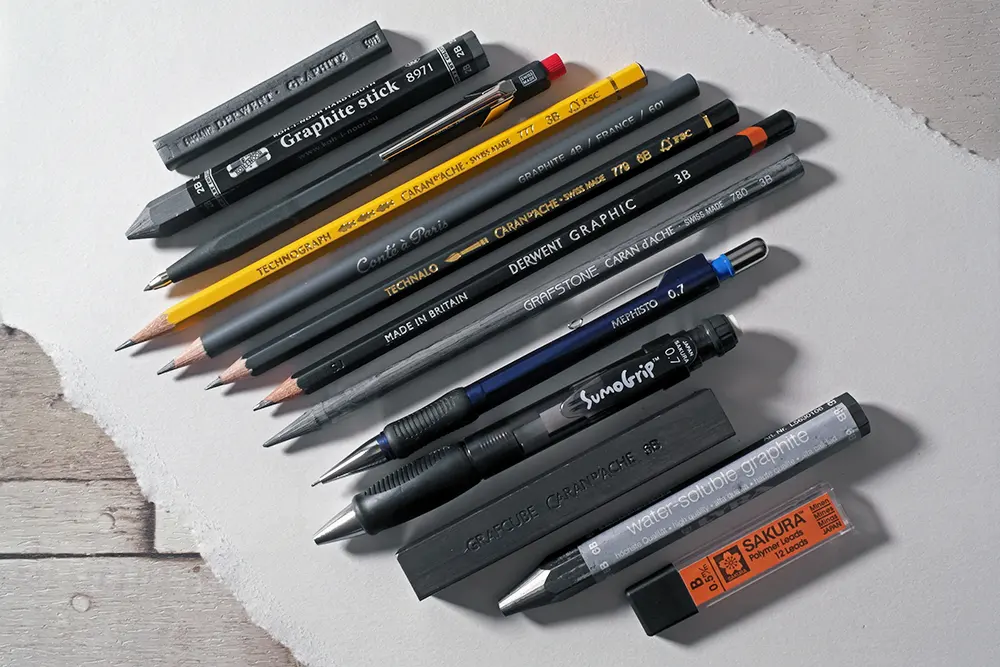
- Apply your graphite or charcoal lightly to the paper, building up layers gradually.
- Use the tip of the stump to gently push the pigment into the tooth of the paper.
- Work in circular or back-and-forth motions to ensure the transition is seamless.
- Clean your tool periodically on a piece of scrap paper to prevent the buildup of excess graphite.
Best tools for blending drawings
The selection of materials significantly influences the final quality of a blended drawing. Different tools offer varying levels of control and texture, ranging from precise edges to soft, ethereal gradients. Understanding these options helps artists achieve specific aesthetic goals, whether they are working on hyper-realistic portraits or expressive, loose sketches.
- Blending stumps: These provide firm, precise control and are ideal for small areas.
- Chamois cloth: A soft leather piece perfect for blending large areas of charcoal or graphite evenly.
- Soft brushes: Synthetic or natural hair brushes allow for extremely delicate, painterly transitions.
- Kneaded erasers: While primarily for removal, they can be molded to lift small amounts of pigment, creating a "subtractive" blending effect.
- Tissue paper: Used for very soft, wide-area transitions, though it lacks the precision of a stump.
Common mistakes when blending drawings
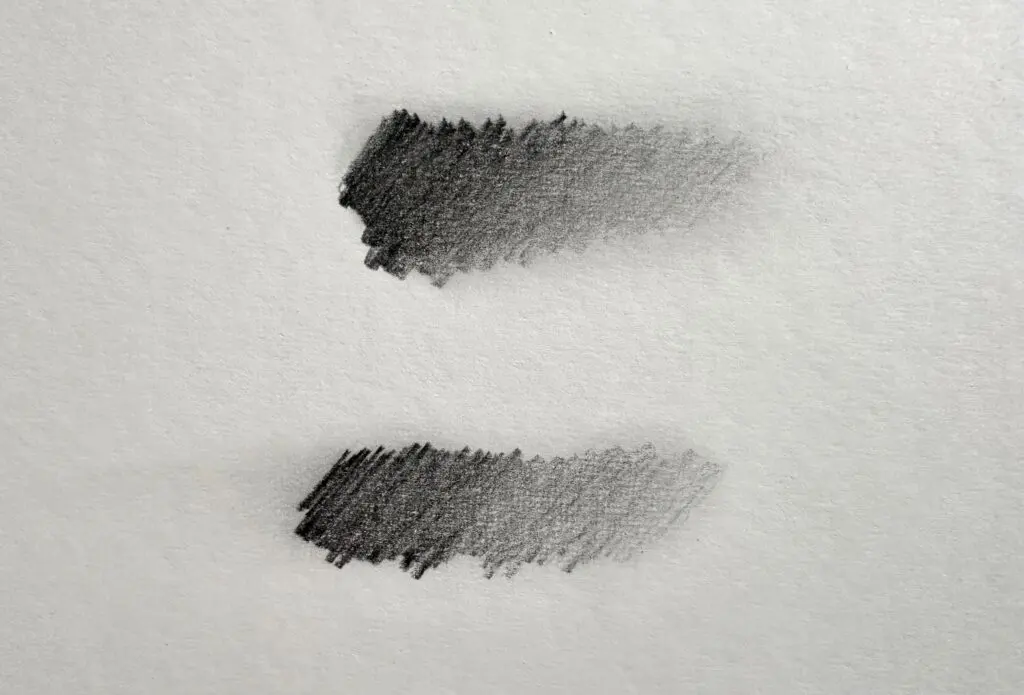
One of the most frequent errors is over-blending, which can lead to a drawing that looks flat, greasy, or "muddy." When an artist blends too aggressively, the pigment loses its crispness and the paper's tooth becomes clogged, making it impossible to add further detail. This often results in a loss of contrast, where the deepest shadows and brightest highlights become muted.
Another common mistake is neglecting to establish a solid foundation before blending. If the initial shading is inconsistent or poorly placed, blending will only serve to smear those errors across the page. Always ensure that your values are correctly mapped out before you begin softening the edges. Additionally, avoid pressing too hard, as this can burnish the paper, creating a shiny, permanent mark that resists further graphite application.
How long does it take to master blending?
Mastering the art of blending is a gradual process that depends on consistent practice and experimentation with different paper types. Beginners often find that they can achieve basic gradients within a few weeks of daily practice. However, developing the nuance required for complex textures, such as skin pores or reflective surfaces, typically takes months or even years of dedicated study.
The time required to blend a single drawing also varies based on the desired level of realism. A quick sketch might require only a few minutes of light smudging, whereas a detailed academic drawing could involve hours of layering and careful blending to achieve a photographic quality. By focusing on the relationship between pressure and texture, you will eventually develop an intuitive sense for how much blending is necessary to bring your subject to life.
Key facts
- Blending is the artistic technique of softening or merging two or more colors or values to create a smooth transition.
- Graphite artists often use a paper stump, known as a tortillon, to smudge pencil marks and eliminate harsh lines.
- Charcoal is highly malleable and can be blended using fingers, chamois cloths, or soft brushes for atmospheric effects.
- The pressure applied during blending determines the intensity; light pressure maintains texture, while heavy pressure creates a polished surface.
- Colored pencil blending often requires a solvent, such as odorless mineral spirits, to dissolve binders and create a paint-like appearance.
- Always blend from light areas into dark areas to prevent muddying the highlights with darker pigments.
The bottom line
Blending is a foundational skill that transforms flat sketches into three-dimensional forms by creating seamless transitions between values and colors. By utilizing the right tools—such as tortillons, brushes, or solvents—and maintaining a light, controlled touch, artists can achieve professional-looking gradients. Mastering this technique requires practice to avoid muddying the paper, ultimately allowing for a sophisticated range of textures and realistic lighting effects in your work.
People also ask
What is the difference between smudging and blending?
Smudging is an uncontrolled, often messy displacement of pigment, while blending is a deliberate technique used to create specific gradients or soft transitions. Smudging often results in a dull, grey appearance, whereas proper blending preserves the luminosity of the underlying colors.
Can I use my fingers to blend drawings?
While fingers are convenient, they contain natural oils that can damage paper fibers and leave oily patches that resist future graphite or charcoal application. It is generally recommended to use specialized tools like blending stumps or synthetic brushes to maintain the integrity of the drawing surface.
How do I blend without making the drawing look muddy?
Avoid overworking the paper by layering too many colors or values in one spot, which causes the pigments to lose their vibrancy. Use a clean blending tool frequently and ensure you are not applying excessive pressure that grinds the pigment deep into the paper grain.
What is the best paper for blending?
Smooth or hot-pressed paper is ideal for detailed blending because it lacks the deep texture that traps pigment unevenly. If you are using charcoal or soft pastels, a paper with a slight "tooth" or texture is better as it helps hold the loose particles in place.
How do I fix a blended area that has become too dark?
Use a kneaded eraser to gently lift excess pigment from the surface by dabbing rather than rubbing. If the area is still too dark, you may need to reapply a lighter value or a white pencil to restore the balance of the composition.
Should I blend every part of my drawing?
Not every area requires blending; keeping some crisp, hard edges adds visual interest and defines the form of your subject. Focus blending on curved surfaces, shadows, and transitions where you want to suggest volume, depth, or soft lighting.
This answer was created with the help of AI research tools and reference sources. Spotted an error? Let us know — we correct mistakes quickly. See our editorial policy.