What is lifting in drawing?
Short answer
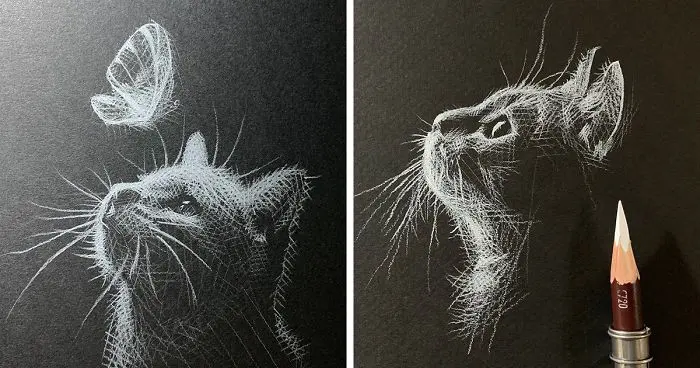
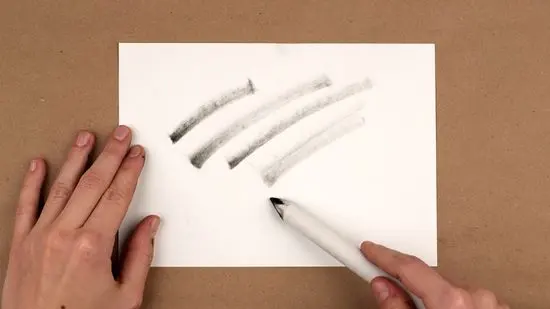
Lifting in drawing is the technique of removing media from a surface to create highlights, correct errors, or adjust tonal values. Artists use specialized tools like kneaded erasers, putty, or adhesive tape to pull graphite, charcoal, or pastel particles away from the paper, revealing the lighter substrate underneath for added depth.
On this page
What is the purpose of lifting in drawing?
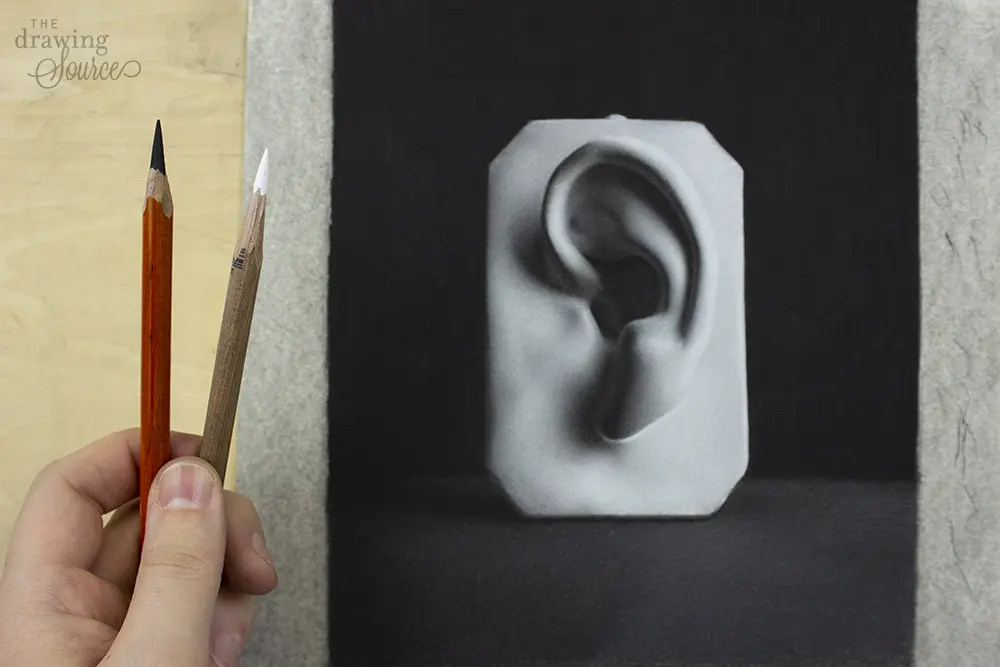
Lifting serves as a subtractive process, functioning as the inverse of adding marks to a page. While drawing is primarily additive, artists often find that they have applied too much pigment or need to define a specific light source. By lifting material, you can carve out shapes, soften harsh edges, or create delicate textures like hair, clouds, or reflections. This technique allows for a more fluid relationship with the drawing surface, as it transforms the eraser from a mere corrective tool into a sophisticated instrument for modeling form.
By strategically removing media, you can achieve a range of values that would be difficult to create through layering alone. It is particularly effective when working with materials that do not easily blend or when you aim to maintain the crispness of the paper’s texture. Mastering this skill gives you the ability to "draw with light," effectively pulling illumination out of the darkness of your shadows.
How to lift graphite and charcoal effectively
The process of lifting requires a gentle touch and the right choice of implement depending on the medium. For graphite, which is often waxy, a kneaded eraser is the industry standard because it can be molded into precise shapes. For charcoal or soft pastel, which sit loosely on the paper, a soft brush or a specialized "lift-out" tool may be more appropriate to avoid smearing the surrounding area.
- Mold your kneaded eraser into a sharp point or a flat edge to control the surface area of the lift.
- Gently press the eraser onto the area you wish to lighten, ensuring you do not rub or scrub the paper.
- Lift the eraser straight off the surface to pull the pigment away without pushing it back into the paper fibers.
- If the eraser becomes saturated with pigment, knead it to expose a clean, fresh surface before repeating the process.
Best tools for lifting techniques
Choosing the correct tool is essential for achieving the desired effect without damaging the paper. If you use an abrasive eraser on delicate paper, you risk tearing the surface or creating a "ghost" of the original mark that cannot be covered again. The following tools are commonly used by professional artists to ensure clean, controlled lifting:
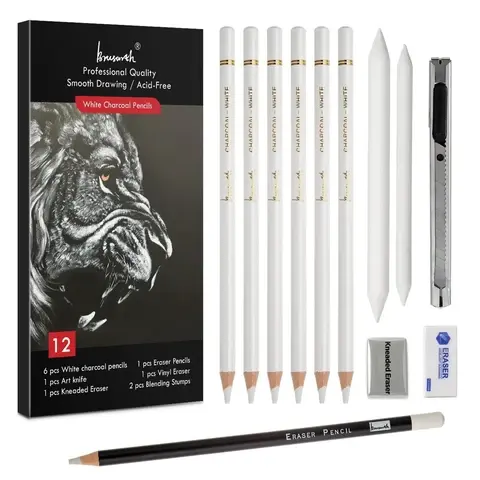
- Kneaded erasers: Highly pliable and non-abrasive, perfect for subtle tonal adjustments.
- Vinyl or plastic erasers: Better for sharp, high-contrast highlights, though they can be harsh on soft paper.
- Putty erasers: Similar to kneaded versions but often stickier, making them excellent for picking up heavy layers of charcoal.
- Adhesive tape: Used sparingly, a small piece of drafting tape can lift large, uniform areas of loose media.
- Synthetic chamois: Ideal for lifting broad, soft areas of charcoal to create atmospheric effects or misty backgrounds.
Common mistakes when lifting media
The most frequent error beginners make is rubbing the eraser back and forth across the paper. This motion acts like sandpaper, grinding the pigment deeper into the paper’s grain rather than lifting it away. This often results in a muddy, greyish area that looks overworked and loses its luminosity. Always prioritize a "press and lift" motion to keep the paper clean and the highlights bright.
Another common mistake is failing to clean the tool between lifts. If your eraser is coated in graphite, you are essentially transferring that graphite back onto the drawing every time you touch it. This leads to unwanted smudges and a loss of control over your tonal values. Additionally, avoid using too much pressure, as this can compress the paper fibers, making it impossible to add more pigment to that area later. If you find that you are struggling to lift enough material, your paper may be too smooth or the pigment may have been burnished too heavily.
How to maintain paper integrity while lifting
Repeated lifting can take a toll on the paper’s surface, especially if you are using heavy-weight drawing paper or bristol board. To keep the paper in good condition, always work from light to dark and avoid over-working the same spot multiple times. If you notice the paper starting to pill or lose its texture, stop immediately and move to a different section of the drawing.
- Use high-quality, acid-free paper with a slight tooth to allow the pigment to sit on the surface rather than sinking into the fibers.
- Apply a light fixative spray if you need to lock in a layer before lifting, though this can make the process more permanent.
- Keep your hands off the drawing surface to prevent oils from your skin from binding the pigment to the paper.
- Practice on scrap paper first to understand how your specific eraser interacts with your chosen drawing medium.
- Store your erasers in a clean container to prevent them from picking up dust or debris that could scratch your artwork during the lifting process.
Key facts
- Lifting is the technique of removing graphite, charcoal, or pastel from a drawing surface using an eraser or specialized tool.
- Kneaded erasers are the most effective tool for lifting because they can be molded into precise points or flat shapes.
- Lifting is used to create highlights, soften harsh edges, or correct mistakes without damaging the underlying paper fibers.
- Artists often use a "dabbing" motion rather than scrubbing to lift pigment, which prevents smudging and keeps the paper clean.
- Lifting can be used to create texture, such as the sparkle of light on water or the fine hairs of an animal.
- Over-lifting in the same spot can abrade the paper, making it difficult to re-apply pigment smoothly in that area.
The bottom line
Lifting is a versatile technique that transforms drawing from a process of adding pigment to one of active manipulation. By using a kneaded eraser to subtract graphite or charcoal, you can refine highlights, soften transitions, and introduce intricate textures. Mastering this skill allows for greater control over light and shadow, ultimately helping you achieve a more polished and professional appearance in your finished artwork.
People also ask
Can I use a regular pink eraser for lifting?
While a pink eraser can remove marks, it is often too abrasive and can damage delicate drawing paper. It is better suited for complete erasure rather than the subtle lifting required for shading or highlights.
What is the difference between lifting and erasing?
Erasing is typically used to remove unwanted lines or mistakes entirely. Lifting is a more delicate process used to manipulate values and add light by removing only a portion of the pigment.
Does lifting work on all types of paper?
Lifting works best on high-quality, heavy-weight drawing paper or bristol board. Thin or low-quality paper is prone to tearing or pilling when subjected to repeated lifting.
How do I clean a kneaded eraser after lifting?
You clean a kneaded eraser by stretching and folding it repeatedly until the graphite or charcoal is absorbed into the material. Once it becomes too saturated to lift effectively, you should replace it.
Can I lift colored pencil drawings?
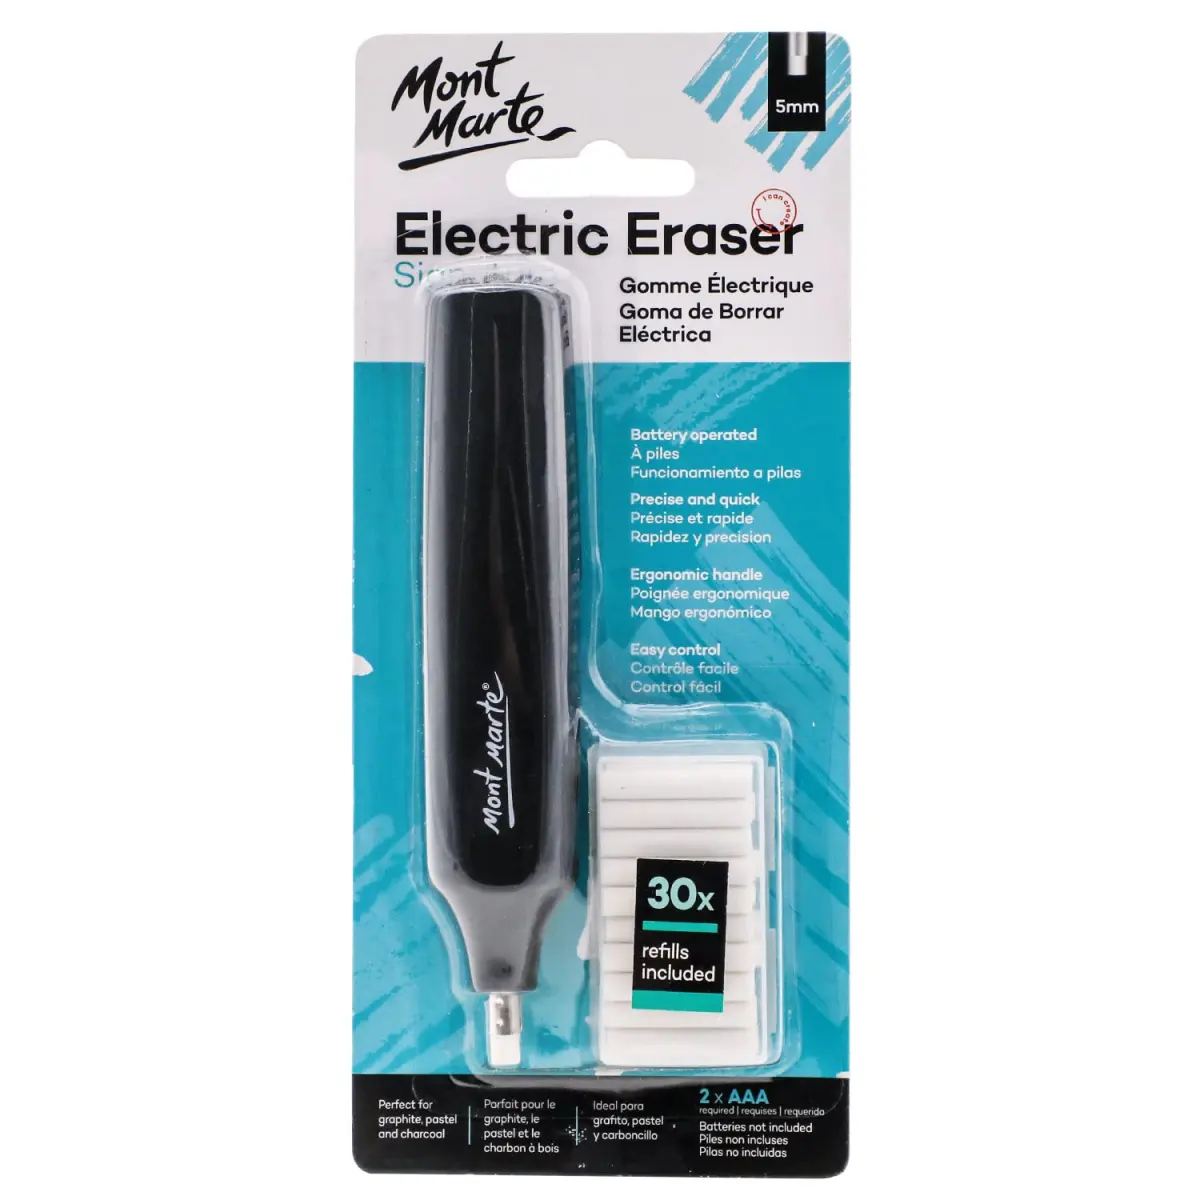
Lifting colored pencil is significantly more difficult than lifting graphite because the wax-based binders adhere strongly to paper. You may need a battery-operated eraser or a craft knife to remove pigment from colored pencil work.
Is lifting necessary for realistic drawing?
Lifting is essential for achieving a full range of values and realistic lighting effects. It allows artists to pull light back out of dark areas, creating depth and a sense of volume in a composition.
This answer was created with the help of AI research tools and reference sources. Spotted an error? Let us know — we correct mistakes quickly. See our editorial policy.