How do you draw a wedding dress?
Short answer
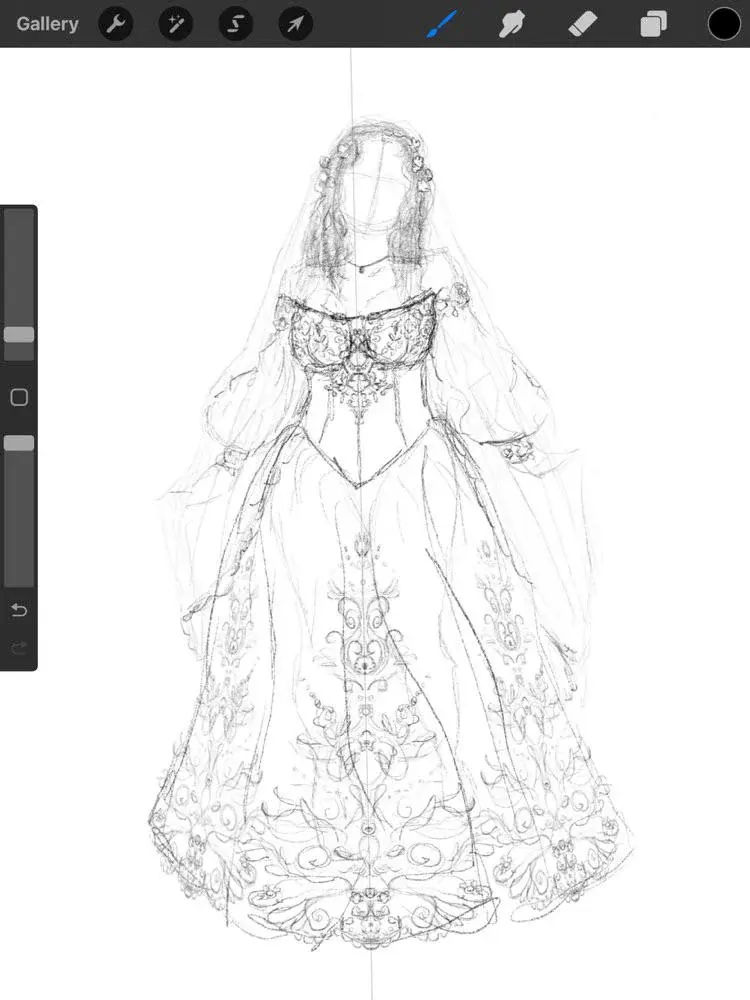
Drawing a wedding dress begins by sketching a balanced human figure, followed by outlining the silhouette of the gown. Focus on the fabric’s drape, the bodice structure, and specific details like lace or beadwork. Use light, fluid pencil strokes to establish the form before refining the garment’s texture and intricate embellishments.
On this page
How to sketch a wedding dress silhouette
The foundation of any fashion illustration is the "croquis," a stylized figure drawing with elongated proportions. To draw a wedding dress, start by sketching a light, proportional figure to serve as a mannequin. Once the pose is set, decide on the silhouette, such as a ball gown, mermaid, A-line, or sheath. The silhouette dictates where the fabric will cling to the body and where it will flare out.
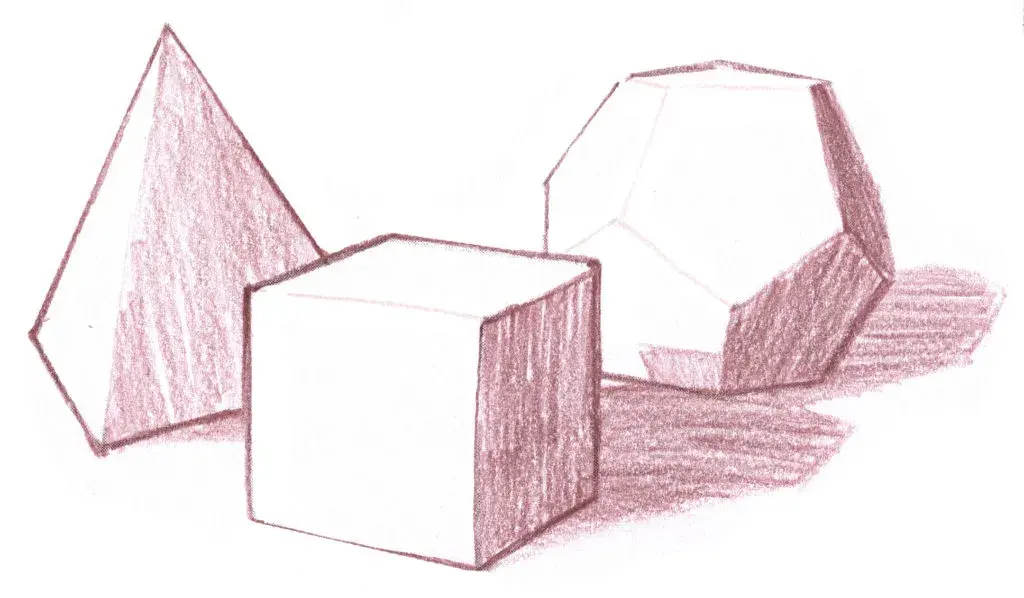
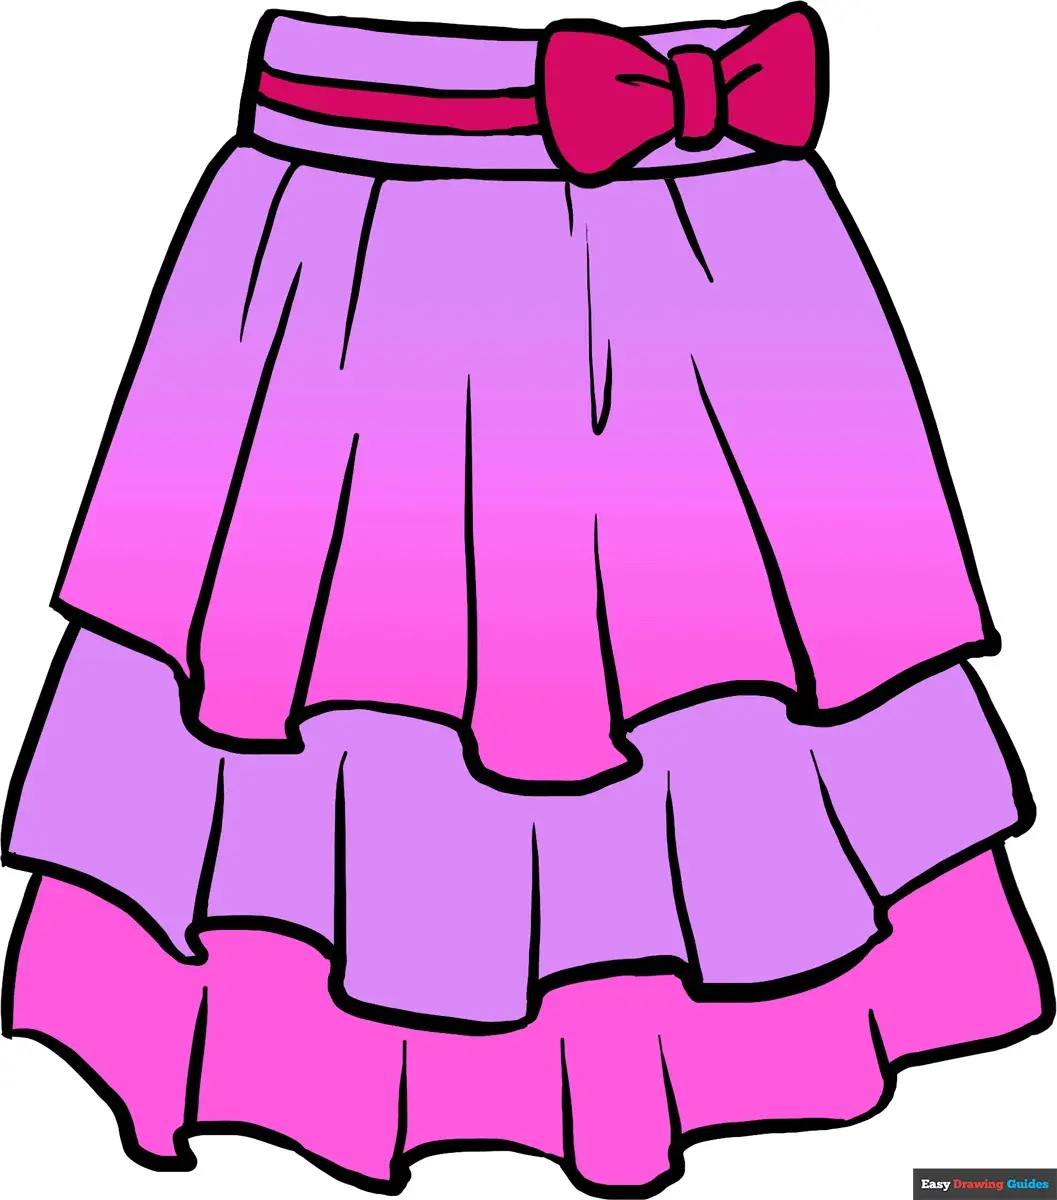
Use simple geometric shapes to block out the volume of the skirt. For a ball gown, draw a large triangle or bell shape extending from the waist. For a mermaid style, draw a tight-fitting shape that flares out dramatically below the knees. Keep your initial lines faint so you can easily adjust the proportions before committing to final details.
- Draw a vertical center line to ensure symmetry.
- Define the waistline, which is the anchor for the entire gown.
- Sketch the skirt’s volume using long, sweeping lines that suggest movement.
- Add the neckline, such as sweetheart, strapless, or illusion, to frame the upper body.
How to render fabric and texture
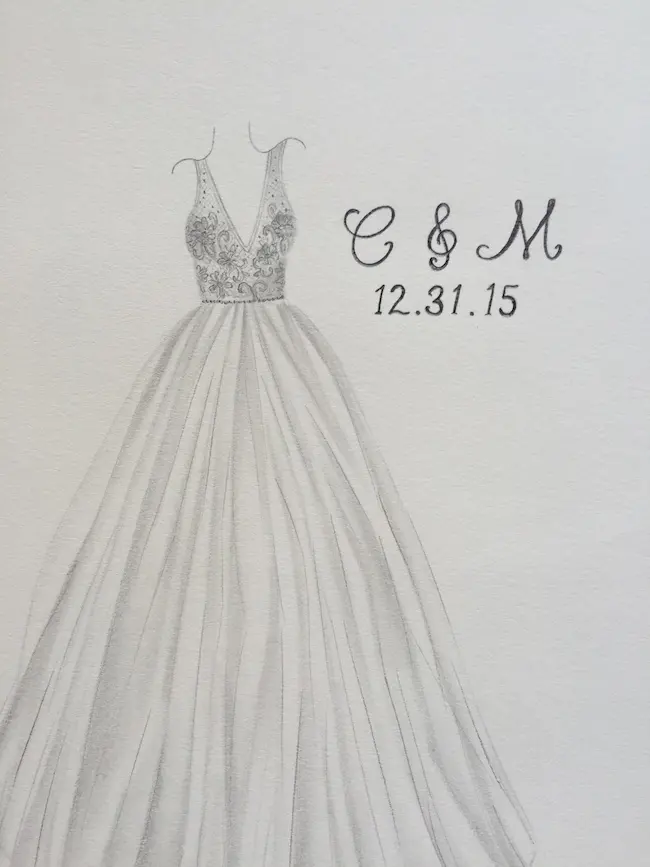
Capturing the way fabric behaves is essential for a realistic drawing. Silk and satin reflect light, so leave small white areas on the curves of the skirt to represent highlights. Use soft, blended shading to show the weight of the material. For tulle or chiffon, use light, sketchy, and layered lines to create a sense of transparency and airy volume.
When drawing lace, do not try to sketch every individual hole. Instead, draw the pattern’s general shape and add small, irregular dots or floral motifs at the edges. Focus on the contrast between the opaque fabric of the bodice and the sheer nature of the sleeves or overlay. Remember that fabric bunches at points of tension, such as the waist or under the arms, so add small, radiating lines to indicate these folds.
- Use a soft graphite pencil for shading.
- Apply a kneaded eraser to lift highlights from dark areas.
- Use a fine-liner pen for crisp details like buttons or lace edges.
- Add cross-hatching to deepen shadows in the folds of the skirt.
Best drawing techniques for beginners
Beginners often struggle with the complexity of bridal gowns, so it is best to start by studying reference photos of real dresses. Practice drawing the garment in sections rather than trying to capture the entire piece at once. Focus on the bodice first, as this is the most structured part of the dress. Once the bodice fits the figure correctly, you can extend the skirt downward with more confidence.
Another effective technique is to use tracing paper over a fashion template. This allows you to focus on the dress design without worrying about the underlying anatomy. As you gain experience, try drawing the dress from different angles, such as a back view to show off a train or a corset-style closure. Consistency in your pencil pressure will help you maintain a clean, professional look throughout the drawing process.
Why wedding dress proportions matter
Proportions are the difference between a professional sketch and a distorted drawing. If the skirt is too wide for the figure, the dress will look like a costume; if it is too narrow, it loses the grandeur expected of a wedding gown. Always check that the waistline is placed correctly relative to the shoulders and hips. A common rule of thumb is that the head should be about one-eighth of the total height of the fashion figure.
The length of the train also impacts the overall balance of your drawing. A very long train needs to be grounded in the space of the page, often curving slightly to follow the floor line. If the dress has sleeves, ensure they align with the natural resting position of the arms. When you maintain these anatomical relationships, the dress will appear to move naturally with the body rather than looking like a static object.
Common mistakes when drawing bridal gowns
One of the most frequent errors is neglecting the "gravity" of the fabric. Beginners often draw skirts that look stiff or floating, ignoring the way heavy fabric pulls downward toward the floor. Always draw your shading lines in the direction of the fabric's fall. Another mistake is over-detailing the entire dress, which can make the drawing look cluttered and messy. Focus your most intricate details on the focal points, such as the neckline, the waist, or the hemline.
Avoid using heavy, dark outlines for everything, as this flattens the image. Instead, use varied line weights—thicker lines for the outer silhouette and thinner, lighter lines for internal seams and fabric folds. Finally, do not forget the accessories like veils or bouquets, which can significantly alter the composition. If you make a mistake, do not be afraid to restart specific sections, as layered graphite can become muddy and difficult to clean up.
Key facts
- Start by sketching a "croquis," a stylized fashion figure with elongated proportions, usually nine heads tall.
- Establish the silhouette first, such as A-line, ball gown, mermaid, or sheath, before adding intricate details.
- Use light, sweeping pencil strokes to define the bodice shape, ensuring it aligns with the figure's natural waistline.
- Incorporate fabric texture by using varied line weights; heavier lines for structural seams and lighter, wispy lines for tulle or lace.
- Focus on gravity and movement by drawing folds and gathers where the fabric pulls at points of tension, like the hips or bust.
- Add personal touches like necklines, sleeve lengths, and embellishments only after the structural foundation is firmly established.
The bottom line
Drawing a wedding dress requires a balance between anatomical accuracy and artistic interpretation of fabric. By mastering the proportions of a fashion croquis and understanding how different textiles interact with gravity, you can create elegant, professional designs. Focus on the silhouette first, then layer in textures and details. With consistent practice of these foundational techniques, you will develop the ability to visualize and illustrate complex bridal gowns.
People also ask
What is the most common mistake when drawing wedding dresses?
The most frequent error is neglecting the weight of the fabric, which makes the dress look like it is floating rather than draping over the body. Always consider how gravity affects heavy satin versus light chiffon.
How do I draw realistic lace patterns?
Instead of drawing every individual hole, sketch the general shape of the floral motifs and use stippling or cross-hatching to suggest texture. Focus on the edges of the lace to create a delicate, airy appearance.
Should I draw the figure before the dress?
Yes, drawing the body first provides a necessary framework for the garment to sit on. If the figure is not anatomically sound, the dress will appear distorted or poorly fitted.
How do you represent different fabric types?
Use smooth, long lines for silk or satin to show sheen and reflection. For tulle or organza, use layered, transparent, and jagged lines to convey volume and layers.
What tools are best for fashion sketching?
A 2H pencil is ideal for initial light sketches, while a 2B or 4B pencil works well for defining shadows and final outlines. Fineliner pens are excellent for adding clean, professional details once the sketch is complete.
How do I draw a long train on a dress?
Extend the back of the skirt well past the feet, using long, flowing lines that follow the curve of the floor. Ensure the train looks like a natural extension of the hemline rather than an afterthought.
This answer was created with the help of AI research tools and reference sources. Spotted an error? Let us know — we correct mistakes quickly. See our editorial policy.