How do you draw a background?
Short answer
Drawing a background requires establishing a clear sense of space using perspective, depth, and scale. By defining a horizon line and vanishing points, you create a structured environment for your subjects. Focus on layering foreground, middle ground, and background elements to guide the viewer’s eye through the composition effectively and realistically.
On this page
How to use perspective in backgrounds
Perspective is the mathematical foundation of any convincing background. It creates the illusion of three-dimensional depth on a two-dimensional surface by using a horizon line and vanishing points. The horizon line represents the viewer's eye level, while vanishing points are the spots on that line where parallel lines appear to converge.
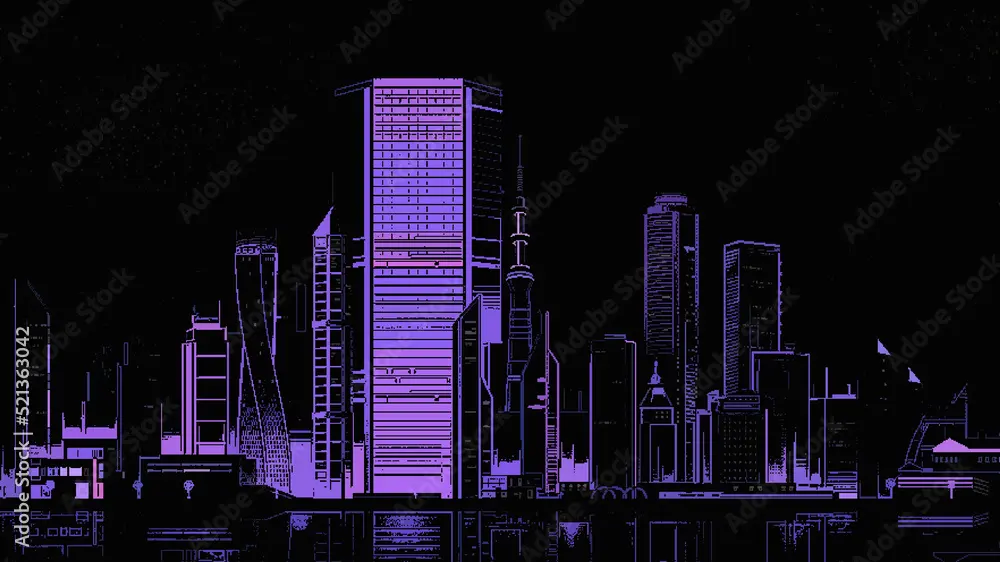
To master this, start with one-point perspective for simple scenes like a long hallway or a road stretching into the distance. For more complex architecture or cityscapes, two-point perspective is necessary to show the corners of buildings. Follow these steps to set up your grid:
- Draw a horizontal line across your page to serve as the eye level.
- Place one or two dots on this line to act as your vanishing points.
- Use a ruler to draw light guidelines from these points to the edges of your objects.
- Keep all vertical lines perfectly straight to maintain structural integrity.
How to create depth in drawings
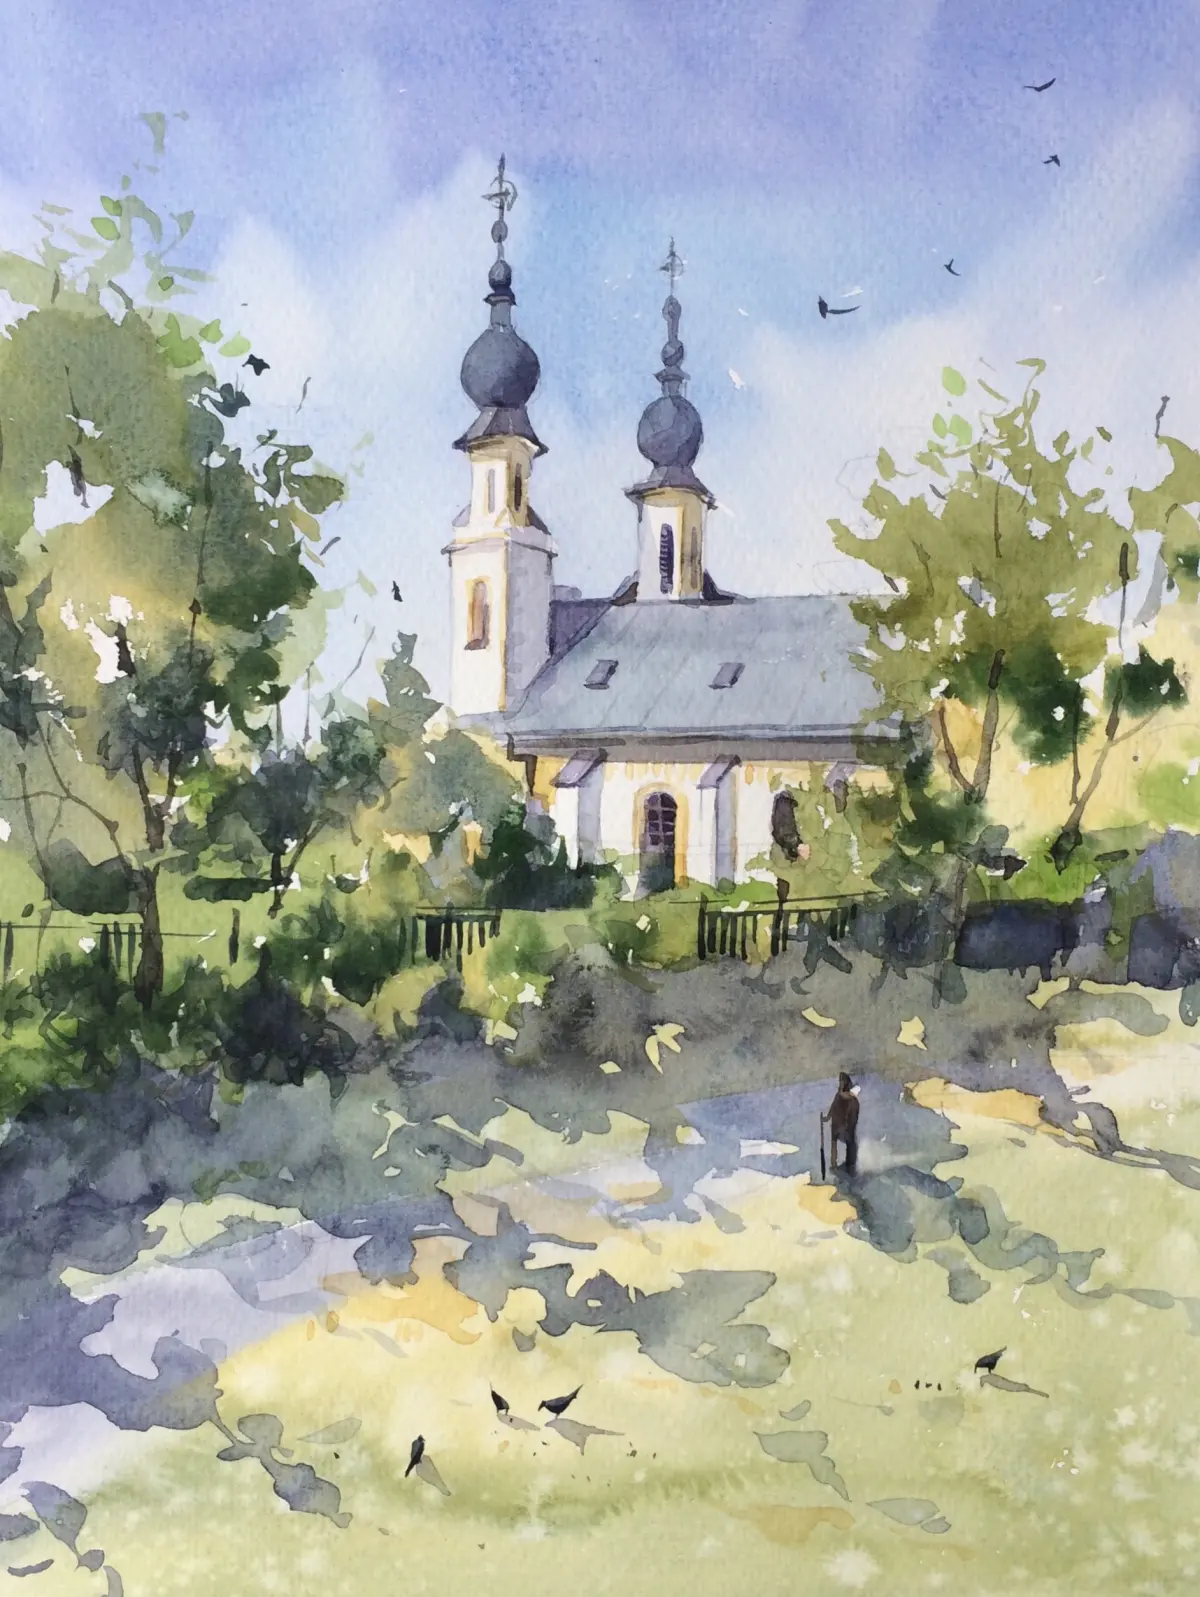
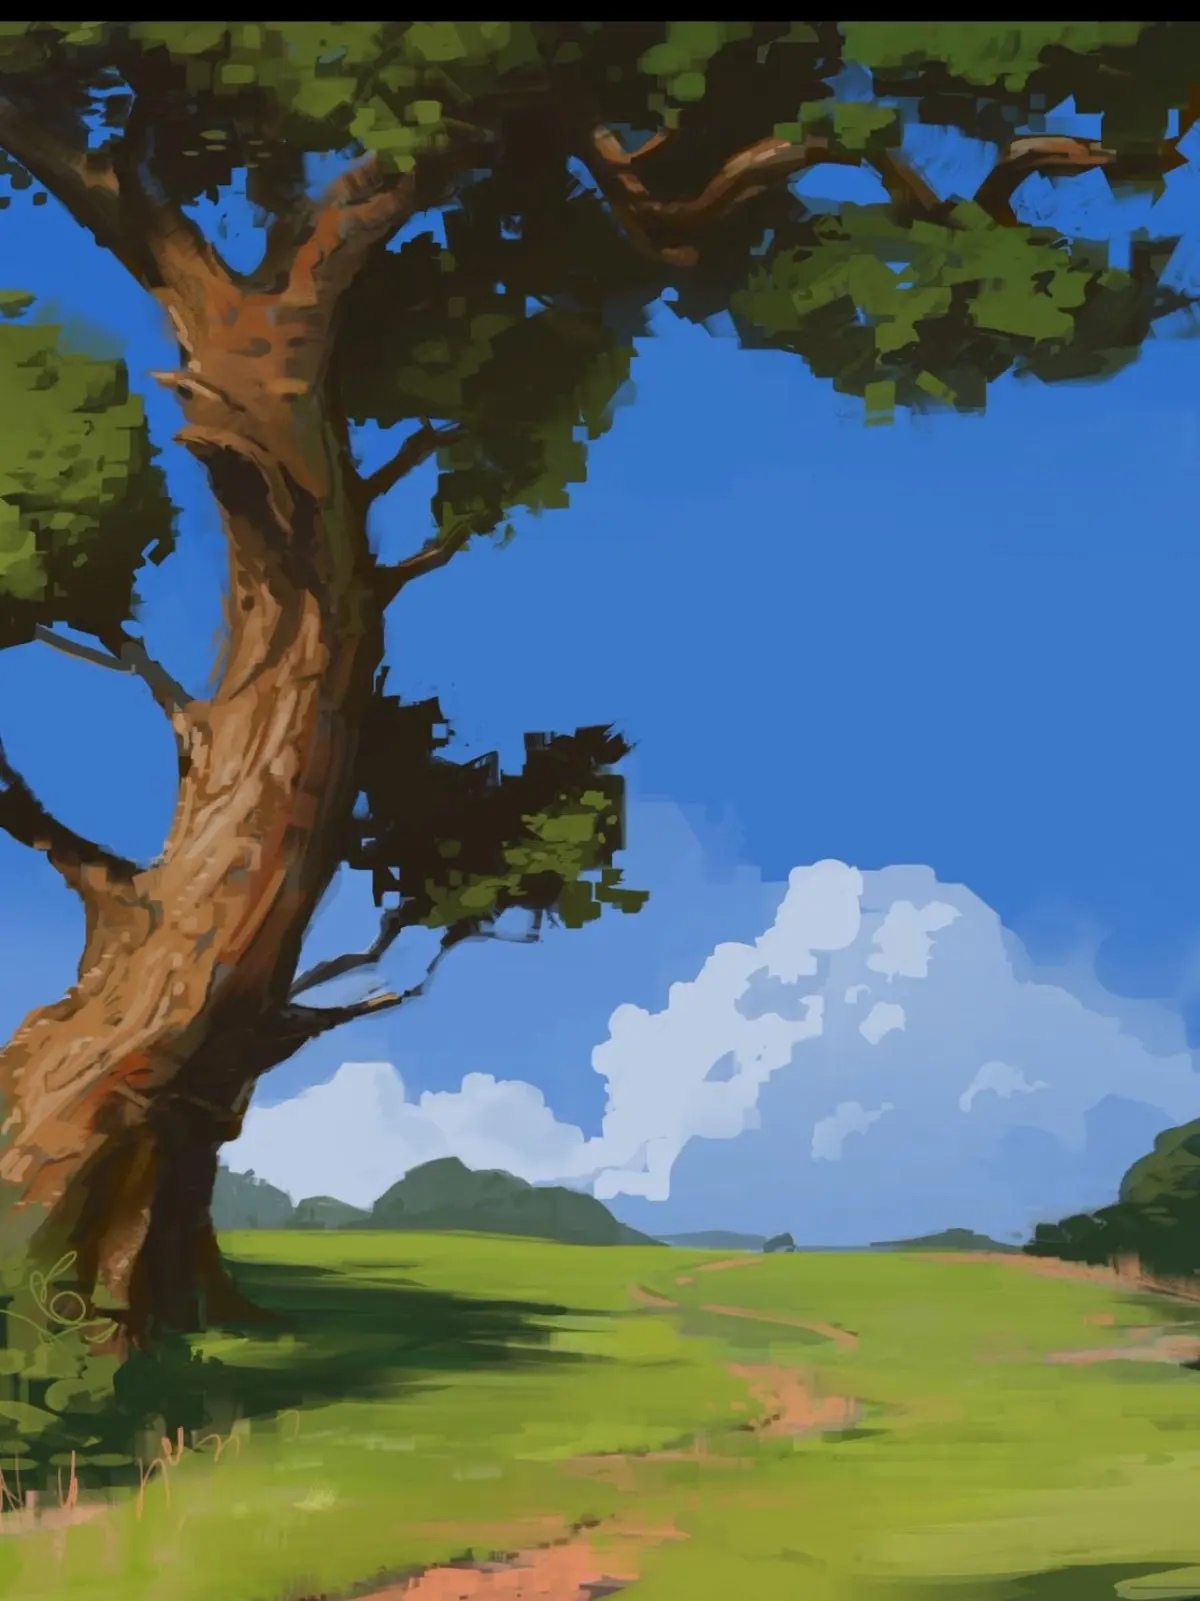
Depth separates your background from your foreground, preventing the image from looking flat. Artists achieve this through atmospheric perspective, where objects further away appear lighter, less detailed, and cooler in color. By manipulating contrast and clarity, you can push elements into the distance or pull them toward the viewer.
Use these techniques to build a layered scene:
- Foreground: Use high contrast, sharp edges, and large, detailed shapes to ground the viewer.
- Middle Ground: Introduce slightly muted colors and less detail to bridge the space.
- Background: Simplify shapes into silhouettes and use lighter, desaturated tones to mimic the effect of air and distance.
- Overlapping: Place objects in front of one another to clearly define their spatial relationship.
Best tools for background drawing
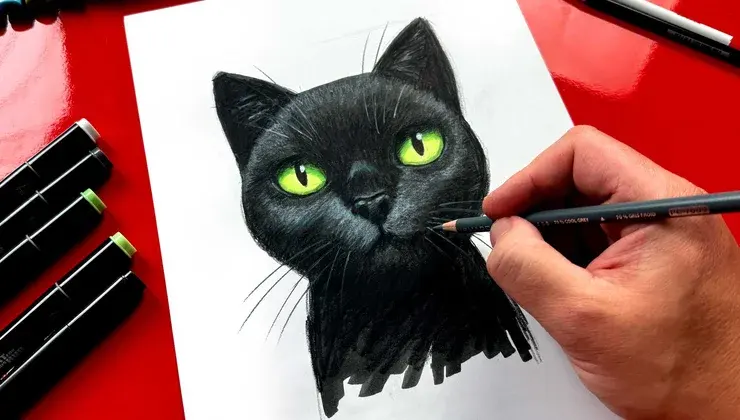
Choosing the right tools depends on whether you prefer traditional media or digital software. For traditional artists, a set of graphite pencils ranging from 2H to 6B is essential for creating varied line weights. A long metal ruler is non-negotiable for keeping perspective lines crisp and accurate, as freehand lines often look shaky and unprofessional.
Digital artists benefit from software that includes built-in perspective grids and stabilization tools. These features allow you to snap lines directly to vanishing points, significantly reducing the time spent on technical setup. Regardless of the medium, keep a kneaded eraser nearby to lift graphite or correct layout mistakes without damaging the paper surface. Always start with a light touch, as heavy initial marks are difficult to remove once you begin adding details or shading.

Common mistakes when drawing backgrounds
One of the most frequent errors is neglecting the scale of objects relative to one another. If a door is drawn too small compared to a person standing next to it, the entire sense of realism collapses. Always check your proportions by comparing the height of your background elements to the height of your main subjects.
Another common pitfall is over-detailing the background, which distracts from the focal point of the artwork. If every brick on a building is drawn with equal intensity, the viewer will not know where to look. Follow these guidelines to avoid these issues:
- Avoid "floating" objects; ensure everything sits firmly on a floor or ground plane.
- Do not use pitch-black shadows in the distance, as atmospheric haze naturally softens dark tones.
- Check that all parallel lines converge precisely at the vanishing point rather than wandering off.
- Vary the line weight to suggest distance, using thicker lines for foreground items and thinner ones for background details.
How long does it take to draw a background
The time required to complete a background varies wildly based on complexity and the desired level of finish. A simple, stylized room might take thirty minutes, while a sprawling, detailed landscape could require several days of labor. Beginners should focus on consistency rather than speed, as rushing the perspective layout often leads to errors that are difficult to fix later.
Break your workflow into manageable phases to ensure steady progress:
- Sketching and layout: 20% of the total time.
- Refining perspective and structural lines: 30% of the total time.
- Adding environmental details and textures: 30% of the total time.
- Final shading, lighting, and atmospheric effects: 20% of the total time.
By dedicating specific sessions to each phase, you prevent burnout and maintain a high standard of quality. Remember that professional background artists often spend more time planning the composition than actually rendering the final details. Patience during the initial setup phase is the most effective way to ensure a successful, professional-looking result.
Key facts
- Use one-point perspective to create depth by drawing all parallel lines toward a single vanishing point on the horizon line.
- Establish a clear horizon line early, as it dictates the viewer's eye level relative to the objects in the scene.
- Apply atmospheric perspective by making distant objects lighter, less saturated, and lower in contrast to simulate air density.
- Utilize the rule of thirds by placing key architectural or natural features along grid lines to guide the viewer’s focus.
- Vary the scale of repeated elements, such as trees or windows, to reinforce the illusion of distance.
- Maintain consistent lighting by identifying the light source position before adding shadows or highlights to background elements.
The bottom line
Drawing a compelling background relies on mastering perspective, scale, and atmospheric depth. By establishing a firm horizon line and utilizing layering techniques, you can transform a flat canvas into an immersive environment. Focus on simplifying complex shapes before adding detail, and remember that light and contrast are your most effective tools for guiding the viewer's eye through the scene and creating a sense of realistic space.
People also ask
How do I choose the right color palette for a background?
Select colors based on the time of day and mood you wish to convey. Use cool, desaturated blues and grays for distant elements, while keeping foreground colors warmer and more vibrant to create depth.
What is the difference between foreground, midground, and background?
The foreground contains the most detail and contrast, acting as the closest point to the viewer. The midground provides context, while the background is simplified and blurred to emphasize the vastness of the space.
How can I make a background look less flat?
Introduce overlapping shapes where one object partially obscures another. This layering technique provides visual cues that help the brain perceive three-dimensional space rather than a two-dimensional surface.
Should I draw the background before or after the main subject?
It is generally best to sketch the background first to establish the environment and scale. This ensures your subject fits naturally within the perspective and lighting of the scene.
How do I handle complex architectural details in a background?
Simplify intricate structures into basic geometric shapes like cubes and cylinders first. Once the perspective is correct, you can add specific details like bricks or trim without losing the structural integrity.
Why does my background look like it is tilting?
This usually happens when the vanishing points are not aligned on a level horizon line. Always use a ruler to ensure your perspective lines converge accurately on a straight horizontal axis.
This answer was created with the help of AI research tools and reference sources. Spotted an error? Let us know — we correct mistakes quickly. See our editorial policy.